How to support extra wide built-in shelves
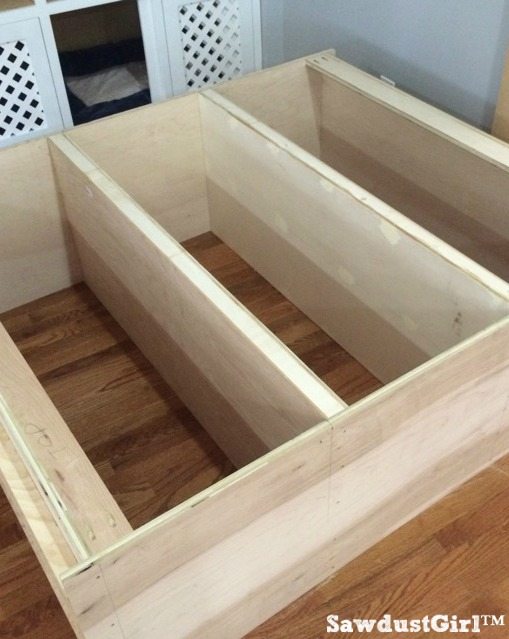
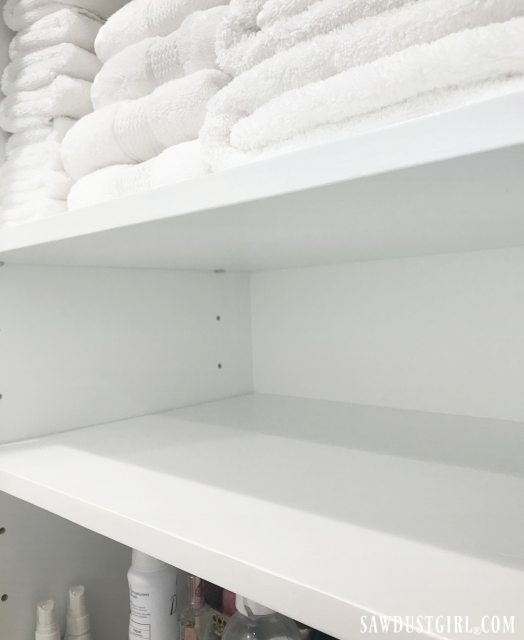
In my last update on the built-in bookcase, Madison and I had finished the bottom portion. Here’s how the project has progressed since our last update… Madison used my track saw (under my watchful eye) and cut the plywood for the upper portion and we assembled this box. I wanted the upper portion of my bookshelf to be one, wide cabinet. However, the shelves are 52″ wide which is way too wide for a typical shelf. It would sag in no time. So I had to devise a plan to support the extra wide shelves to prevent sag or bowing.
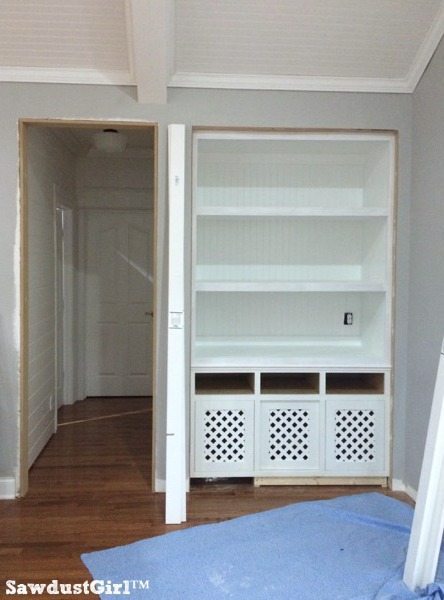
How to support extra wide built-in shelves
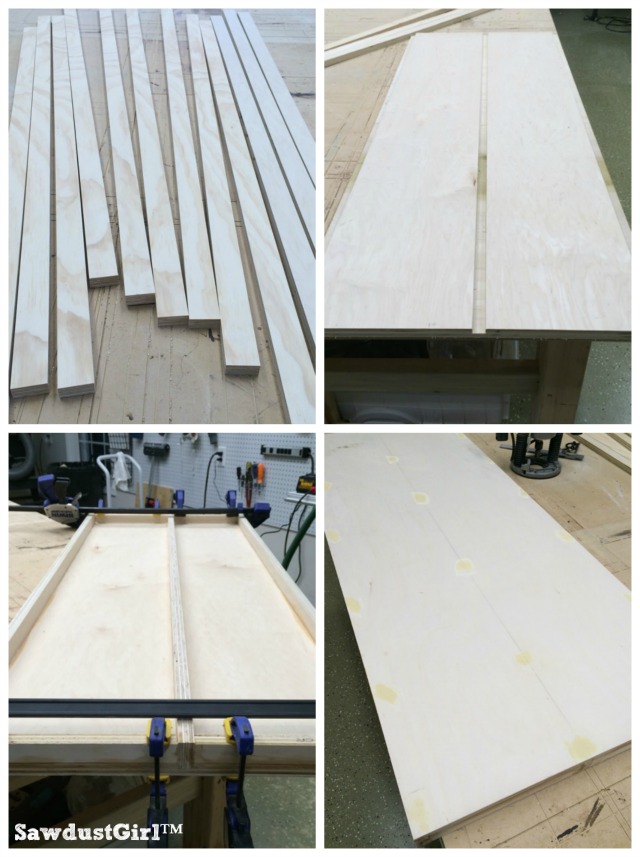
I cut 1 1/2″ strips of plywood and secured three strips to each shelf, including the top and bottom of the bookshelf. The plywood strips are attached on edge, or on their sides, providing the most rigidity.
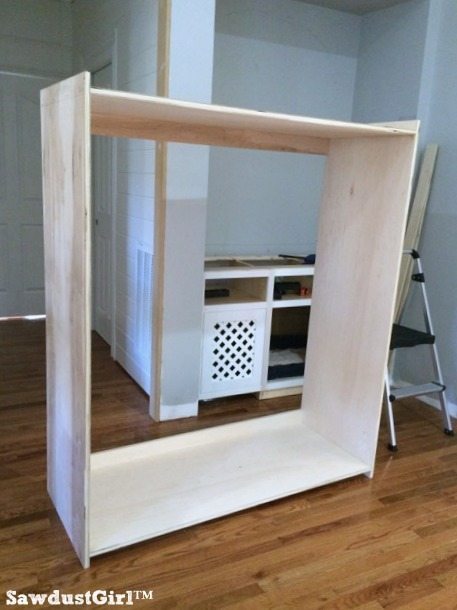
I used screws to secure the strips to the top and bottom after the “box” was built.
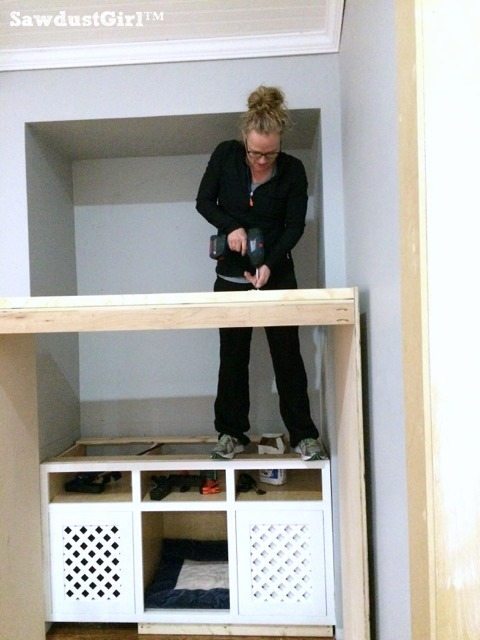
The shelves needed to look nice on both the top and underside so I assembled the shelves and then installed them into the bookcase “box”.
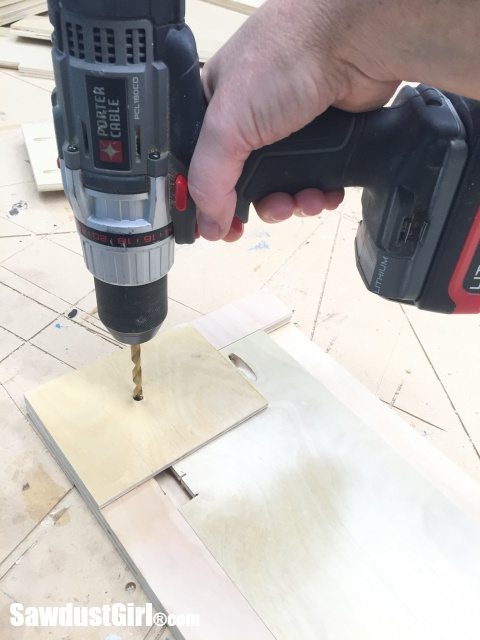
The top of the shelves are 3/4″ and I routed dados into that at 3/8″ deep. The shelf bottoms are 1/4″ plywood glued and nailed into place. I wanted to use 1/2″ plywood on both sides but my local Home Depot had 3/4″ maple plywood cheaper than 1/2″ Birch so that’s what I bought. Then I didn’t want 3/4″ plywood on the underside too for fear I’d drop one and crush myself whilst trying to install!
As it is, this is ONE HEAVY SUCKER! It took Wes, Madison and myself heaving and ho-ing to get it up and in place…but not before we tried and tried again and I finally realized that in spite of my careful measuring and planning, it was not going to fit without cutting a sliver off the top…well more like 1/2″.
I used my jigsaw, hit a screw, ruined a blade, removed the screws, used my track saw and finished the job with a whole lot of cussing 🙂 and then the tree of us lifted it up one more time. And it fit!
We sanded and primed and I installed the faceframe and we sanded and primed some more.
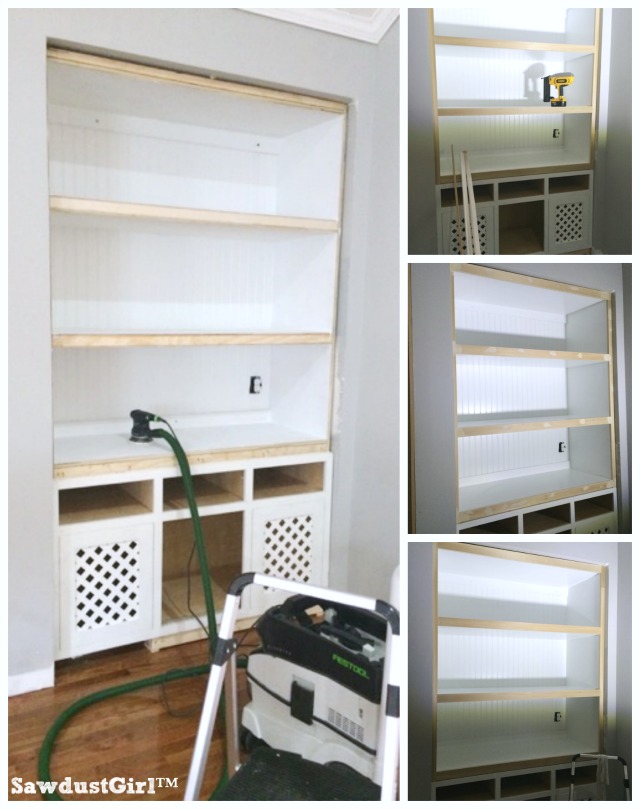
I painted.

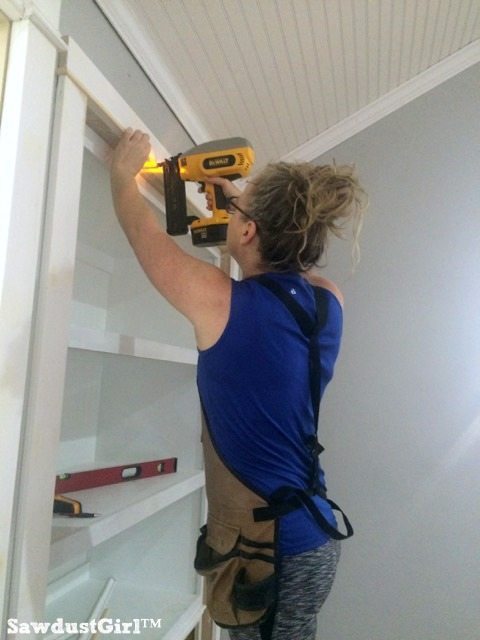
I realized that the although finishing the built-in bookshelf will be great, it’s not going to look complete until this whole corner is complete. So I trimmed out the adjacent doorway in addition to the bookshelf.
My apron is from a sponsor, Duluth Trading Co. It serves double duty as a kitchen apron…if you dust yourself off first!
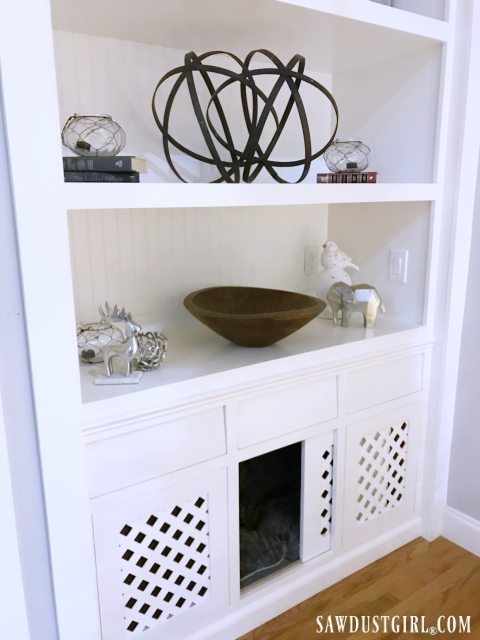
 See the finished bookshelf with built in dog crate!
Did you miss some of this project? See our planning phase/fashion show and first project progress update.
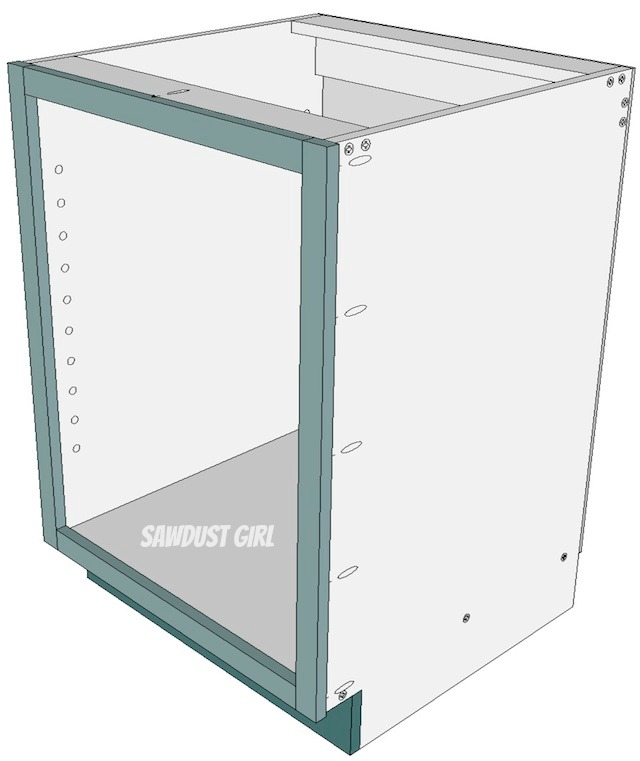
Get my Cabinet Building 101 eBook. All the information in one place that you can download and keep on hand!
$9.99Add to cart

I really wish I could come to your place and have you teach me like you are teaching Madison! I think you’re amazing. The skills you are teaching your daughter will last a lifetime.