Building and Installing a Giant Faux Beam on the Ceiling
When I white washed the ceilings, I had to decide how to cover the ridge where the rows of planks from each side of the room ended. I didn’t even attempt to make them match them up perfectly and miter them together. I considered two options: a simple flat trim or a big faux beam. Though I think the simple flat trim would have finished the ceiling nicely I went with a wood beam look.
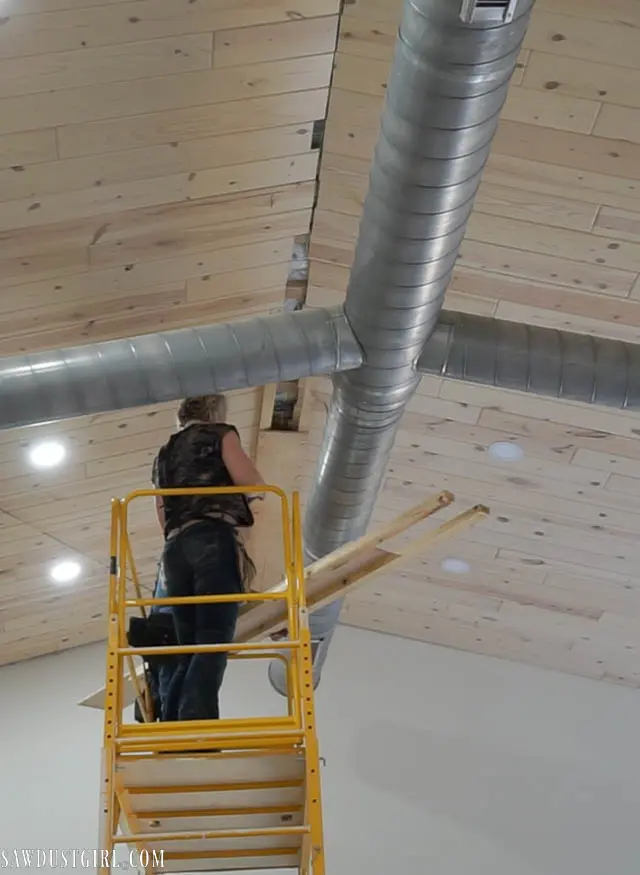
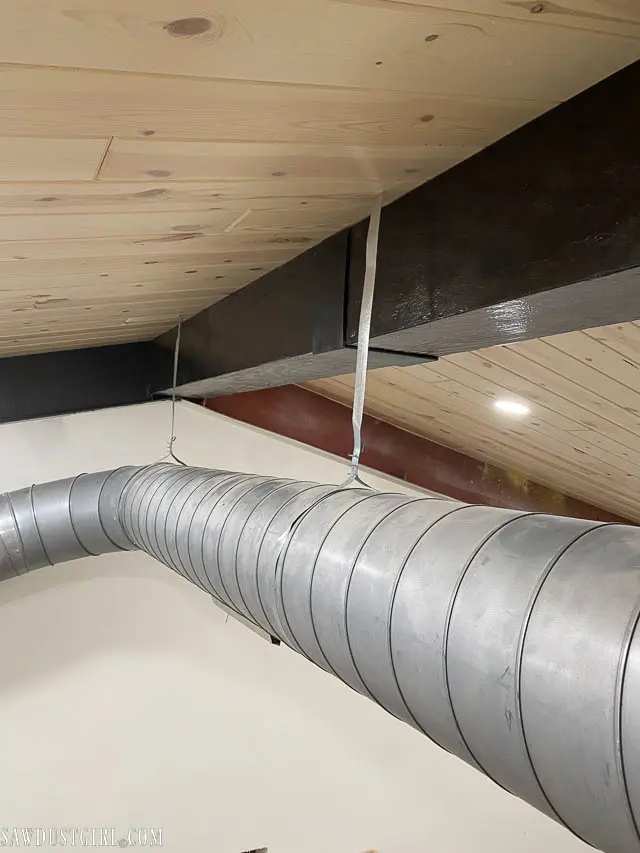
I knew I was going to distress the heck out of my beam to make it look like a really old wood beam so I purchased the worst looking plywood sheathing I could find. Sheets with lots of cracks and knots. Coincidentally that sheathing was also the cheapest so that was a lucky bonus. (Not pressure treated)
My beam is extremely large to be proportional to the height and scale of the room. Using 8’ long sheets of plywood, I had to build 4 sections to cover the entire length of my ceiling.
My beam is about 12” tall by 12” wide. (11 1/2 x 11 1/2 to be precise in order to maximize material.) There are three sides per beam section so it took 3 sheets of sheathing to build 4 sections.
Building a Faux Beam
First, I used my track saw to rip down each sheet into strips. It’s really difficult to push a full sheet of plywood through a table saw. I attempted to bevel the strips with my track saw but decided it would be easiest to just rip strips and then use the table saw to bevel the sides.
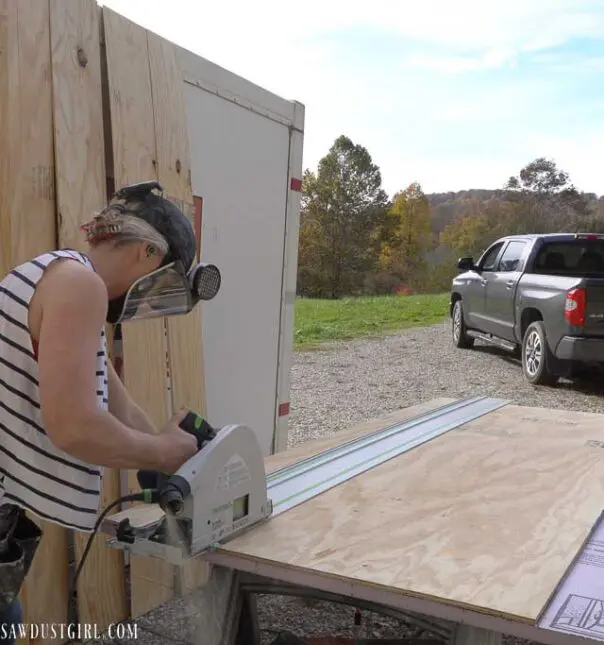
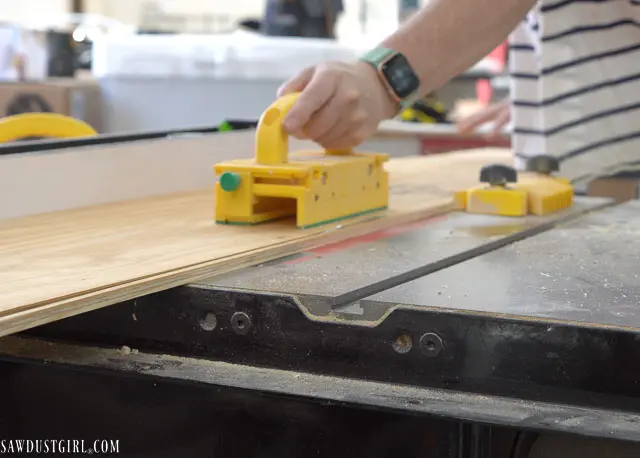
Only the bottom NEEDED to be beveled on both sides but I wanted to be able to sort my pieces into the best matches when I went to build them so I kept all my options open by beveling all sides. It won’t matter that the ends that meet the ceiling are beveled because that won’t be seen.
Because of the size of the beam and the crappiness of the wood, I had to hug the project to hold pieces together until I could secure them with nails.
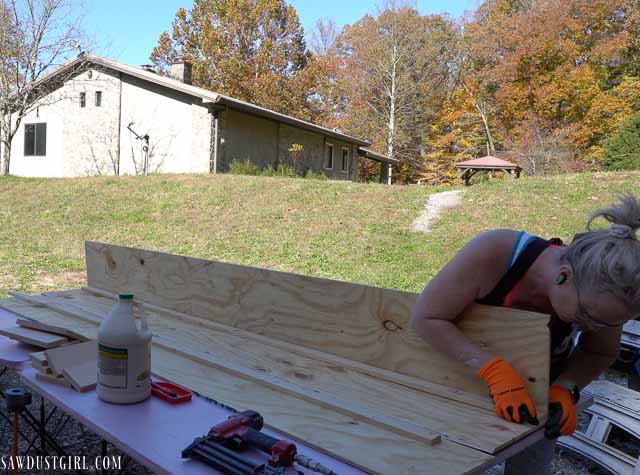
I added cleats to the inside of each beam for strength and support, making sure they were at least 4 inches down from the top so they wouldn’t interfere with the nailer plate I eventually used to install them.
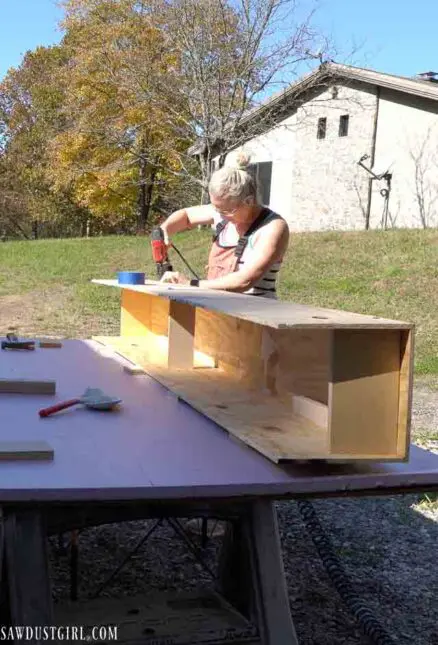
Painter’s tape helped close up the mitered joints but the wood was pretty bendy and warped, so I had to force the seams close up in a few areas.
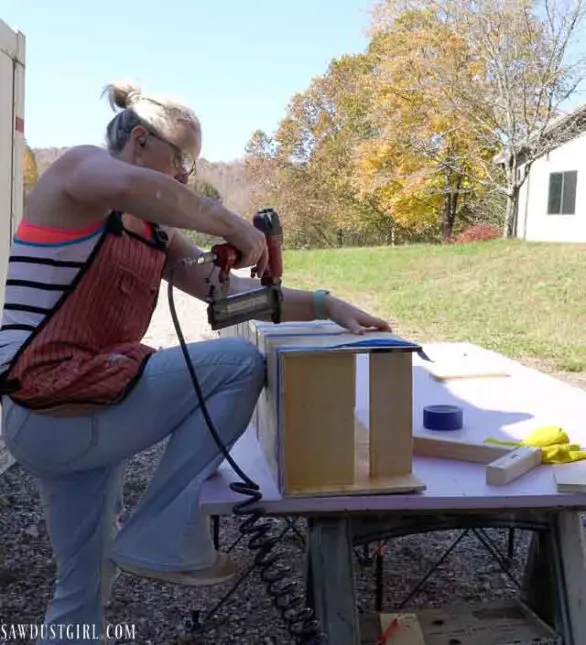
Each section of faux beam I built a little bit different, trying to make the process easier than the previous one proved to be. Build one section and set it aside to dry/set- and then start another one, and another…
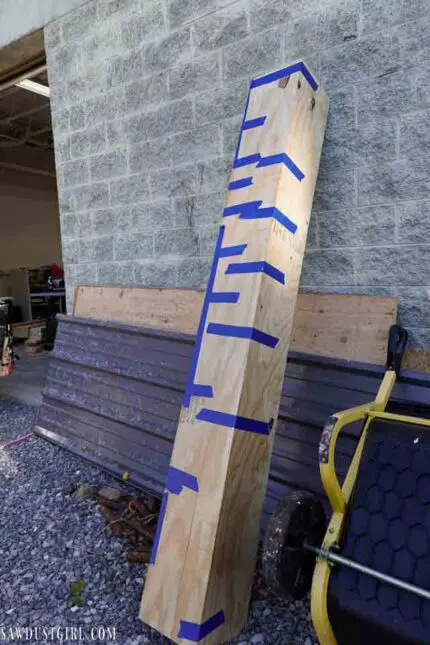
Distressing the Wood
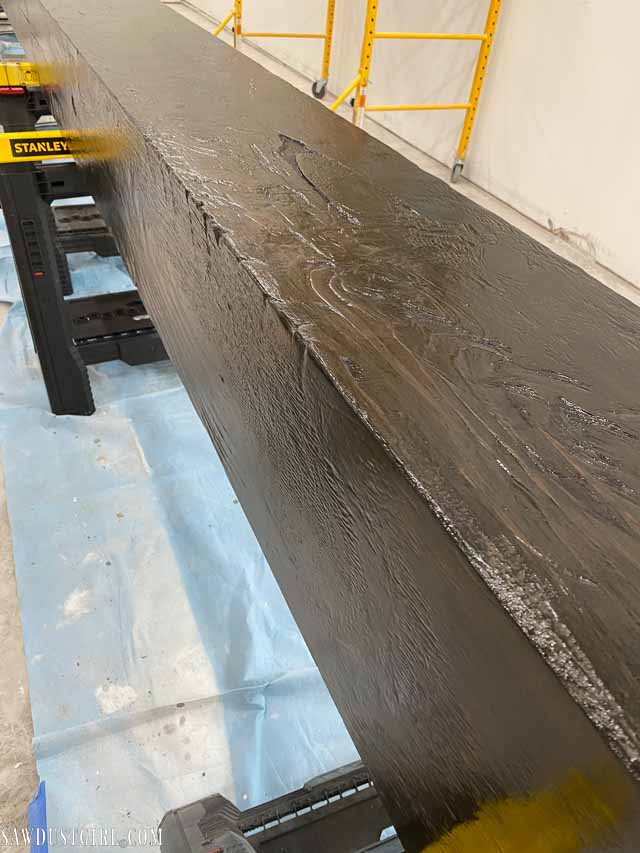
After the glue dried, I used a scraper to remove excess glue and to start to distress the beam. I scraped the corners to remove the sharpness and make them look old and worn.
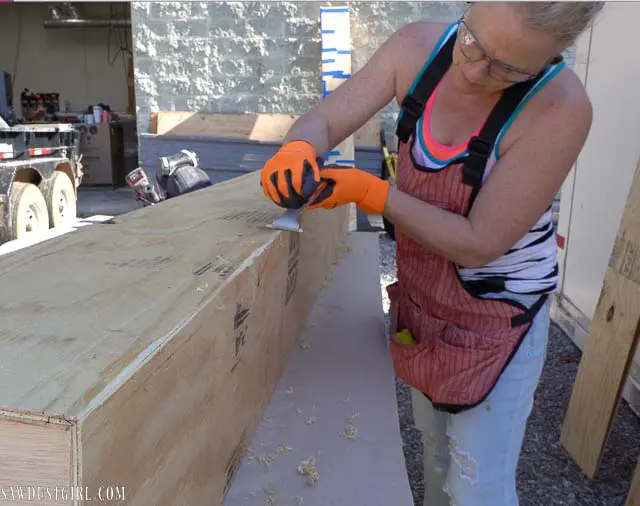
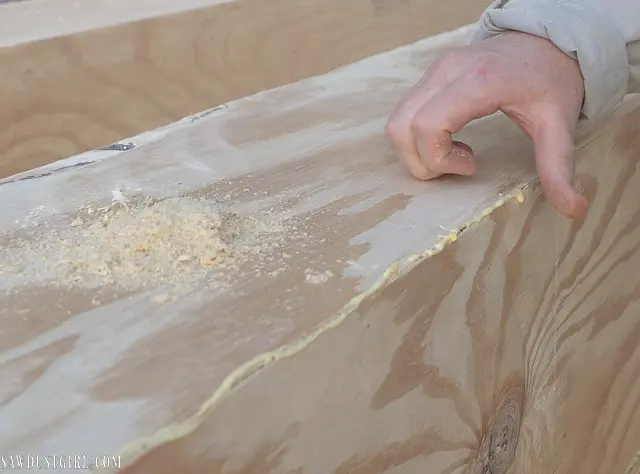
Any cracks I could see light through, I added glue and then smushed sawdust into the cracks.
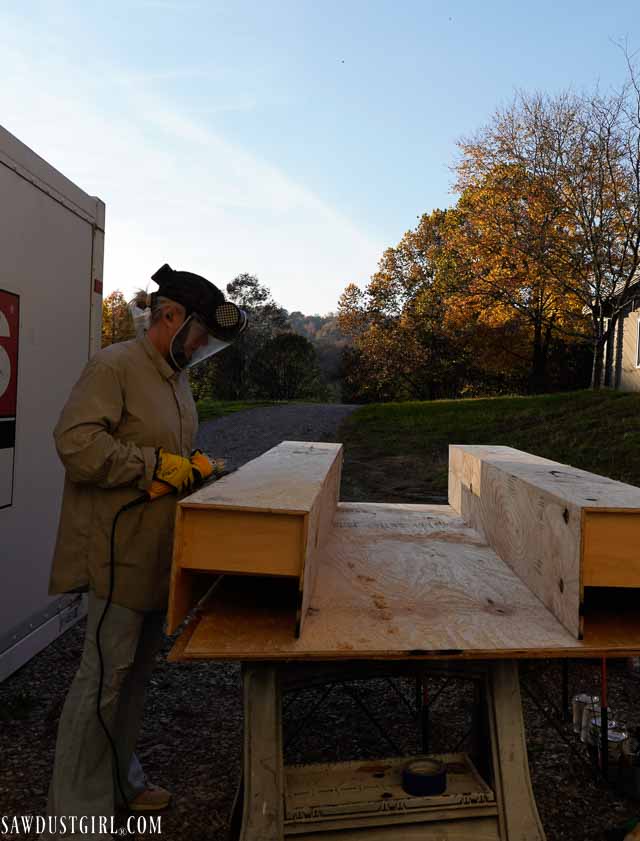
After that, I used a grinder with a wire sanding wheel and a wood cutter blade and got artistic. I scraped, sanded, nicked, cut, dinged, and just beat it up until I liked how it looked.
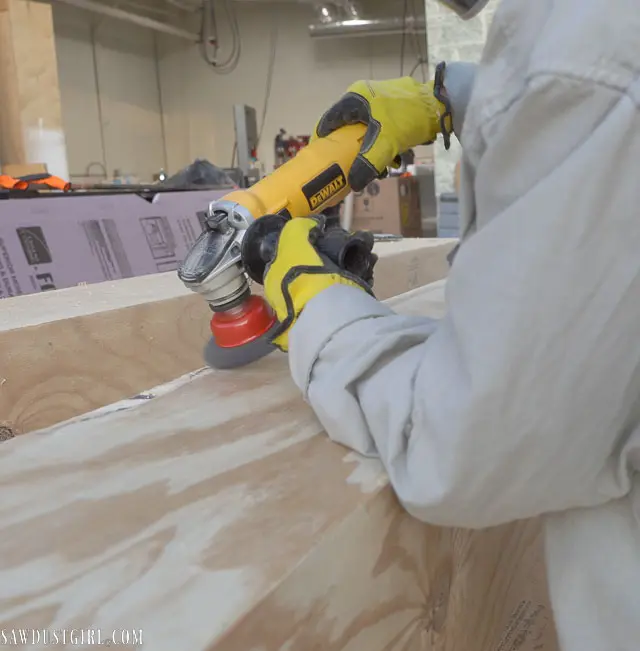
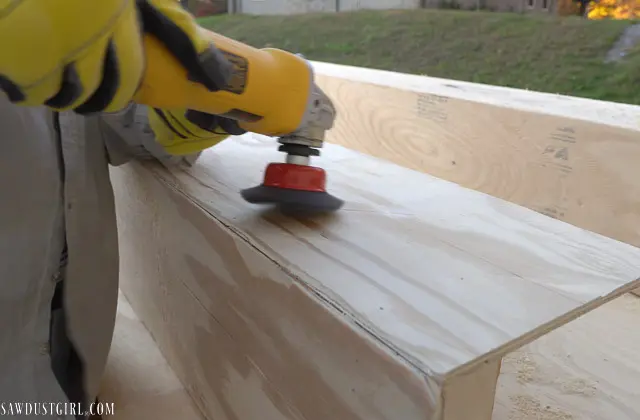
I wore a full face respirator, gloves and a long sleeve shirt because wood chips were flying everywhere!
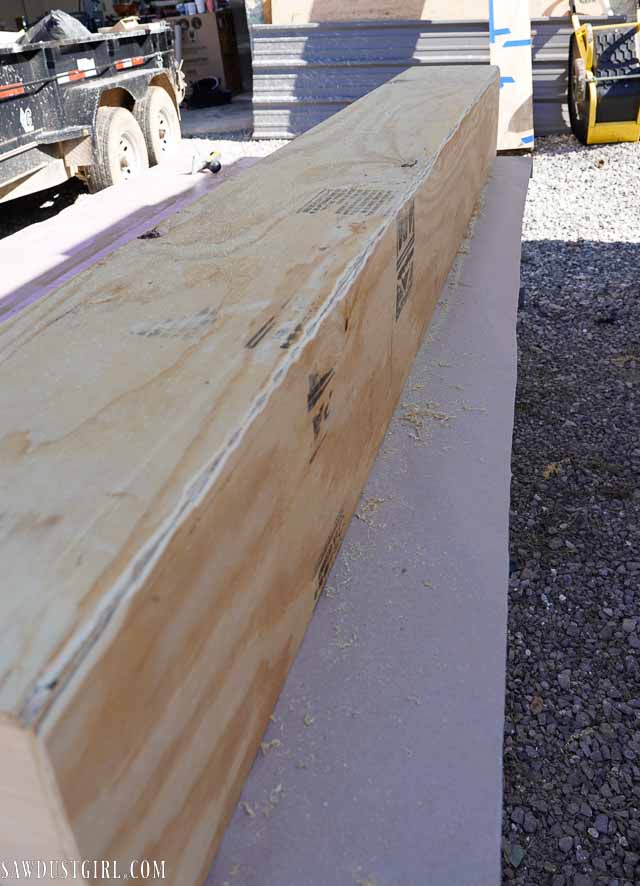
I didn’t even bother to remove all the stamped ink because I liked the added character.
Staining and Finishing

I brought out an assortment of stain colors, all water based so I could mix and match. My process was: apply one product here, another thing over there, blend them together. Spread something else around, add a different something and let it dry. Then come back to it later and add more.
I grabbed a section of an actual old beam I brought back from Idaho and set it on the table next to me for inspiration.
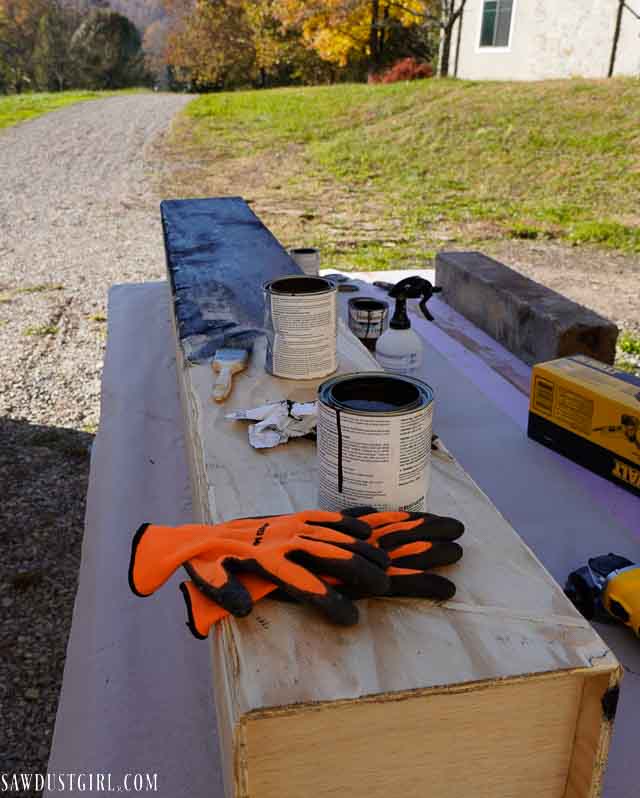
Despite my chaotic process, I tried to make sure all four sections of the beam had the same look.
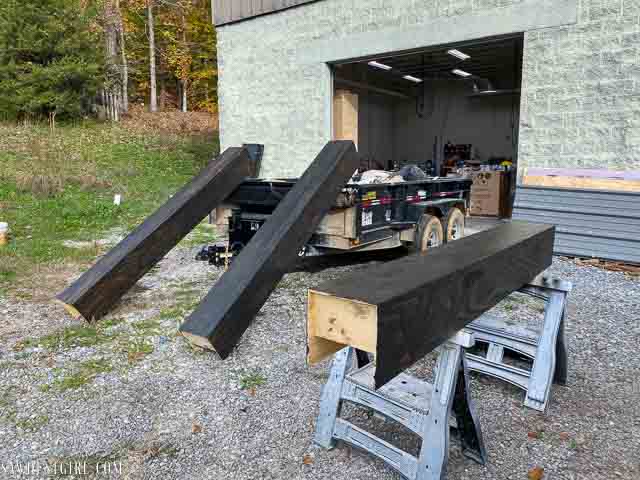
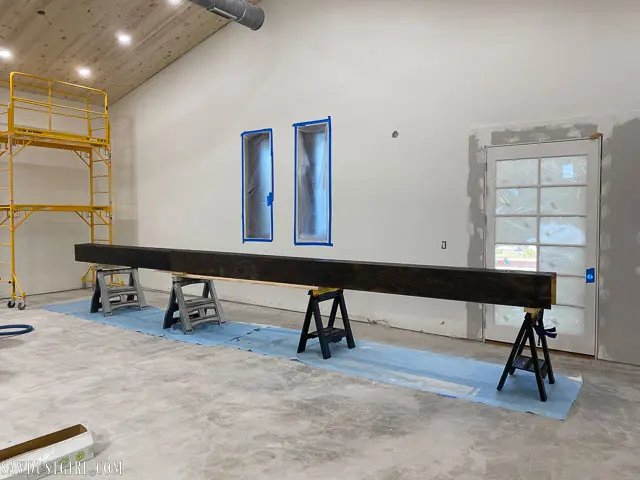
The sections of beam were actually pretty lightweight and I carried them all upstairs myself. However, in my opinion, they look like big, heavy blocks of wood.
Installing a Faux Wood Beam
Terry and I built nailer cleats out of 8 foot sections of 1/2 inch plywood and 2x2s. We extended the 2x2s off one end of the plywood, leaving a bare section of plywood on the other end. This allowed us to connect each section to the last, as we installed them. Having one, continuous nailer plate, rather than four sections made it easier to keep the whole thing straight as we installed it across the long span.
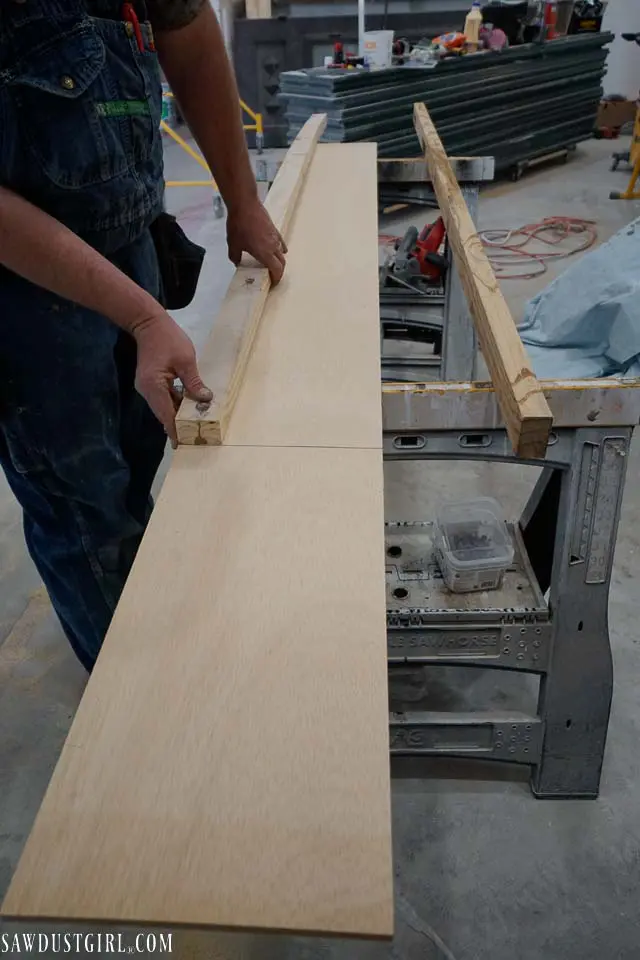
We marked the center line of the nailer plate and the location of our ceiling supports.
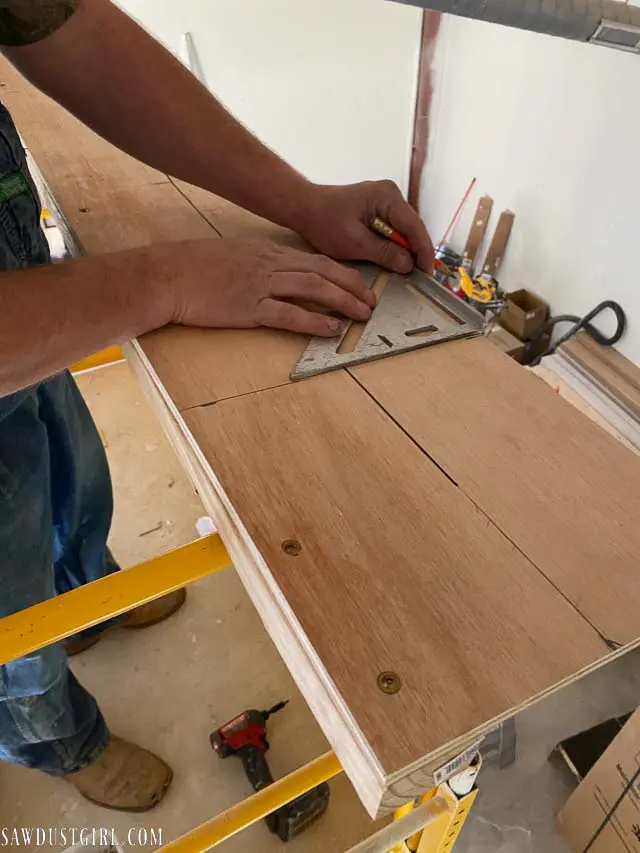
Once we set up a laser line on the center of the ceiling, it was easy keep out nailer plates centered as we secured them to the ceiling bracing with heavy duty lag screws.
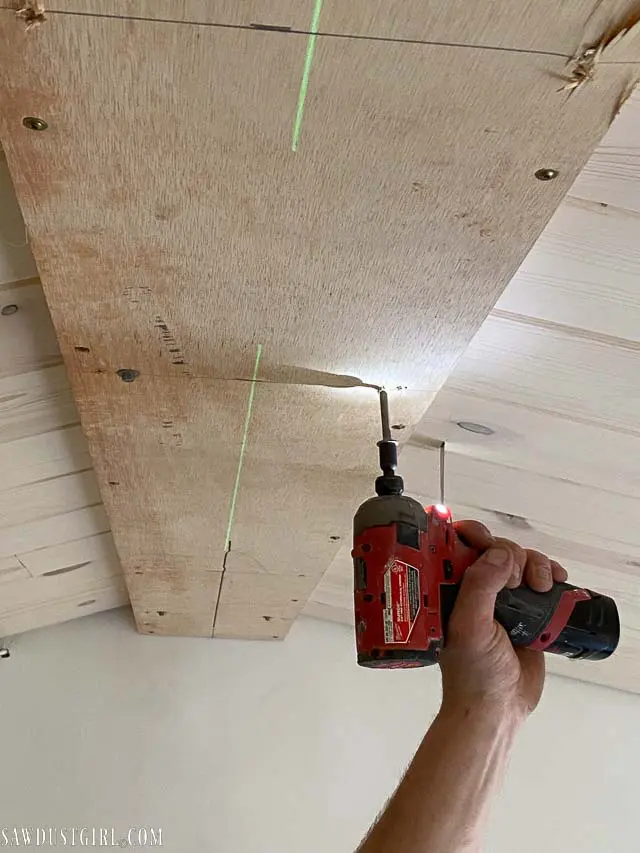
On the first section, we cut off the portion of unsupported plywood and attached it to the ceiling with the 2x2s extending out. Each section after that fit together like puzzle pieces.

The bare plywood ends were secured to the 2x2s from the previous section, centerlines aligned, then lag screws driven into the ceiling bracing.
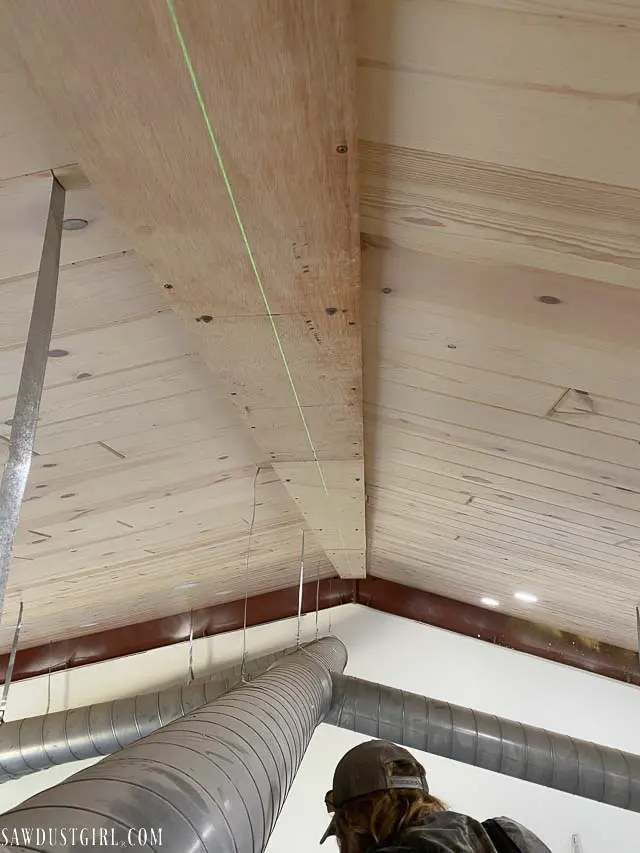
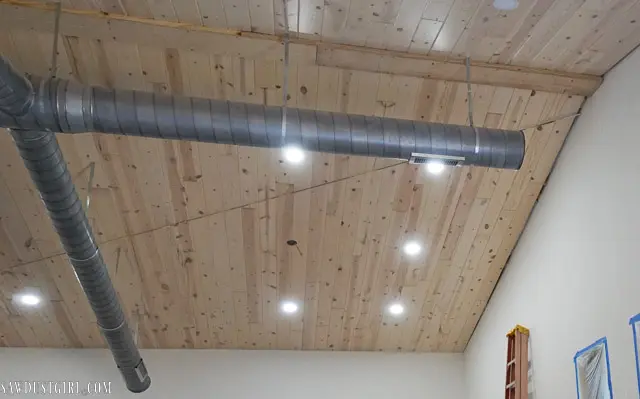
The nailer plate gave us a complete, continuous, solid backing onto which we could secure the faux beam.
This room is not 32 feet wide so four 8 foot sections of beam was too much. Rather than having three 8 foot sections and then one short one, we cut all four sections into equal parts that would span the length of the room.
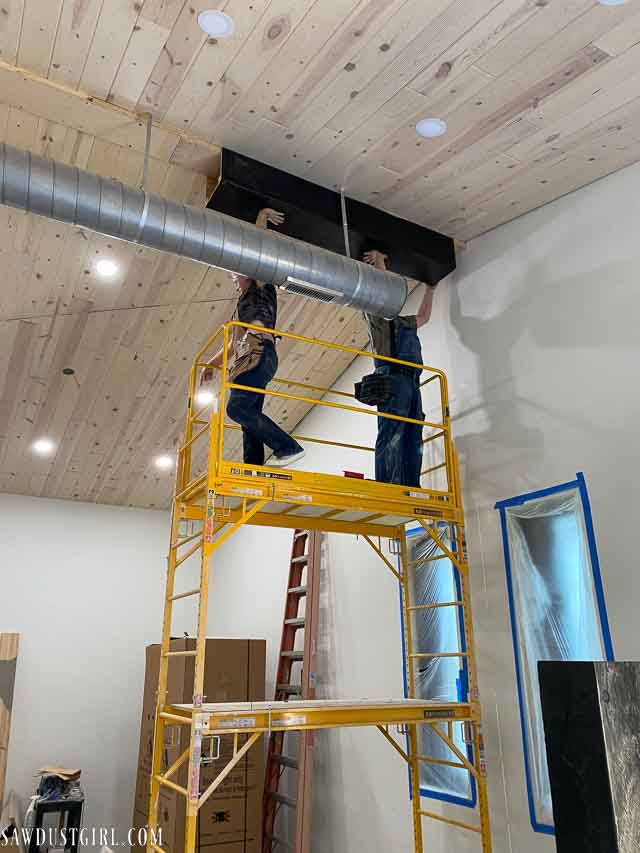
The beam straddles the nailer plate, then we used 2 1/2 inch construction screws to drive through the plywood and into the nailer plate.
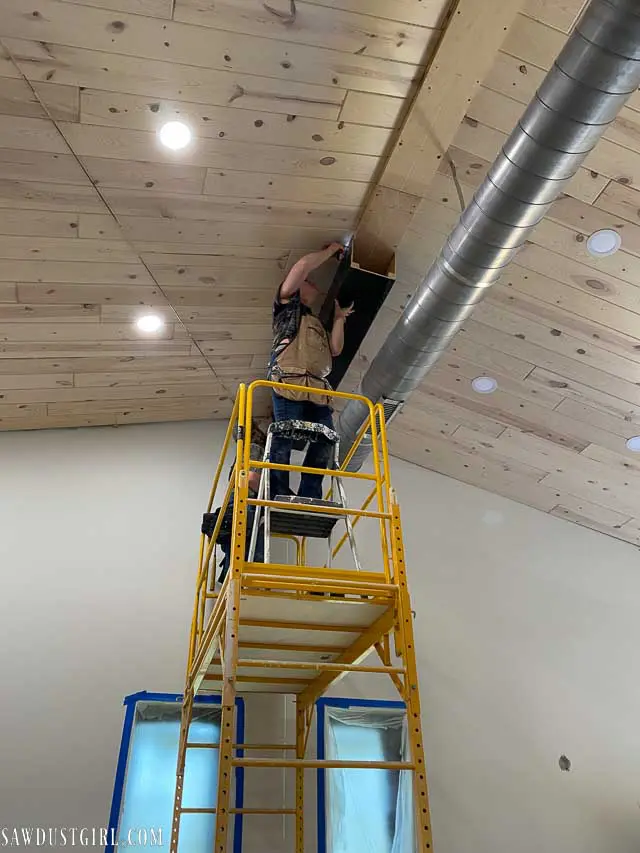
Working around the exposed HVAC ducting required some uncomfortable body positioning and I wasn’t strong enough to drive the screws in while contorting and standing on my tippy toes so Terry had to do those. Heehee
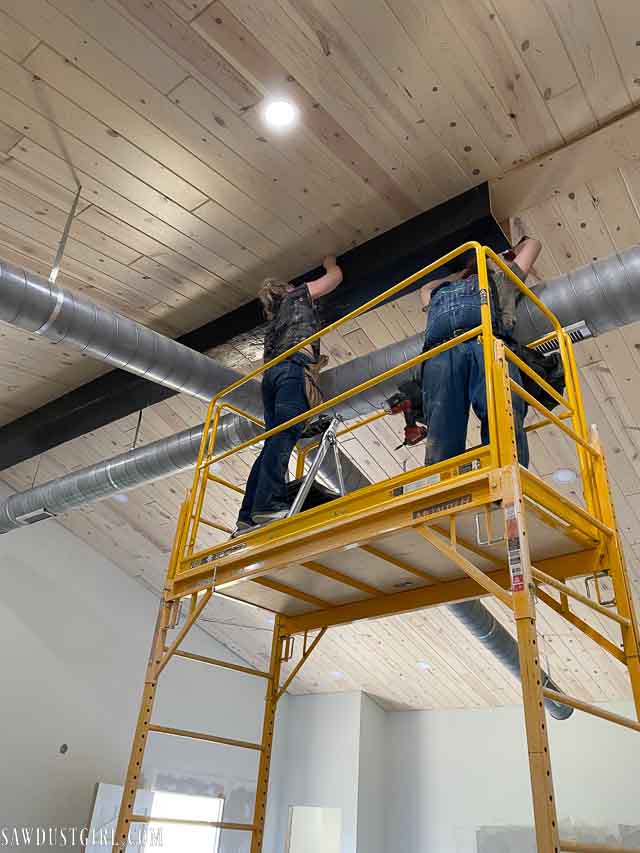
We worked our way along the ceiling and it was a pretty easy process other than awkward body positioning and going up and down the scaffolding a hundred times. Terry and I installed the nailer plate and the beam in one day.
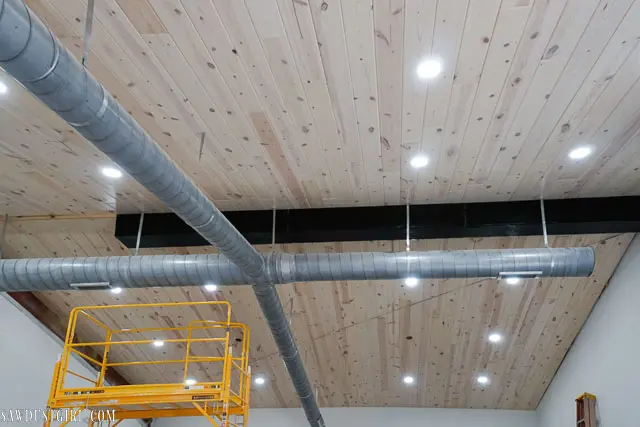
Hiding the Seams with Faux Metal Brackets
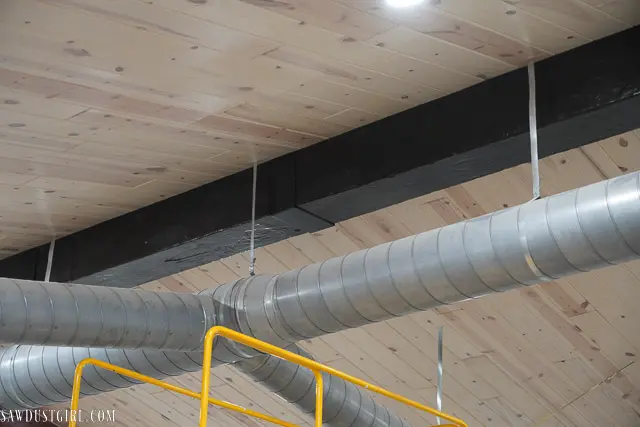
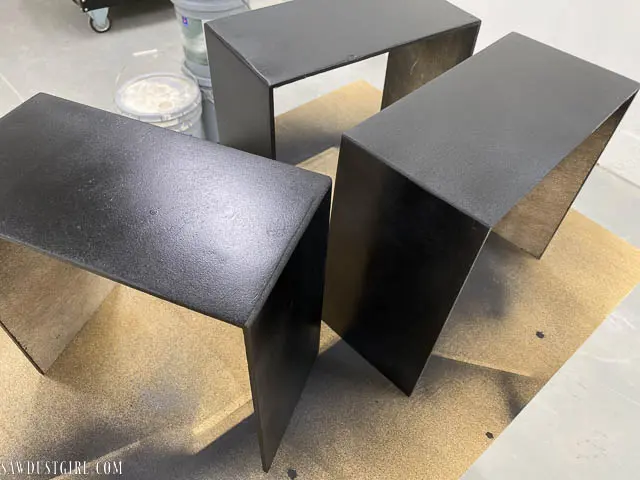
I covered the seams (where the beam sections met each other) with faux metal brackets that I made out of quarter inch plywood. They’re not great close-up, but at 20 feet up you can’t see details. You probably wouldn’t have even known they weren’t metal brackets If I hadn’t shown you this picture. 🙂
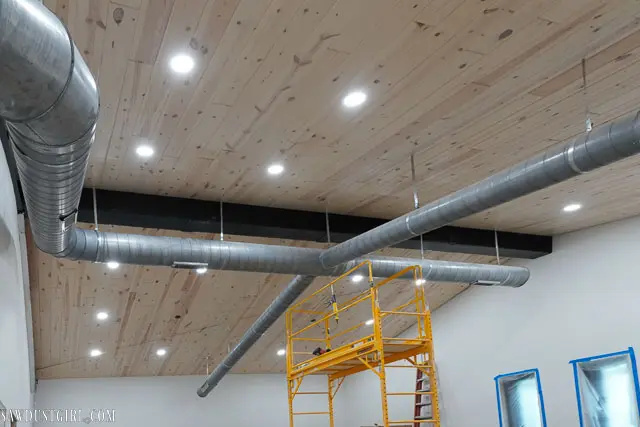
I still have to trim out the other half of the ceiling, AND paint the other half of the metal beam, but then the ceiling will be done!

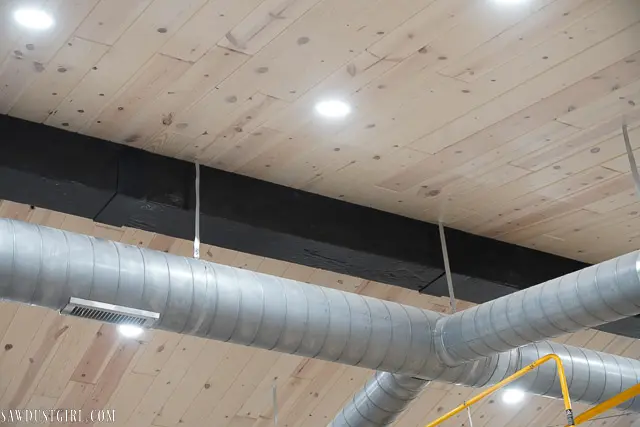
I’m happy with how my giant faux beam turned out and even more happy that I can cross it off the list as “done”.


That beam looks amazing! One of the best faux beams I have seen. You are right, I would not have realized those weren’t metal brackets.
Can’t wait to see more!
I love that you do these things. My dad died when I was 6 and my mother was extremely capable. Valedictorian high school and college. Worked in an industrial plant during the war. When I interviewed women for my business I was expecting all women to be as capable as my mother! I learned that was not the case.
Besides congratulating you for what you do I wanted to pass along a tip. I’m a professional photographer and was given this tip by a professional set builder for the auto industry. We had lunch and I was planning a prom set and asked this guy for set building tips. The theme was ‘dock side’ and he suggested using concrete forming tubes to make pier tieup posts. He said cover them with automotive bondo, then wrap with Saran wrap to form the bondo before it hardens. After it sets, peel off the Saran wrap and paint. Worked very well.
Anyway, if you haven’t worked with bondo, keep it in mind.
Thanks James. I’m assuming the Bondo and plastic wrap was to create a smooth steel looking item. Great tip. I almost kept messing with those faux brackets to hide the wood grain but I’ve been working hard at forcing myself to embrace the imperfections. Imperfections but not total crappiness. LOL
Great progress! Like reading a good novel with a new twist coming in the next chapter. I always liked the plot where the hero is left dangling off the ceiling and at the last moment – the beams are cut to equal lengths – and “poof” a new adventure begins… : )
LOL. I’m not sure if you’re throwing shade at me for not including a photo of Terry with the circular saw, cutting off a couple feet of each section or not. 🙂 But I’m taking it as a compliment because it took me over two weeks to finish writing the post after combing through footage for relevant screen shots to explain. LOL
SO freakin’ impressive! I’m very proud of you girl!
The beam and faux steel hangers look great. Definitely giving me ideas for my 14′ flat ceiling. Can’t imagine doing all that without a lift.