Bookshelf Base Cabinet With Door – Robin Collection
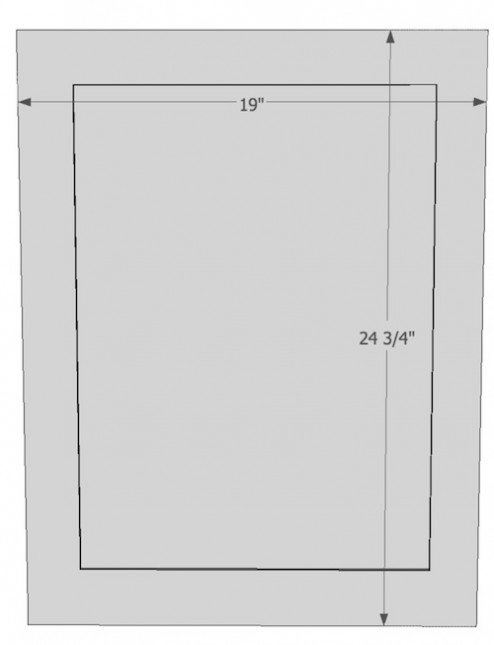
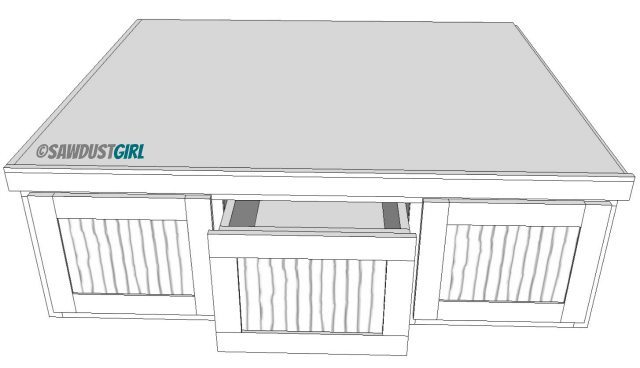
Today I’m sharing the plans for the bookshelf base that flanks the window seat bench in Robin’s playroom. Robin did not build the doors for these base cabinets but the door dimensions are included here in this post.
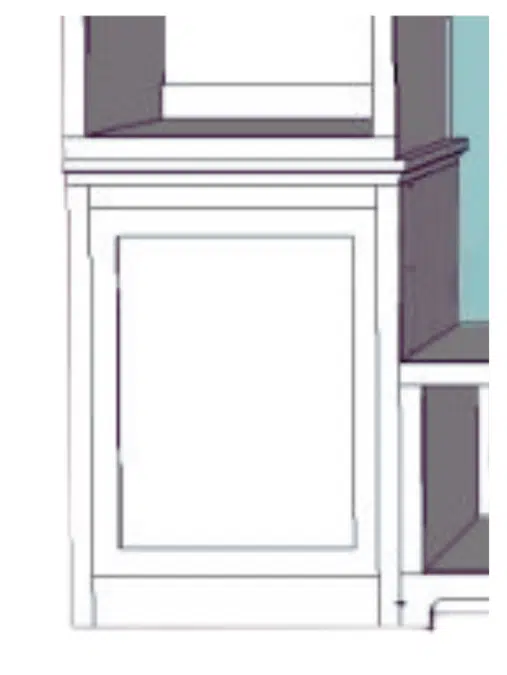
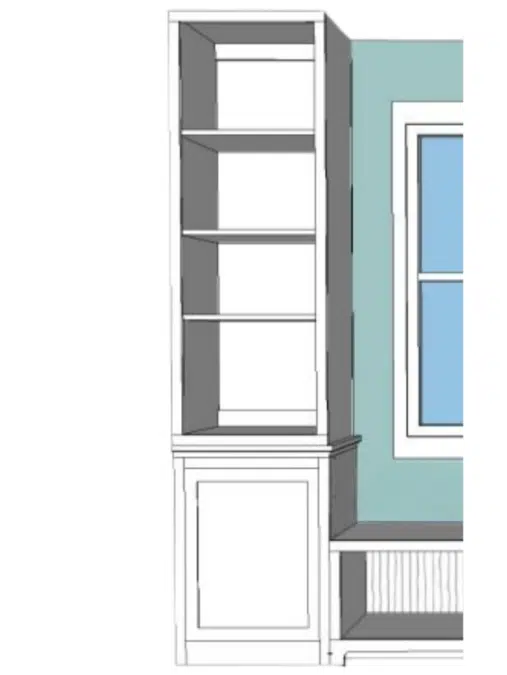
Robin Collection – Bookshelf Base Cabinet with Door
Materials
- 3/4″ plywood
- 1 3/4″ wood screws
- 1×2 and 1×3 Poplar
- 1 1/4″ pocket screws
Step 1 – Build Base
- Use wood screws to build base.
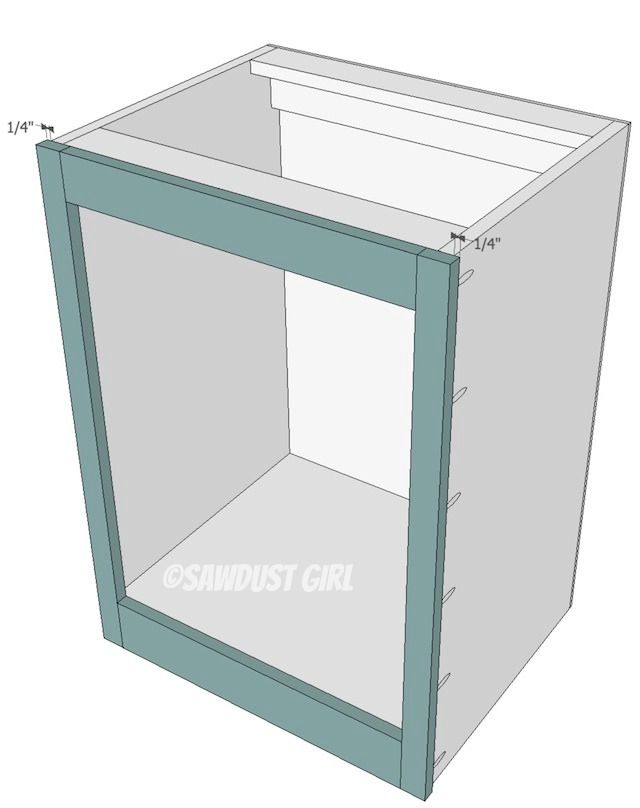
- The face frame will leave room to add 1/4″ side panel which will hide screws
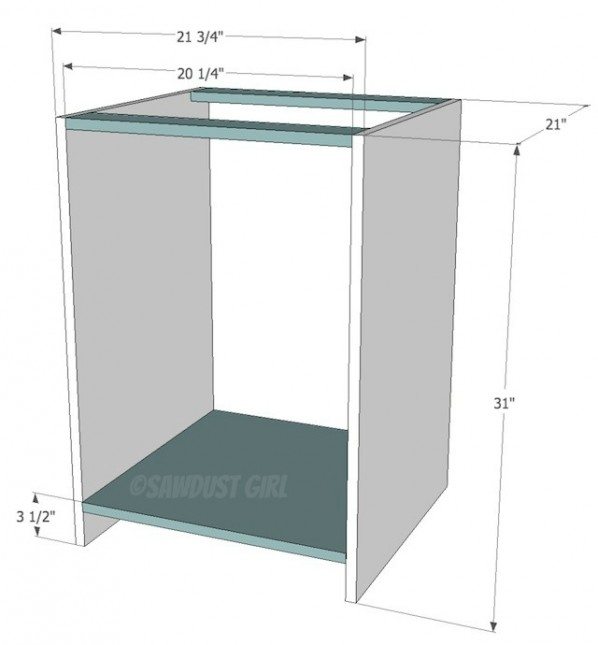
Step 2 – add back cleat (plywood)
- Use pocket hole screws on back to attach
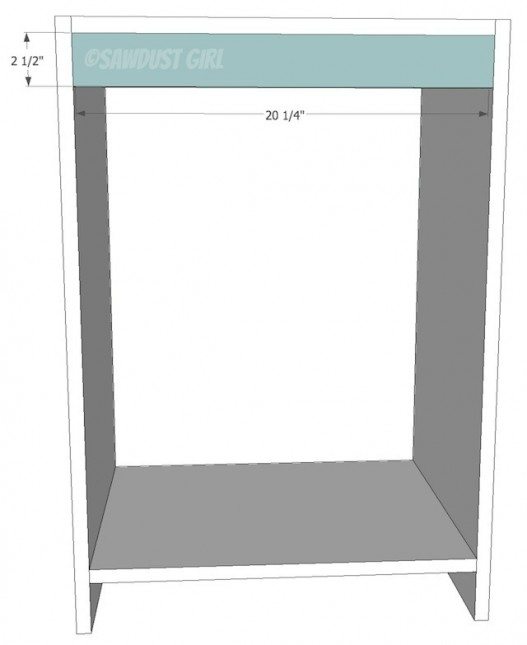
Step 3 — Attach back
- Square up and staple, nail or screw through back into sides, cleats and bottom shelf.
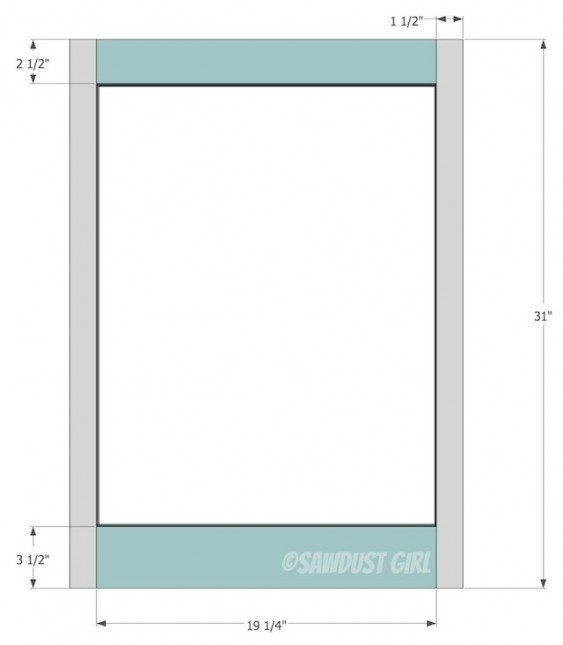
Step 4: Faceframe Option 1
- Option 1 takes face frame all the way to the floor so you can take your baseboard over it. Adjust bottom shelf and bottom face frame rail so they are above your baseboard.
- Build and attach with pocket hole screws
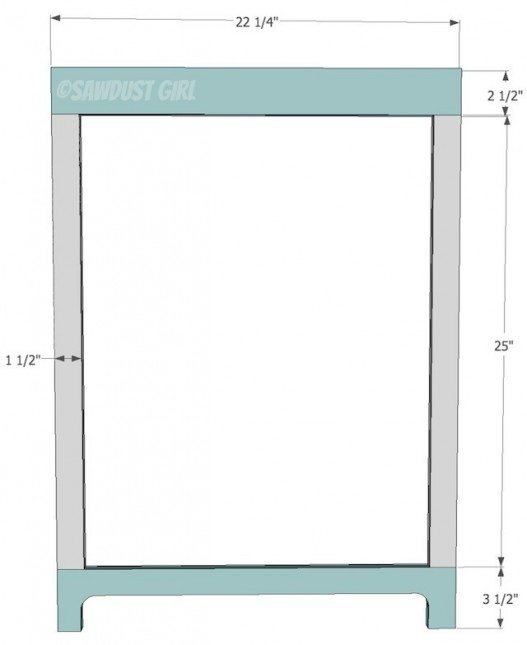
Step 4: Faceframe Option 2
- Option 2 is allows for a kick plate which could house a vent if you happen to have one in the location where this bookshelf will sit.
- Use pocket hole screws to build and attach
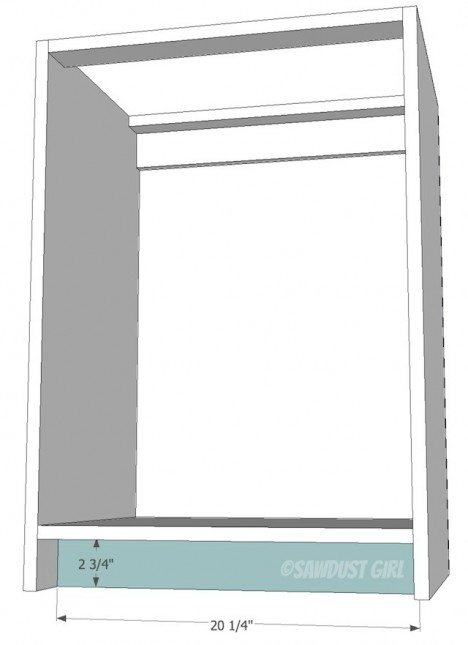
Step 5: Attach side panel, top and molding
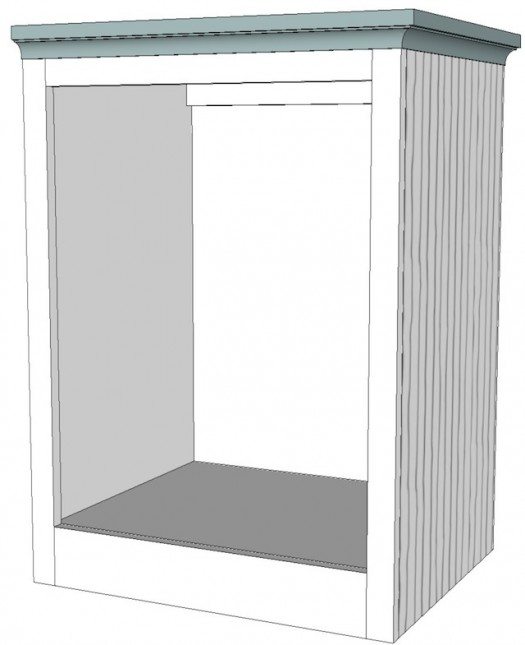
- If the bookshelf sits against a wall, cover the visible side with a 1/4″ panel and butt the molding against the wall.
- If using a cove molding or another molding under the top, you’ll want to pick out that molding before cutting your top piece. You’ll want to make sure the top is cut large enough to cover the top surface of your specific molding.
- Choose a top: if using plywood, you’ll want to cover the edge of the plywood with a 3/4″ thick molding. If using MDF the edge can look good painted if you sand well.
Step 6: Door
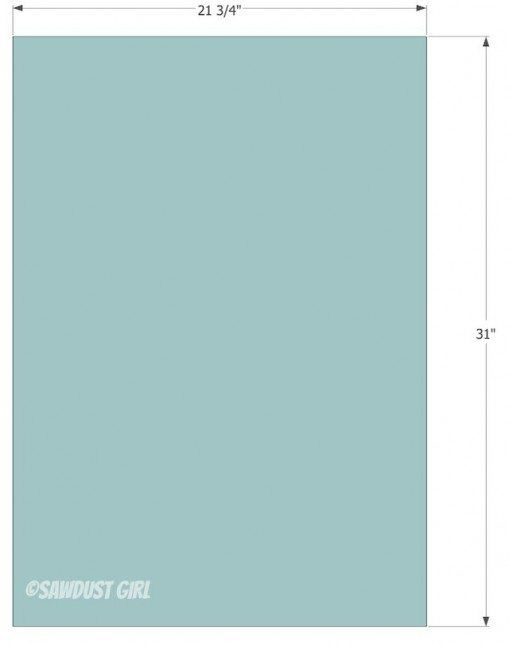
- Use Door Building Tutorial to build door to these dimensions
Additional recourses: Check out my Cabinet Building tutorial library, see the rest of the Robin Collection and read all of Robin’s project posts.

Do you “BUILD” these? And if Sooo… How do I get a quote?
I want a quote JUST LIKE the pic… I can provide measurements…
Thanks
Bruce Petty
No I don’t currently build custom built-ins for others. I just provide tutorials and plans so others’ can build their own.
What are the dimensions for the base top and what kind of wood is it (it looks different from the plywood)? That’s not covered in the plan. Looks great and I hope mine comes out looking as good.
James you’ll have to size your top piece depending on what kind of moulding you choose (if any) to use under the top. You can use MDF or plywood for the top. If plywood you’ll probably want to cover edges with moulding.
I love this whole thing I so need to make this for my office. Thank you for sharing.
Lori Ann