Bathroom Vanity Progress
I’ve been building tons of cabinets for the jack and jill bathroom . The bathroom vanity is five cabinets joined together into one giant beast. Hoisting that up onto the base by myself was a chore. Especially since I’m still not back to 100% good health. My respiratory virus has somehow developed into asthma. At least it wasn’t pneumonia!
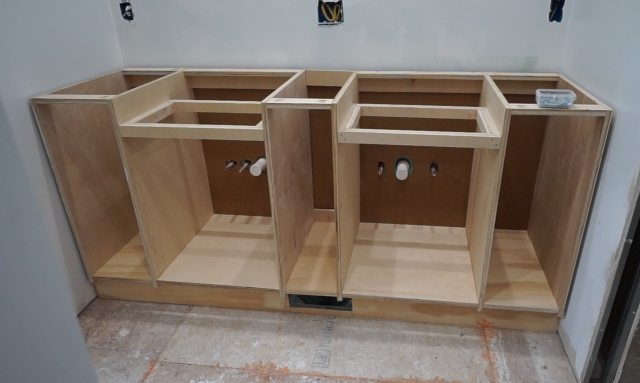
Building a Bathroom vanity
Anyway… My baseboards are 5 1/4″ tall so I’m building my cabinet bases out of 2×6’s. I built around the toe-kick vent.
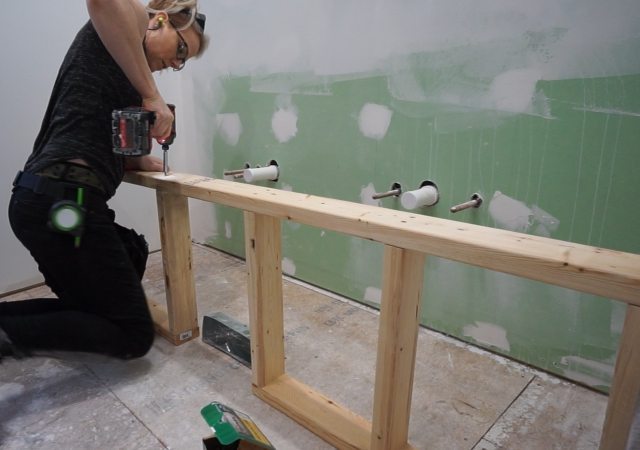
I’m installing the floors later so they’ll end up covering 3/4″ of the toekick so I added 3/4″ scrap wood on top of my 2×6 base so I could lift the vent up enough to not have the floor cover part of the vent grille. Sometimes I catch things and plan ahead. Sometimes I don’t and then have to figure out how to make it work — later when I find that I didn’t plan well. We’ll see it all turns out after the floors are in. I think it will.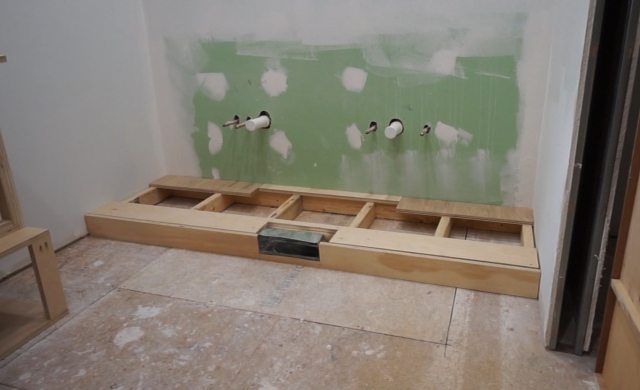
I designed my sink cabinets and built one of them to test out with the sink before I built the second one.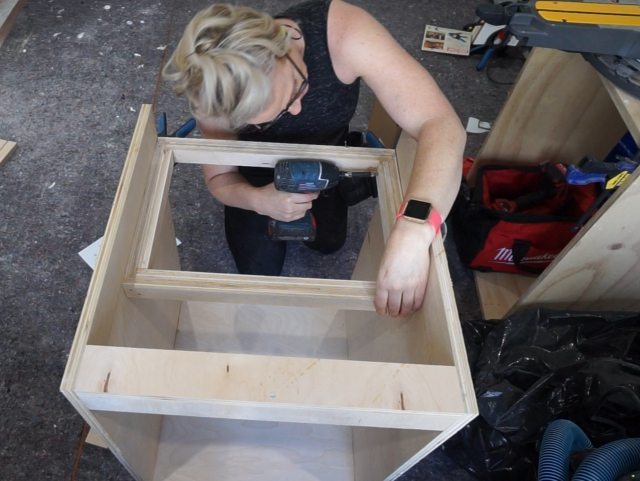
Installing bathroom vanity
I want my farmhouse sink to sit above the countertop which is not what you typically see. Normally, you see farmhouse sinks sitting flush or below the countertop. Being able to try things out and change my mind at any point is what I love about being 100% in control of my projects. I sometimes visualize something in my head but don’t like it when I see the actual reality. In this case, I like it as much in reality as I did in my head so I’m going for it.
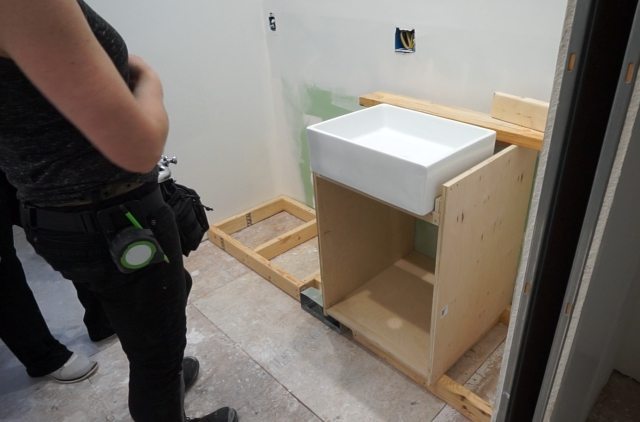
I built the second sink cabinet and set them in place to determine their exact placement. I went back and forth here. Getting the dimensions just right is super important. If I moved the sinks too far apart or too close together, even by 1″, it changed the look and feel of the whole configuration. (The rest of the configuration was just in my head at this point but these two cabinets were enough for me to get the visual realization I needed to progress.) 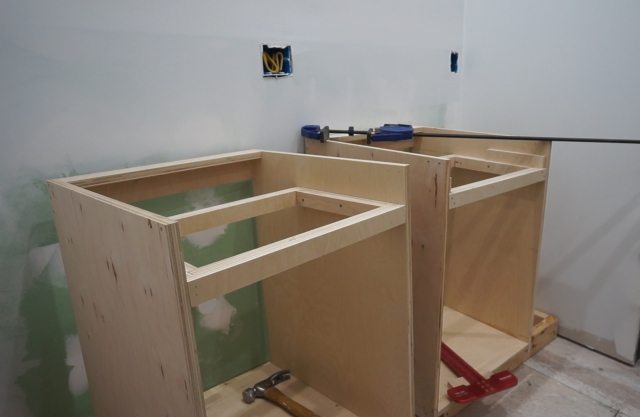
The bathroom vanity side cabinets are only 12″ wide and are attached with pocket hole screws to the side of the sink cabinets. (I didn’t originally use that approach but ended up taking apart the first ones I built and going this route. Watch the video updates if you want further explanation on that. Explaining my poor planning mistakes makes me tired and upset so I’ve already moved on and forgot the reasoning. Kinda.)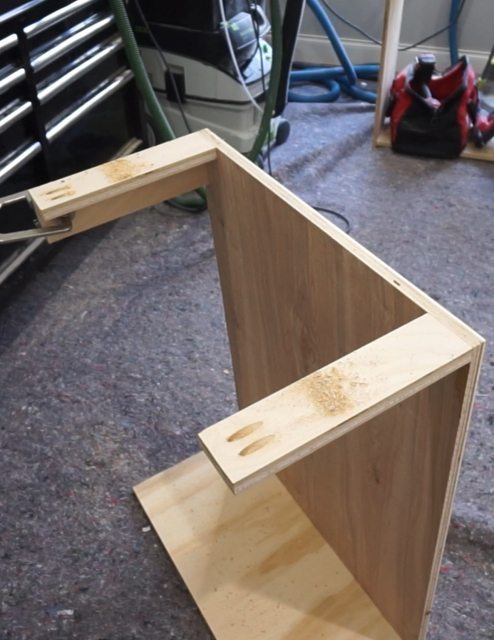
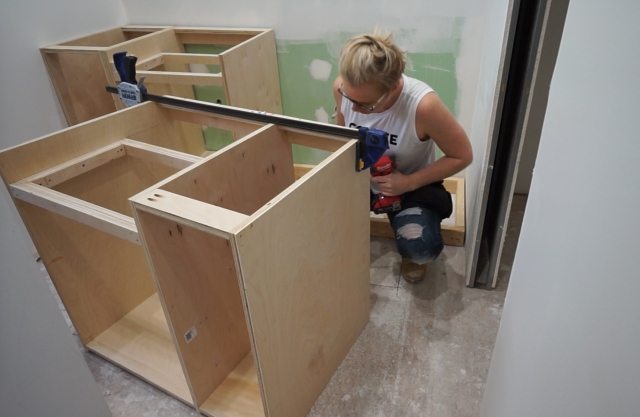
I cut the holes for the pipes and drains. I actually did this before I decided I needed to raise the base with the 3/4″ scrap wood so I had to cut the holes bigger in the end and it ended up looking very sloppy and poorly planned. So I don’t want to talk about that any more. 😀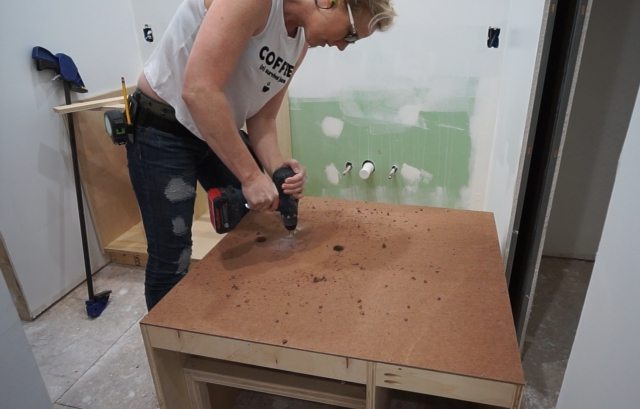
The center section is simply a bottom, two back cleats and one top cleat, attached to the two sink cabinets with pocket hole screws.
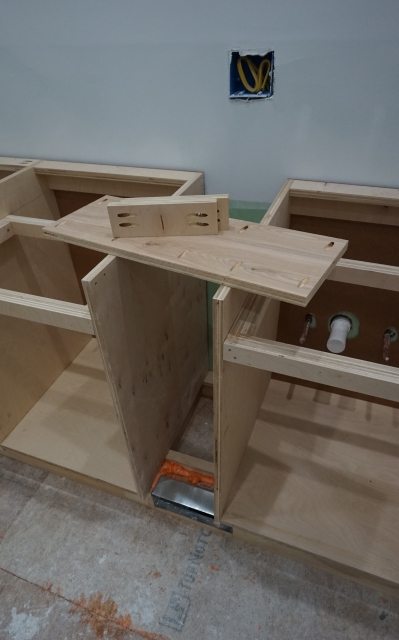
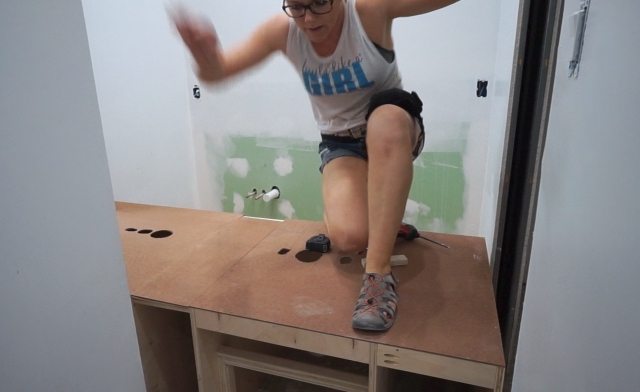
Attaching the center section created one large vanity cabinet which filled the entire width of the room. I had to climb over the vanity about 12 times to complete the task. I needed clamps to pull everything together. Then I needed flush trim pliers to cut a rogue nail… It was fun.
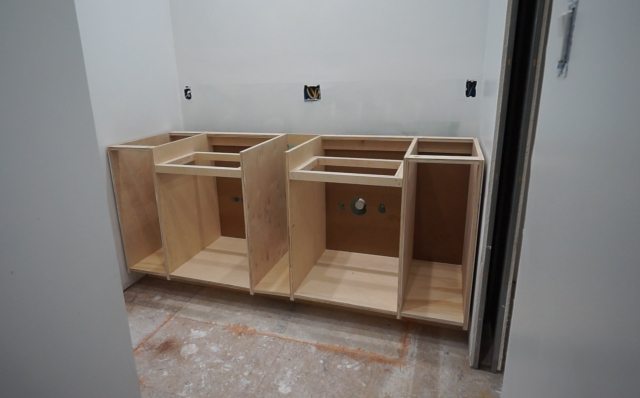
I put the top, front cleat on last (because I forgot about it until the whole vanity was in place). It’s all good in the hood.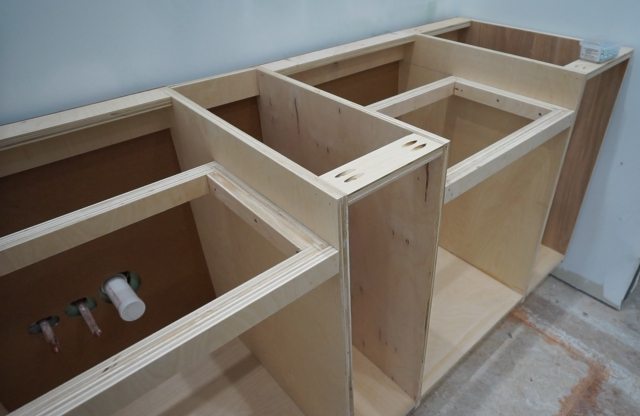
Seriously not my favorite method for building a honking piece of cabinetry but sometimes you have to roll with the circumstances and make it work.
See you soon!


Oh Sandra, How I envy you. I miss building. I had my first baby a year ago and I have not any time to do real building. Only repairs around the house and baby gates. My sink broke in my master bathroom and this post has encouraged me to rip out the Kraftmaid vanity and build a new custom one in it’s place. I’ll email you photos whenever I finish cause lord knows there is no time for me to blog about it.
I really like the idea of the vent opening. The Jack and Jill bath is looking good. The cabinets look good and sturdy. Keep up the good work . My wife and I are anxious to see the finished product. Hope your feeling better soon. REMEMBER chicken soup heals every ailment.
Thanks Joe. I’m really looking forward to see the finished product too. 😀 Hopefully really soon.
Hi Sandra,
I love reading your posts and seeing what you do. I so want to do what you do, but have never tried. You make me think that maybe I could do something, someday.
I am responding to you regarding your respiratory issue. We discovered a cough syrup that is natural that works like nothing we ever heard of before. My mom actually found it while in Bulgaria for my brother’s wedding like 15 years ago. She had chronic bronchitis and also developed asthma in her 50s. Every 2 years the pulmonary specialist would do a brochoscopy to get the gunk out of her lungs. After getting sick again following my brother’s wedding she was introduced to an ivy leaf extract cough syrup. Initially she did not think it would help. But she took it and was amazed that it did help a lot. In over 15 years she has never had another brochoscopy. Her pulmonary specialist said, after 2 years, that her lungs looked the best he had ever seen them. We tell all our friends about how this helped us. I give it to my children as soon as they have any respiratory symptoms. You can order it online to save money (I use Swansonsvitamins.com) but the health food stores should carry it. I use Enzymatic Therapy’s brand (which is all that I see that is sold in the US that is an ivy leaf extract) Bronchial Soothe. Get several bottles because you have to keep taking it for a while. If you have any questions email me. BTW, we don’t sell this or make any profit from it. I just wanted to let you know about something that has helped our family.
I will definitely try it. I just ordered some other herbs and supplements that someone else recommended too. I much prefer natural remedies to more and more medicines that cause other issues…