Bathroom Renovation Update – part 7
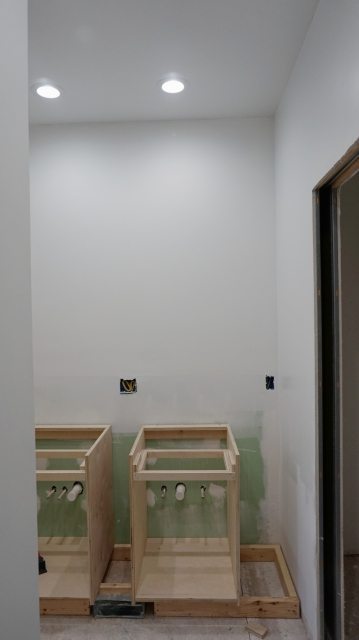 Hi guys! Life has been a bit crazy since my last post, 6 weeks ago. I’ve been working on my bathroom renovation but I’ve not been functioning at 100%. Long story short…
First, I had some excruciating pain in my abdomen that resulted in a trip to the ER. (I’ve been having similar pain for the last several months -but this was the worst.) I then had follow up appointments with a GI specialist and a GYN. We think ovarian cysts are the culprit of the pain. We seem to be managing that since I have not had a recurrence in the last 6 weeks.
About a week later I get the respiratory virus crap that’s been going around. Lasts a couple weeks. Teases you by getting better and then getting worse. Then going away and then coming back… I went to the doctor last week, convinced that I had bronchitis or pneumonia. Doc said my lungs were fine and the virus just had to run it’s course. I’ve still got a croupy cough that hurts my lungs, and I sill think I must have bronchitis or pneumonia. But the doc said my lungs were fine!
Anyway, remember where I left you 6 weeks ago? I found moldy sheetrock in the attic below a vent stack. Here’s what I’ve done since then, when I’ve felt good enough to get things done.
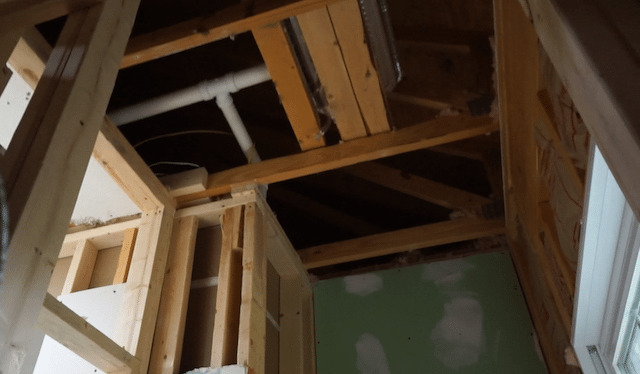 I covered the leaky vent stack with a $3 Rain Collar. Simply slide it over the existing boot and you’re done! The fix was 100 times easier than I was expecting it to be. I left a disposable tin pan under the vent stack (in the attic) just in case this setup ever fails. The water evaporates from the pan and the drywall never gets wet. I’ve put pans under the other two vent stacks in my attic also. Just in case!
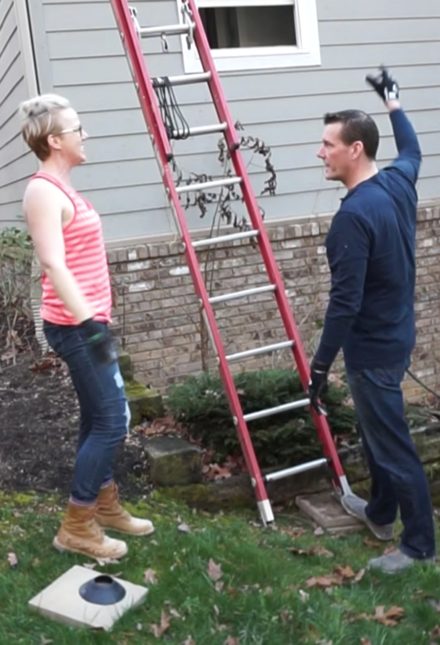
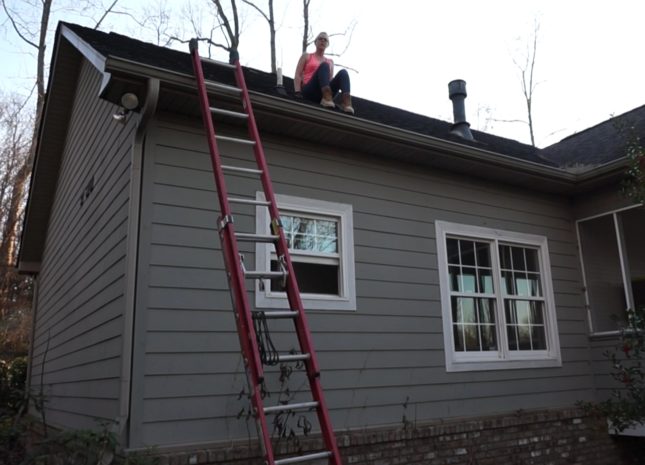 The hardest part of that job was maneuvering on the steep roof and getting from the roof to the ladder. Wes’ job is always to hold the ladder and break my fall if anything goes wrong. So far so good!
After finishing that whole “detour project”, I finally finished installing the rest of the sheetrock.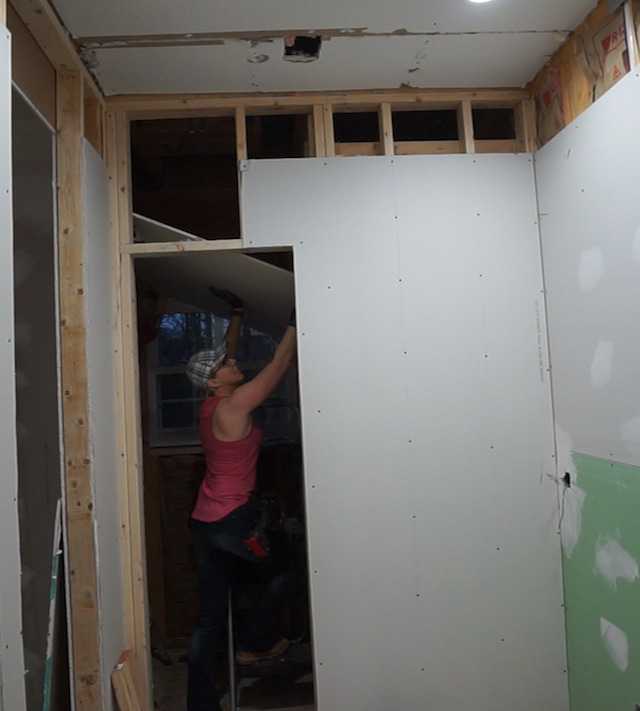
And then my favorite part — mudding! (NOT) I covered the screws and taped and mudded all the new joints. The ceiling required additional reinforcement because it has so many broken parts, holes, patches and seams. (Because I left the sheetrock on the ceiling while I completely reconfigured the space. I patched the areas where the walls and pipes had previously existed so it was pretty messed up. See picture above.)
I covered the entire ceiling with 36″ wide, FibaFuse reinforcement fabric. 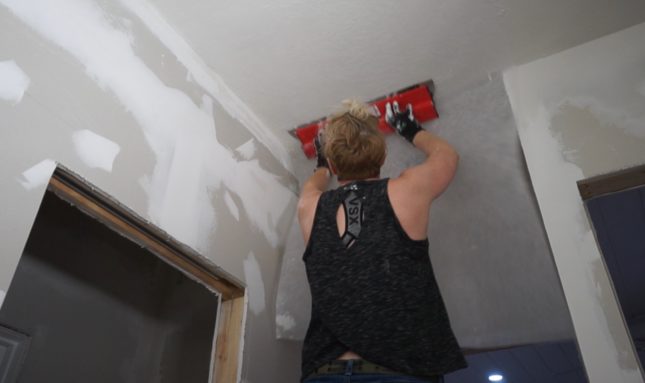
You definitely want to wear nitrile gloves when you use FibaFuse tape because the fiberglass shards are sharp! I applied the reinforcement fabric with thinned joint compound. Roll it on the ceiling with a paint roller and then press the fabric into the compound with a trowel.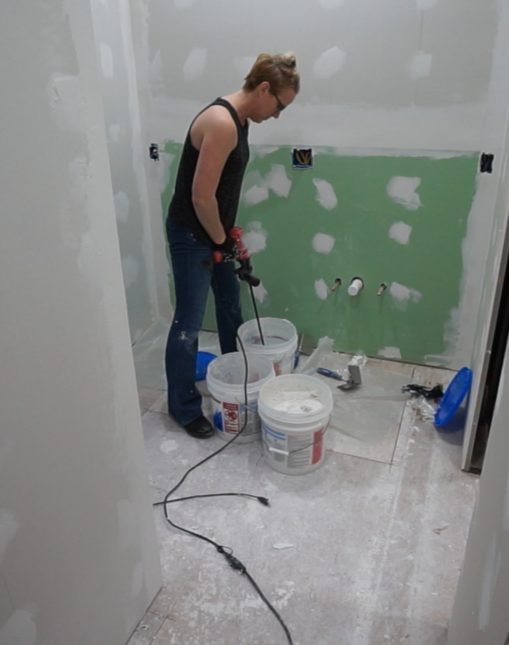
I find rolling it on is the easiest way to apply large amounts of joint compound quickly. Like when you’re skim coating over textured walls.
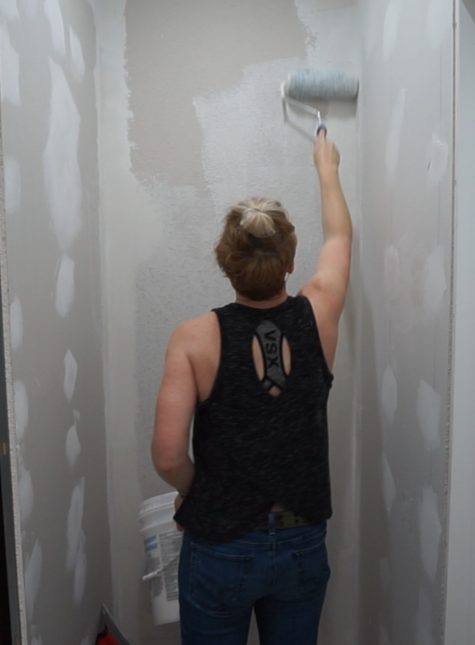
I used a 24″ smoothing blade to skim coat the textured walls that remained from the existing bathroom and to apply the reinforcement to the ceiling.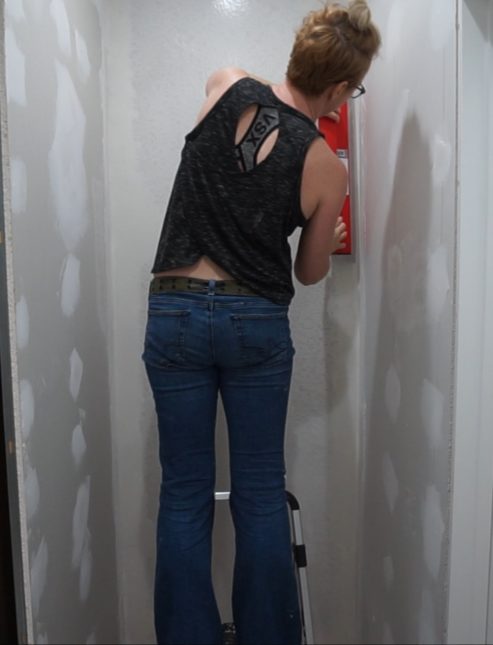
Then I had to sand. Because I go room by room and do all my own drywall work, I finally invested in a Festool drywall sander. Expensive and heavy – but works!
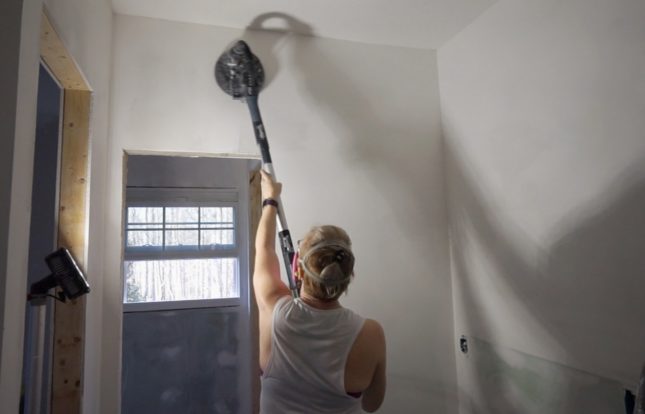
I did a little more sanding with a hand sponge and looked for any and every imperfection I could find. I used spackling past on a few spots and then sanded again.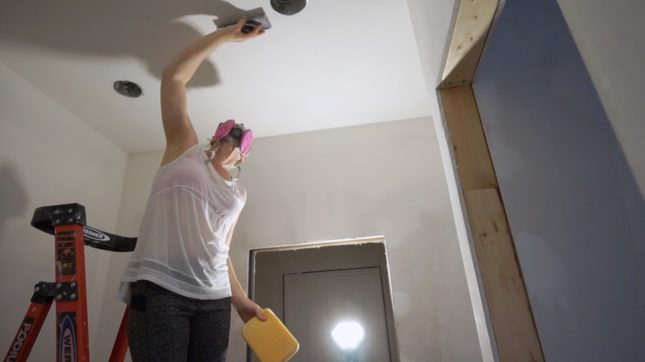
I vacuumed the walls and the ceiling to get any dust that was left, and then I primed.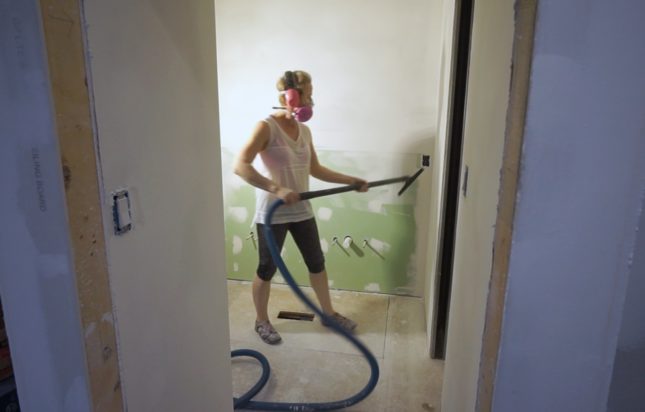
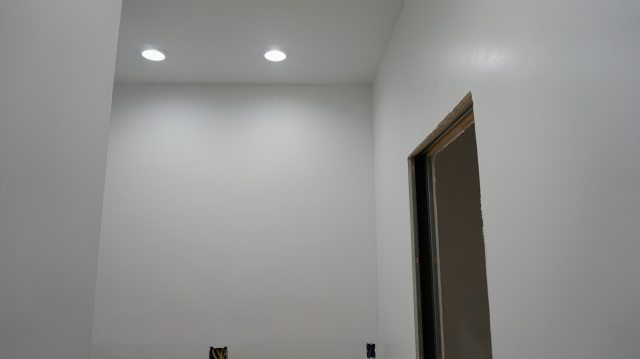
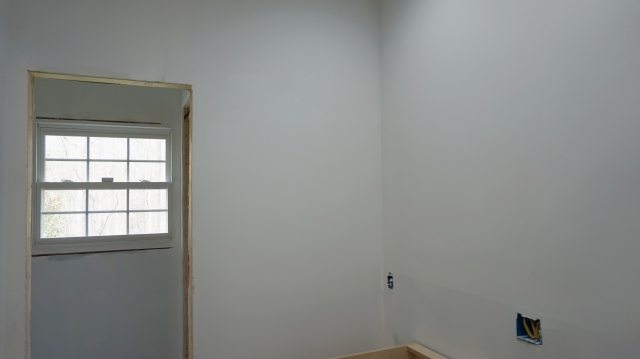 I also painted the ceilings. The walls are only primed because I am not deciding what I want to do with them yet. I wanted all options open. They may end up getting covered with wainscot, but I also may end up painting them. So they need to be paint ready if that’s what I decide.
I’m building the cabinets now and that’s what we’ll talk about in the next update. Hopefully “life” will cooperate and let me WORK. I’m not good at multi-tasking so all these interruptions in my project are causing me some major irritation. LOL


Whew, glad to hear that.
What paint and primer do you use for your ceiling?