Arch enemies
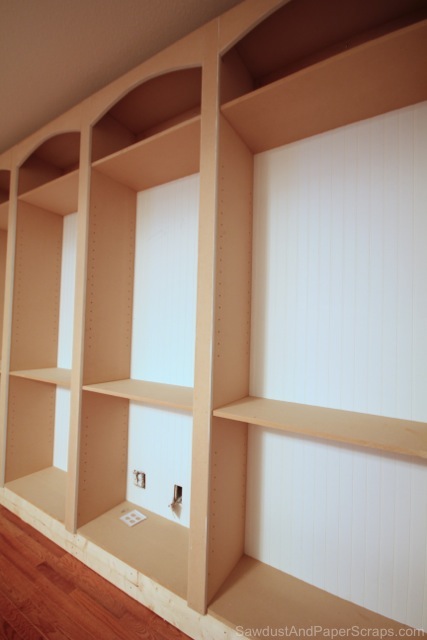
Arches aren’t really my enemies. They used to be but I think I’ve finally gotten the better of them and now I’ll take on a more charitable attitude towards them. Oh those cute little darlings.
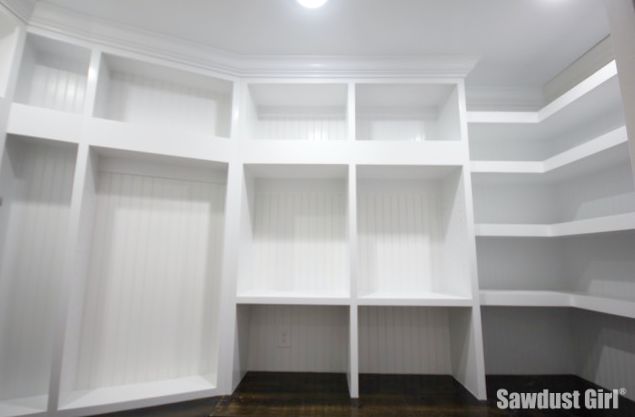
I’m SUPER DUPER excited about how my bookshelves are coming along! I know some of you want a tutorial. I’ve been working on this room for about 3 weeks and it is way too involved for me to write a quick tutorial on how to slap up custom built-ins in one post. I can share the steps that went into building my library bookshelves. Maybe it will help guide your project.
Steps to building custom Built-In bookshelves.
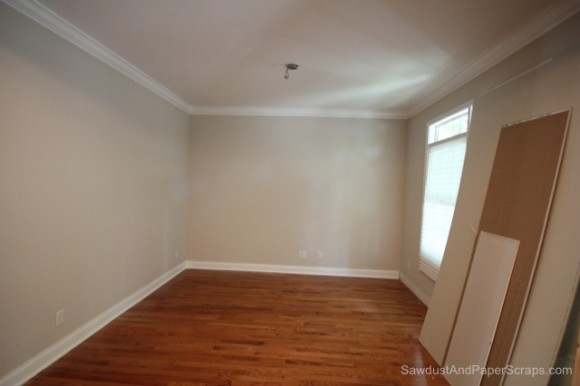
1. Stare at your empty room. (If your room is full of junk, empty it — then stare at it.)
2. Visualize your room as you want it to be. You might imagine 6 different possibilities. Pick the one that you like the best. (If you are having trouble visualizing, go to Pinterst or Google and search for images that inspire you.)
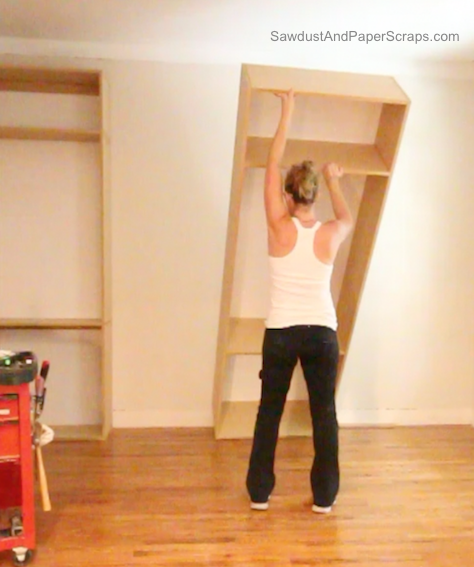
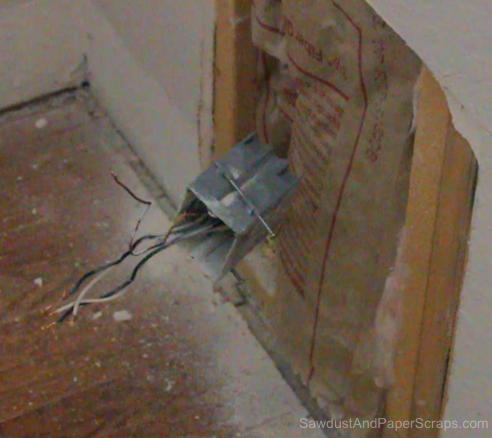

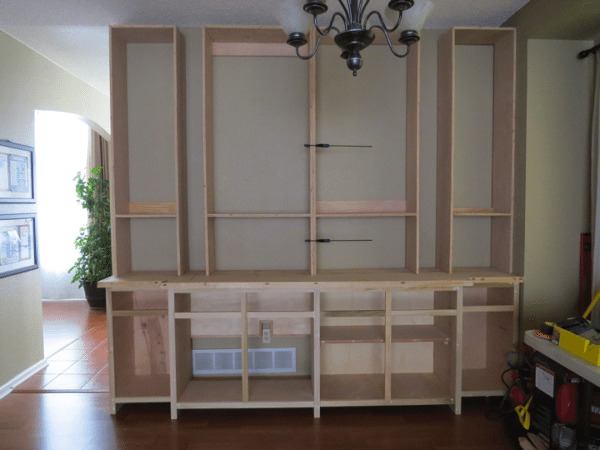
Build a base.
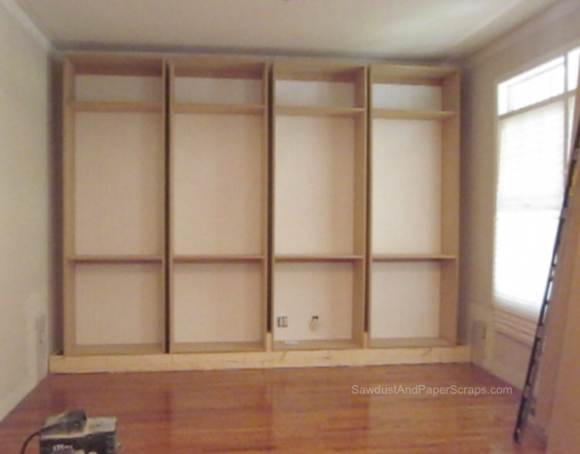
Get all your bookshelves spaced evenly according to your vision and secure them to the wall.
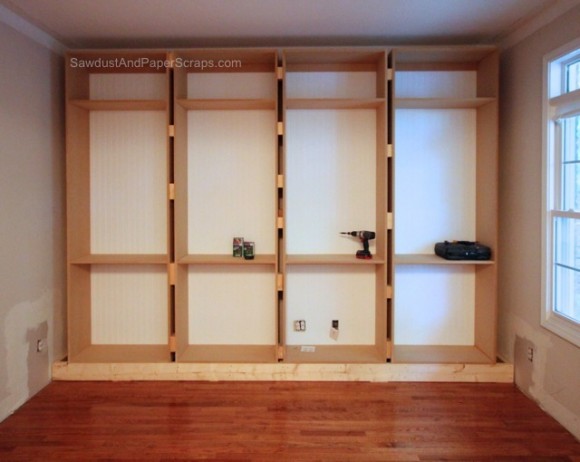
Attach face frames.
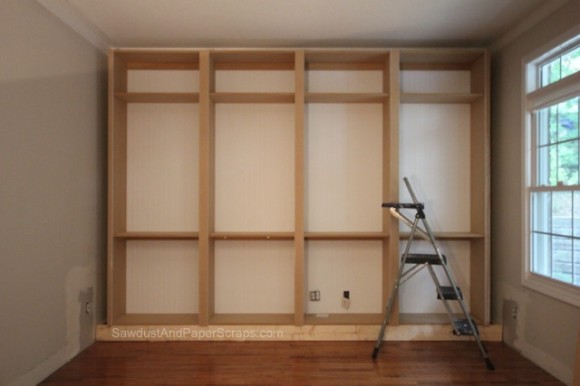
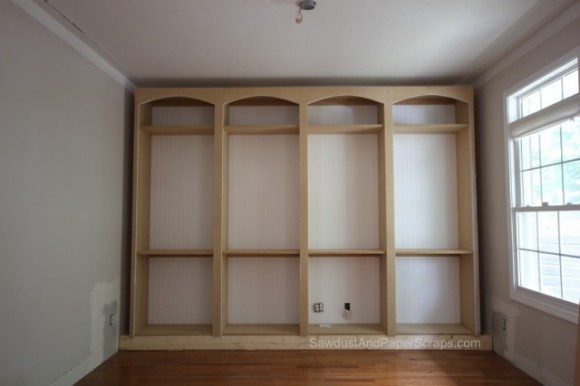 And then keep adding more and more details until you achieve your vision.Did that help?
If you have specific questions regarding any of these steps, or built ins in general, leave them in the comments and I’ll see if I know the answer. If I do, I’ll share.
Cheers
Love, love, LOVE the site! I’m thrilled to find someone with the same interests, although you’ve clearly kicked it up a thousand notches! My questions for you are: Did you use MDF for the shelves, too, and what would you say the longest span is that you’d want for a shelf (before it would tend to readily bow) before you should just build another bookcase?
Thanks so much!
Hi,
Great job! Few questions for you.
1. How did you attach to the wall? Just through the top stretcher?
2. How did you join the cabs together? Did you screw into your spacer blocks? If so, how do you hide the screws? just paint over?
3. Would you recommend using MDF or real wood for the face frames (with no doors)? Does the MDF chip after a while or does the paint stay on well?
4. If weight is not an issue (I will have help) would you recommend MDF or plywood?
5. If I use plywood, can I use the cheaper “sanded” or should I just pay the premium and go with birch?
Thanks, LOVE this site!
Hi Sandra!
I’m helping a friend so some built-ins for her home office… How much space do you recommend leaving between the top of the bookcases and the ceiling if you plan to trim in with crown moulding? And how much space do you recommend between each case? Thanks so much! Your work is amazing. And inspiring!
Well I’d measure how far the crown comes down the wall when it’s in place at the proper angle. Then make sure your faceframe goes up an inch or two higher than the bottom of the crown so you have something to nail the crown onto.
As far as in between the cabinets? That’s a matter of preference. Whatever you want. If you want the cabinets to but up next to each other then you could do a 2″ faceframe. Or, you could leave some space between the cabinets if you want wider faceframes. I’ve done it both ways. It’s just a whatever then end look that you are going for decision. You could do it 10 different ways.