Tiling the Shower – Bathroom Update
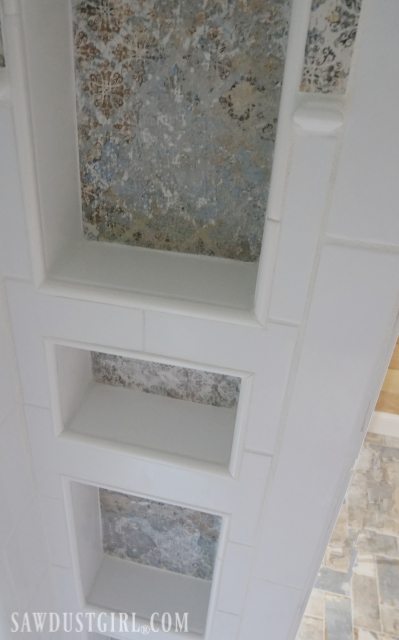
I was looking forward to tiling the shower after installing the shower pan and waterproof shower wall board. I thought it would take a day or two. It might have –except for the fact that I installed 100 niches! Madison is really excited about all the storage in those niches though! No more shampoo bottles, soap, razors, other shampoo bottles and lots of other stuff that I doubt she even uses but won’t throw away…on the floor!
Tiling the Shower
I started by creating a ledger line with my laser level, one tile width up from the shower floor. If you want you can use a piece of scrap wood on this line to rest your tile on. I was doing such a small space I just propped tile up on pieces of scrap tile. If you start the tile at the floor edge you will end up with wonky looking layout, as shower floors are sloped so that the water will drain. Using a ledger line gives you a level starting point, then when the tile is dry go back and cut the bottom row of tile to fit.
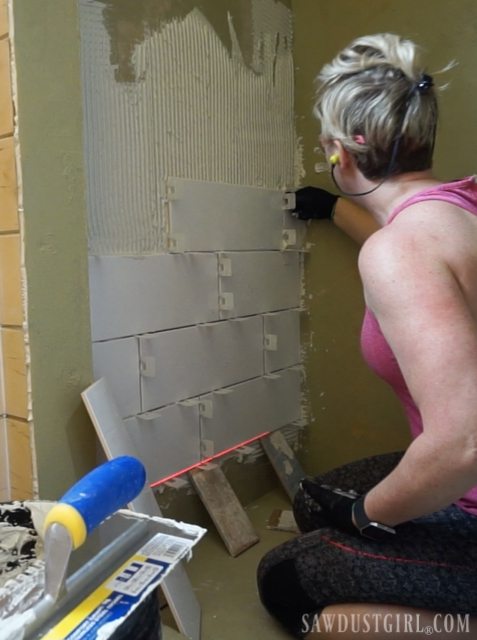
I used is a large format subway, 6″ x 18″. I was concerned that keeping the edges even might be a challenge so decided to use leveling spacers to prevent lippage.
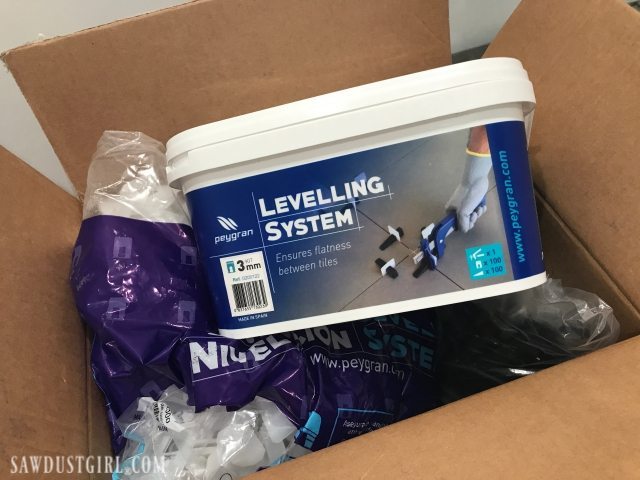
I spread mortar on the wall in a smallish section. The leveling spacers have a white T shaped spacer, with a portion that goes under the tile and a piece that sticks up between the tile. The spacers pull the tile off of the wall a bit, so I spread mortar on the wall, and skim the back of each tile to make sure that the tile was well adhered to the walls.
Once you have a section tiled, you insert the leveler (black triangle piece) into the white spacer and then use a tool that pushes the the leveler through to a preset depth. This keeps all of the tile edges perfectly flat and spaced.
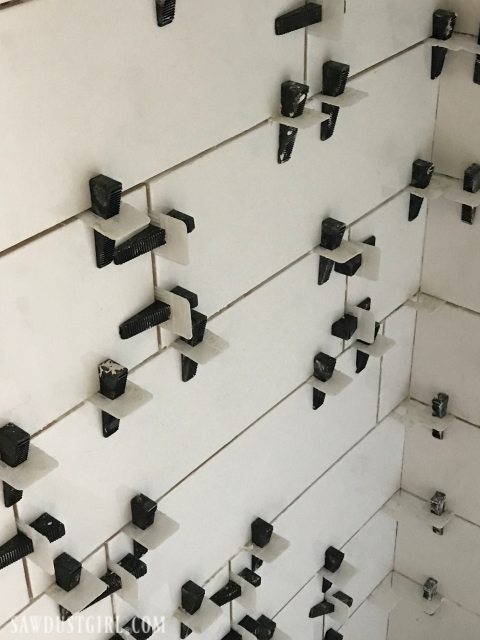
It also led to quite a bit of thinnest squishing up through the grout lines. Normally this is easy to manage, I run a tool through the gout lines and wipe off the tile then place spacers. However, with the leveling spacers it is difficult to do much to clean off the excess mortar until you remove the spacers, which you cannot do until the mortar has dried. I think that if you use these spacers frequently you probably develop a better sense of how much mortar to use. I certainly improved as I progressed though the shower. Though there were sections where the mortar was just messy regardless of how careful I was about application. This made cleanup much more time consuming. My tiles turned out perfectly flat and spaced so I think it was an ok trade off. I would definitely recommend leveling spacers for really large format tiles–for this size and smaller I think it might be faster and easier to just use traditional spacers.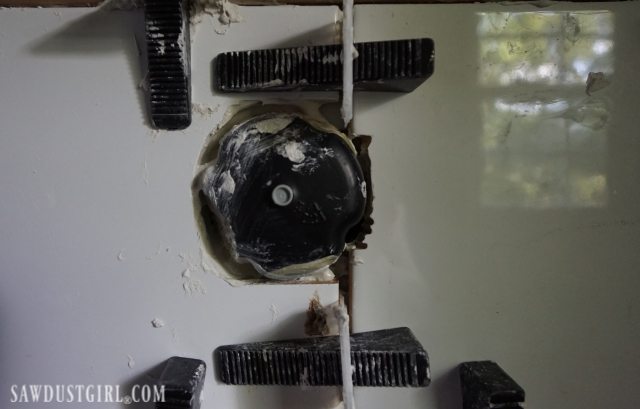
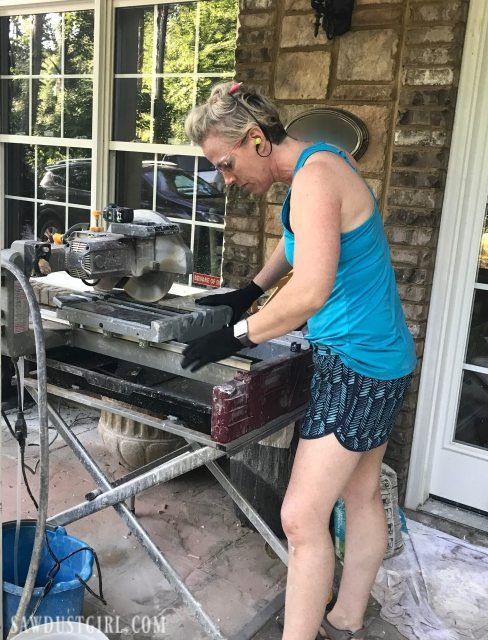
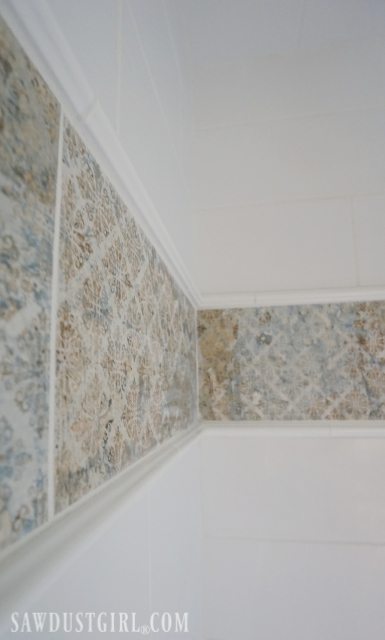
I wanted to add a decorative border so when I had tiled up to about 2/3 of the wall, I added a row of pencil liner tile to create a substantial separation from the field tile.
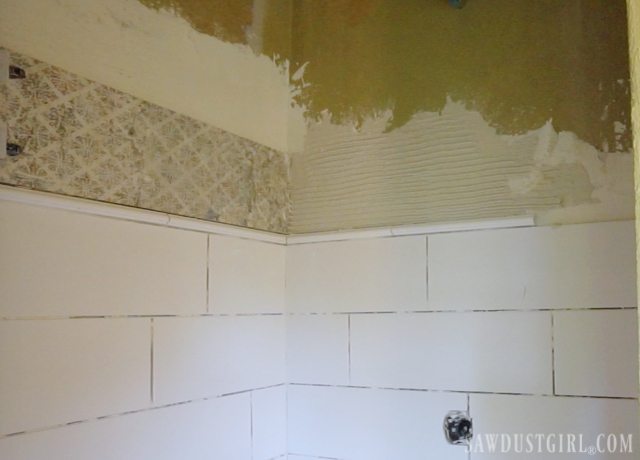
Then I tiled a row of the decorative tile, then another row of the Pencil liner tiles and then continued to the ceiling with the large subway tile.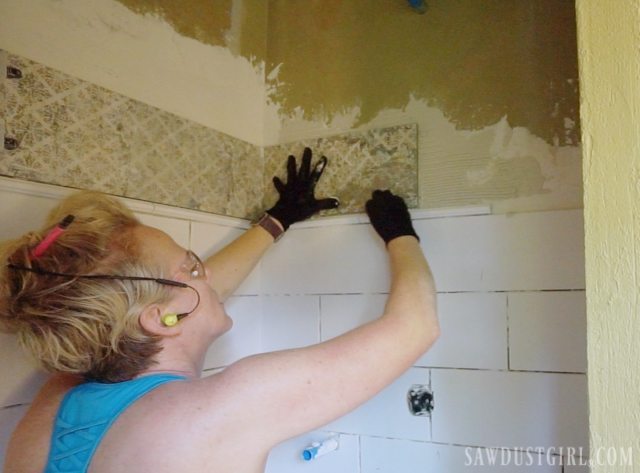
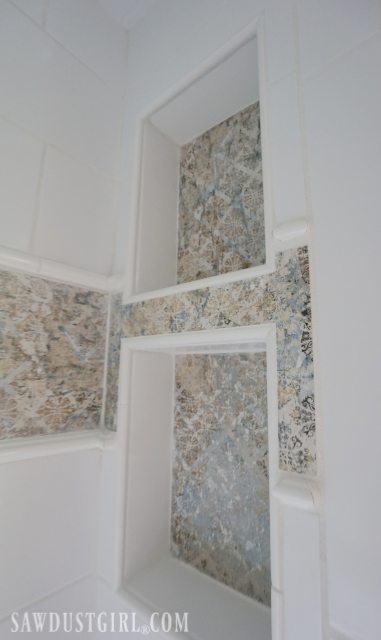
Tiling the niches was a chore. I will never do that many niches again! I cut down my decorative tile to fill the size of the niche backs, then cut my field tile to line the sides of the boxes.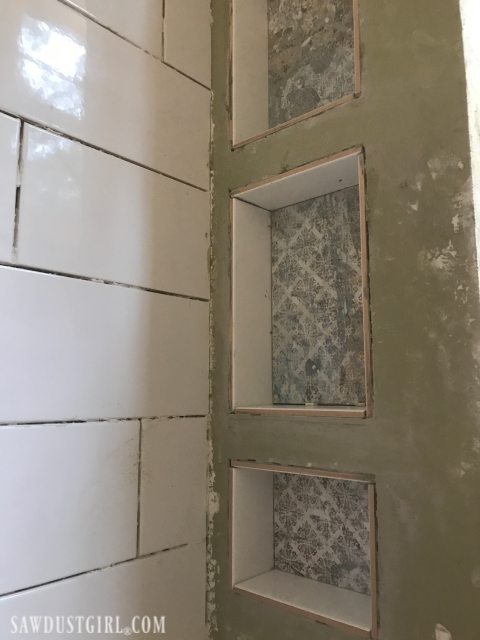
Next I continued the subway pattern across the front of the niches — attempting to leave a uniform reveal around each niche for trim. I attempted uniformity–but after 500,000 hours of tiling the shower, I stopped caring quite as much about “perfection”!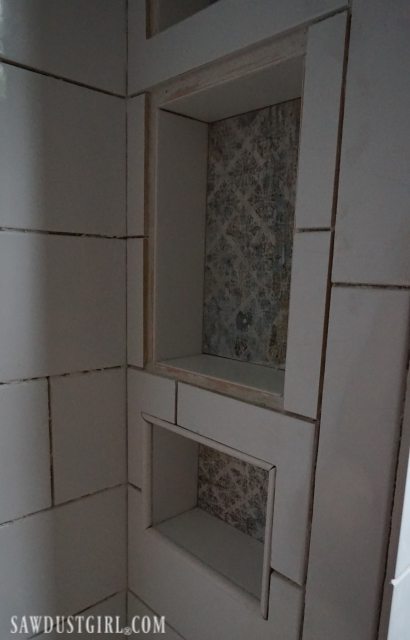
I let Julie take over the shower at this point — because franky my dear, at this point, I don’t have any more damns to give.
SHE cut bullnose trim tile to finish off the niche edges. Installing these trim pieces was a bit tricky as they need to fit flush with tiles on two different planes AND connect with another tile in a nice mitered corner. We mixed the mortar thick, and smeared blobs of it onto the back of each tile.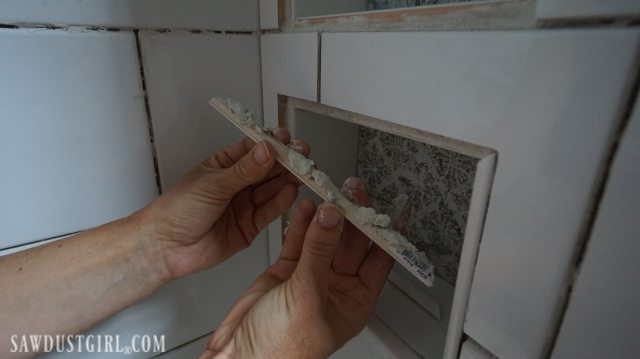
We installed the trim on all 4 sides of the niche, then adjusted, tweaked, and zhuzhed and until it looked as good as we could get them. We cleaned up the grout lines and then walked away, because the temptation to keep fiddling is strong! 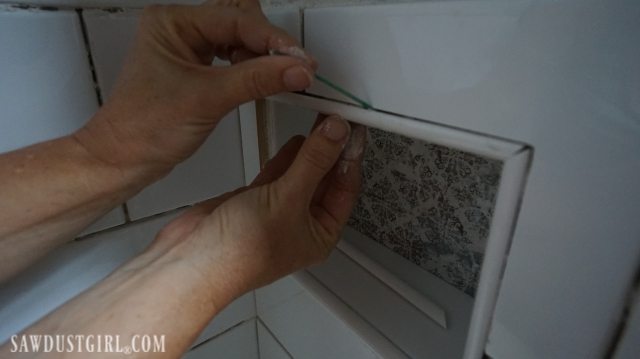
Once grouted, the little imperfections will fade away. Unless you look REALLY closely.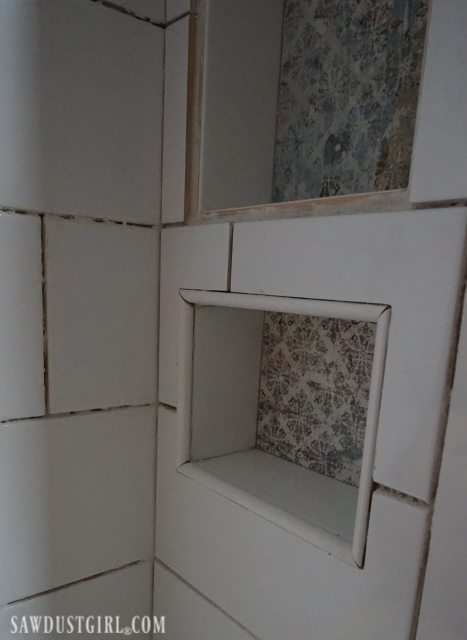
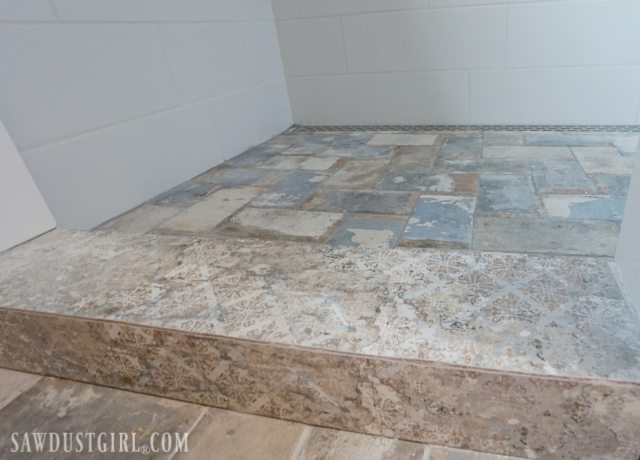
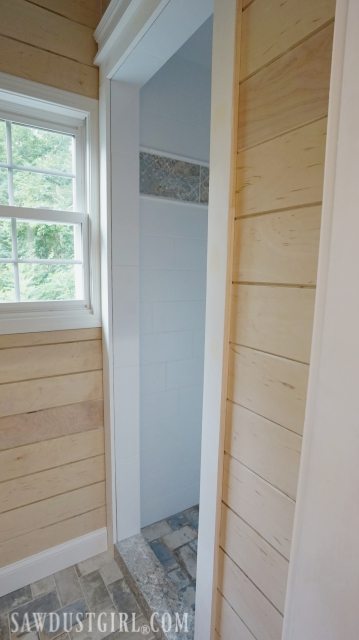
I didn’t want to have grout lines on my threshold, so I cut down one of my decorative pieces to perfectly fit the threshold. Then I started installing the doorway with the only bullnose tile I could find. When materials come in limited sizes the material becomes the boss of the design. That don’t work for me ’cause I’m always the boss!
I didn’t like how patchy that was looking so I pulled it back out.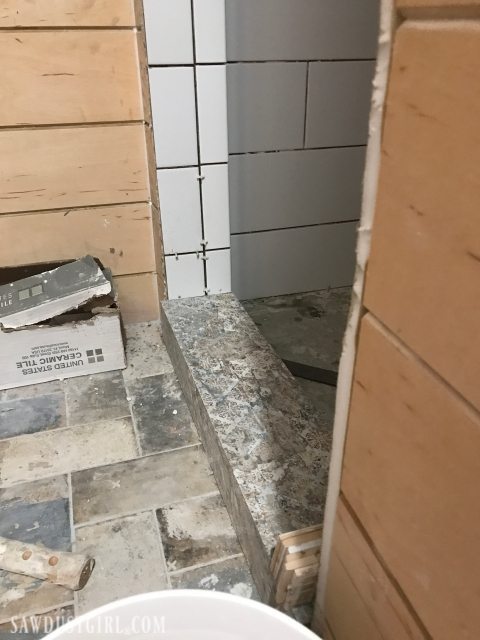
The second time around…I installed my large format subway tile vertically around the edge of the doorway making sure to keep it plumb, level, and within the clearance tolerance for the shower door. It is SO MUCH pressure tiling a doorway in which you are going to install a frameless glass door!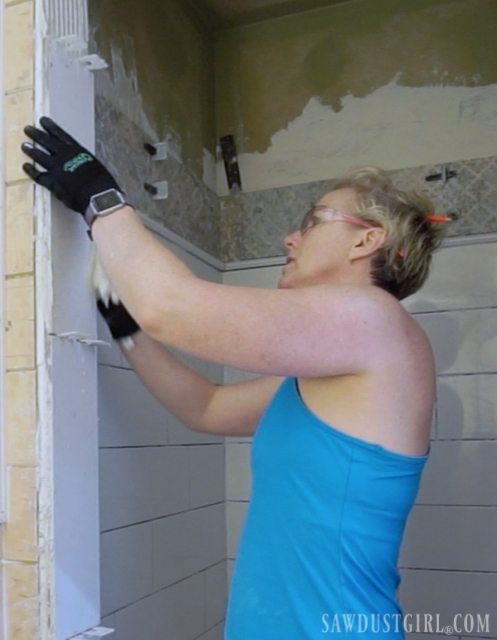
The large tile in the doorway looks muuuuch better.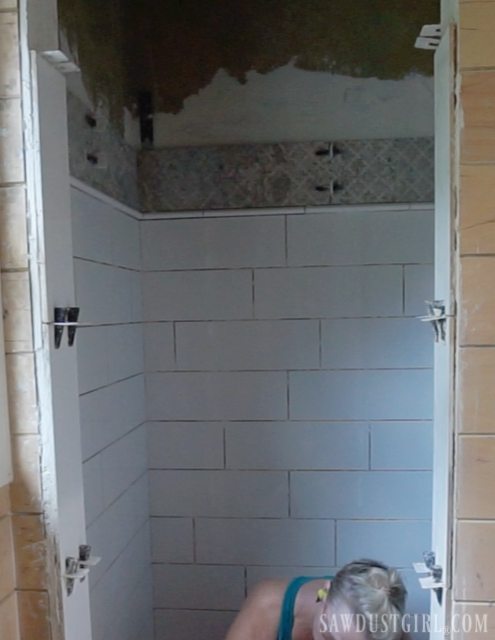
The top of the doorway didn’t end up being exactly level so we had to build up the mortar under the tile on one side. We used painter’s tape to keep those in place while the mortar dried.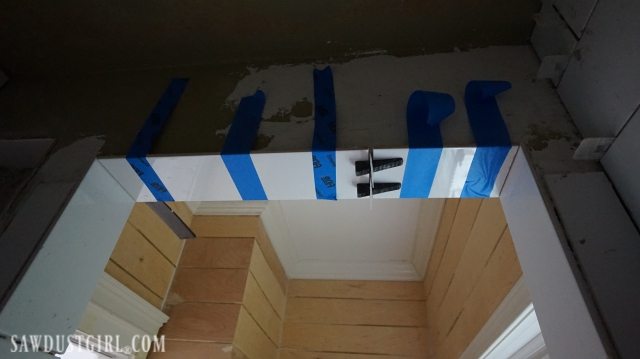
Grouting
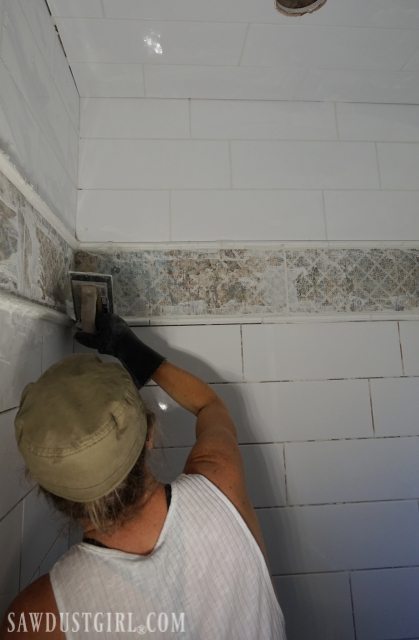
After the mortar had cured for at least 24 hours, we removed the spacers and cleaned off the excess mortar. Wahoo we are grout ready and this shower is in the home stretch! Grout, wipe, grout, wipe, wipe, wipe. It is a pretty good arm workout, just look at those biceps. Nah, just kidding, I talked Julie into doing this messy job, suckah!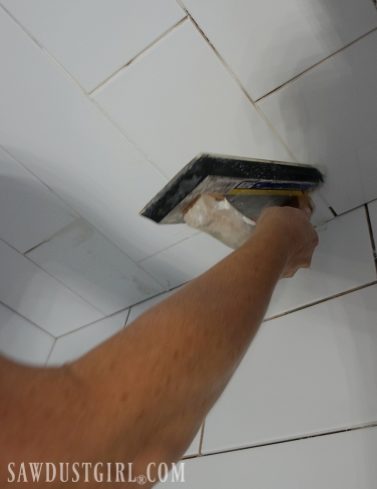
Isn’t she cute!
We waited 24 hours for the grout to cure. Good thing there are a lot of other projects happening or we would be twiddling our thumbs a lot waiting for mortars and grouts to cure in this bathroom. We sealed the grout with 511 Seal and Enhance impregnating sealer.
BOOM, And we’re done tiling the shower!
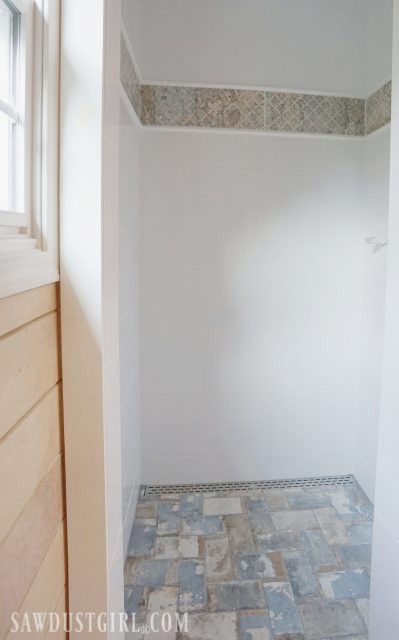
Now for some fixtures and that frameless glass door. Cross your fingers for us! (Maybe we’ll get that in by next week…)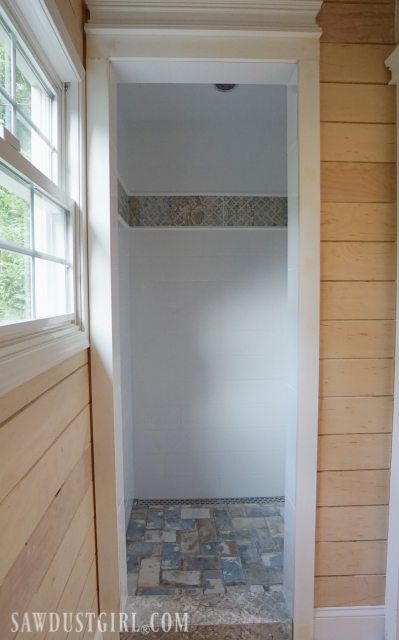
Thanks Deb!
Thanks so much. It’s going to be great to have so much storage. What a bear to install that tile though! LOL
Thanks Jamie.
Thank you so much. I can’t believe your builder wasted that much space! It was SOOO not easy. Not at all. Now that it’s done I’m very glad I stuck it out.