Linen Cabinet and Bedroom Closet Update
The bathroom/bedroom reno adventure continues… I have had a LOT of hick-ups of late. It happens. Usually not quite as often as it has been lately but it is what it is. Figure out a solution and move on. That’s all you can do. Working on the Linen Cabinet and Bedroom Closet.
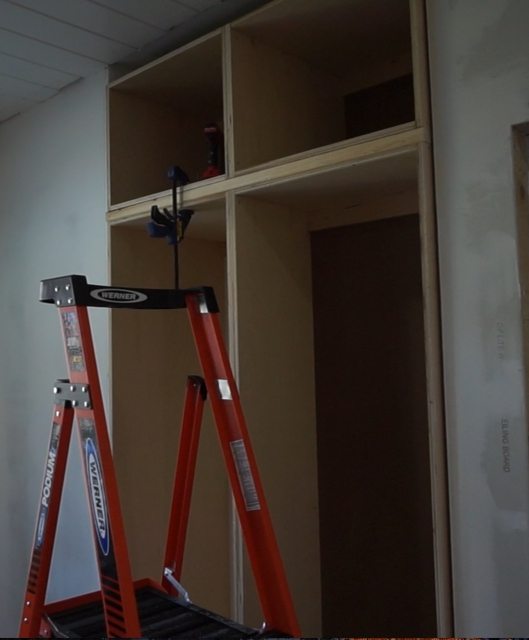
Linen Cabinet and Bedroom Closet
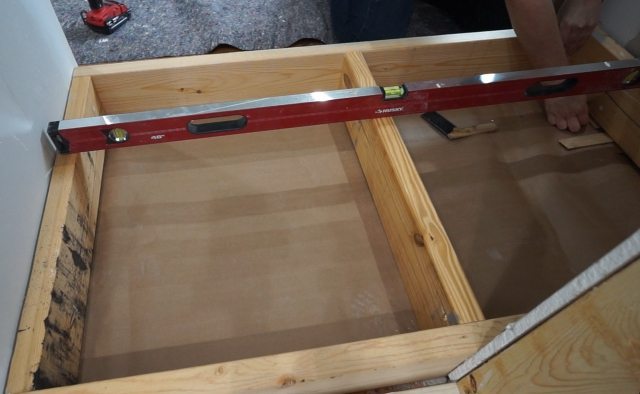
The bedroom closet 1 is a 48″ wide built-in wardrobe. First I built a 2×6 base and made sure it was level and plumb.
I built one cabinet 26″ deep for the hanging rod section. 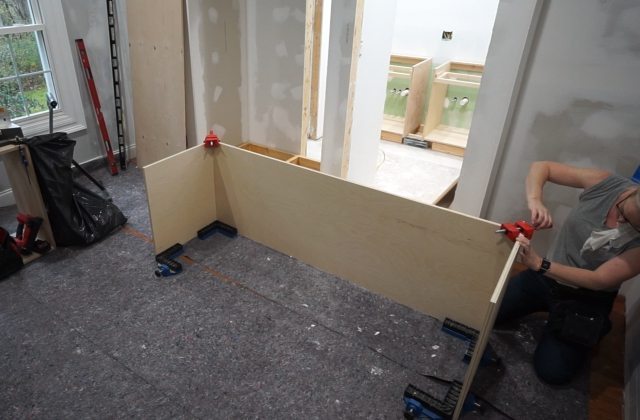
The cabinet for the other side is 14″ deep. It will be back to back with the bathroom linen cabinet.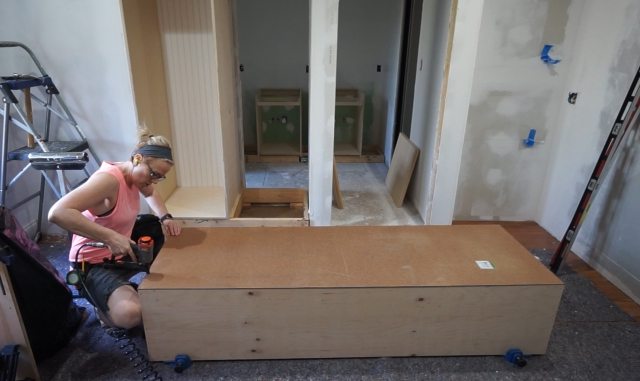
I secured the first cabinet to the wall. Then put the second cabinet in place and secured it to the first cabinet.
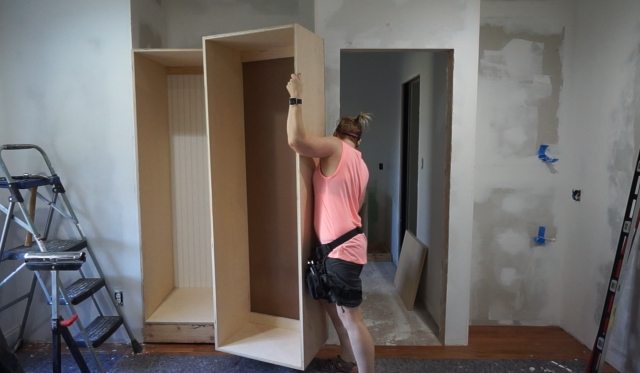 Easy peasy!
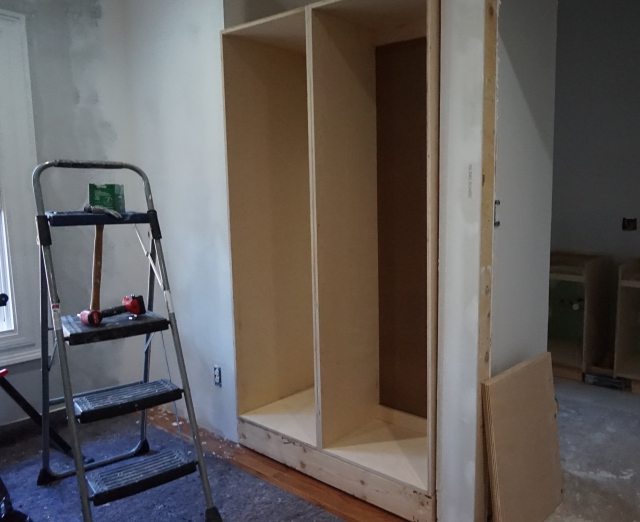
Next, I built the linen cabinet, which is also 14″ deep.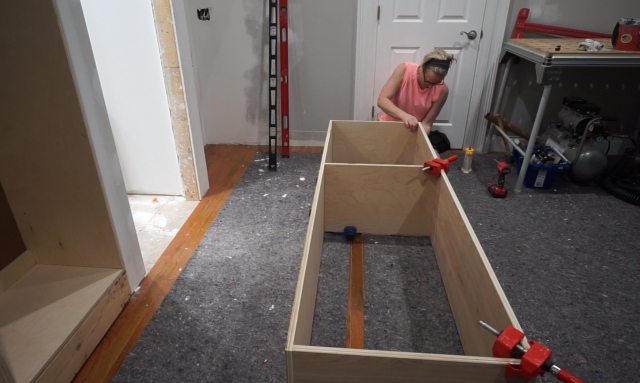
This cabinet is backed with 1/2″ plywood. I didn’t have a full sheet so I used some scraps, making sure the seam was located on the fixed shelf in the cabinet. I wanted a rigid back on at least one of these back to back cabinets since there isn’t a wall between them.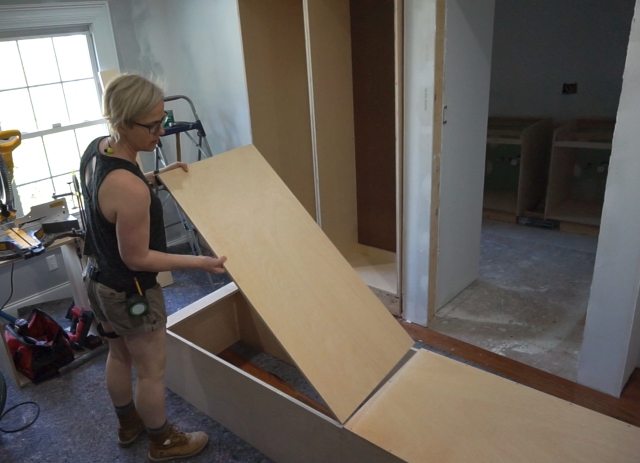
Before installing the linen storage cabinet I had to move some electrical wiring. This is wiring from the existing bathroom that we tied into to get new wiring to the new vanity. So I had to keep it. I’m putting it in a junction box IN the cabinet.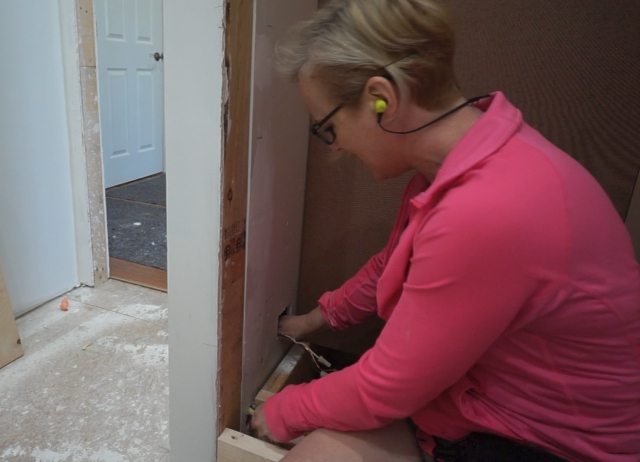
I cut out a matching “junction box” hole in the linen cabinet and went to put it in place… and it didn’t fit.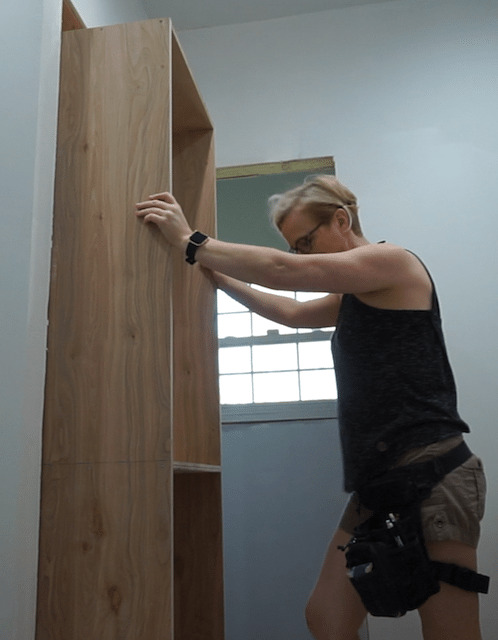 I always build a built-in cabinet at least 1/2″ narrower than what I calculated I need– because I never want this to happen. And it still didn’t fit!
I thought maybe I could push it in from the other side. SOooo, I uninstalled the bedroom wardrobe cabinets.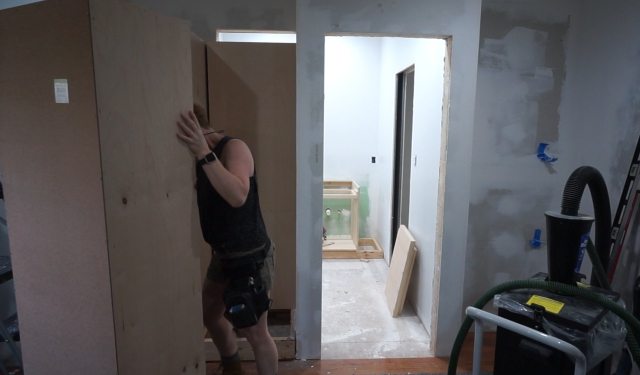
Then I lugged the linen cabinet back into the bedroom, 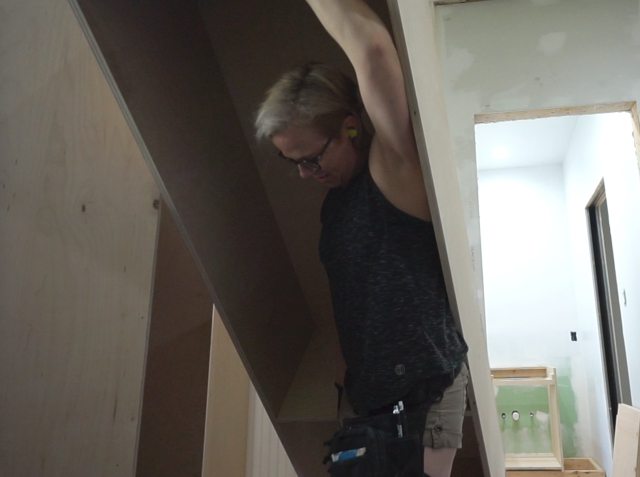
I still couldn’t force it in.
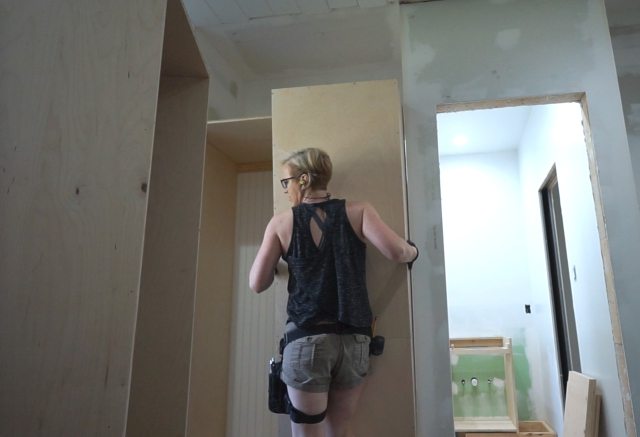
What I realized was that I had originally measured from drywall to drywall in the front of the opening. Apparently, the studs behind the front drywall were proud of said drywall. So the cabinet was hitting the studs.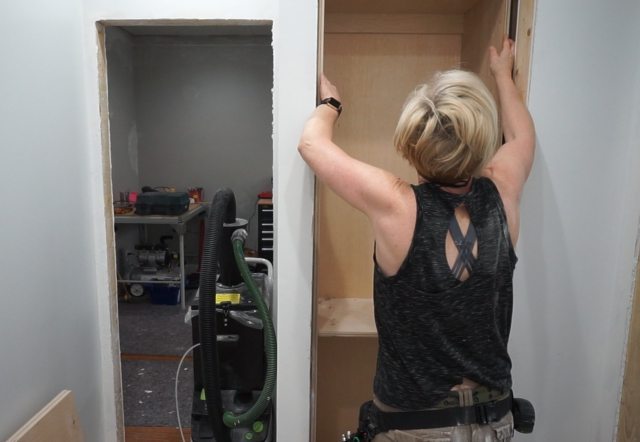
I tried to remove some material with a regular orbital sander. That was like trying to spit out a fire. 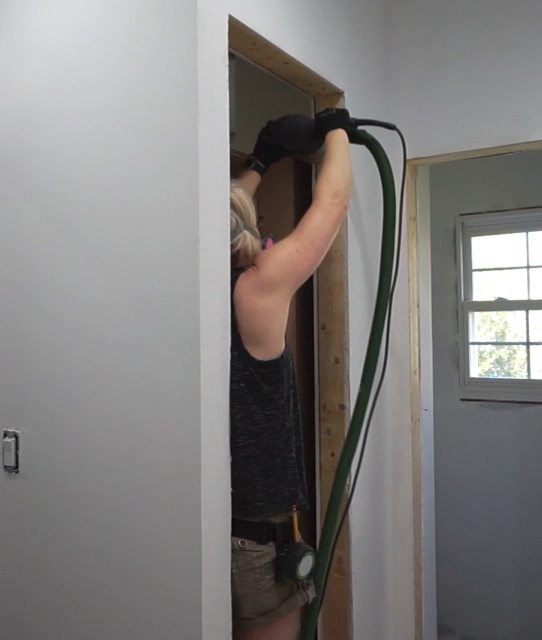
I tried my Planex, drywall sander with 25 grit sandpaper. That took down some of the drywall on the inside of the cabinet but didn’t help with the stud.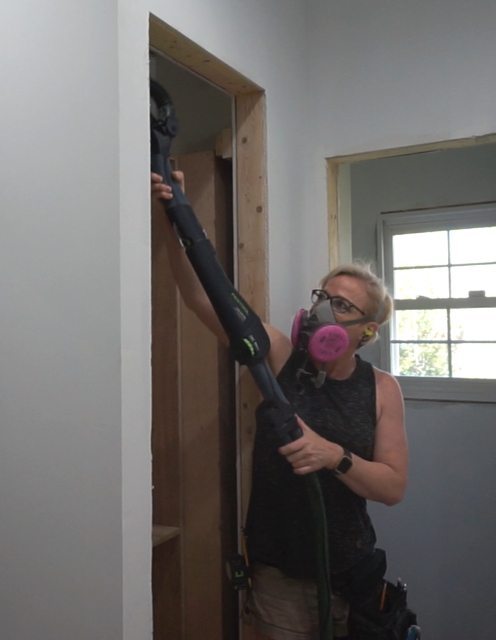
Then I remembered I have an Bosch Planer. That was the ticket! I planed down one 2×4 and it worked like a charm. I hit a drywall screw at the end and chipped a blade so I can’t use it again until I replace it. 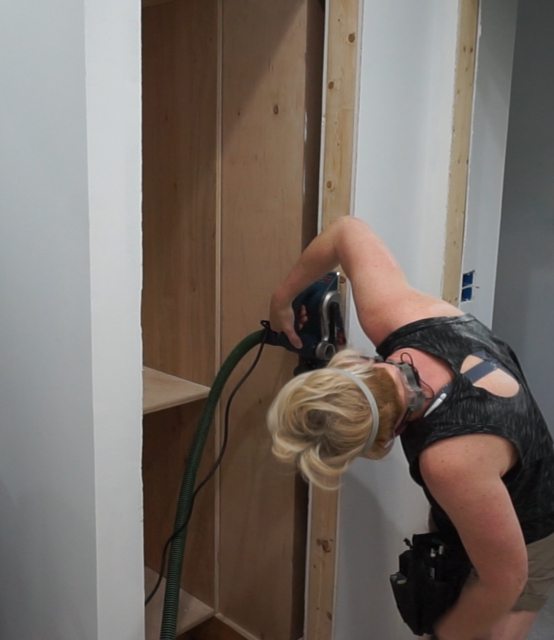
It was worth the cost of a replacement blade for my planer because I didn’t have to rebuild that cabinet. It fit!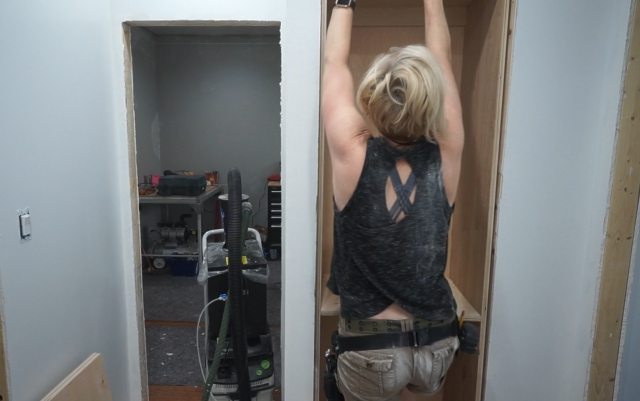
But what a chore.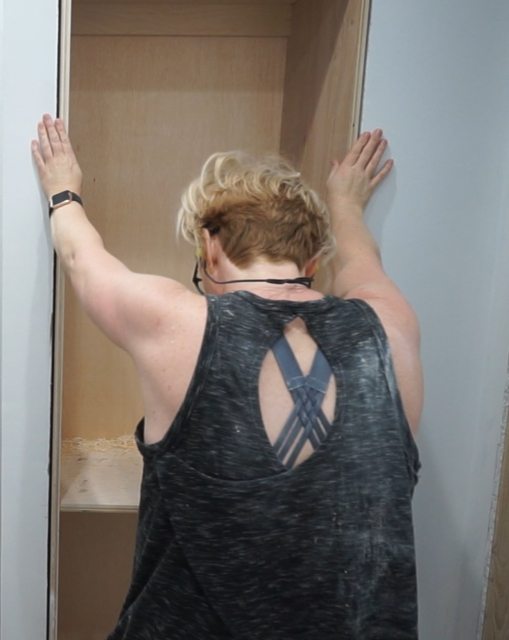
Then I had to put the bedroom side back in place and finish off that side.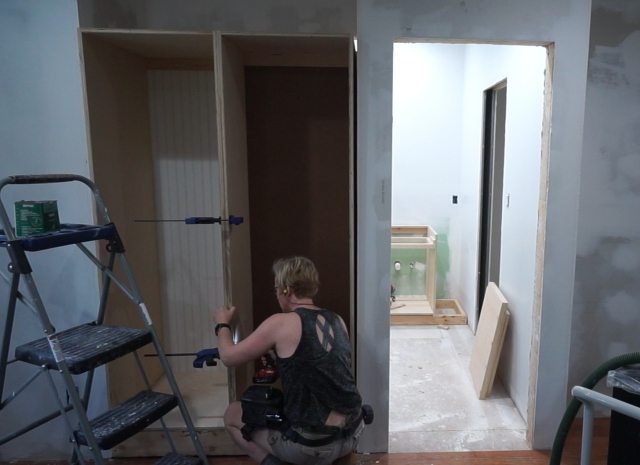
The upper wardrobe cabinets are both 26″ deep. (There is no upper on the bathroom side above the linen cabinet.)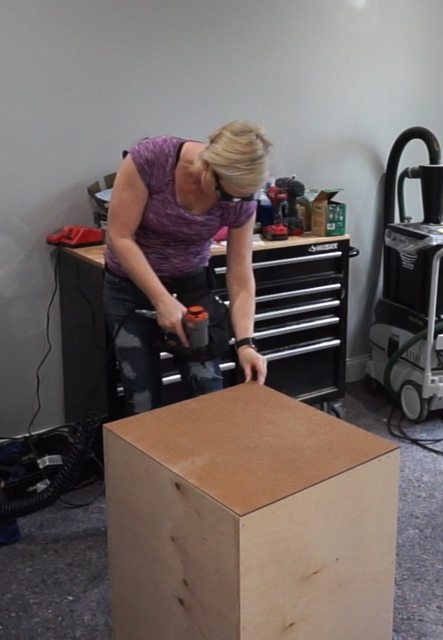
I secured 2×4 across the back wall to bump the wardrobe cabinets out a bit. I had originally planned a 28″ depth for the deeper cabinet but in order to maximize materials, I went down to 26″. (Still plenty deep.) So I needed to push them forward in order to make them flush with the wall. 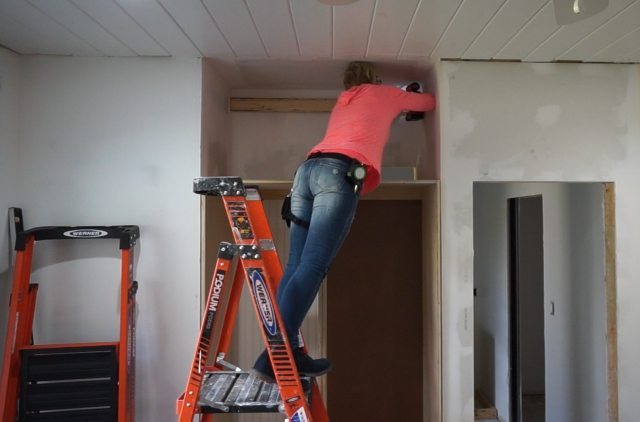
I placed 2×4’s between the upper and lower cabinets because I want a chunky faceframe rail right there to support a ladder if I end up going that route. The chunky rail here is purely a design decision. There is not structural reason to put a stud between the cabinets. (‘Cause I know someone is wondering.)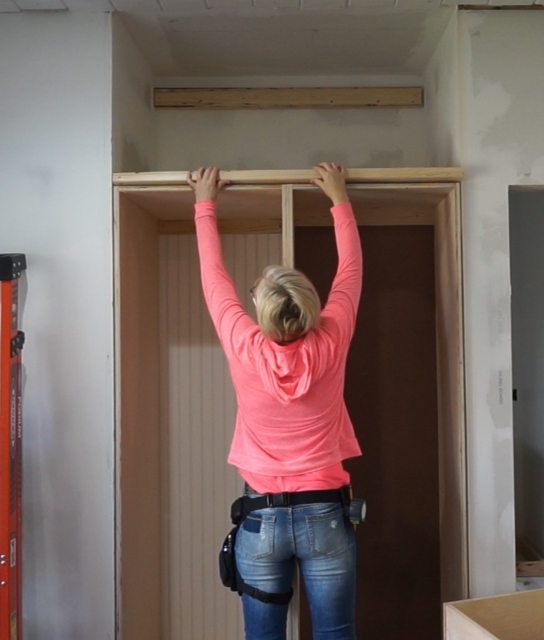
Then I secured the upper cabinets to each other, through the 2×4 and into the bottom cabinets, and into the back wall through that 2×4.
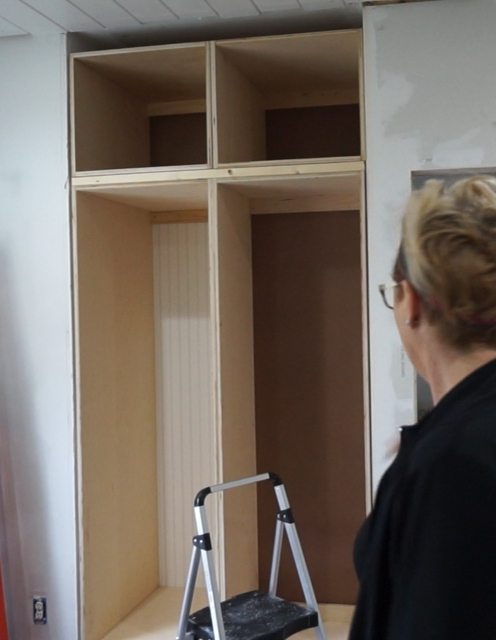
And then I attached a faceframe, which was totally uneventful in terms of problems. Thank goodness for small miracles! I didn’t take any pictures of the finished faceframe and I’m too tired to get up and go do it. So I’ll show you that part later. LOL
Check out the finishedBedroom Closet.
3/4″. I almost always use 3/4″ for cabinets
Great website and posts Sandra. I thought I could find this but, no luck. What thickness of plywood did you use for the cases in the Linen cabinet and bedroom closets – 1”?
TIA
Thanks Frani. It’s a lot of work — so persistence (or perhaps stubbornness) is definitely required. LOL