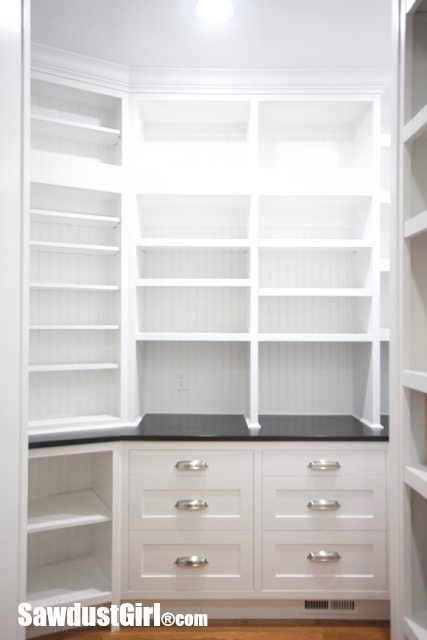
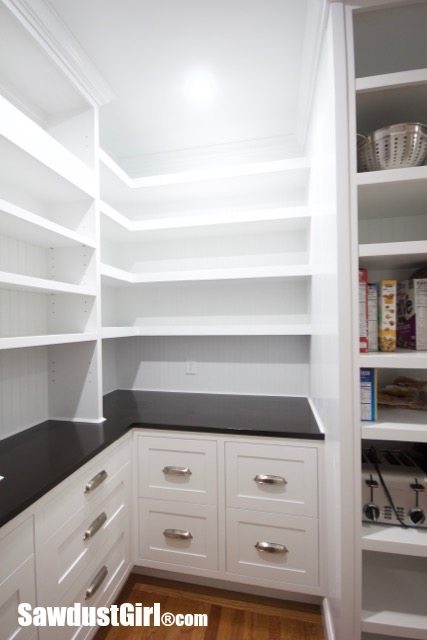
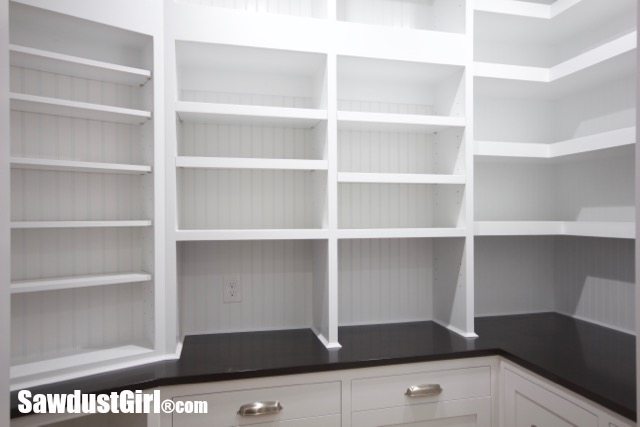
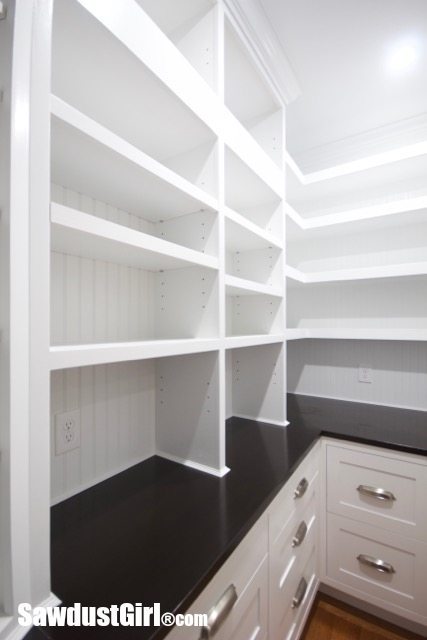
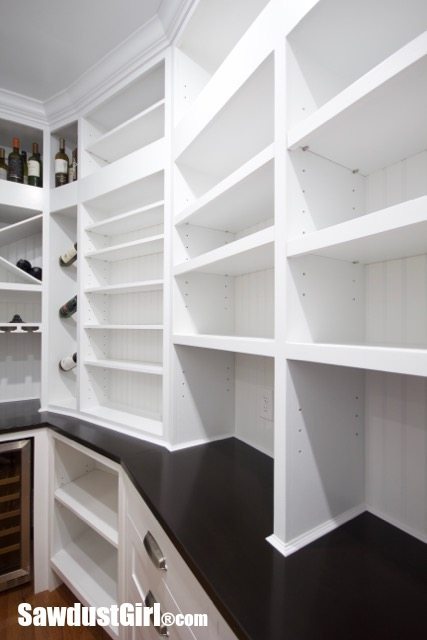
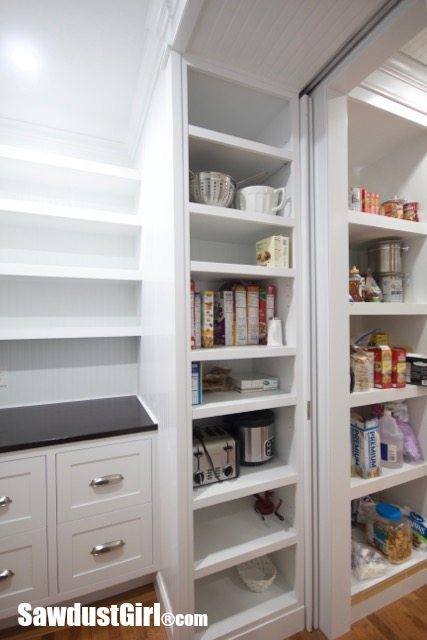
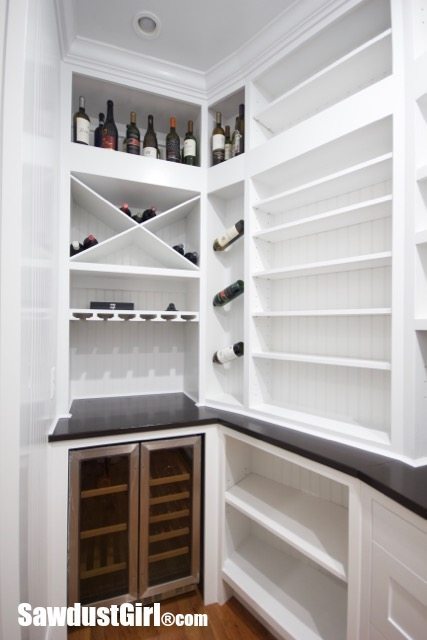
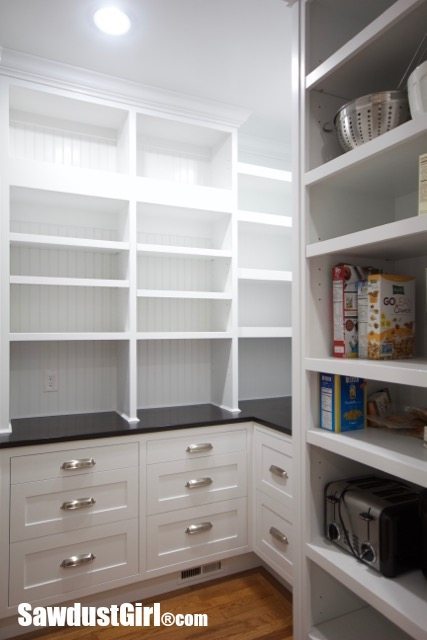
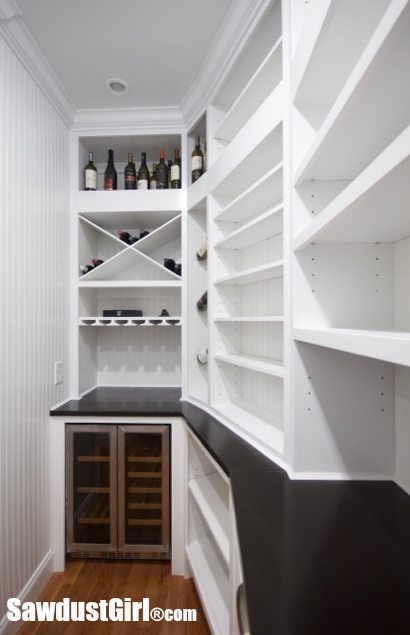
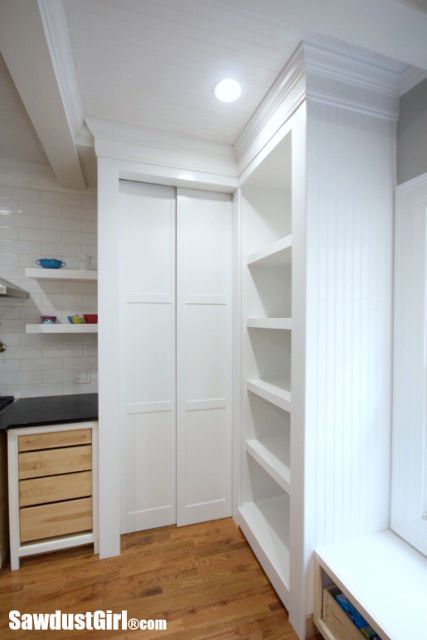
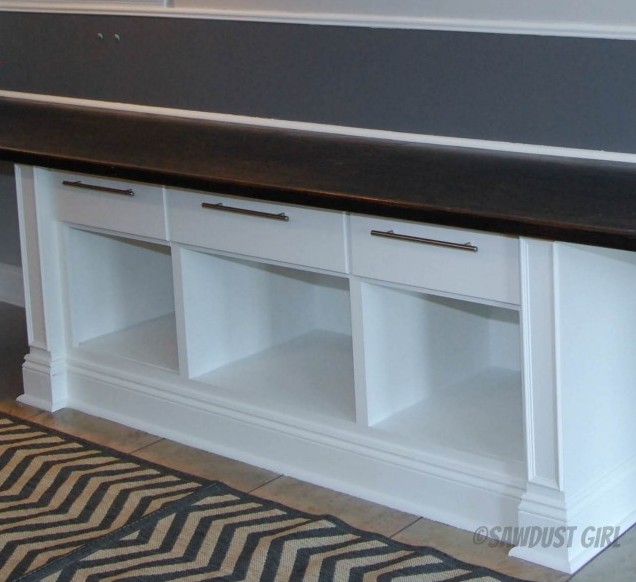
I finally finished the pantry countertop so this room is done! Wes has been a good sport through this process. He’s thought the countertop looked great about 10 different times. I kept saying, “That was the last coat” and we both stopped believing me after about the 15 time. I am very happy with how it looks right now. I have no expectation of it holding up over the years. I’ve decided to worry about that — later.
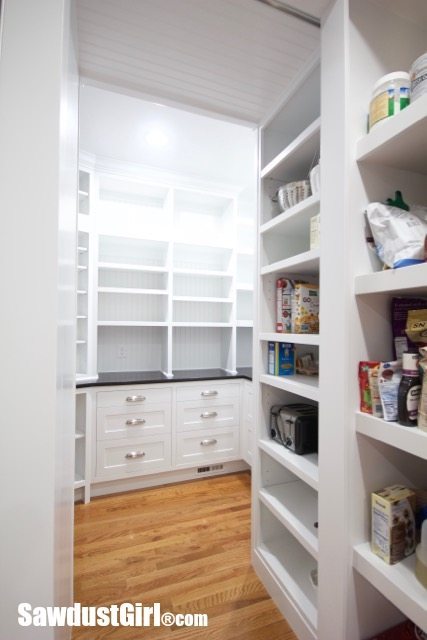
Walk-in Pantry Reveal
If you read my countertop woes post, you know how much of a problem this countertop was for me. I have now found two DIY skills that I am NO good at: wallpapering and polyurethaning. After about 18 coats I was too far in to let it beat me. I was committed to getting the look I wanted and so I kept working at it until I was happy with it. It’s been like 5 weeks.A couple weeks ago Wes suggested that we just get some granite put in here and be done. It’s something we talked about initially but I wanted to do wood. I’ve done tons of wood countertops finished with Tung oil. It’s super easy to apply and I love how it makes wood look. I didn’t expect having any kind of issue with doing a wood countertop.
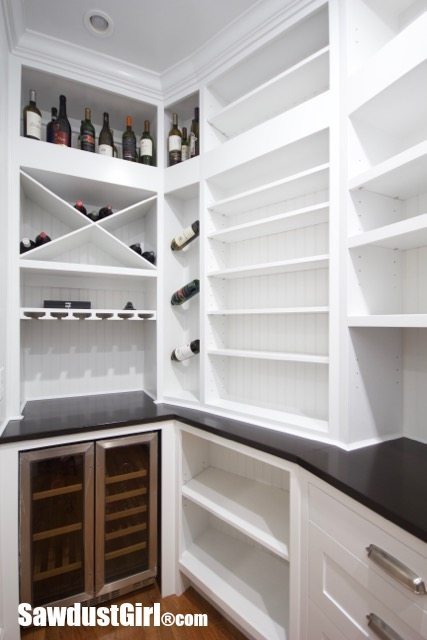
Granite WOULD HAVE been great if we’d installed it before I built all the upper cabinets. Especially the wine storage cabinets.
No, at this point, I couldn’t remove everything and just put it back after replacing the countertops. Pulling everything out would mean demolishing most of it. Getting up in all that would NOT help get the pantry done faster.
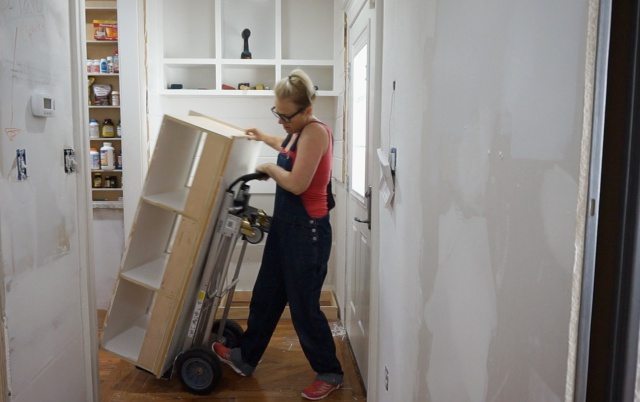
This pantry has already been built, added to, partly demolished and rebuilt. I kinda want to finish it and move on.
It’s a lot of storage space and we can’t wait to use it! Even though the only thing holding us up was the countertop, I didn’t want to use the room until it was DONE.
Although we have been using the tall cabinets at the pantry entrance, where the sliding doors tuck away when open.
Truth be told, Wes has been using the wine storage for a while as well. I find that encouraging his use of the wine storage area helped him cope with the mess for so long. 😀
We are ready to unload the plastic bins sitting in the living room and use the drawers and shelves.
Once we start using the entire pantry I’ll be more strategic about what is stored in the tall cabinets.
Learning my new unskill meant waiting an extra 5 weeks to use the pantry but it’s done now!
Here’s what I would do differently: If I could go back in time to the point where I lightly sanded the countertop surface (after finishing up all the building I did on top of it), I would have sanded it back down to the bare wood and just start over with Tung Oil which is SOOOOOOOOO much easier! OR I’d go back to when I built this countertop and skip the finish process completely and just do it after the rest of the pantry was built.
I can’t go back in time but, you know, next time!
Suzanne B says
Absolutely beautiful. I am terribly jealous. I have a much much smaller house and pantry space. I wish I could really get an organized space with at least what I have.
SANDRA L POWELL says
I hope you find a way to make that happen. Looking outside the box is how I came up with this pantry. Who would have thought stealing a bit of space from the hallway could give me so much functional storage? Well, I did eventually but it took me a while to think it up…so keep thinking and hopefully you’ll come up with a grand plan!
Julie @ follow your heart woodworking says
It turned out lovely. Now enjoy it!
SANDRA L POWELL says
Thanks Julie!
Mancy says
Lol on why he used the wine storage area!
It looks great! What’s up next?
Nancy
SANDRA L POWELL says
Thanks Nancy. I have about 6 projects waiting to be finished so I’ll start back on any of those for now and see what happens.
Darlene says
Love the finished projects . . . for now!
Jonathan says
Looks awesome!
Catherine says
beautiful!!!
Kimberly says
Its so beautiful!! So much storage too! I really like the bead molding around the countertop its looks fancy and nicely detailed :-)))
SANDRA L POWELL says
Thank you. I’m 50/50 on liking it but it serves a purpose other than simply being a moulding detail so it’s staying.
TucsonPatty says
It is gorgeous! Such a labor of love (mixed in with a little hate, I know!) Such patience you have and your workshop is really benefitting from the polyurethane process, so it’s all good?
I love seeing what you are working on next – it is my fantasy to do even a little!
Carol says
What a great addition to your kitchen. The pantry is absolutely beautiful. I think as DIYer’s we are more critical of our own work than anyone else. Congratulations on a job well done.
LOVES THE FIND says
WOW!! This pantry is amazing!! Congrats!
Lindi says
It really looks beautiful Sandra! You did such a great job. I’m envious of the pantry space 🙂
Jake's a Girl says
It’s beautiful! I know you’d probably like to wrap your hands around its throat and choke it to death but please don’t. haha. It is amazing and you did a stunning job.
Happy Thanksgiving! And just look at where you get to store your food! 🙂
Rachel Lynn @ queenbeeofhoneydos says
Just wanted to say that I think your pantry turned out nice. Been meaning to comment on this, and just now getting around to it. 🙂
Don Elsey says
How wide did you make your shelves? The whole project turned out great and you are inspiring my own mini-version of your pantry – thank you!
Sandra says
The shelves are all different depths and widths around the room. I based my design on the space I was working with. The deeper ones are about 12″. The more shallow ones are about 4″.
Carolina says
Please remember that wines should be 1-1/2 inches lower (Guess) in front to ensure cork is kept wet….. of course if you are drinking it right away, no problem. If you have 5000 bottles, maybe keep cork lower
Jeanne says
Hi! I know it’s been a while since this post but so can you tell me what brand your cup pulls are on the drawers. I really like them! Thanks!
Sandra says
It has been many years. I know I searched online forever looking for a wide cup pull. Couldn’t tell you what brand or where I found them (I think possibly amazon).