How to Install a Wood Floor with Tile Inlay
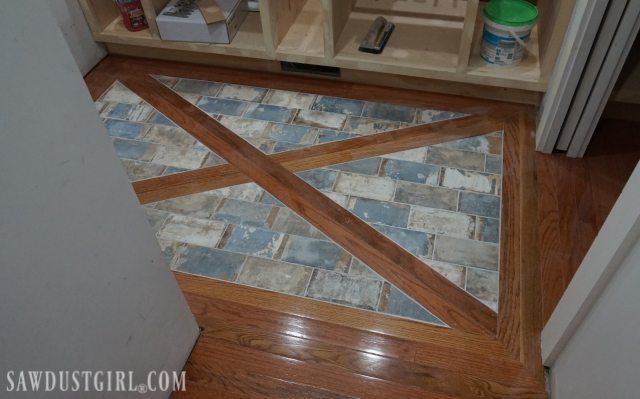
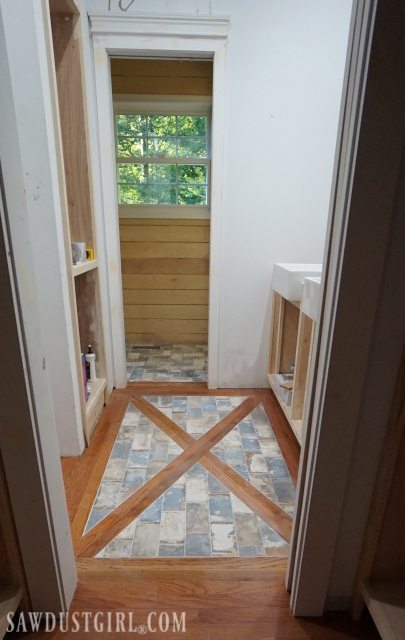
Today I’m sharing how I installed a wood floor with tile inlay in the vanity area of my Jack and Jill bathroom. I’m using the same product and technique to install tile flush with hardwood that I shared in my last post. 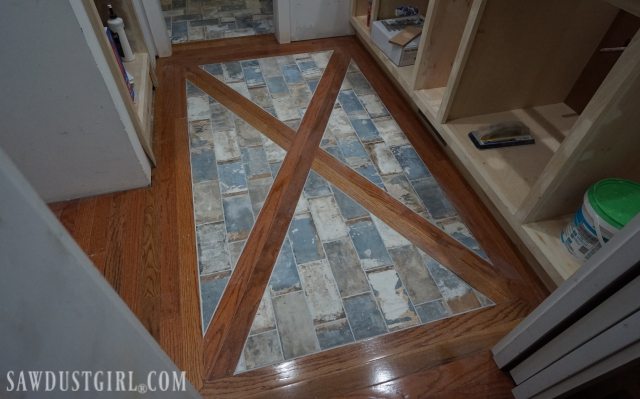
If you’ve been following me for long, you know I don’t love my red oak floors. BUT, there’s a lot of them in this house so I gotta’ work with them. I don’t like harsh, blunt flooring transitions. I like blended transitions from one type of flooring material to another. Both bedrooms that share this bathroom have hardwood floors, so I wanted to incorporate the wood floor with tile inlay in the shared vanity area. I started this project last month when Julie was out for her short visit. We played around with some different designs to find what would work.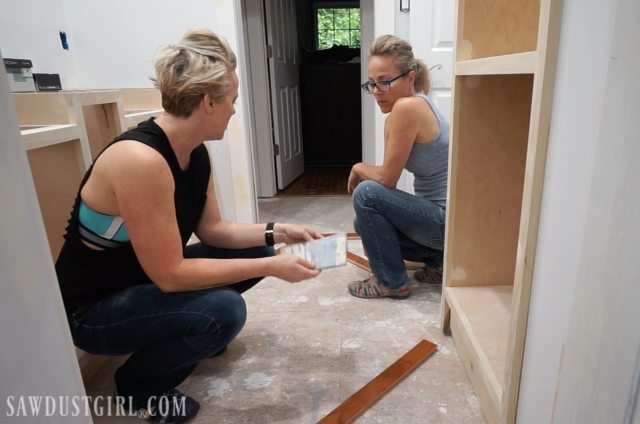 We chose to do a picture frame rectangle with an interior X. However this same technique could be modified to many different designs, such as a diamond or grid pattern. Really any wood-tile combination that suits your fancy and your space.
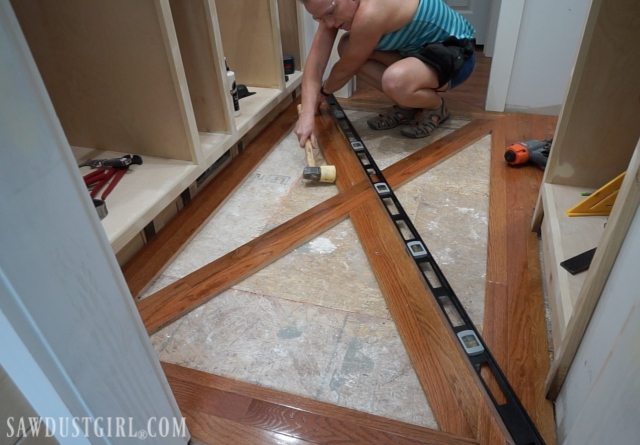
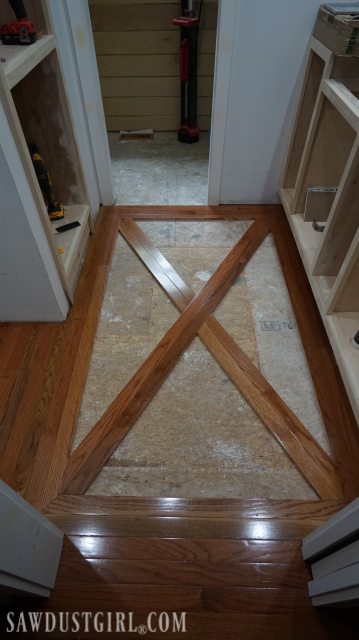
Wood Floor with Tile Inlay
I installed the same STRATA_MAT XT and brick tile that I put in the water closet. First I cut and dry fit the STRATA_MAT XT into my inlay areas. It cuts with a basic utility knife or a pair of heavy duty scissors.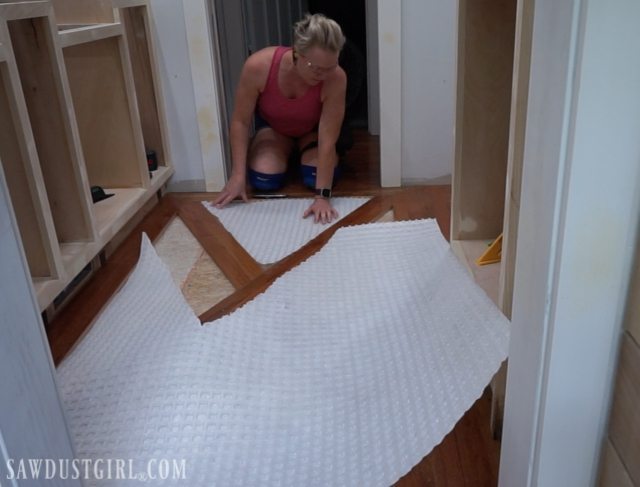
I taped off the wood to try to keep it clean from mortar before installing my STRATA_MAT XT and tile. I didn’t win at that!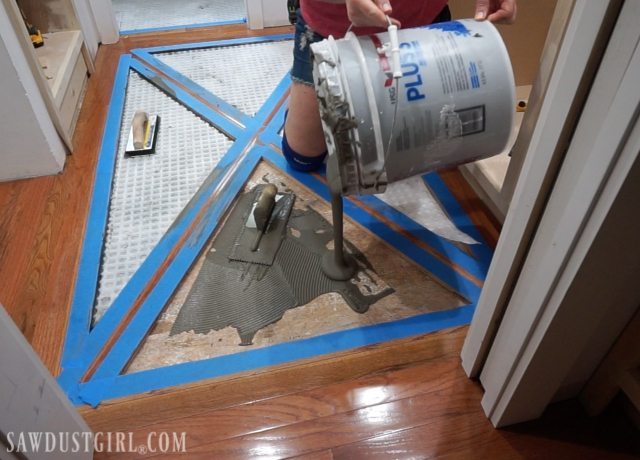
I used a laser to keep my brick tiles lined up through each section of the whole design.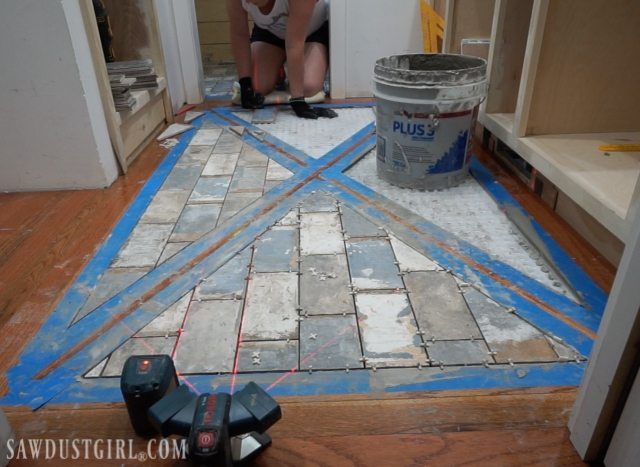
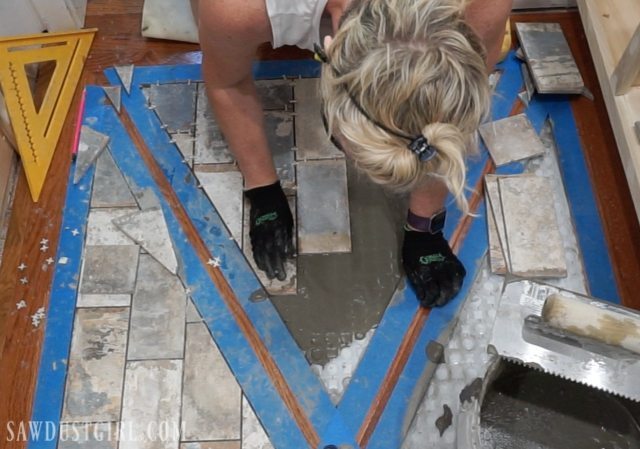
After the mortar set up overnight, I grouted. You can see I wasn’t able to keep the wood free of mortar. Oh well. It cleaned up easily.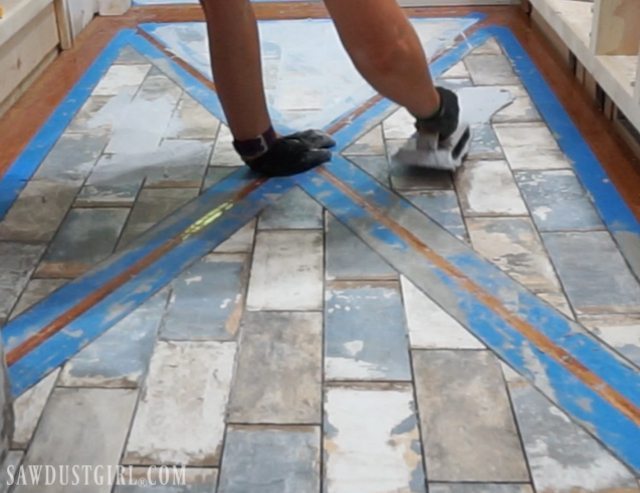
With a grout float, I spread the grout into the grout lines and then wiped up as much as possible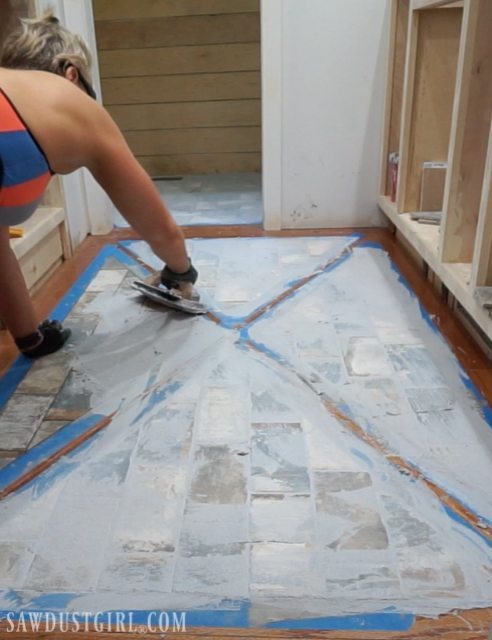
About 10 minutes later…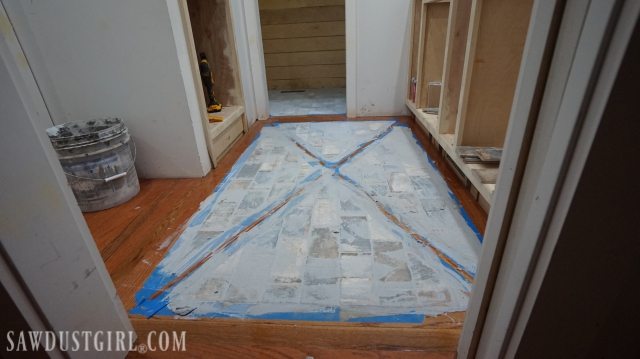
…I wiped up the rest of the grout with damp sponges. Keep a bucket of water close by to rinse your sponges frequently.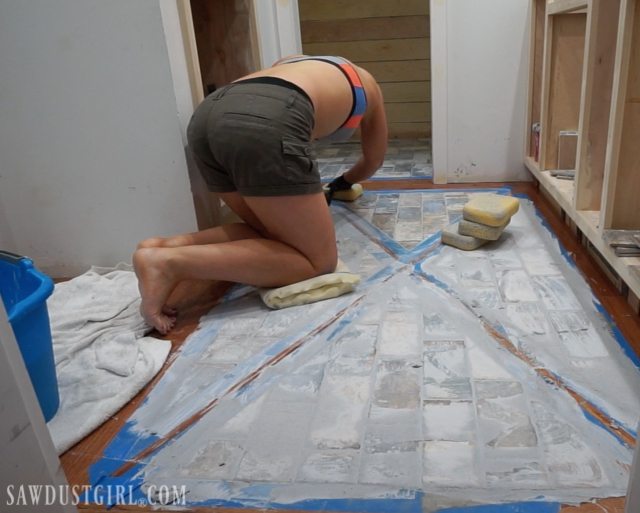
I use 4 sponges; one for each hand and each knee!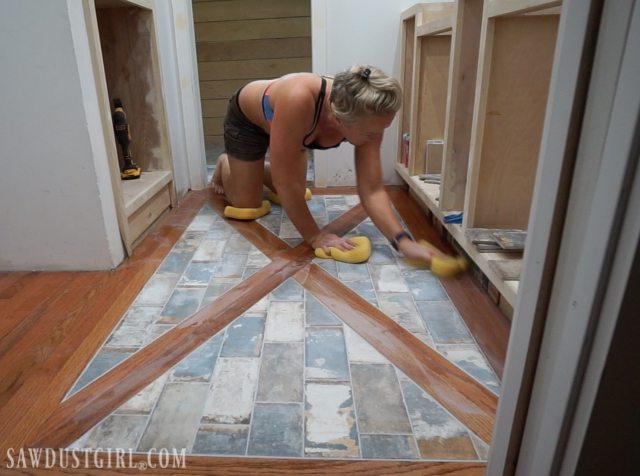
Wipe, rinse, wipe and rinse…
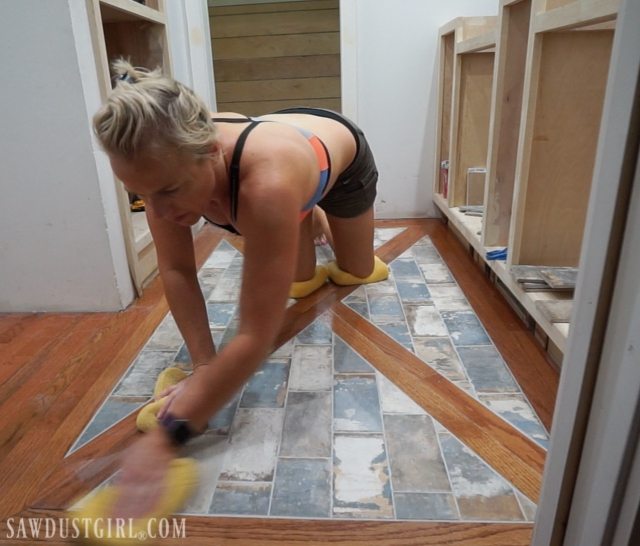
Then the next morning you’ll probably still have some grout haze. 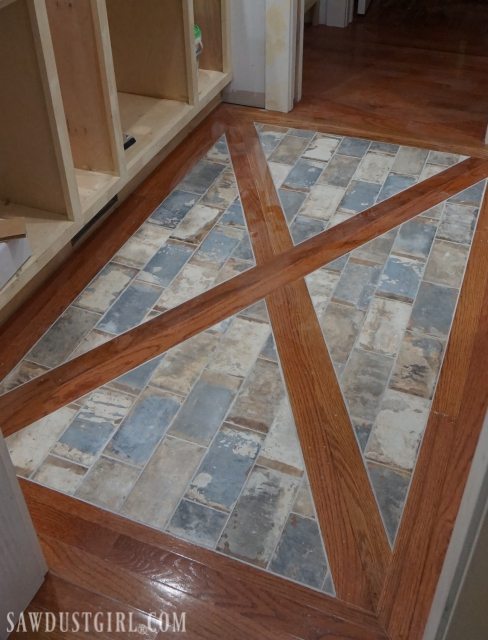
So wipe one more time and then you’re probably good to go!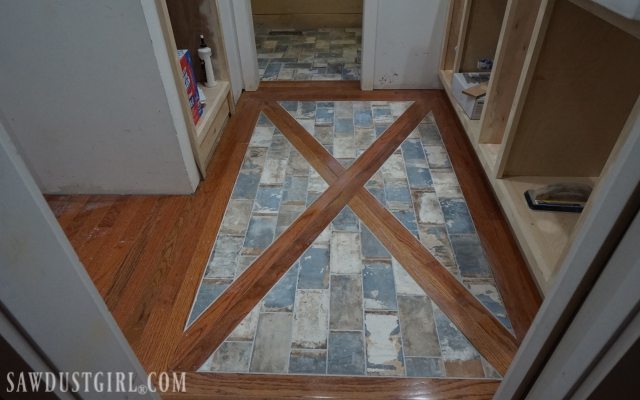
Thank you to LATICRETE for providing the STRATA_MAT XT for this project.

whoa! amazing
Any issues with wood expansion?
Not yet. I expect at some point the grout around the X will crack and break out. Then I’ll clean that portion out and use caulk.
Wow, that is so unique and it looks incredible! Amazing design. It’s exciting when it is all coming together. Well done, such a great job.
thanks!
Look’n good – what a lovely job. You are just so talented – how did you even decided to come up with the design. Are you going to be echoing the X motif though out the bathroom. Love the colors they are so costal and lovely.
No just using the X here. Everything else will be shaker.