Wardrobe Cabinets for Bedroom 2
The wardrobe cabinets for Guest Bedroom 2 are each 32″ wide and 9′ tall. It’s not a ton of space but these two bedrooms are small. The new closet sizes are more proportionate to the bedrooms now. They are both guest rooms for us. Smaller closets and a larger bathroom is the perfect situation for guests. We’re not inviting anyone to move in. We just want to make it comfortable while they are visiting. 😉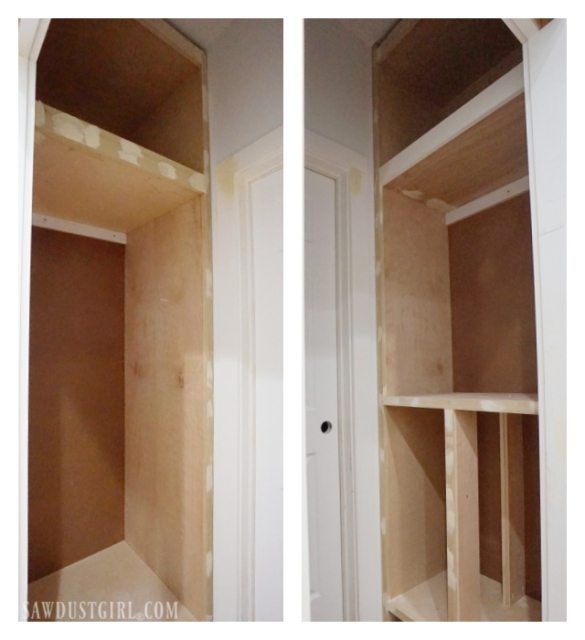
Building Wardrobe Cabinets
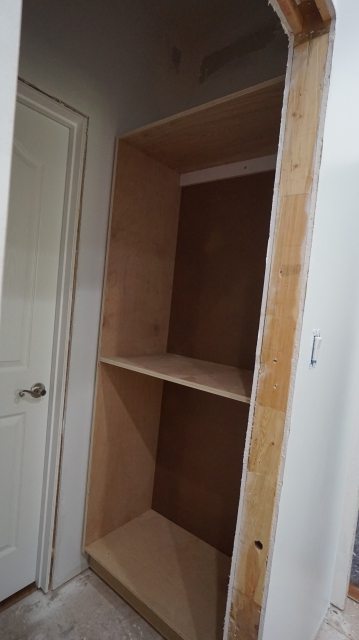
My wardrobe cabinets are sitting on a 2×6 base. I am doing toe kicks on these cabinets but making them taller than standard because I have tall baseboards and like a cohesive base height. 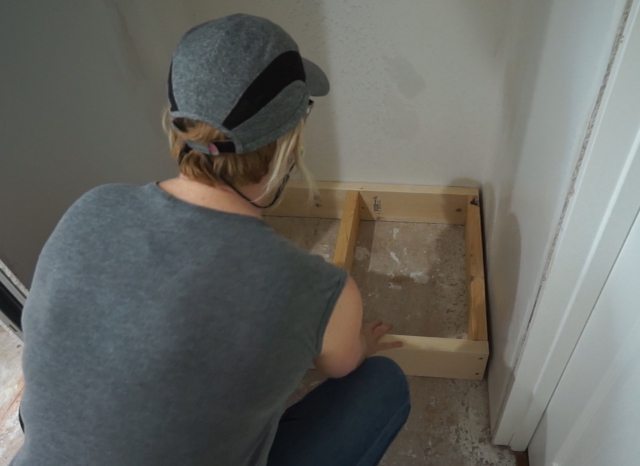 The left wardrobe is one large, 25″ deep cabinet for hanging clothes.
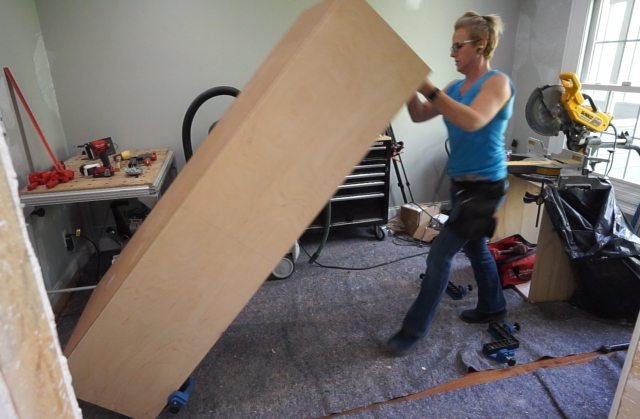 Getting the large cabinets through doorways and into place was tricky. Which I’m completely used to by now. Because nothing is easy. Ever.
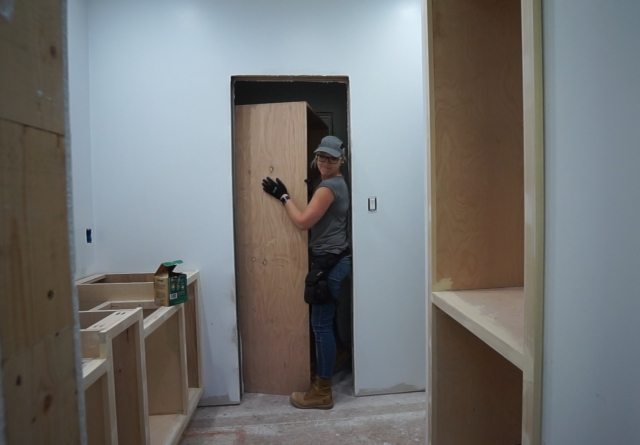 My Zircon stud finder scanned through the cabinet back making it easy to mark exactly where I needed to drive my 3″ cabinet screws. I hate missing the stud because I’m eyeballing a mark on the wall above the cabinet and trying to line up and drive a screw –inside the cabinet.
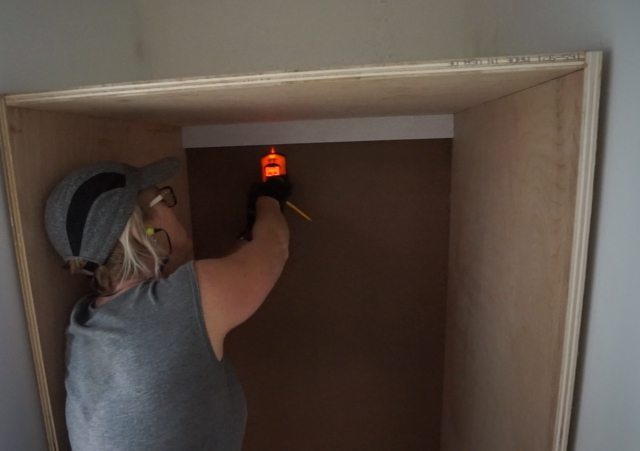 Always make sure cabinets are level and plumb before securing them to the studs.
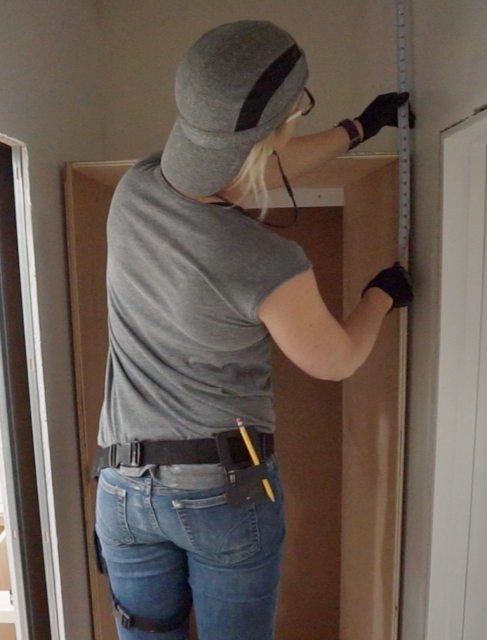
 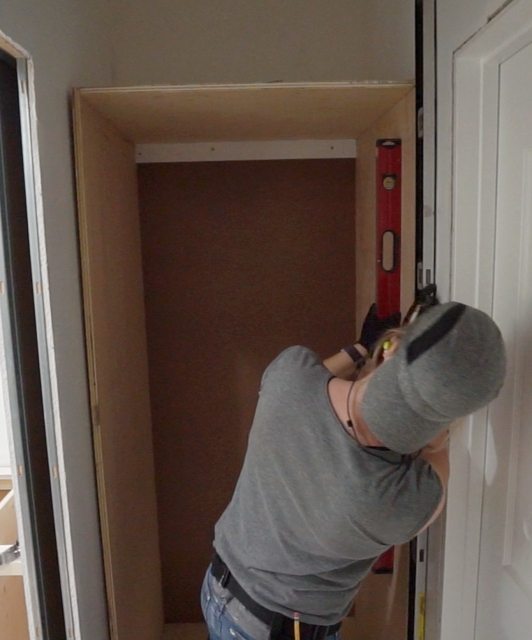 Next, I measured for the height of the top cabinet, planning for crown moulding and spacers between the two cabinets.
Building that little cabinet box was the easiest part of my day.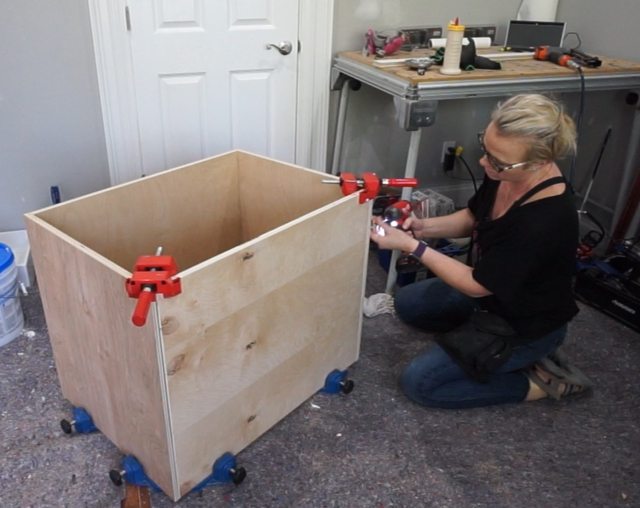 Getting it settled in place was the most difficult task of my day, that day.
 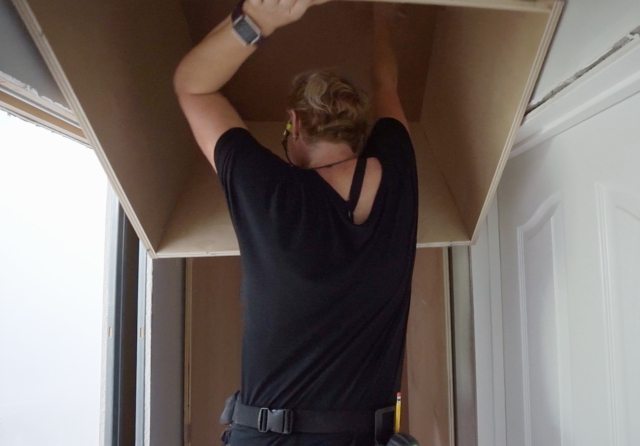 I used 2×4 blocks for spacers between the two cabinets because I want this rail in the faceframe to be about 3″ wide.
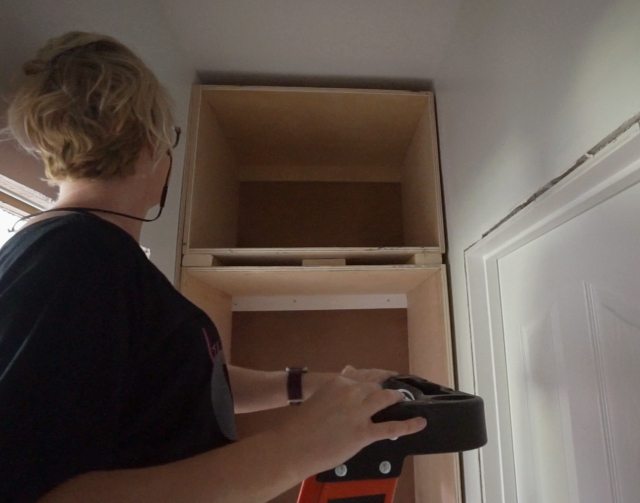
The cabinets are secured to each other and to the wall studs.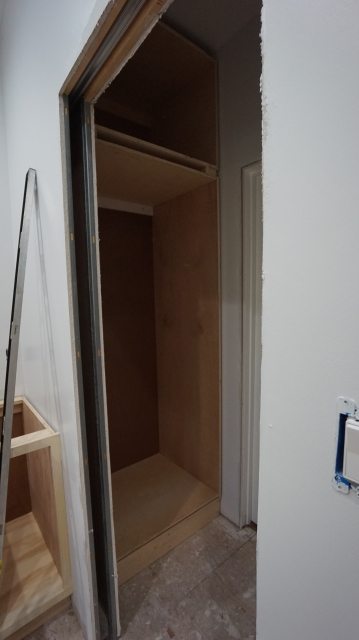
When I built the cabinet for the right side, I was out of hardboard backing. This was my very last cabinet section for the whole bathroom project and I only needed one sheet of hardboard. I drove to town and purchased one sheet of hardboard. Then I cut that sheet of hardboard exactly 1″ too narrow. I used it anyway because I still had 1/4″ of cabinet on each side in which to angle my staples.
Miraculously, not one of the staples ended up poking out in the cabinet opening! So I guess sometimes things do work out and not EVERYTHING is not easy.
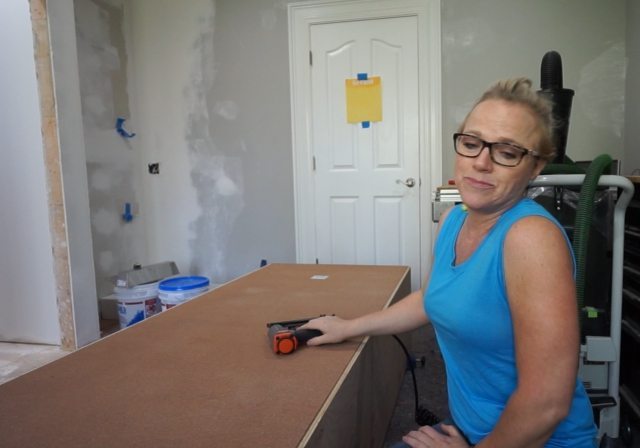 This cabinet is only 18″ deep with a fixed shelf in the middle. The top section will be shelves with drawers on the bottom.
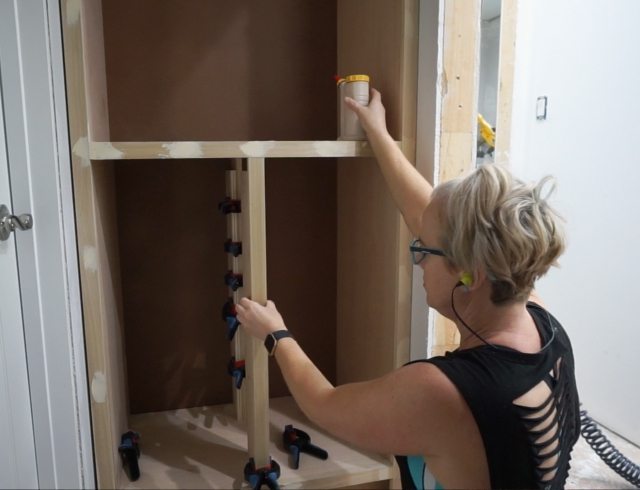
Again, getting the small, upper cabinet in place was…difficult. (Seriously, watch the video.)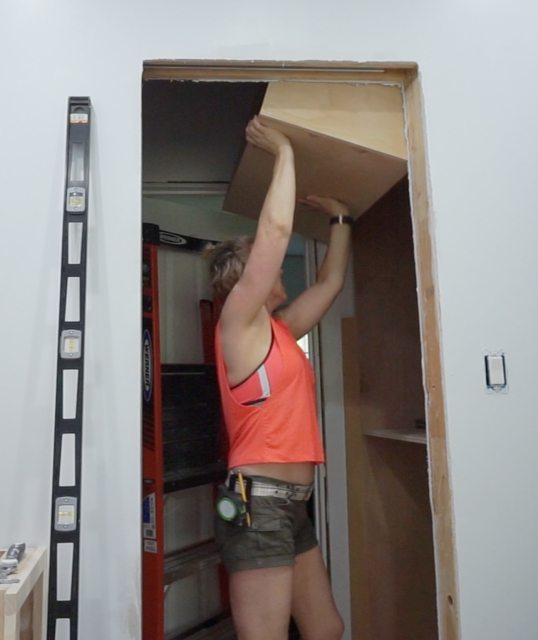 Next I added vertical cleats in the middle of the lower section, for two columns of drawers.
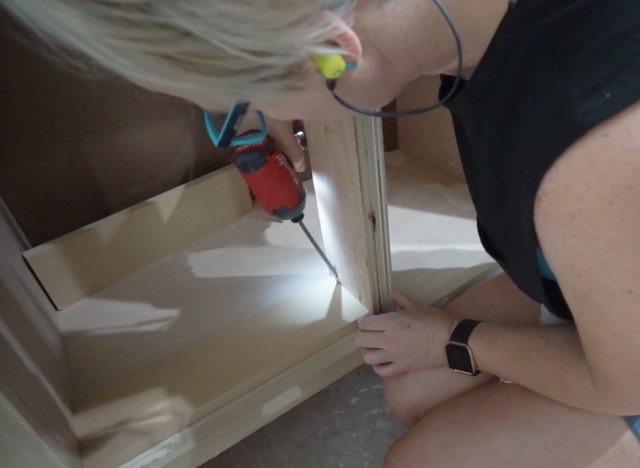 I had problems with mis-measuring on this cabinet section! I cut two additional cleats at the right height, doubled them up and secured them to the cabinet. The screw up doesn’t affect anything, it just irritates me.
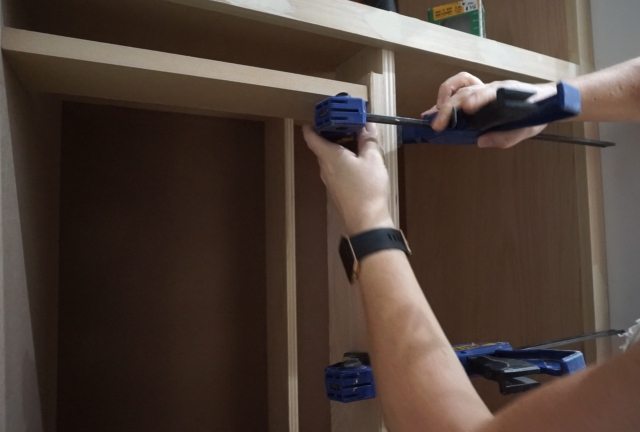 I’ll be adding inset doors and drawer fronts so I was really careful to make sure everything was square, when attaching a faceframe.
I still have to sand, prime and paint but I’m adding planking to the walls and want to spray everything at once. 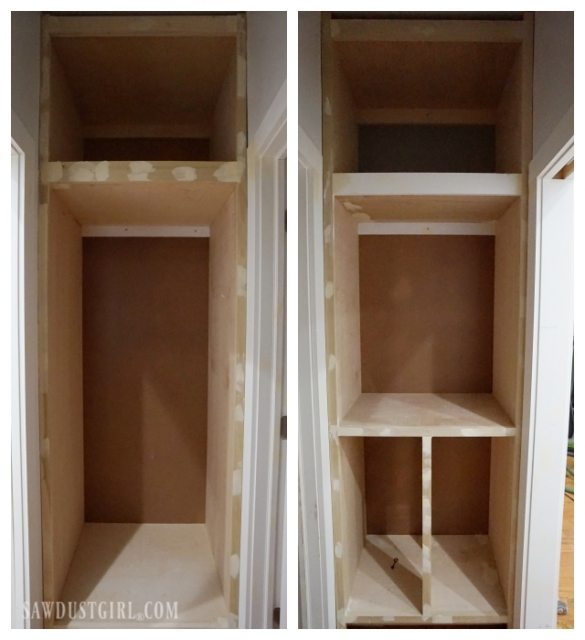 Here’s the video of this build.
I’m a bit farther along than just finishing these wardrobe cabinets for bedroom 2. But it’s difficult for me to find time to edit photos and write updates so I’m just catching up here. If you follow me on Instagram or facebook, you’ve already seen the beginning of my plank walls and new floors. If you don’t follow me there, hang on, those posts are coming…
Hi sawdust girl
Love your stuff you are my inspirstion????
I’m renovating my house and taking on all your tips.
Wanted to ask you how you secured the shelf and middle plank in your second wardrobe for maximum strength?
Keep up the awesome work for us ladies
With 3/4″ plywood – probably around 60″ tall.