• Home
  • About
    • Personal Posts
  • Privacy
  • Shop
    • My Account
    • Checkout
    • Email
    • Facebook
    • Instagram
    • Pinterest
    • Twitter
    • YouTube
Sawdust Girl®

Sawdust Girl®

Renovation, cabinet building and woodworking plans and tutorials. Build like a Girl®

  • My Home
    • Clinton TN House
      • Clinton TN House in Progress
    • Maryville TN House
      • Maryville TN House Tour – Completed Rooms
      • Maryville TN House in Progress
        • Basement
        • Basement Storage Closet
        • Bedroom Office
        • Craft Room
        • Dining Room
        • Entry
        • Garage
        • Guest Bedroom
        • Hallway
        • Jack and Jill Bathroom
        • Kitchen
        • Kitchen Entry
        • Laundry Room
        • Library
        • Living Room
        • Loft
        • Madison’s Room
        • Master Bedroom
        • Master Closet
        • Pantry
        • Porch
        • Powder Room
        • Wes’ Office
    • Illinois House
    • Calderwood Cottage
  • My Workshop
    • Clinton Workshop
  • Build & Breakfast
  • Cabinet Making 101
    • Cabinets
    • Doors
    • Drawers
  • Projects and Plans
    • Countertops
    • Beds
    • Benches
    • Bookshelves
    • Desks
    • Gift Ideas
    • Holiday
      • Christmas
      • Halloween
    • Home Accessories
    • Kids
    • Kitchen Cabinets
    • Lockers
    • Nightstands
    • Organization accessories
    • Recipes
    • Sewing
    • Tables
    • Vanities
    • Wardrobes
    • Woodworking
      • Wood Finishing
    • Workshop
    • Workshop Storage and Organization
  • Remodeling 101
    • Baseboard and Trim
    • crown molding
    • Demolition
    • Door and Window Casings
    • Door Installation
    • Drywall
    • Electrical work
    • Flooring
    • Home Maintenance
    • Painting
    • Plumbing
    • Resources
    • Safety
    • Tile
    • Wall and Ceiling Treatments
  • The Sawdust Diaries
    • Andrea
    • Ava D.
    • Beckie F.
    • Cara C.
    • Courtney B
    • Fawn T.
    • Jenn D.
    • Kelly C.
    • Kristy K.
    • Lara T.
    • Malisa B.
    • Marnie D.
    • Robin C.
    • Val F.
  • Tools
    • Products
    • Tool Reviews & Overviews
    • Inspiration & Ideas

China Cabinet Base

All Posts, Kitchen

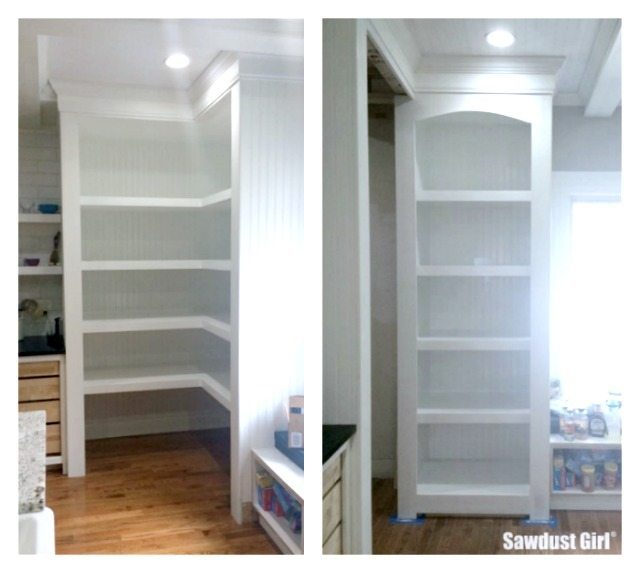
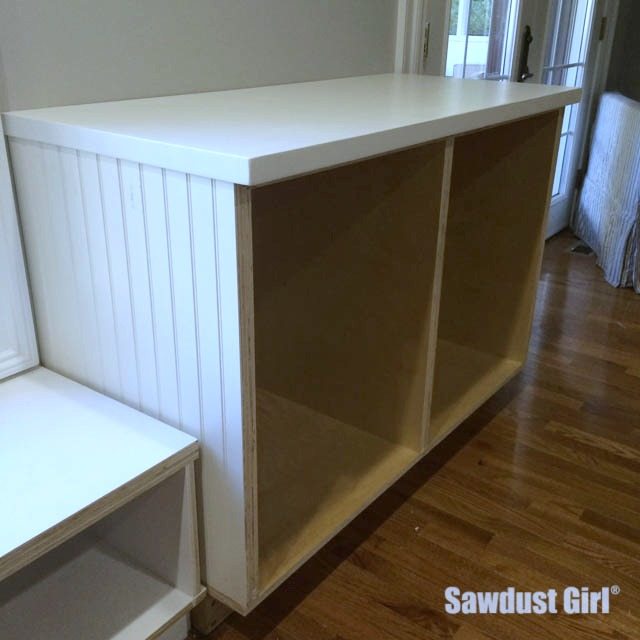
China Cabinet BaseOK y’all, we’re getting back to the kitchen renovation this week and I’m sharing all the details on my China Cabinet Base.  I vacillated quite a bit on the design because I really wanted a tall, one piece armoire type piece of furniture with sliding glass doors.  But, I NEEDed a place to house our toaster because we use it almost everyday and I don’t like storing daily used items in the pantry.  So, I went with a traditional “base with countertop and upper cabinet” configuration with every intention of tying it together with beadboard and corbels and trim, etc.
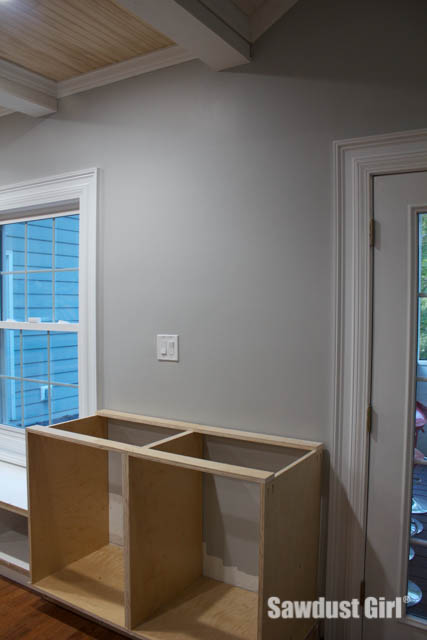
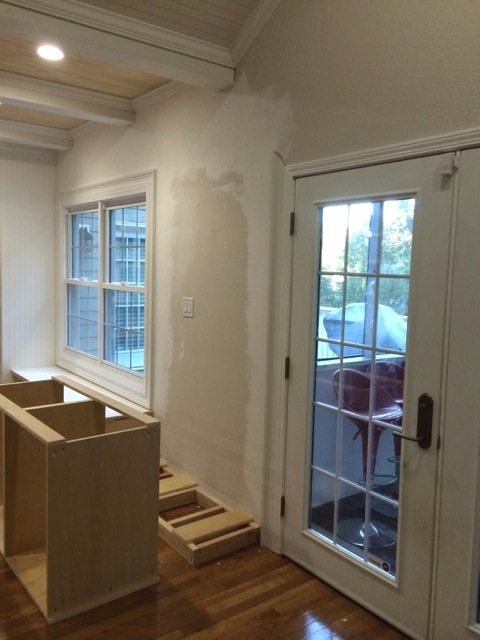
China Hutch baseI had to skim coated the portion of the wall that would be visible and my OCD made me just make the whole wall look good.

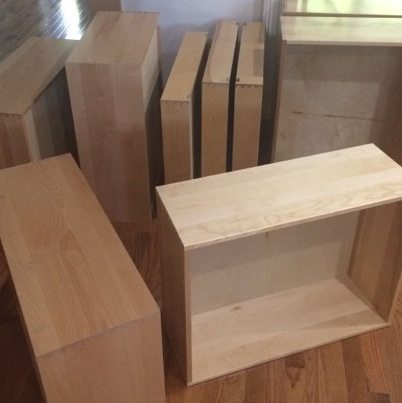
The China Cabinet Base is made up of two simple cabinet boxes that I joined together.  The sides and bottoms are pre-finished plywood.  The back is unfinished and I didn’t bother to do anything else with it because I have every intention of installing drawers so none of this will ever be visible.
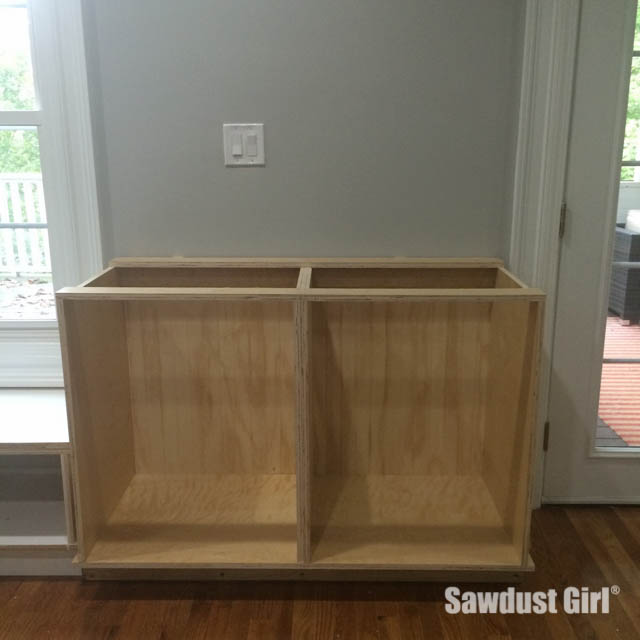
China Hutch baseMy top is made out of Maple plywood, edged with maple 1×2.  I dry fitted the top as well as cut and fit pieces of beadboard to affix to the cabinet sides.
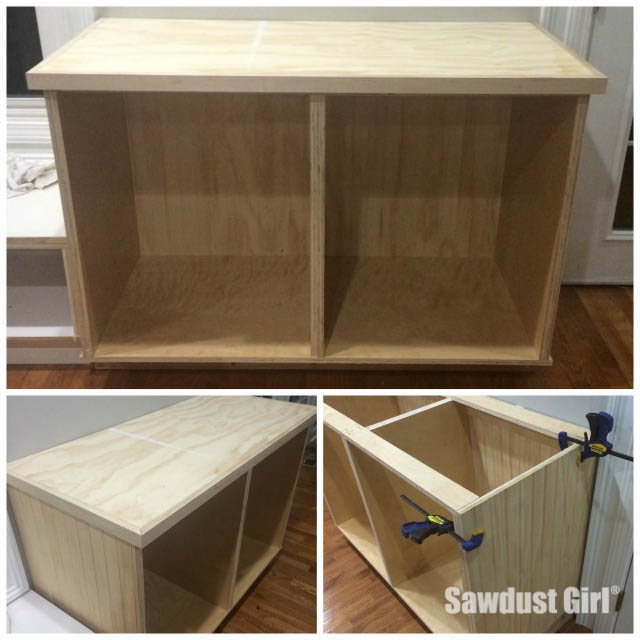
China Cabinet BaseThen I took the top and sides back into my shop and primed and painted them there.  It’s so much easier to paint beadboard when it’s laying flat.
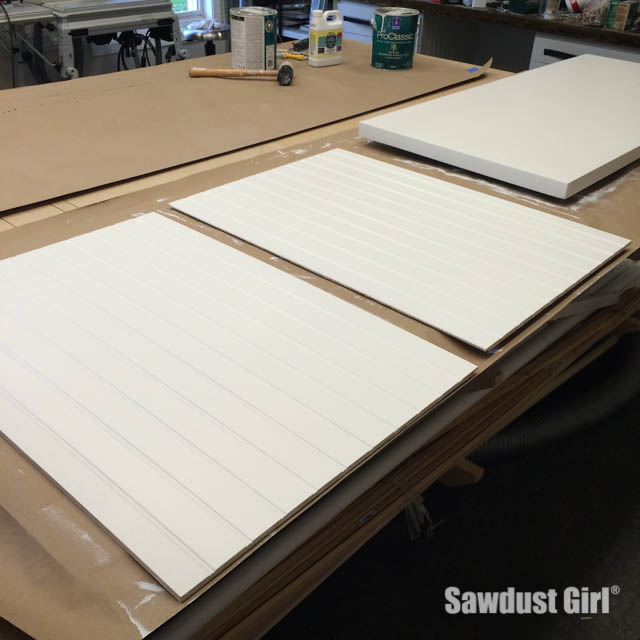
pre paint cabinet pieces when possibleAfter the paint dried, I secured the top to the cabinets (screwing through the top cleats you saw in a previous picture.  I used caulk as a glue and stuck the beadboard in place.  Caulk dries quickly but I used a couple clamps to hold the beadboard on while it dried and shot a few nails in the back where I couldn’t clamp.

China Hutch cabinet baseI waited until after I applied the beadboard to the sides to build the faceframe.  Then it was just a matter of measuring and slapping some poplar together.  (see How to build a faceframe.)
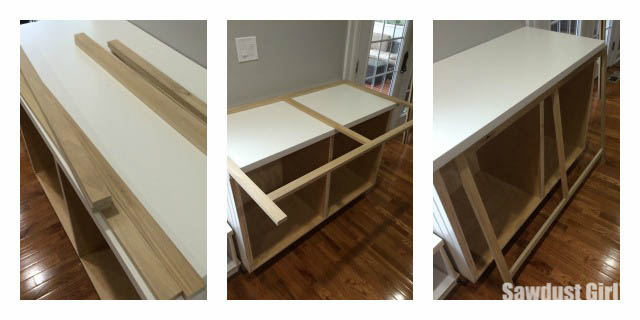
China Hutch baseI made sure I built it to the proper size before moving on…because building it’s the easy part.  Sanding, priming, painting and the super cool decorative toekick that I added was the time consuming part.
Get the free plans for this China Cabinet base here.

Next: China Cabinet Upper Hutch

March 2, 2015 · 4 Comments

« Console Table Woodworking Plans
Upper China Hutch »

Comments

  1. onecraftyprofessor says

    March 2, 2015 at 6:57 pm

    Lookin great!!!

    Reply
  2. Val says

    March 2, 2015 at 7:38 pm

    I found your blog not that long ago and haven’t read many of the articles. So I followed some of the links on this page, then other links, and more links, etc. Wow, what a wealth of information! Thank you Sandra!

    Reply
  3. Andrew says

    March 3, 2015 at 3:04 pm

    Hi Sandra,

    I am curious about your moldings and casements and where you got them. Thanks.
    Great looking work by the way.

    Reply
  4. Jack Sander says

    March 4, 2015 at 2:43 am

    The base cabinet turned out really nice. I really like the side panels.

    Reply

Leave a Reply Cancel reply

Your email address will not be published. Required fields are marked *

Categories

New Post email notification signup

You Subscribed!

Legal Stuff

Terms of Use

Privacy Policy

Disclosure

Recent Posts

  • Building and Installing a Giant Faux Beam on the Ceiling
  • White Wash Pine Wood Ceiling
  • Lodge and Life Update
  • How to Choose Which Track Saw to Buy in 2021
  • How to Choose a Paint Sprayer to Buy in 2021

Disclaimer:

Although it is my intention to provide accurate plans and clear instructions, not all plans have been tried and tested. Using plans or information found on SawdustGirl.com indicates that you agree with the Terms of Use policy and will accept full responsibility for the process and outcome of any project you attempt. All plans are for private use only. Plans and information published on SawdustGirl.com may not be reproduced, republished or distributed in any manner without written permission from Sandra Powell, Sawdust Girl. Actual projects built using Sawdust Girl plans may be published on your own site without instructions or "tutorial" as long as you provide a link to my original post with full post title or "SawdustGirl.com" as link title.

Copyright © 2022 · anchored theme by <a target="_blank"