Tips for installing inset drawers on Faceframe cabinets
Installing inset drawers on Faceframe cabinets is simple enough. You simply have to block out the cabinet behind the face frame. You can do that any number of ways: fill the whole space with a false side (waste of wood), install horizontal cleats everywhere where you are planning on installing a glide, or install two cleats vertically on each side (one in the front and one in the back).
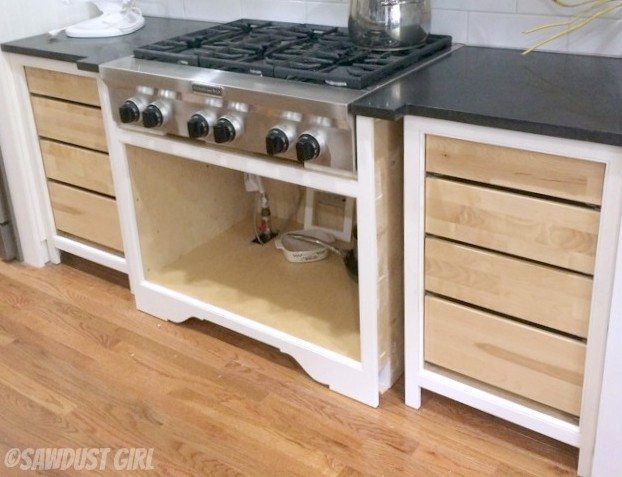
Depending on your specific situation, use a combination of thicknesses to create filler blocks that will end up being flush with your face frame. You want the filler blocks to be exactly flush with your faceframe.
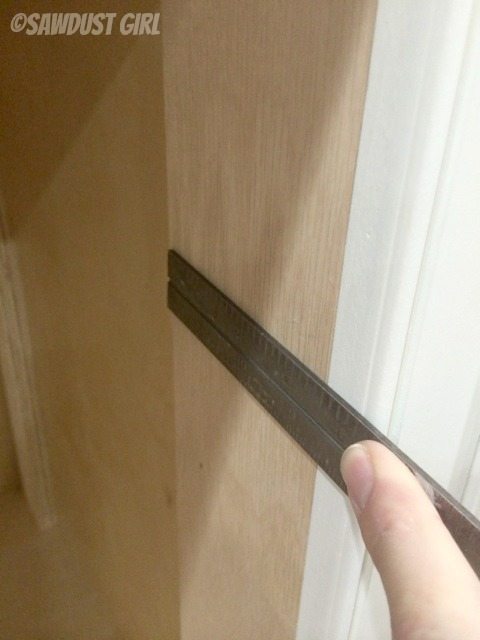
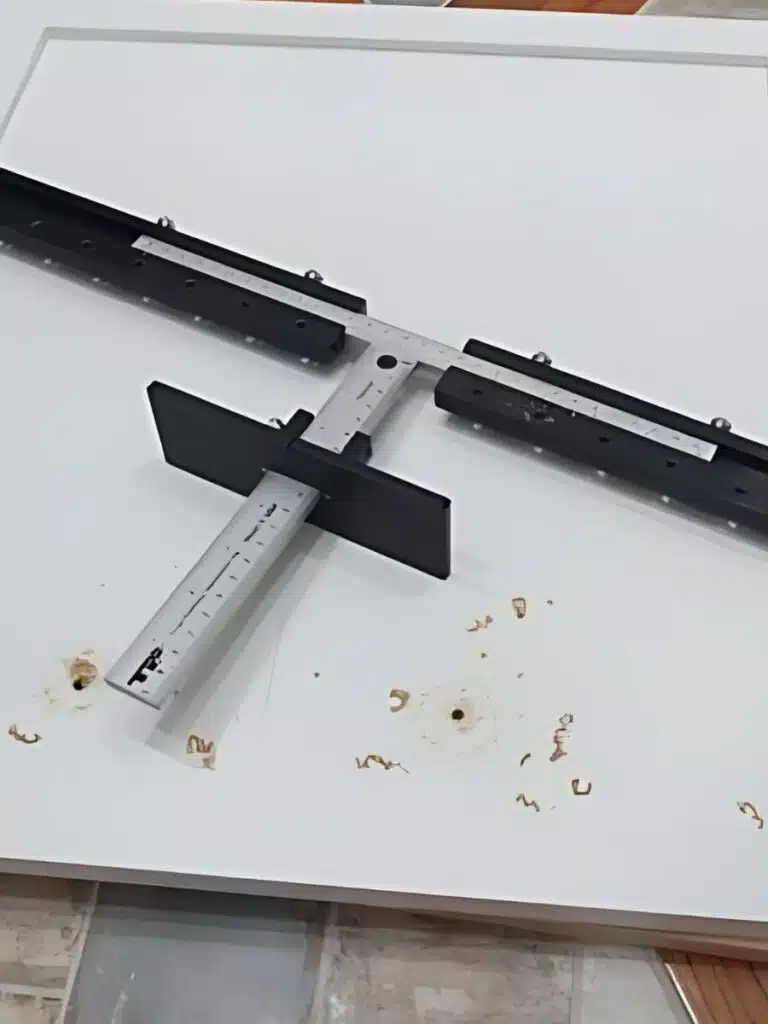
Then the easiest way to get the perfect setback (IMO) is to use your combination square again. Set it at the required setback per your specific drawer glides (they’re all different). Use the horizontal slotted hole to secure the glide loosely to the cabinet, use your combination square to ensure the glide is exactly where you want it and then tighten the screw in the slotted hole securely. Then add the remaining screws. I used 4 screws per side. 2 in the front and 2 in the back.
Start at the top, use spacer boards to hold the glide at the desired height while you secure it. Move the spacer to the other side of the cabinet to secure the other glide. Then use the next spacer to install the next drawer glide and so on…
Depending on the type of glide you are using, you will have different clearance requirements for over and under your glide so you have to refer to your specific drawer glide installation instructions for that info.
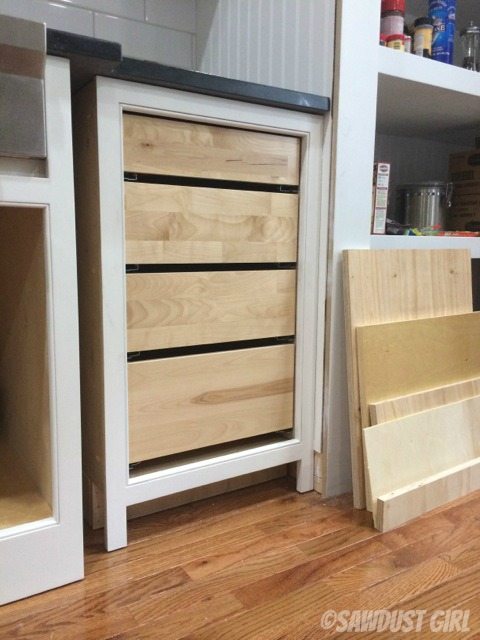
You might also find my tutorial for drawer installation with side mount glides helpful.
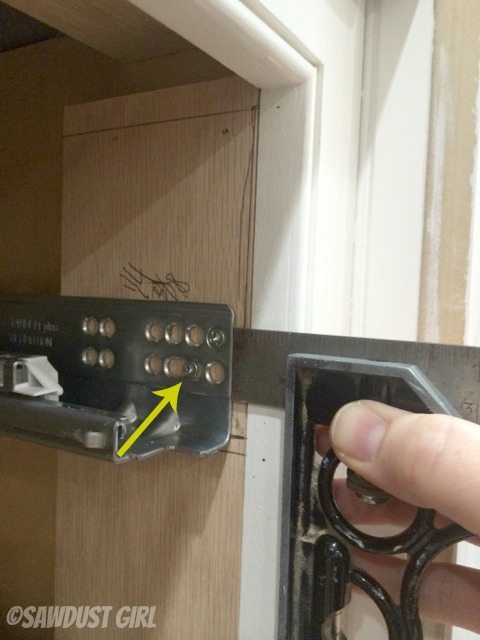


If you buy rear brackets along with your slides you dont have to make filler blocks for the rear. This makes forward and backward slide adjustment a bit easier if for some reason youre off the mark. I’m about to do just that. I have one screw in the front of the slides and the rear bracket just holds the slides up at the back. So all i have to do is move one screw and reposition using YOUR advice (thank you) using the combination square to make them all identical distance from the front face. Thanks for your post!!
great post and in the nick of time. I do have a combination square and used it after reading your post. Thanks Sandra!
Great post! The Cabinets looks awesome.
Great tips! The cabinets are looking really good…I’m jealous!
Dur! I put a filler strip on each side for every single drawer slide (on a cabinet with 9 drawers!)
Why didn’t I think to just use one at the front and the back?! Totally remembering that for my next project; my bathroom vanity.
Oh, and I use a combination square for everything! We even built a deck using one as a deck board spacer (it wouldn’t fall though.)
Cheers,
Kristen
Don’t feel bad. I did the exact same thing, though luckily only for four drawers. Even after I was done, it never dawned on me to do it the easier way.