Tile Ready Shower Pan Installation
When I started this bathroom remodel, I knew I wanted a tile shower including the shower floor. My choices were to either build my own mud shower pan, or find a tile ready shower pan. I didn’t want to try to build a mud pan so I quickly began the search for a tile ready shower pan. I spent some time on The Floor Elf website reading up on shower tiling tips. Based on “the Elf’s” experience and recommendations, I was sold on using HYDRO BAN (paint on) waterproofing membrane. I decided to try the LATICRETE HYDRO BAN® pre-formed shower system which includes a pre-sloped, waterproof, tile ready shower pan.
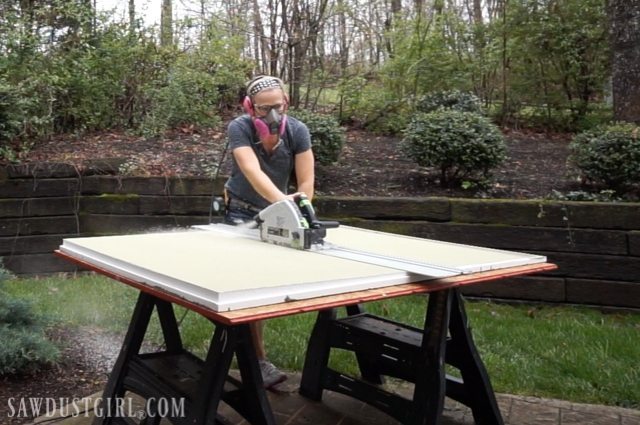
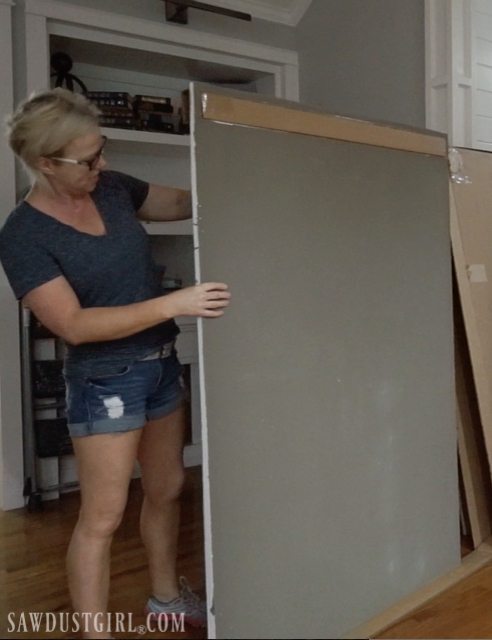
The drain placement was complicated because we have engineered floor trusses and, of course, there is a truss right smack dab in the center of my shower. You don’t want to go cutting into those so I had to get a shower pan with an off-center drain hole. I could have special ordered a pan made specifically for my space, but didn’t want the extra wait time. I went with a linear shower pan which has the drain located at one end. It was the exact right width but I had to trim it down to the correct length. It’s polystyrene and trimmed easily with my track saw.
There are two options for drain hookup of this tile ready shower pan:
- Hook it up from below, after the shower pan is installed.
- Rough in plumb the drain pipe to the correct height that it will need to be once the shower pan is installed in mortar. AND make sure that drain pipe is secure so you can properly seat your shower drain.
Option 1 is not an option for me since the space below this renovation is one of the few spaces in the basement that still has an intact ceiling. So I called in my plumber to do #2. (See what I did there?)
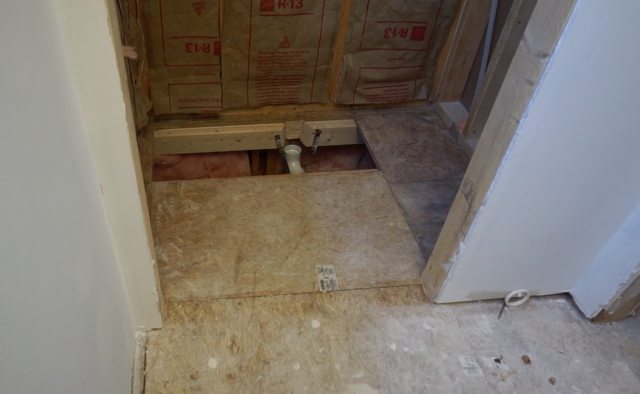
I had secured a 2×4 to the sill plate to support the subfloor patch. We notched that out and secured the drain pipe in the right location (we dry-fit the shower pan to make sure we got it right).
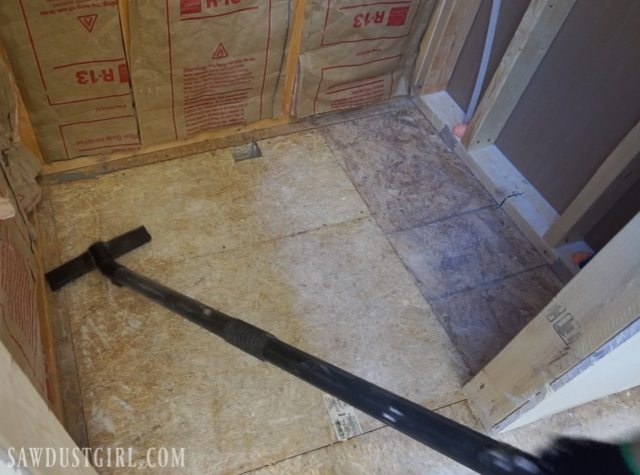
I cut out a 3″ hole in the subfloor patch, secured it in place and cleaned up.
Shower Pan Installation
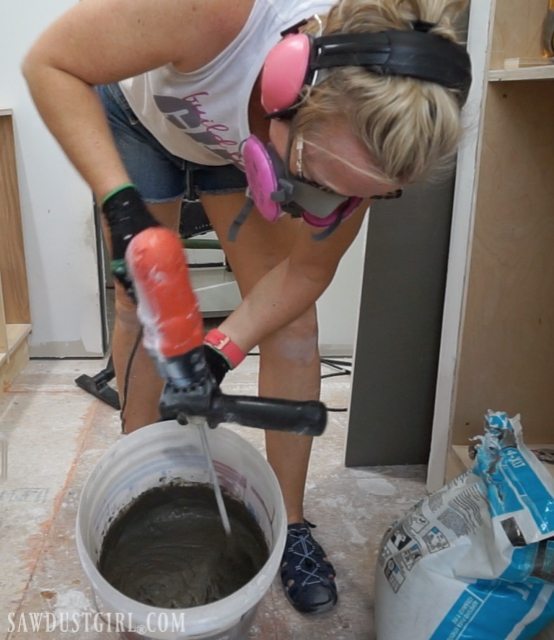
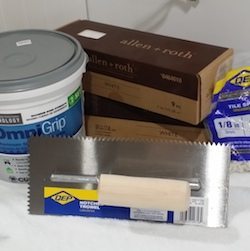
To install the shower pan, I mixed up 4XLT which is a medium bed, polymer fortified mortar. Then using a 1/2″ x 1/2″ notched trowel, I spread the mortar onto the entire shower floor.
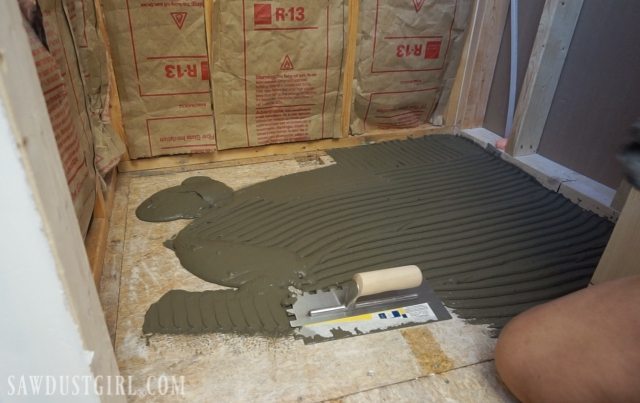
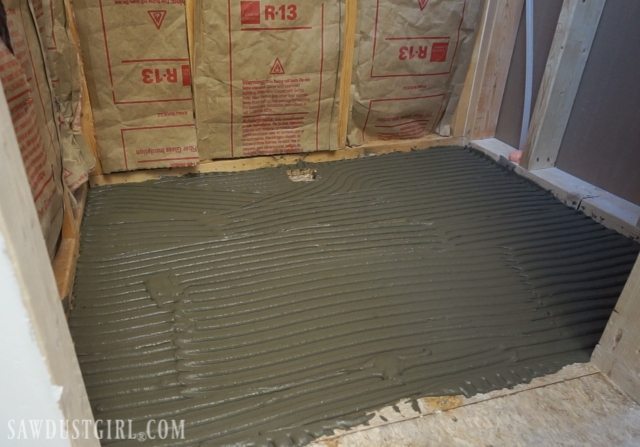
As per the instructions, using the flat edge of the trowel I applied a layer of mortar to the bottom side of the shower pan.
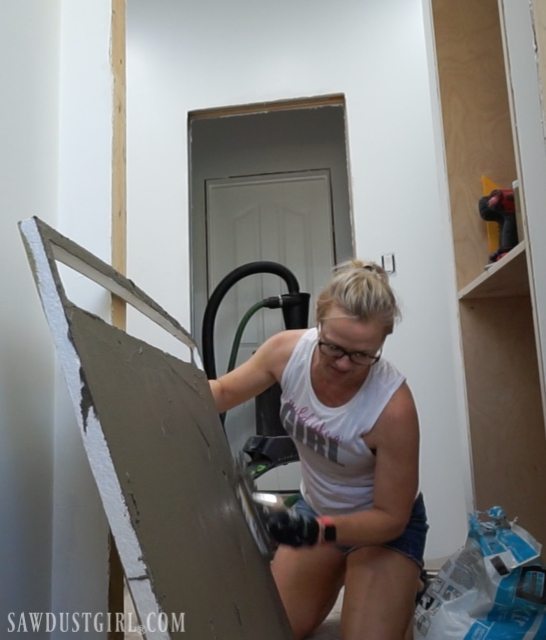
Then I pressed the shower pan in place making sure it was fully seated in the mortar bed and level.
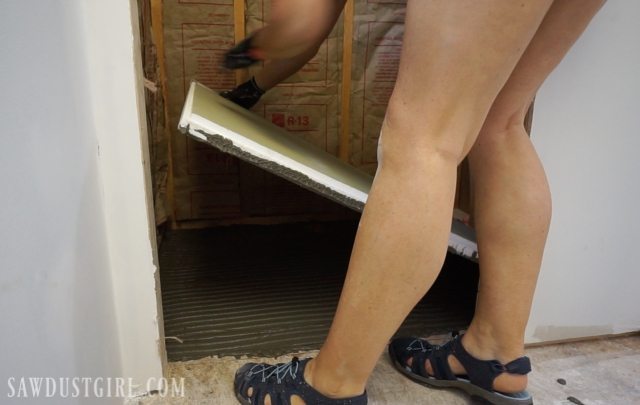
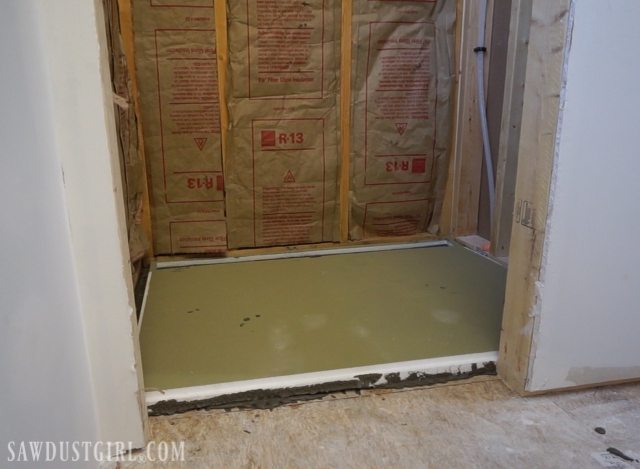
The linear drain is installed in a similar manner with the addition of a bead of HYDRO BAN Adhesive & Sealant under the flange. However, because I had my plumber do the drain connection I have no pictures of this step. He doesn’t allow me to take video or photos of his work process. He says it has something to do with America’s most wanted…
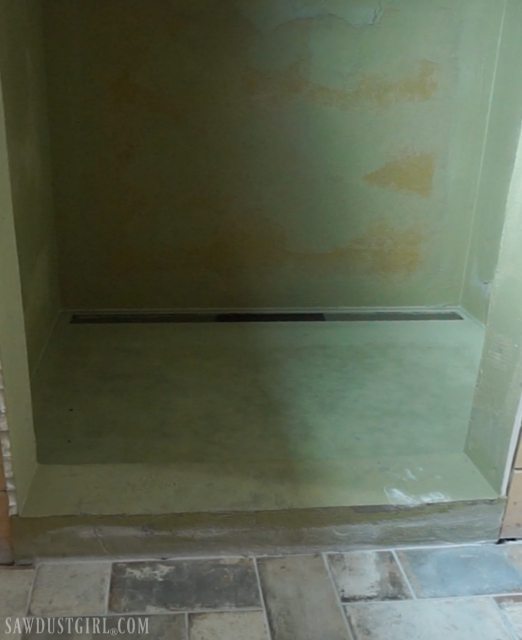
With the drain in place and all hooked up, painted at least two coats of HYDRO BAN over the drain flange and the Shower pan next to it.
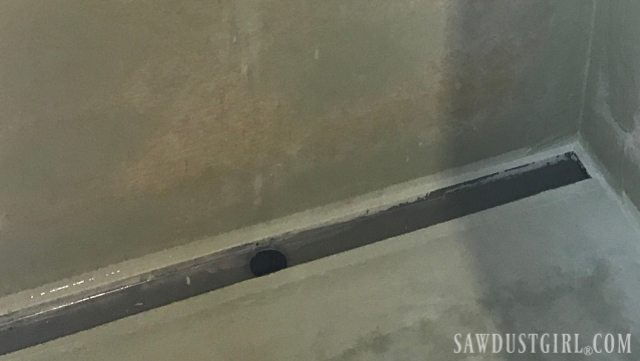
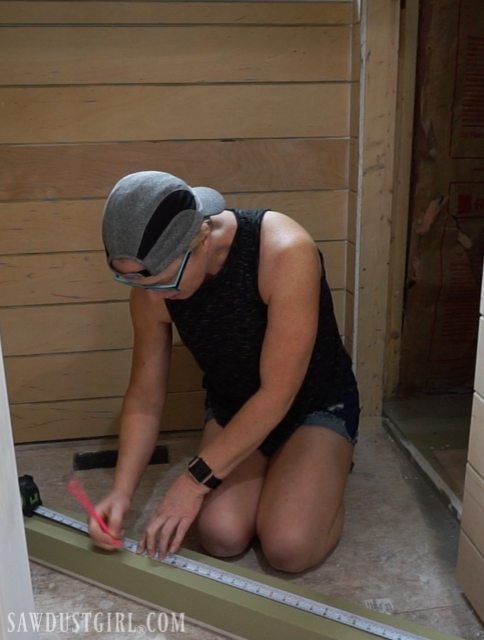
The threshold is made up of the same waterproofed polystyrene material as the shower pan. I cut it to length with my miter saw (because it was right there in the room) and set it into a bed of mortar with a bead of HYDRO BAN Adhesive & Sealant between the shower pan and the threshold.
Again, just paint the seam between the threshold and shower pan with HYDRO BAN and voila! The tile ready shower pan is in! Then you install your walls. The perimeter of the shower pan has grooves for 1/2″ shower walls to seat into. You can use 1/2″ cement board or HYDRO BAN BOARD, which is what I used.
I’ll share that process tomorrow. See you then!
*LATICRETE supplied product for this project.
I’ve never used or heard of Redi Trench. I’ve used Shluter-Kerdi and Laticrete and the Laticrete was way easier to work with.
is redi trench shower base a good choice? or do you recommend any others
Thank You so much for the information! You have definitely helped me, and many others, with your knowledge.