How to Build Hanging Storage Boxes
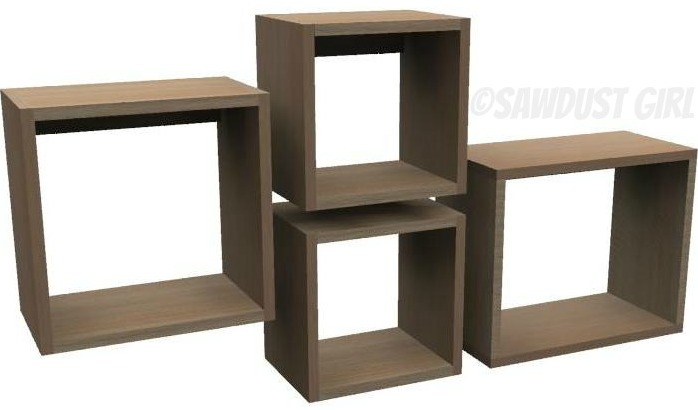
For someone who has never built anything before, taking on a big project can be daunting, so I’m sharing some simple plans today. These hanging box shelves are a good place to start because they give you a chance to experience a lot of the different aspects and techniques that make you a successful builder on a very small scale. You can use scrap 1/2″ plywood if you have it or spend very little on 1/4″ sheet and give it a try. After all, if you can build a box, you can build practically anything!
I’ve included dimensions for boxes in three sizes. The building instructions are the same for all three.
You can use 3/4″ thick material instead of 1/2″ if you choose, but you’ll have to reduce the width of the “wood colored” pieces by 1/2″.
How to Build the Boxes:
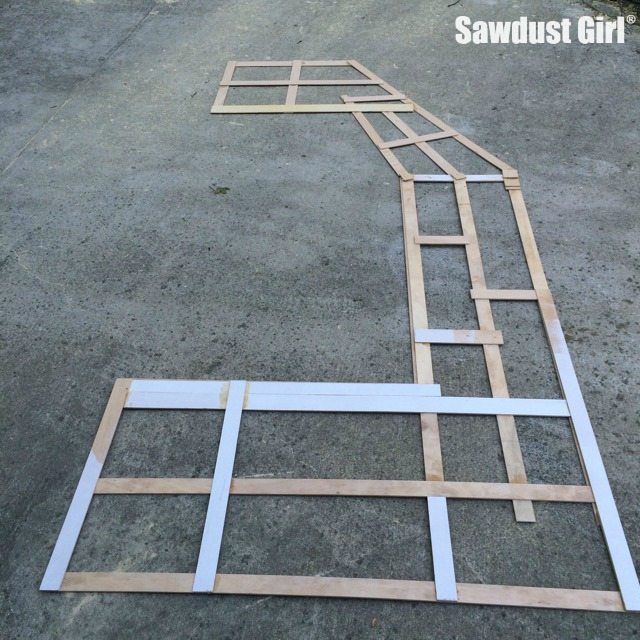
- Use wood glue and fasteners to secure the “wood colored” pieces inside the “white colored” pieces.
- You can use pocket hole screws, wood screws, or brad nails to experiment with all different methods, but I would use simple brad nails for functional hanging boxes so the fasteners are invisible
12×12 box
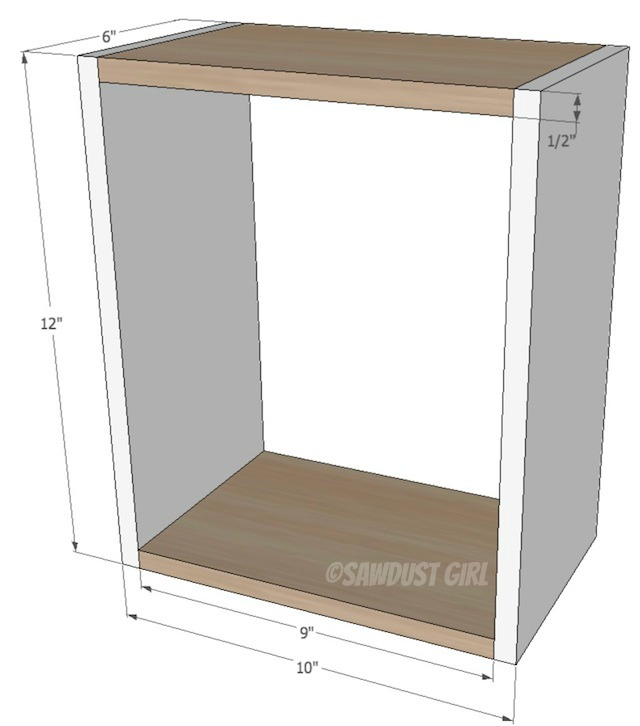
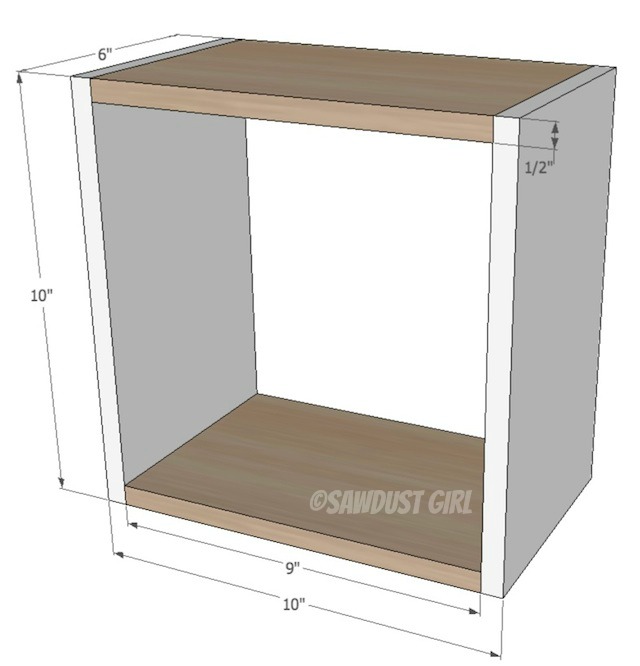
10×10 box
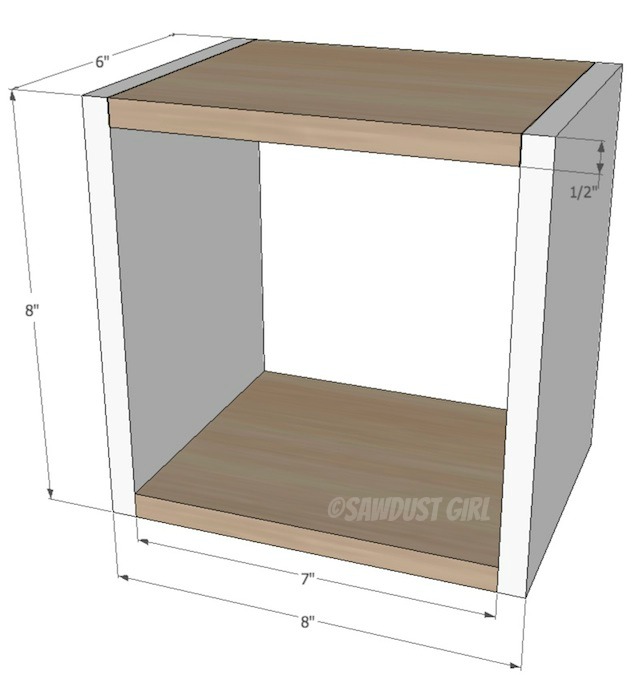
8×8 box
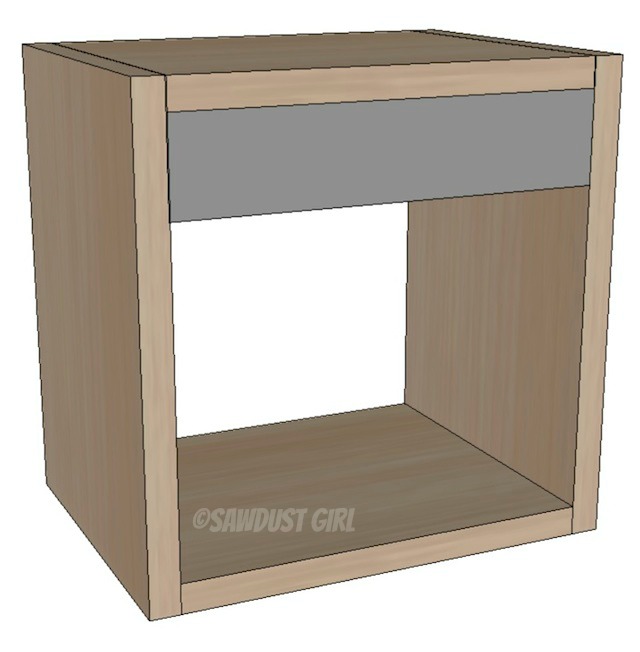
Add the Cleat for Hanging the Box
- The cleat is 1/2″ or 3/4″ plywood and fits inside the box at the top
- Secure with wood glue an brad nails
- This is how the box is secured to the wall. For future reference, in cabinetry, this is the same way base and upper cabinets are secured to the wall.
How to Hang the Boxes
- Screw right through the cleat into the wall-hopefully hit a stud.
- If no stud is behind where you want to hang it, use drywall anchors. I never waste my time on plastic drywall anchors. I always use the metal, self-drilling ones.
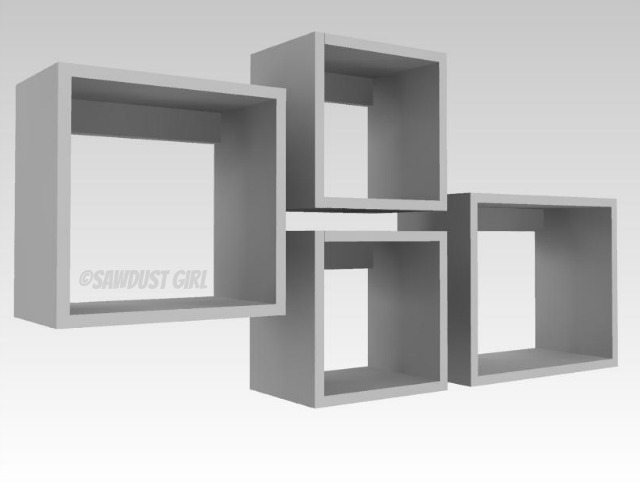
You can build a combination of sizes and cluster them together for a fun storage collection. They would be perfect over the Apothecary Console Table, don’t you think?
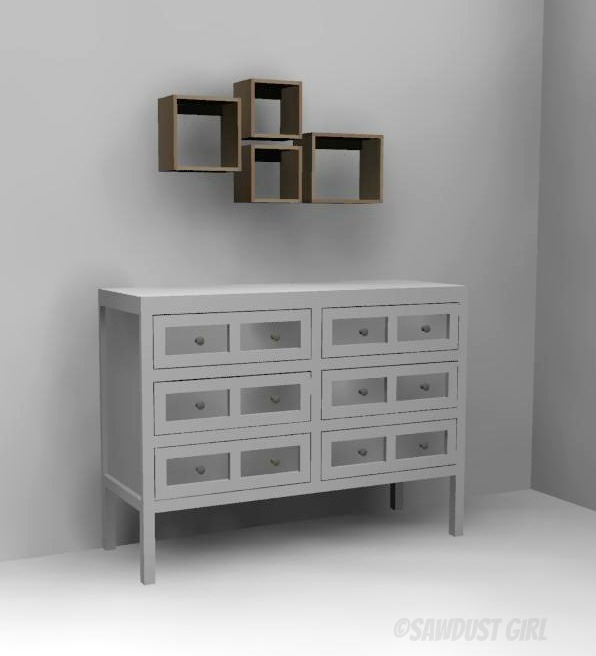
Hopefully, these free hanging storage box shelf plans have helped you on your way to becoming a confident DIY-er. If you are interested in my other free plans, take a look around my blog as I have quite a few! I also have tons of tips and tricks for new builders, as well as design tips. Good luck and good job on your journey of carpentry!
If I’m using the miter gauge to push lumber into the cut, I’m holding it tightly against the miter gauge so it’s not going to move to one side or the other. The wood won’t get pinched between the rip fence and the blade (which is generally what causes kickback). I’m pushing the wood straight into the cut, holding it firmly against the miter gauge which holds it’s place (doesn’t let it push against the fence). I have the fence set up so I can make repeated cuts without measuring each time.
In the video where you made some small hanging wall shelves, you used a table saw to cut the boards to length using the miter gauge and the rip fence together. Perhaps it didn’t show, but I have always been taught not to do this without a spacer block clamped to the user end of the rip fence. (Allow for this blocks thickness when setting your cut length.) This block gives a small gap after you start your cut so that the wood doesn’t jamb between the fence and the blade, yet you have your spacing set for repeat crosscuts.
Hope my explanation makes sense. I wish I was still strong enough to tackle big projects like you do.
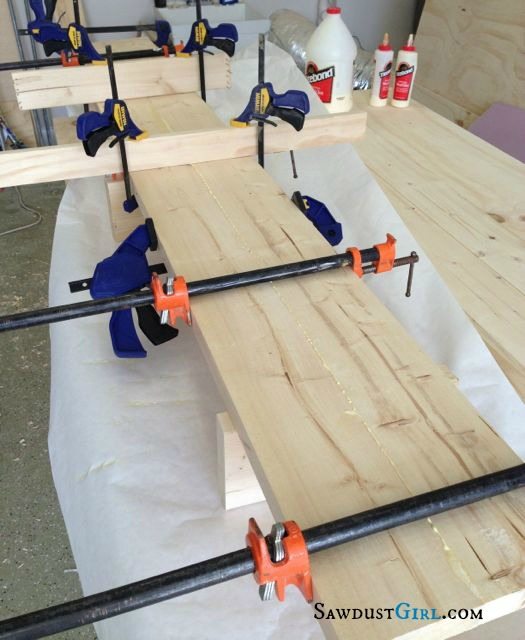
I don’t understand how we’re supposed to glue the boards together. Do I just use glue?! do I nail the boards together? If not, how will they hold anything without breaking, since they’re just held by glue? Please explain, as I would like to try, but don’t find the directions so clear (for me). Thank you.
What is the width of the boards?
This is nice. I can see it in a bathroom for storage and visual interest.