Small Bedroom Project – Wardrobe, Storage and Organzation Solution
I’m excited to share a new “small bedroom storage solution” Coaching project I’m working on with Kristy — who lives in Australia!
Yeah baby. World wide.
The time difference is a tiny hurdle..then there’s the metric thing. I talk in inches and let Kristy do the translating. It works!
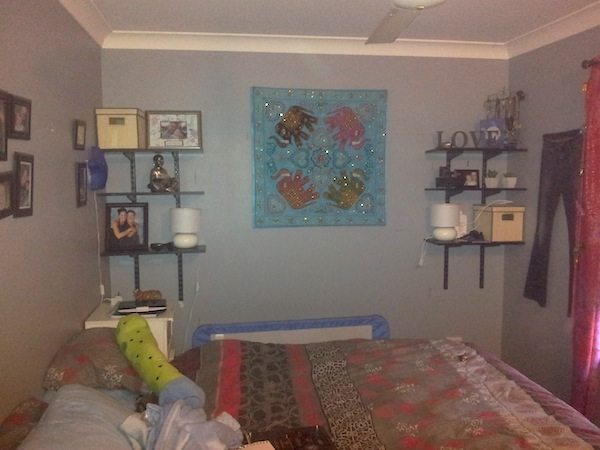
Kristy has a small bedroom with a small closet and needs as much additional storage space as we can possible eek out of this room!
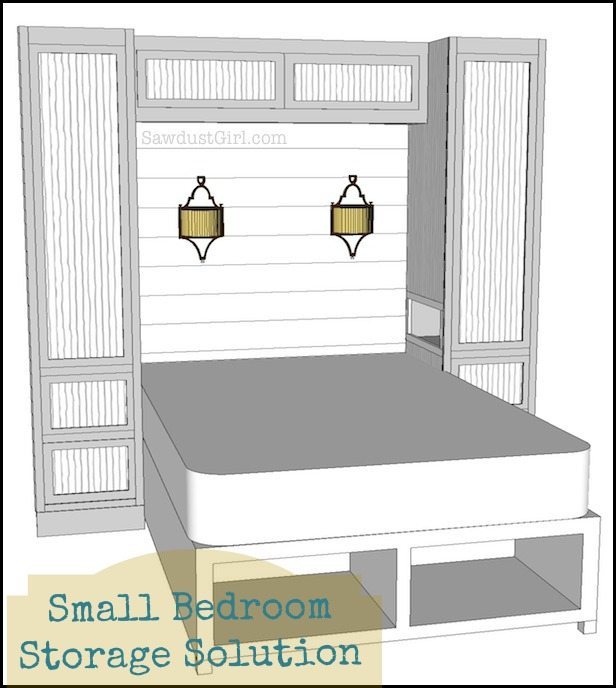
She is building two tower wardrobe storage cabinets, a horizontal cabinet in between the towers and a platform bed with more storage. Her towers have storage pockets to hold all those things you need a night stand for. Plus, she’s adding sconces so there will be plenty of light for reading.
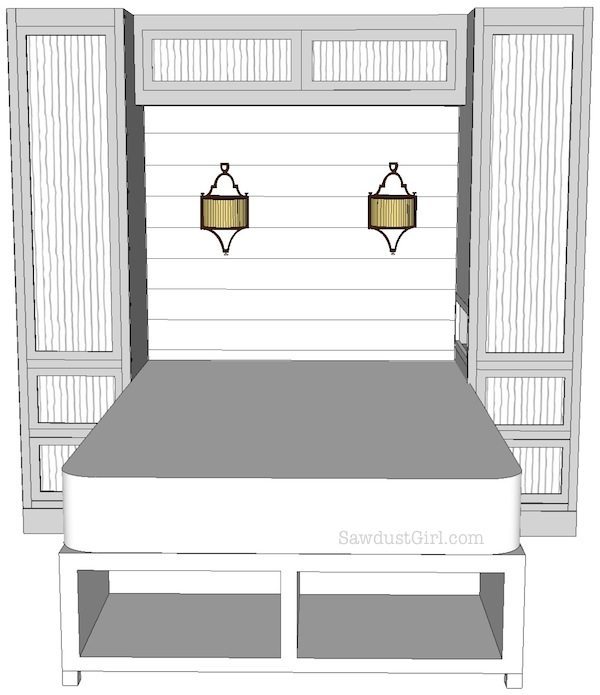
This is such a great solution to adding storage and organization to a small bedroom. Here is where Kristy’s Sawdust Diary begins…
![]()
I am at the end of my first week tackling what now seems like a hugely ambitious project for someone who has never used a nail gun!
It took a few days to really get past the planning phase as I spun Sandra’s head off with a half way round the world time difference and metric measurements (luckily for me some of our tape measures also show inches on the flip side…..for the old folk in Oz who may actually remember them).
Once my final plans were ready it was time to get materials cut, using MDF instead of plywood as it is about a 5th of the price in Oz. After so many days of just talking, planning and thinking I was so excited to actually be at the hardware buying my MDF that I did not really consider how I was going to get it home. With some of my pieces being nearly 8ft long and 2ft wide I realized, too late, that it was going to be tricky with my 3yo and all his gear on board!! A quick phone call to mum and she arrived in her tiny little car (almost as tiny as my own!), We got it half way in and I was thinking YEEEESSS this is going to happen until it got stuck on the headrest, after ripping off seat covers, head rests, baby seat, pram and all the other junk in mums boot we finally managed to squeeze it in and as mum pulled away I was quite pleased with myself. Reality hit though that I was now sitting in the middle of the hardware trade centre with all the gear that wouldn’t fit in the car and a bunch of people either staring or trying really hard not to stare. I just smiled like it was all part of the plan…
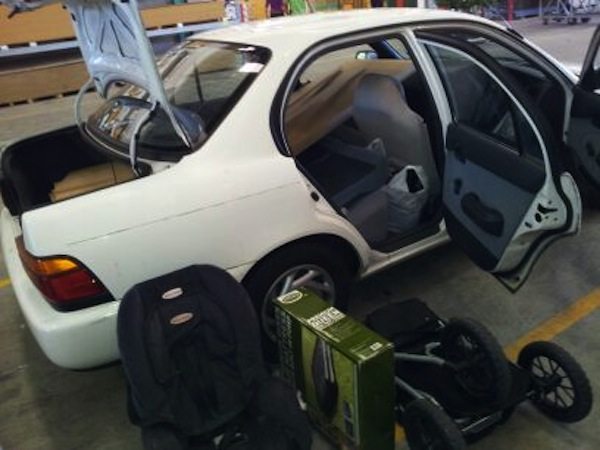
Some of the main things I have learned so far are ….think more than one step ahead, check measurements two or three times before actually cutting and double check the cut plan for sheets cut in store (or you may bring home 4 pieces cut wrong – yes I did this).
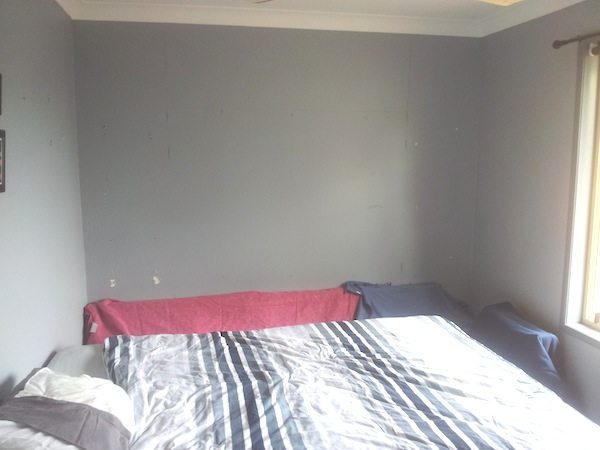
Another awesome thing I learned is that NAIL GUNS ROCK, I was sooo scared of this thing – the compressor (which I had also never used) seemed to have a life of its own – I imagined it was going to be like having a play fight with a professional wrestler so I paced back and forth wrote a letter to my son in case anything bad happened (Jokes) and decided it was now or never!! WELL I just want to nail EVERYTHING now. On a side note, my house is small and totally full so I have nowhere to work and must work in our bedroom (where the towers are to be installed) I can’t even move the bed out so instead we are sleeping on a pull out in the lounge until this is done – let’s call it motivation to complete project asap.
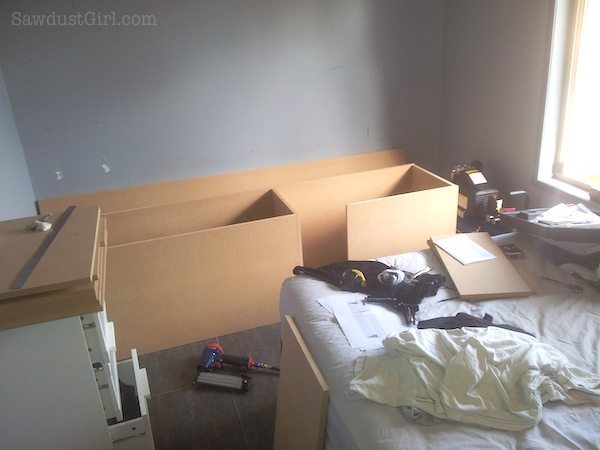
As I get everything laid out on the floor ready to assemble I realize the tower will be too tall to stand up once I have put it together, a quick call to Sandra and I get to use my circular saw…hooray problem fixed! Cut 5 or so inches off the bottom and make some bases to put the tower on once assembled…easy but just ANOTHER step to add to the ever expanding list of steps!
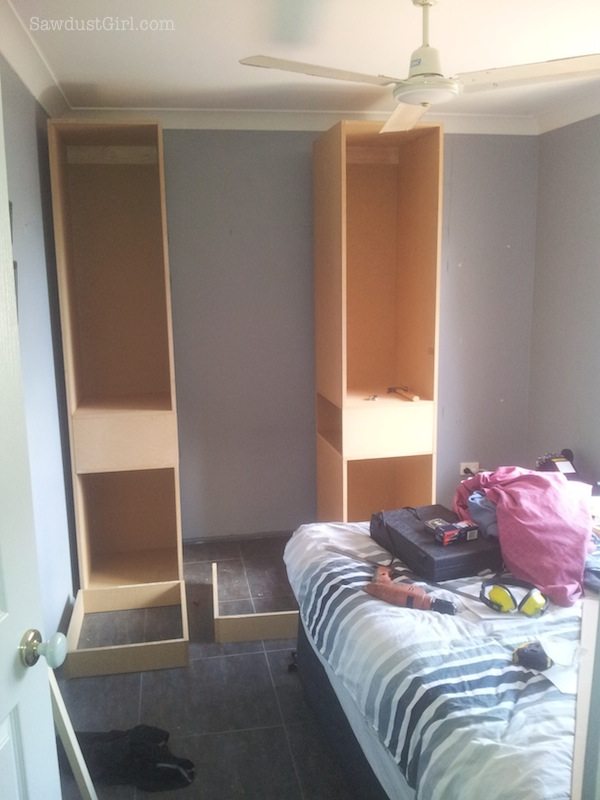
The first of my two towers came together well except I assembled the pieces in the wrong order and ended up with a 9 ½ “cubby instead of the 9 ¼” that was planned (and already cut to size OOPS) – lucky I had extra MDF from my first mistake and I got to taste some more MDF while cutting new cubby panels (was a better option than pulling apart what I had done!) So after Skyping Sandra in a tizzy she managed to make me feel better and explained how to fix it. The second tower went up in a flash no real hiccups!!
So as I am now into the early part of my second week I have two complete carcasses and base frames…excellent!! BUT I just had an electrician tell me it will cost $250 to move a power outlet (which has to be moved before I can attach the carcass to the wall) and that he can’t do it for at least a week…NNNOOOOOO. I am going to try and do it myself because I don’t want to wait, job number one for the morning!!
![]()
Kristy is very gracious. There have been some hurdles to jump over with this project and she is a great sport about doing whatever needs to be done and has a GREAT attitude. She’s always smiling and laughing and is eager to work hard and knock this project out! That may be due to the fact that she and hubby are sleeping in the living room until the project is done. That’s some good motivation. 😀

Of course it’s always motivating to work hard on a project that is going to provide organization and storage which will make living day to day life more beautiful and stress free. There’s always that too. 😀
Want some help building something awesome too? Check out the details on my Services page.

What a cute idea, can’t wait to see the finished project. Could drawers be added on the bottom at a later time?