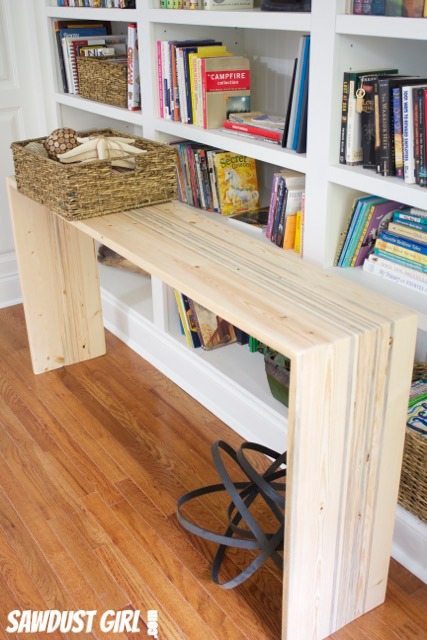
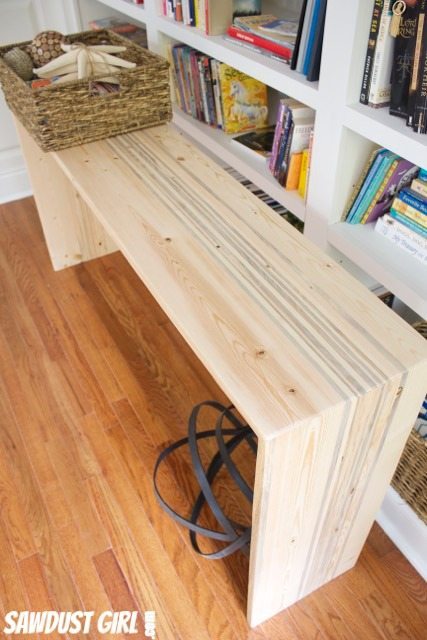
Natural Striped Wood Console Table
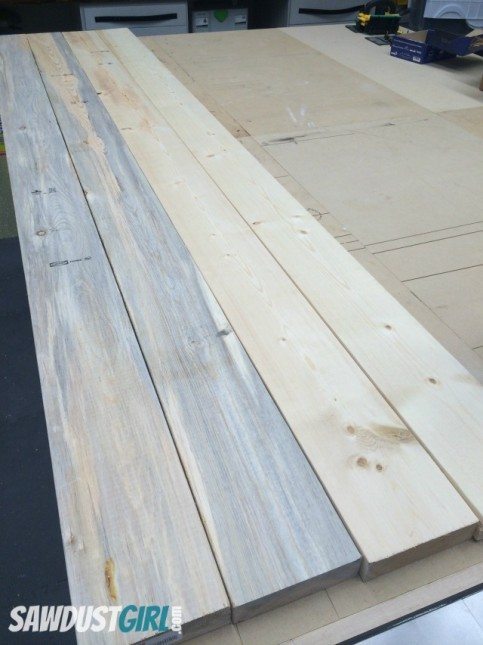
Cutting thin strips of wood is a task I do quite frequently and I just received GRR-RIPPER 3D Pushblocks. In order to try them out properly I came up with a project that needed lots of thin strips and I wanted to incorporate some really cool Blue Stained Pine I found at the big box store recently. I spent a total of $15 for three 2×6 planks.
Short version of how Blue Stained Pine happens: The Mountain Pine Beetle attacks the tree and introduces the blue stain fungal spores. The fungal spores germinate and spread to the sapwood and causes the sap flow to become blocked and the tree dies. Then the tree is harvested so it doesn’t go to waste. Voila’!
How to Build a Striped Wood Console Table
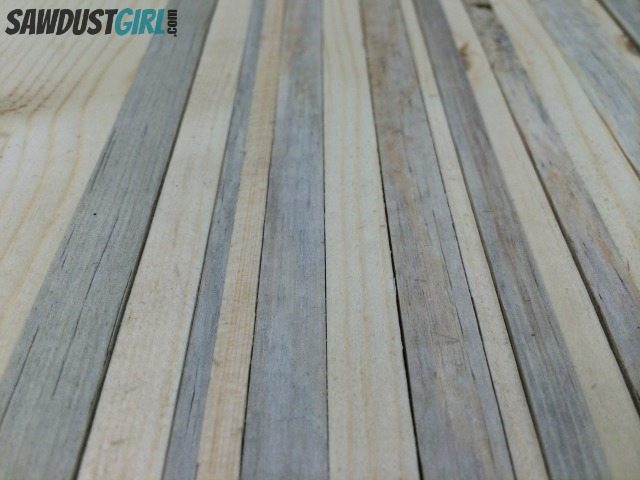
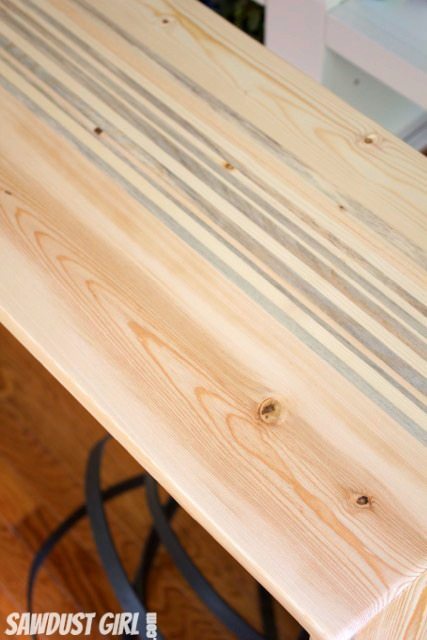
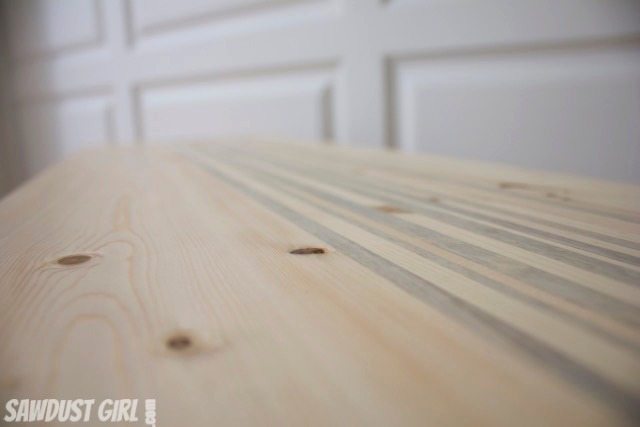
I wanted to create a striped effect using natural wood, without traditional stain or paint. So finding the Blue Stained Pine was perfect! All I had to do was cut a bunch of strips of varying widths in each color so I’d have plenty of options to play with in creating my design.
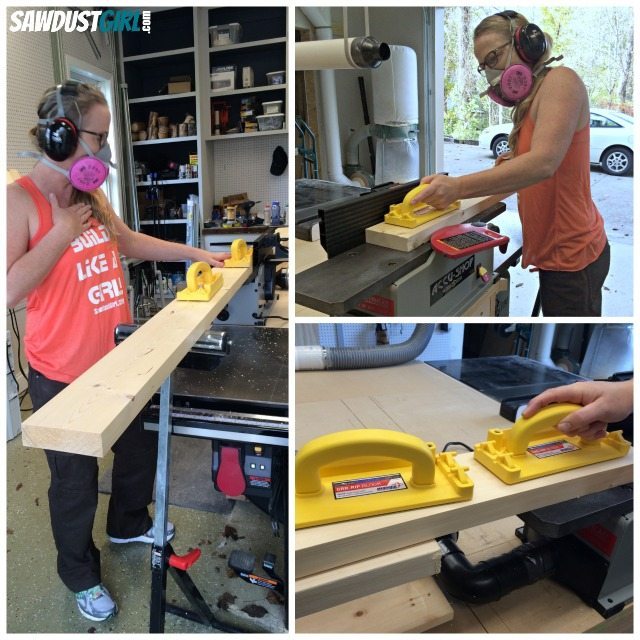
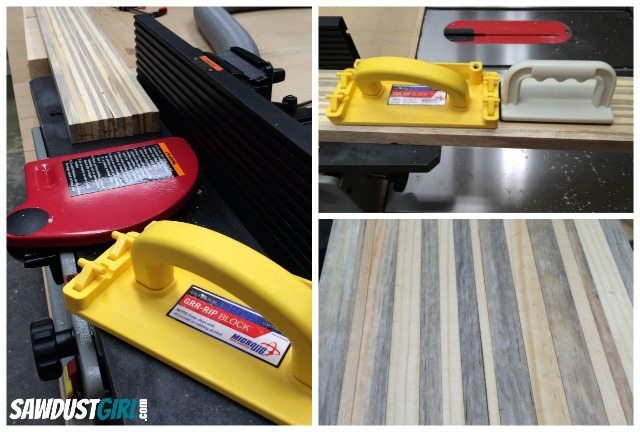
I used the Grr-ripper to cut these strips. The L shaped adjustable balance support drops down to the surface of the table saw to hold the pushblock level when ripping smaller pieces of wood. No tilting or rocking, just steady and solid. I specifically appreciate this feature.
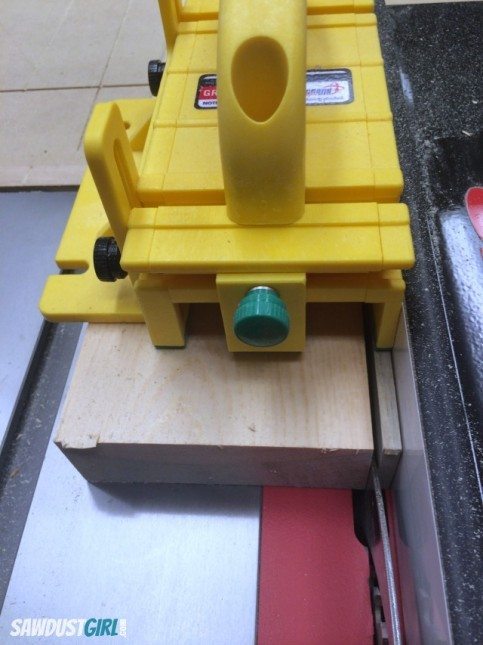
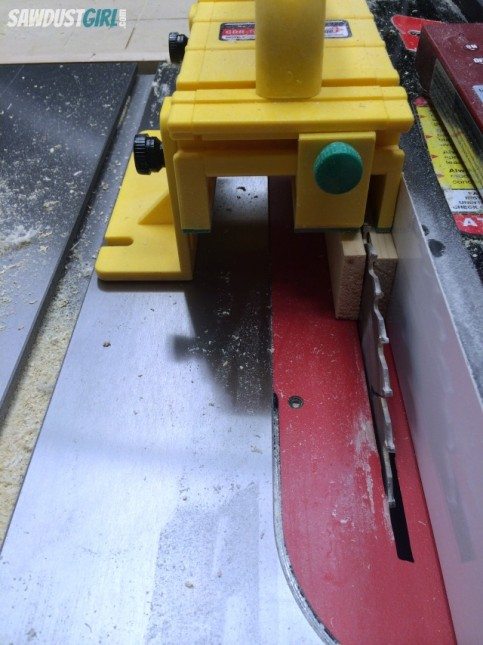
I found this “drop arm” feature especially useful when ripping beveled cuts. When the sawblade is beveled, it’s always more difficult to keep the wood snug to the fence and keep it from pulling away in the direction of the tilt in the blade. The GRR-RIPPER kept the wood straight and true– on the fence, and in turn on the blade, so I was able to use both sides of my beveled cut.
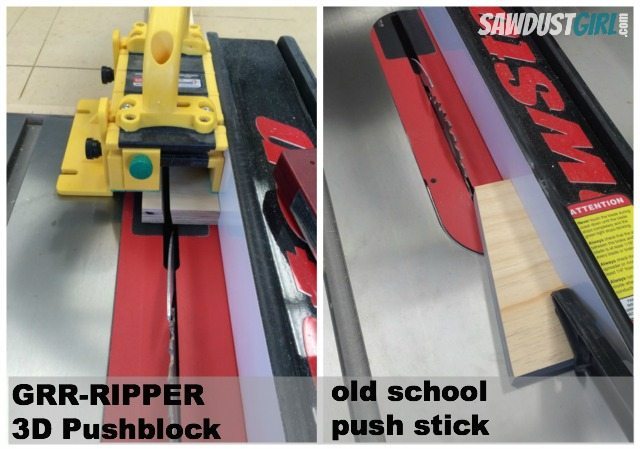
Additionally, without a bladeguard, my old school push stick did a fine job of pushing the wood into the blade but did nothing for applying downward pressure while over the blade. With smaller pieces especially, a featherboard would need to be added to the fence to apply that downward pressure — but I don’t have any kind of featherboard that works with my fence and have never taken the time to custom make one. (Who has the time?)
So, problem solved. The GRR-RIPPER pushes the wood through the cut WHILE applying downward pressure.
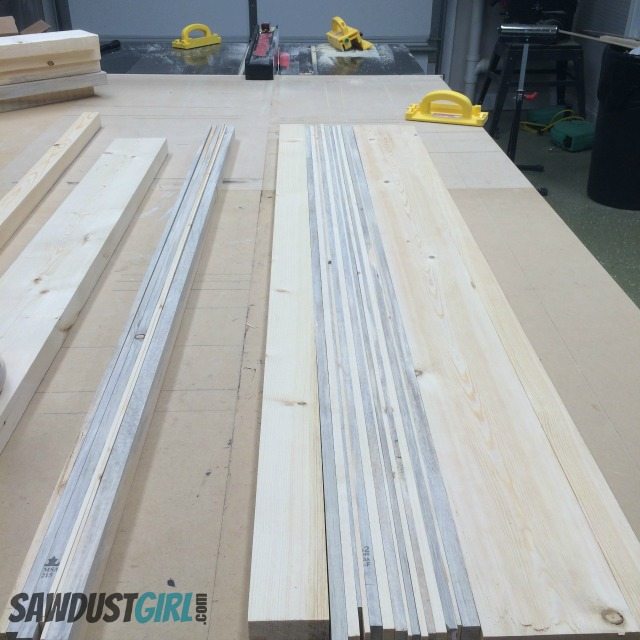
We’ve established that I used the GRR-RIPPER 3D Pushblock to rip a whole bunch of thin strips out of the two colors of common 2×6’s. I cut strips of varying width and cut way more than I needed so I’d have plenty to play around with while creating my design. I finally decided on just the right configuration.
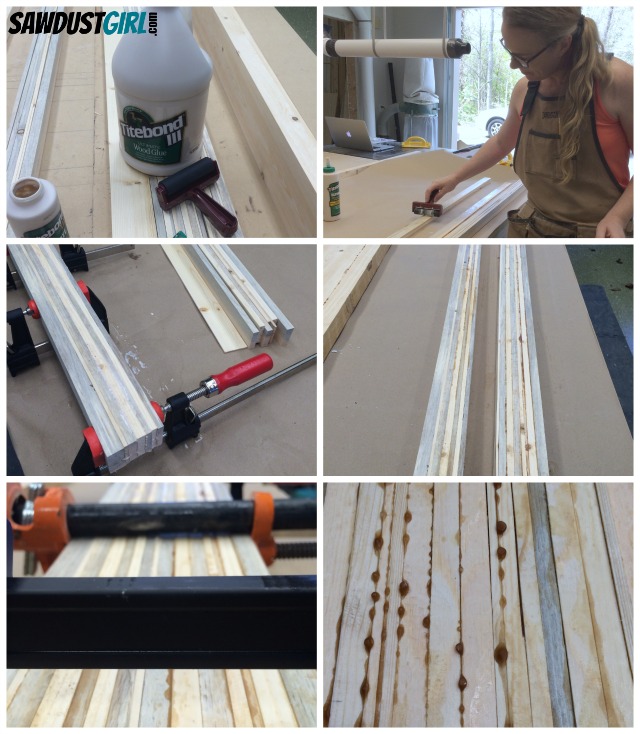
Then I glued up my strips into two manageable sections. Then glued those two sections together. During glueup, there’s a lot of slipping and sliding so I ended up with wonky surface – not to mention the glue globs.
I normally would have scraped off the glue with a scraper and then sanded for hours and hours to get a level surface but since I just bought myself a jointer, I put that baby to use. I love the jointer! I did not love the little pushblocks that came with it though. They literally slid across the surface of the wood. I tossed them and opted for the GRR-RIP BLOCKs that MICROJIG sent me.
They worked 100 times better than the piddly ones I tossed! (I also used these with my router table to route my faceframe beads which was awesome — but also for another post at a later date.)
I jointed and then planed ALL my wood to the same thickness before I moved on to building the table.
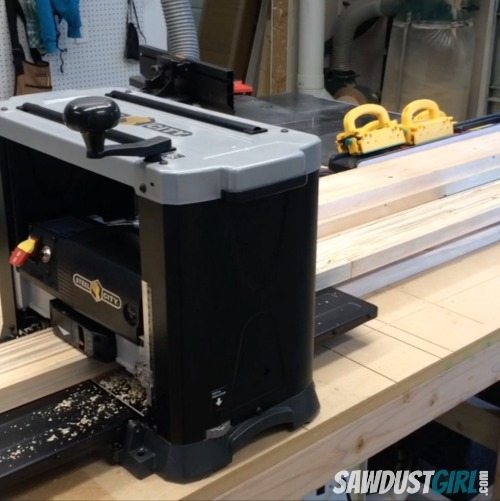
At this point I glued the parts together to create the full width of the table. I WISH I had a jointer and planer that were wide enough to accommodate the whole 14″ but that would cost like a million dollars so at some point you make it work with what you’ve got and I’m thrilled with what I’ve got.

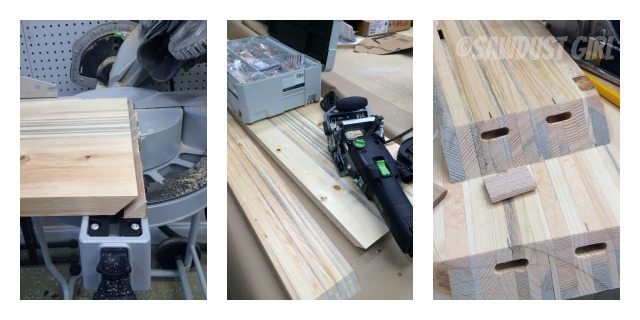
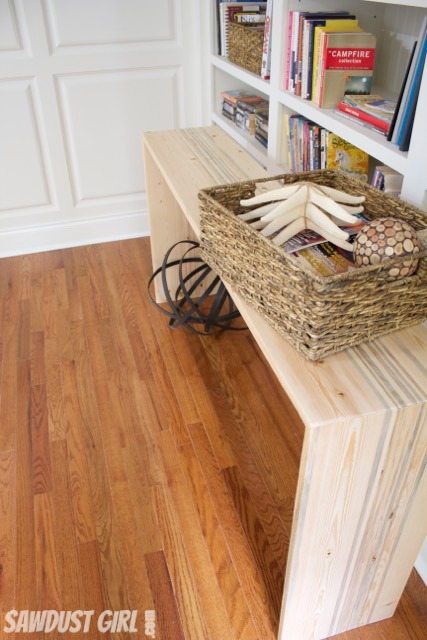
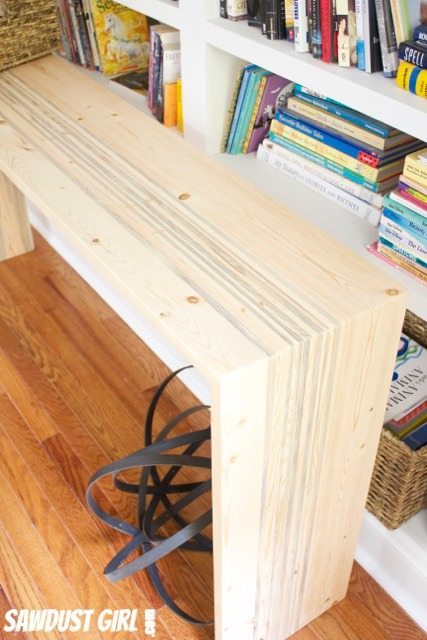
The tabletop and legs are mitered and I used loose tenons to add strength to my joints. A biscuit joiner or dowels would work or you could use a number of more technical joinery methods to join the legs. I used my Festool Domino. I glue all surfaces: in, out and on. Then clamp, baby, clamp!
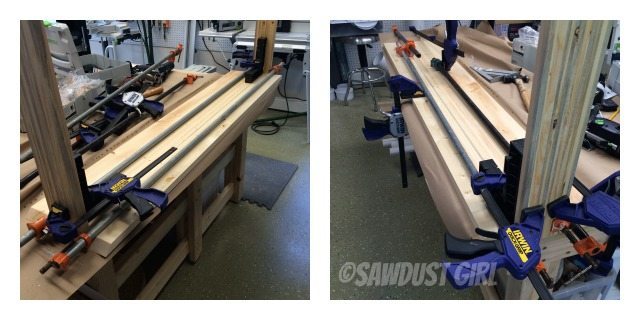
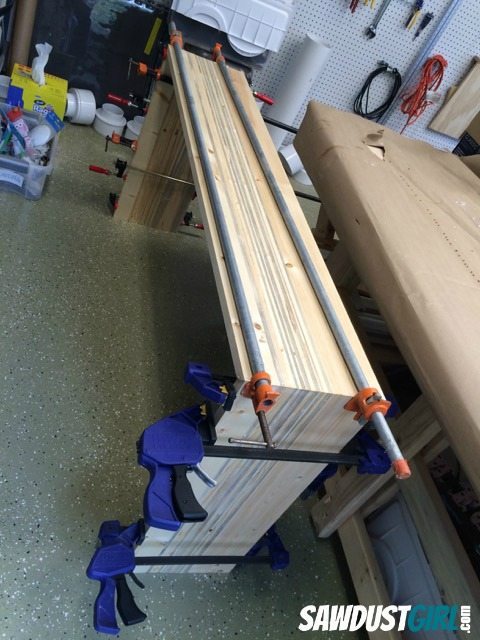
As you can see from the pictures, I added the legs in stages which is NOT the best way to go about it! BUT…I originally was going to make a bench, not a table…but I had TOO much fun playing with my jointer and planer and actually made my material too thin for a bench! You know I’m all about keeping it real and sharing my honest to goodness experiences: the good the bad and the ugly.
So I had make a table instead because it wouldn’t need the same strength — which meant instead of cutting the ONE leg in half and having two bench legs I had to cut more thin strips, trying to match the widths and colors as best as I could, and just schlopping through it.
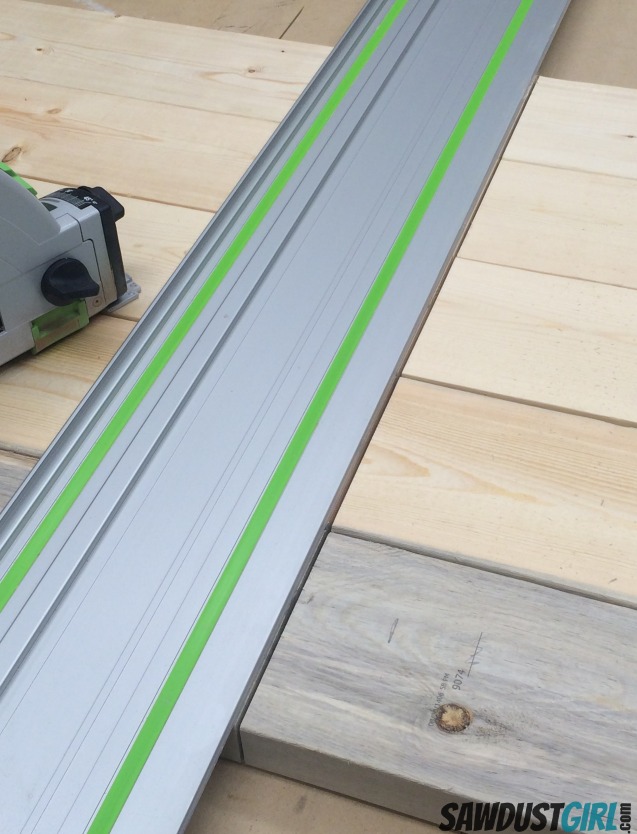
It would be so much better if you could create the width of the table and then cut it into three parts, bevel the joints and put it together! However, working with 11′ long pieces of lumber is really difficult. My table is 5′ long, legs are about 32″ tall. I chose to cut my pieces to just over finished length before ripping, stripping and gluing. I just find it more manageable to work with shorter pieces, even if it’s more work on the other end of the project.
Finish
I only waxed my table which does not offer any kind of durable protection but I wanted a quick finish that would enhance the wood and let me see what it would look like if I were to oil it. I was debating darkening it first.
I can easily remove the wax with mineral spirits and finish it with tung oil, which is my preferred finish. Then I might wax it again.
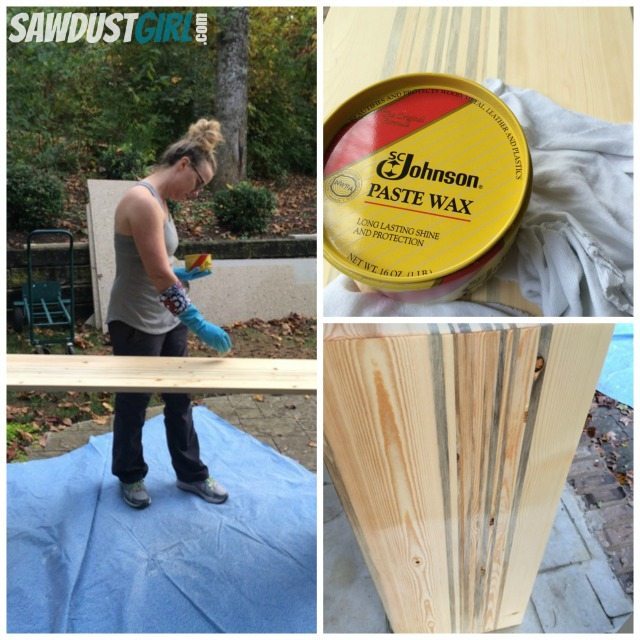
Wax on, wax off, wax on… Here is a great article from Woodworkers Journal about understanding wax and oil finishes if you’d like to fill your brain with a lot more info on that topic. You are welcome! 😉
I had a ton of fun playing with my tools to build this table and am pretty happy with how it turned out!


I’ve always wondered about making anything with mixed natural wood for this modern effect. Your table is gorgeous and tutorial will help us make a dining room table someday! Have fun with your “toys.” You’re a building machine and inspiration.
-Karisa