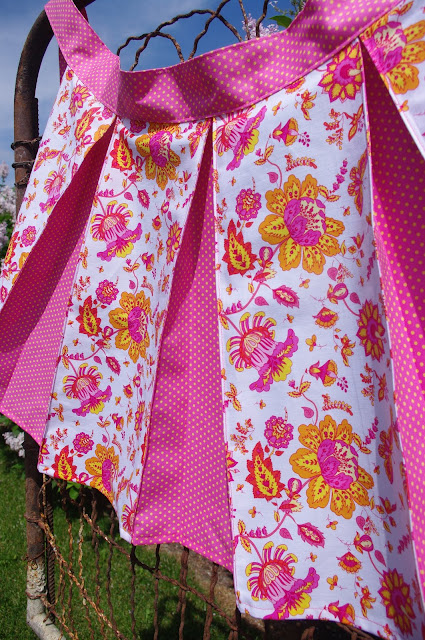
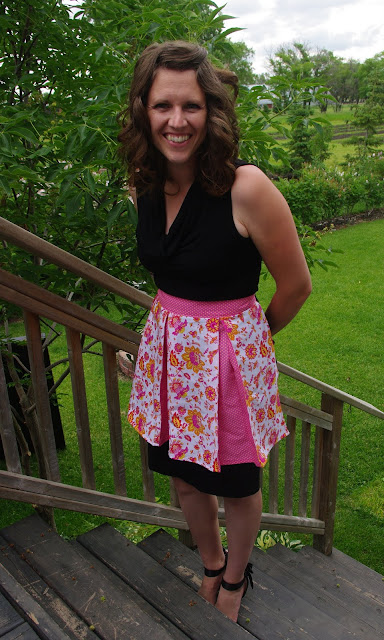
Chantelle from Thousand Square Feet is here to share how to make a cute pleated apron that would make a great gift for any friends or family that like to cook. Especially the ones that cook in cocktail dresses and stilettos.
How to make a Pleated Apron
The Fabric
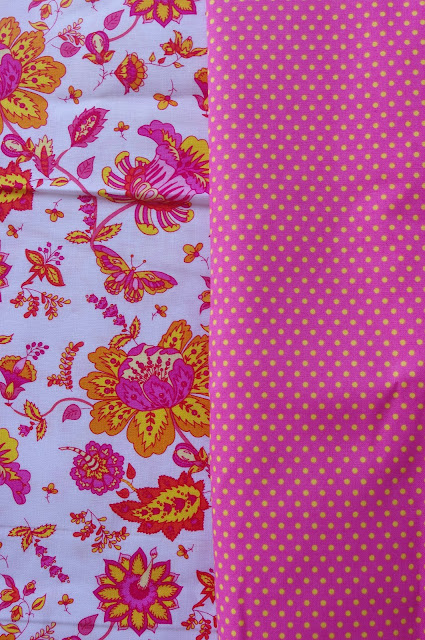
The most fun part about this apron is choosing your fabric! You will need two coordinating pieces of fabric and they need to be about 1 meter/1 yard each. I think you will only use about 30″ of the fabric but to be on the safe side, buy 1 meter/1 yard. I would suggest using 100% cotton but I am sure other fabrics would work, too. The main fabric I used for this apron is a Michael Miller print from the Summer Soiree collection and it is a beautiful pink, yellow and orange floral. I used a coordinating pink fabric with small yellow polka dots! So summer-y!
The Pattern
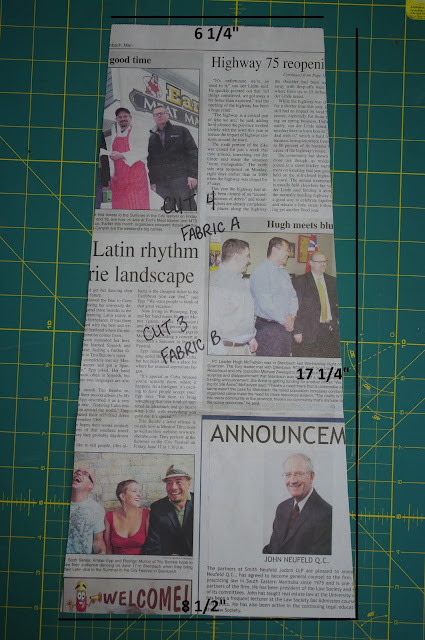
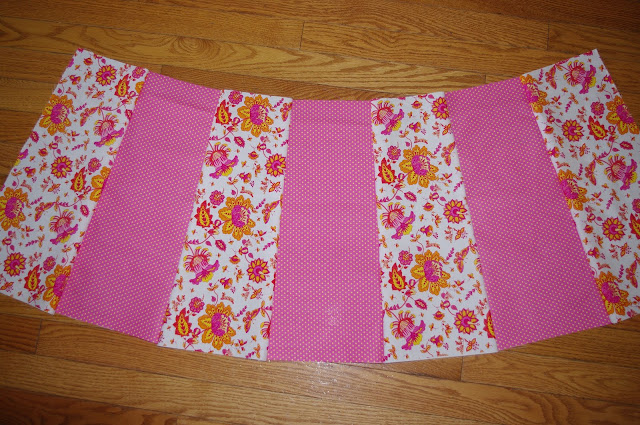
1. You will need to make yourself a pattern for this apron but, I promise you, it is very easy. Just one pattern piece is all you will need. The measurement across the top of the pattern is 6 1/4″, across the bottom it is 8 1/2″ and from top to bottom it is 17 1/4″. This will leave you with a 1/2″ seam allowance. Look at the picture for the shape you are trying to make. This is the pattern for the panels that make up your apron. Make sure to mark which is the top and which is the bottom of the pattern since you don’t want to be flipping it around on your fabric.
Cutting Your Fabric
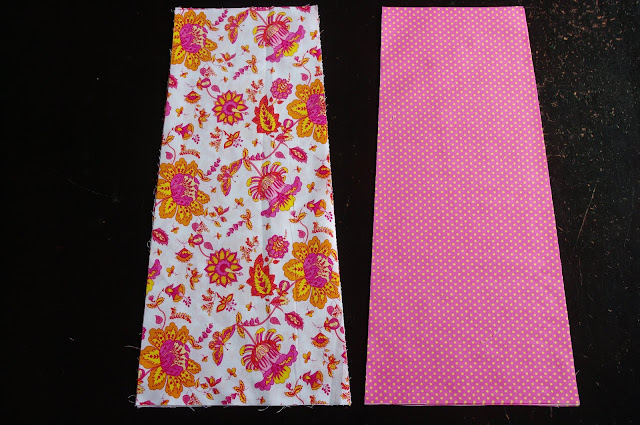
1. Cut 4 pattern pieces from your main fabric choice. This is the fabric that will be on the “outside” of the apron. We will call this Fabric A. Be sure to keep your pattern straight on your fabric, especially if it has a print. You don’t want it to look all crooked when you are done.
2. Cut 3 pattern pieces from your coordinating fabric. This is the fabric that will be under the pleats on the apron. We will call this Fabric B.
1. For your waistband, you will need to cut a piece of fabric that measures 5″ x 75″. I usually use Fabric B for the waistband but you can use whichever one you want. 75″ will fit an average person but you can adjust the length as you feel necessary. I am giving this apron to my grandmother (whose name is Anne thus the name of the apron) who is in need of a longer tie so I made hers 90″. More than likely you will not be able to make the waistband out of one piece of fabric and will need to piece 2-3 pieces together to get the length you need. You would be able to do it with 2 pieces, however, you don’t want to end up with a seam in the middle of the apron front; seams on the sides or in the back are not as noticeable. So, make sure to cut one long piece of fabric for the front of your apron and attach one or two shorter pieces to each end of your long piece. In order to attach the shorter piece of fabric to the longer piece, place the long piece right side up in front of you on your work surface. Place the shorter piece at a right angle to the longer piece with the right side facing down so the edges meet up. Draw a diagonal line from one corner to the other as indicated in the photo. Pin. Sew along this line. Trim off the excess fabric, taking care not to cut the waistband piece itself! Repeat on the other end of the long waistband piece, if needed. You should now have one long waistband/tie.
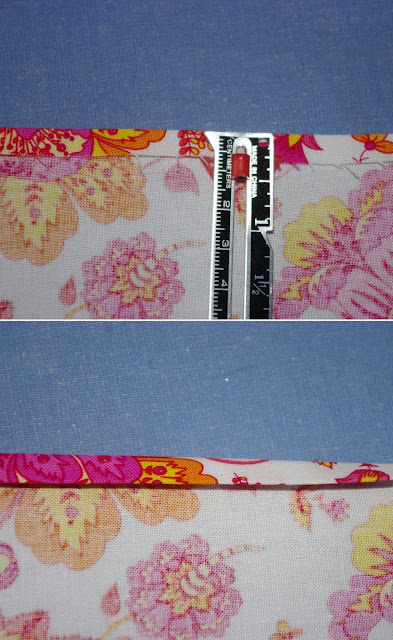
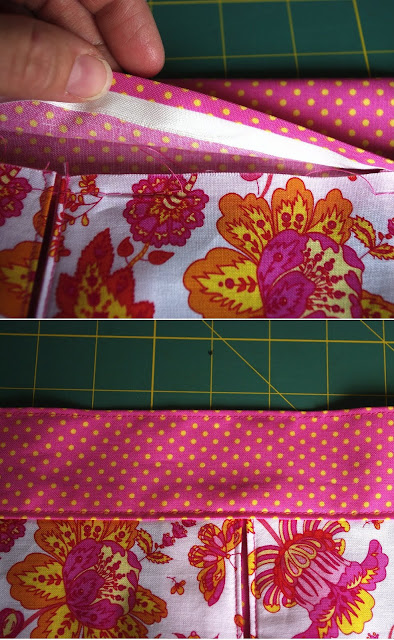
4. If you look at your apron, you will notice the center of your apron is in the middle of the second Fabric B panel. Match up the center of the apron to the center of your waistband. (You will need to remove some pins from your waistband in order to attach it to the apron. Do not remove them all.) Open up your waistband a little and slip the apron up between the two layers of fabric on the waistband. Slide it up until it is even with your 1/2″ fold you made. Fold the top layer of the waistband back over the apron and pin in place. Continue along the apron, working out from the center. Once it is all pinned in place, top stitch on all 4 sides of the waistband, using a small 1 /4″ seam allowance and ensuring you catch the apron in the waistband when you sew.
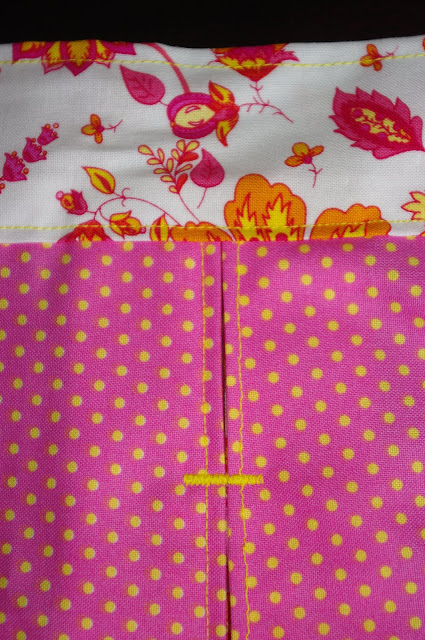
5. One final step before you are finished. If you have not pressed your apron, now is the time to do it. You want to concentrate on getting those pleats even and flat. You will notice when you look at the finished apron that I forgot to do this next part but it really helps to keep the apron pleats down (and now I cannot go back and finish it since I already gave the apron away! So the photo will be from another apron.). Measure 2″ down from the top of your pleat and draw a 1″ mark across the pleat. Bar tack the pleat down. I use a really short closely spaced zig-zag stitch and go back and forth a couple of times. Do this at each pleat.
5. YOU ARE DONE! Congratulations! You have made yourself a pretty fine apron! You should be proud of yourself! Now, get some more fabric and make one for that bridal shower you get to attend or for a birthday present or Mother’s Day or, of course, Christmas!





Kasey says
What a cute little apron and the tutorial seems pretty easy also!
Jane @ The Borrowed Abode says
Wonderful tutorial & super cute apron. Definitely need to make one of these 🙂
Katie from Sew Woodsy says
Love this apron! I can’t wait to make one for a future gift (*and of course myself too)!
Randi says
Absolutely adorable … love your fabric choices and I really like the femininity. You did a beautiful job!
kathleen says
thanks for sharing this pattern… I made one for my daughter with matching placemats… she’s moving into her own apartment in a month (college) and will love this! I will post pics on my blog.
thanks again!
Kathleen
Ellie says
Your apron is absolutely adorable! Thanks for sharing! I can’t wait to try making one!
Chino says
This is A-DOR-A-BLE! My girls would love one and the both have an Am. Girl who would love them too. By the way, I LOVE your blog! Its on my favorites list! I’m tllatoy with you on the “bee in my bonnet.” It’s the story of my life… and my blog. Ha!
SHIRL says
GONNA MAKE ONE NOW.. I AM USING HALLOWEEN FABRIC, GONNA MAKE MY D-N-L’S APRONS AND MITS FOR HOLIDAYS.. THANK YOU..
Nicole says
I just made a pleated apron for my mum. Thanks for the tutorial, very easy to follow.
The only bit of the tute I had a problem with was this:
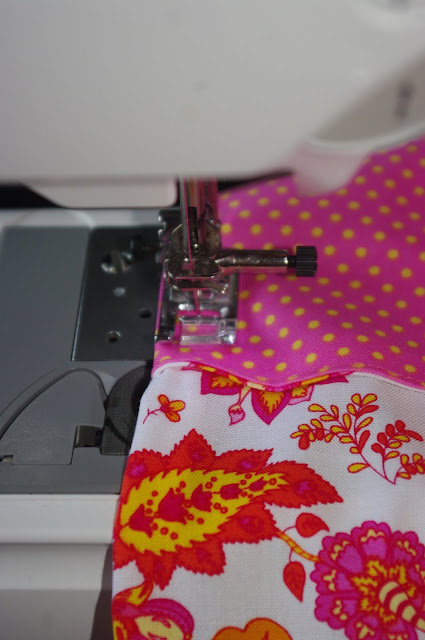
Remember when stitching along the bottom, if you actually did step 3, to sew in such a way so as the pin tucks you made are lying flat, as in the photo. It will be much easier to stitch that way then to go over the pin tucks the “wrong” way. Now the only raw edge that should be left is at the top of the apron.
In the photos, you have the B Fabric folded on top of the A Fabric when lying flat… I copied that and it is the wrong way to do it, later on the pintucks are lying the wrong way for the pleats to sit flat at the bottom.
Anshu says
Very cute apron. Love the prints you used.
Emma says
Just made this apron and it was so easy and came out beutiful.
Thanks for the tutorial
Cathy says
Just made this apron for my Daughters bridal shower. I used her wedding colors. It’s adorable. Thanks so much for posting!
Lillian says
Would this work to make a skirt? I’m guessing it would be just a matter of adding more pattern pieces right?
Sandra says
Probably. Give it a try and let me know!
Francine says
Your directions were so clear and easy! I made a Star Wars one today! Do you have a simple full apron pattern? Thanks!!!!!
Sandra says
That’s very cool. This is a random sewing project on my site.
Marjorie says
My first attempt at making this is complete success!! Thank you for sharing an giving simple directions-love how my apron turned out!