Removing Baseboard With Multiple Tools
Removing baseboard without damage to your wall or molding is a fairly simple task if you do it right. If not, you might end up damaging your wall or trim piece. This tutorial covers removing baseboard the old fashioned way with several common tools. If you’re interested in a faster way, check out my Trim Puller post.
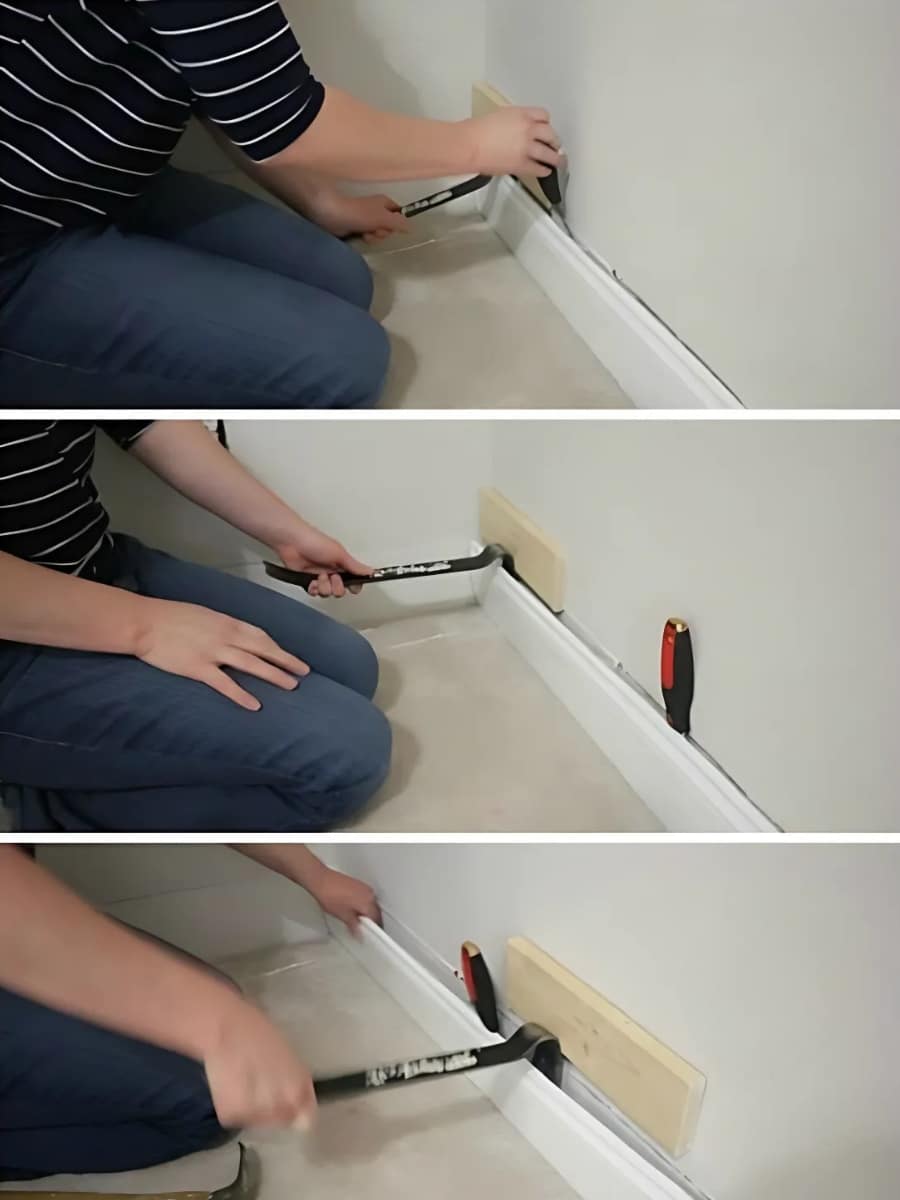
What you need to get the job done:
- utility knife
- 5 in 1 painter’s tool
- hammer
- pry-bar
- scrap of wood
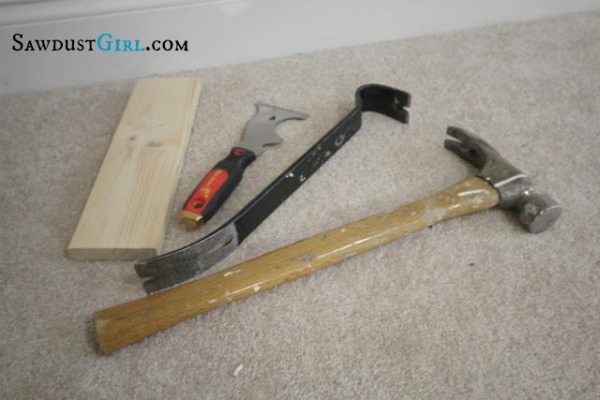
Cut Through Caulk
- First CUT through your caulk. Don’t just score it, cut it.
The caulk can tear the drywall paper if you don’t cut through. Be aware of this as you move on to the next steps. Often times as you’re prying the baseboard away from the wall, one little section of uncut caulk will be stuck to the drywall paper and if you don’t stop and cut it, you’ll tear a big swath of paper away from the drywall.
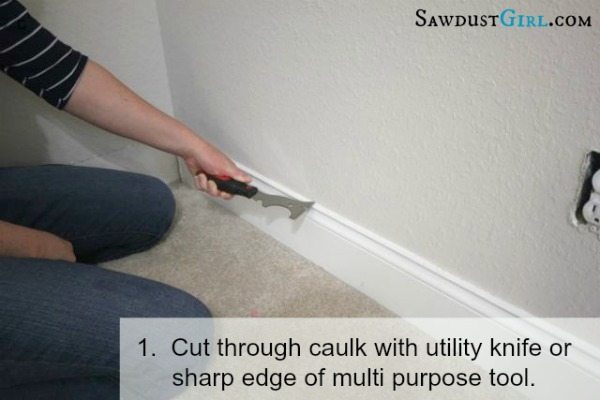
Remove Baseboard
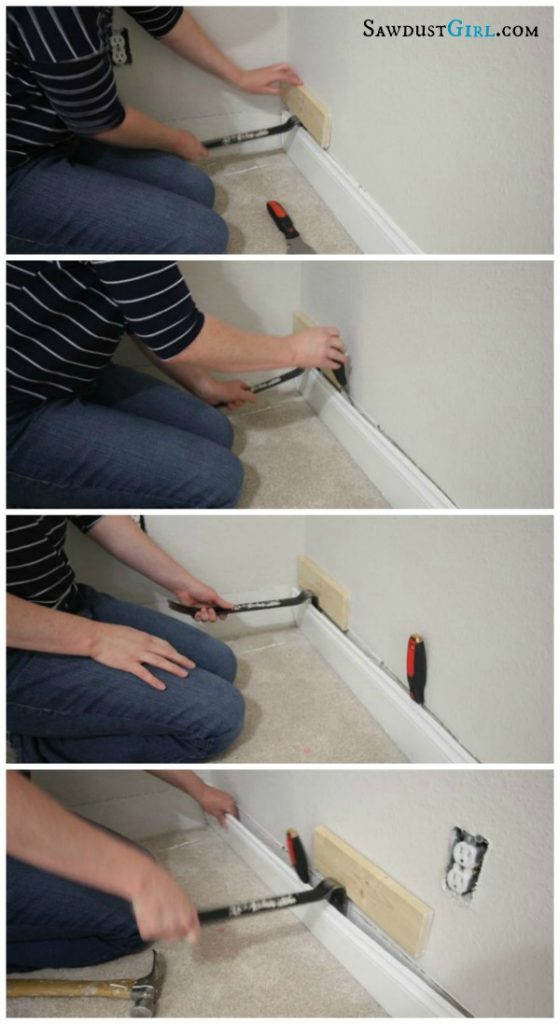
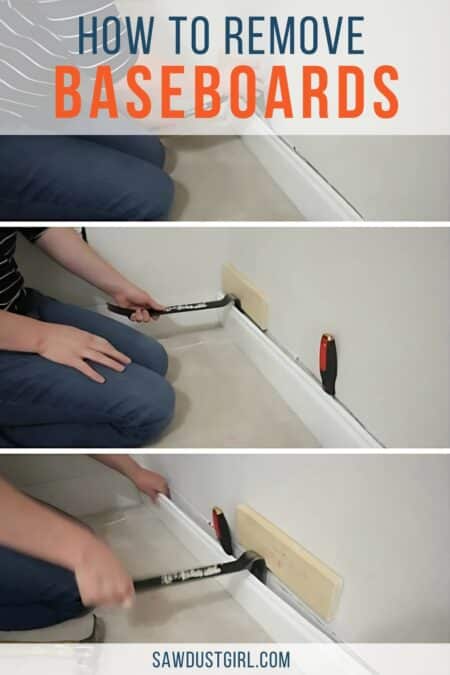
- Use a 5 in 1 painters tool to wedge behind the baseboard and gently pull it away from the wall –just enough to get your prybar behind it.
- It’s generally easiest to start at one end of a wall.
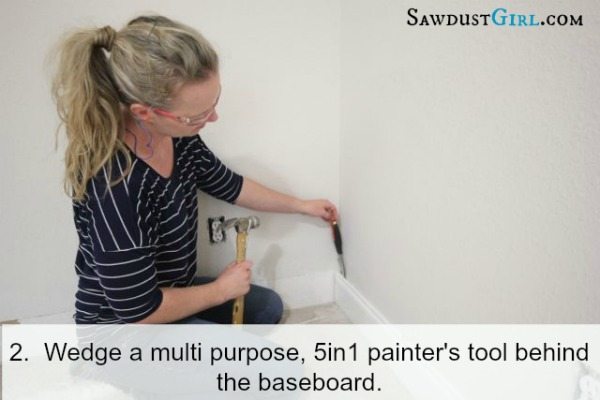
- Put a block of wood behind the prybar. The block of wood disperses the pressure so your prybar doesn’t bust through your drywall.
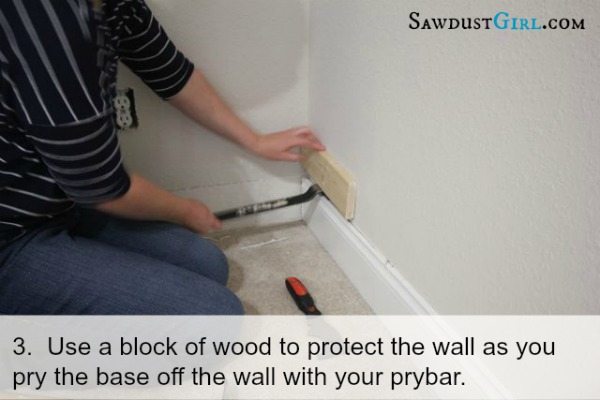
- Now gently pry, pulling the baseboard fully way from the wall.
- Work down the line of baseboard, focusing on each area you feel some resistance. That’s most likely where the installer put a nail or you you have some caulk that is still attached to the wall.
Don’t ream on the pry-bar or bend the moulding too far that it snaps. Make sure no drywall paper is attached to the baseboard and tearing away from the wall.
If you plan to reuse this same baseboard, scrape off any caulk and remove all nails before stacking, carrying or storing for later use. If you don’t have nail pulling pliers, use normal pliers with a small block under them to keep the wood from tearing/splintering.
Also, check out this post to Remove Baseboard with the Trim Puller. The trim puller is like the prybar, block of wood and painters tool – in one.
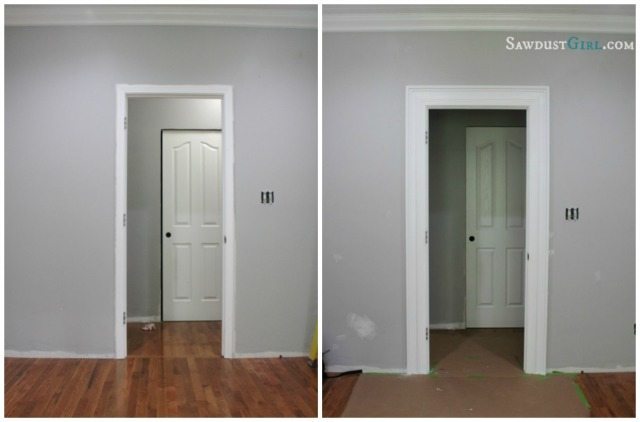
can you post a “just in case you didn’t follow my remove trim without damaging walls” post for those of us that didn’t see your post in time? 😉
LOL HOw to patch the drywall if you bust it? I have a post on that already. 🙂
This is so great! Thanks for posting it! And I really appreciate the video! Pinned!
And…I just entered your giveaway!!!! (for some reason I couldn’t comment on that post) I wanted to let you know how awesome I think it is and I would DIE if I won, seriously I have been jealous of everyone who is getting to work with you, I love your work! Thank you so much!
Thanks Mindi. (I actually disabled comments on that giveaway just so no one would mistakenly think they were entering with a comment and not actually use the rafflecopter.) If you do win — please don’t die. 🙂
lol!
Sandra,
Can you put the the baseboard back on the wall or do you need to replace it with new materials? If it can be reused, it would be a good idea to lable the pieces, right? Love the posts and the blog!
Maureen
Absolutely you can re-use it. That’s why we want to be so careful not to break it as well as not put a hole in your wall. Yes, labeling each piece is a great idea.
Great tips. The last thing anyone wants is damaged drywall to fix. This is a must read for anyone tackling a baseboard project 🙂
Thanks Jeff.
Thanks for re-doing this post!
You bet.