Removing Baseboard With Multiple Tools
Removing baseboard without damage to your wall or molding is a fairly simple task if you do it right. If not, you might end up damaging your wall or trim piece. This tutorial covers removing baseboard the old fashioned way with several common tools. If you’re interested in a faster way, check out my Trim Puller post.
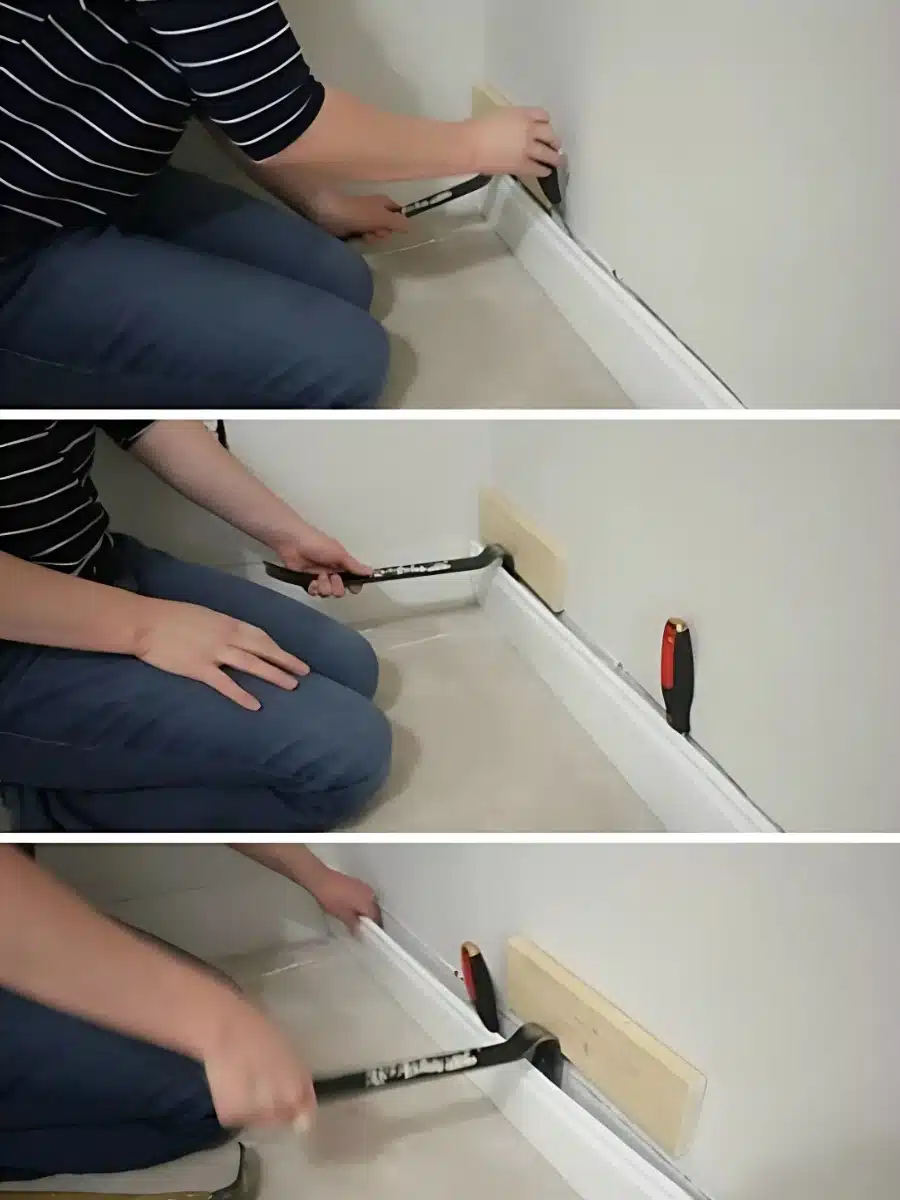
What you need to get the job done:
- utility knife
- 5 in 1 painter’s tool
- hammer
- pry-bar
- scrap of wood
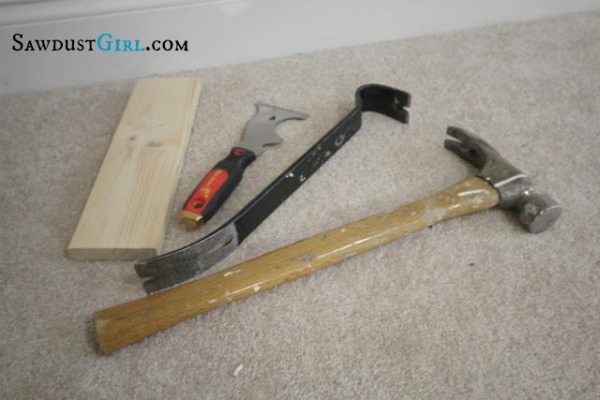
Cut Through Caulk
- First CUT through your caulk. Don’t just score it, cut it.
The caulk can tear the drywall paper if you don’t cut through. Be aware of this as you move on to the next steps. Often times as you’re prying the baseboard away from the wall, one little section of uncut caulk will be stuck to the drywall paper and if you don’t stop and cut it, you’ll tear a big swath of paper away from the drywall.
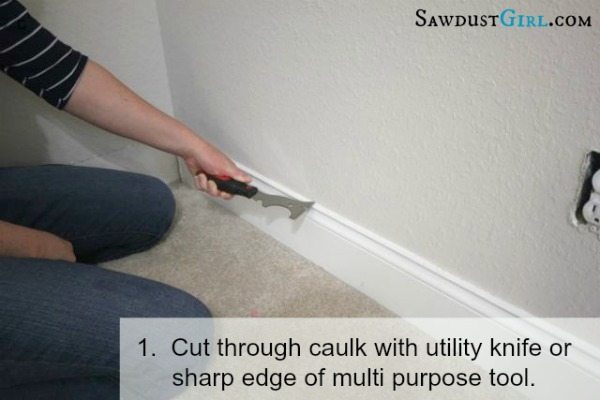
Remove Baseboard
- Use a 5 in 1 painters tool to wedge behind the baseboard and gently pull it away from the wall –just enough to get your prybar behind it.
- It’s generally easiest to start at one end of a wall.
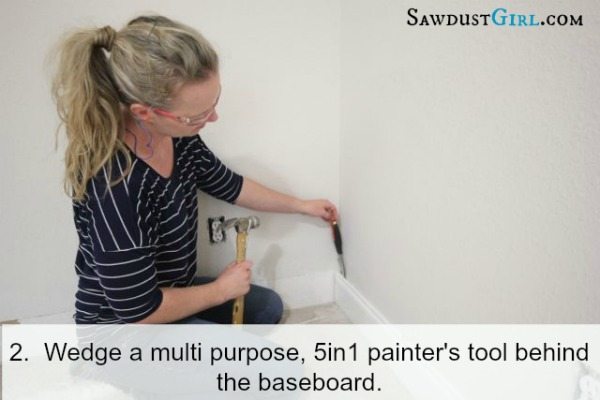
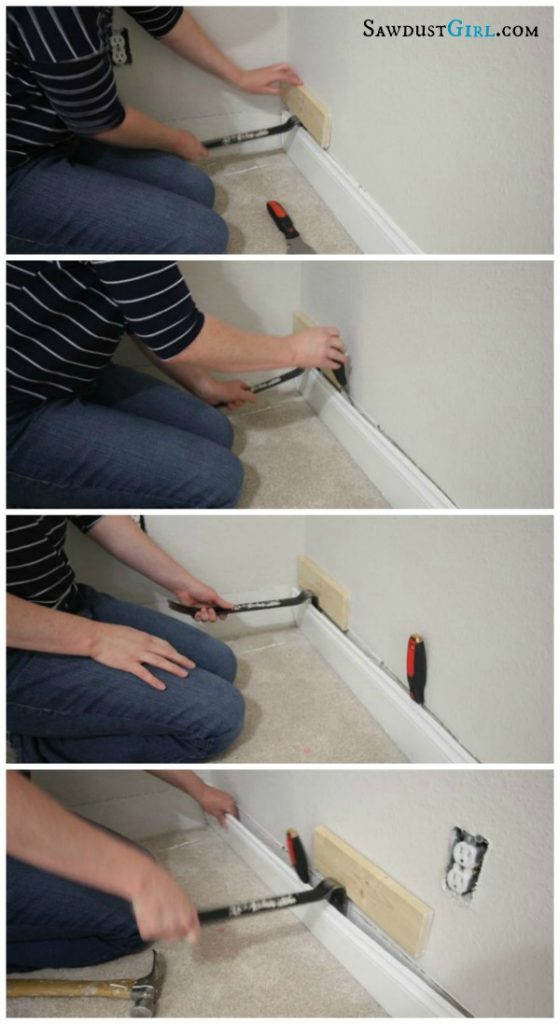
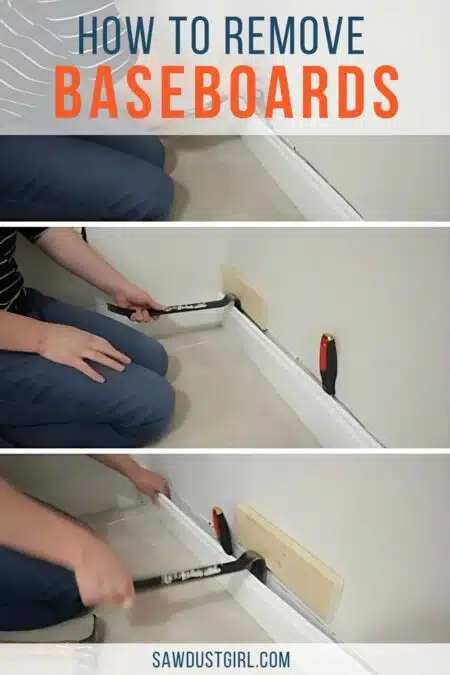
- Put a block of wood behind the prybar. The block of wood disperses the pressure so your prybar doesn’t bust through your drywall.
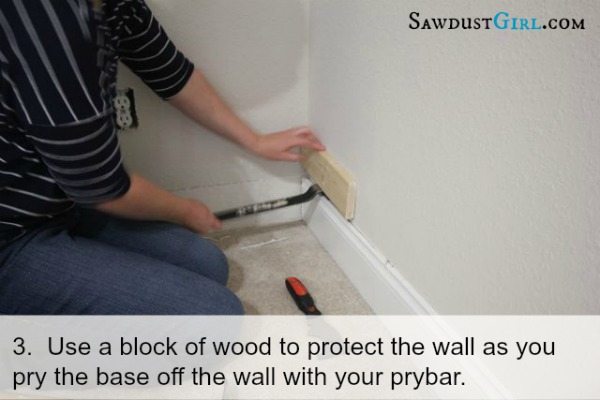
- Now gently pry, pulling the baseboard fully way from the wall.
- Work down the line of baseboard, focusing on each area you feel some resistance. That’s most likely where the installer put a nail or you you have some caulk that is still attached to the wall.
Don’t ream on the pry-bar or bend the moulding too far that it snaps. Make sure no drywall paper is attached to the baseboard and tearing away from the wall.
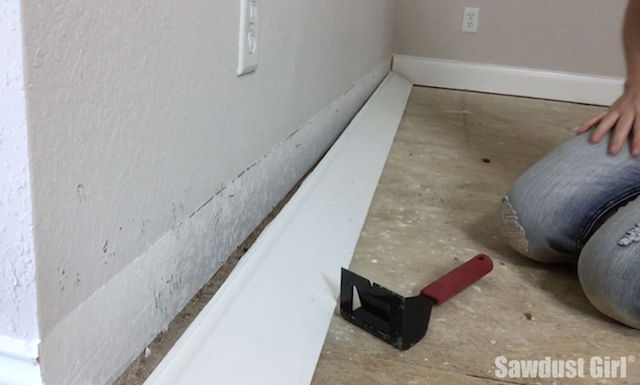
If you plan to reuse this same baseboard, scrape off any caulk and remove all nails before stacking, carrying or storing for later use. If you don’t have nail pulling pliers, use normal pliers with a small block under them to keep the wood from tearing/splintering.
Also, check out this post to Remove Baseboard with the Trim Puller. The trim puller is like the prybar, block of wood and painters tool – in one.

I don’t know how often ‘newer’ baseboards are removed…
Tips for really old ones with possibly plaster walls are 2 I’d appreciate tips with.
The craftsmen who installed these back in the day…did it so woodwork would not move.
If it’s super duper old I can only make a guess as to HOW it was installed. If it was nailed and caulked, this method should work. There are most likely tons of layers of paint over the caulk so you’ll have to really work to cut throughout that before you try to pull the base off. If they didn’t install it with nails and glued it, then I don’t know. If they SUPER DUPER glued it on, you’re looking at a real mess! You’ll have to decide how badly you want those baseboards removed and what’s going back up after you remove them. Will the damage to the wall be covered with a taller base? Then it might not matter. BUT, if the plaster comes up in chunks and you have damage above the base I wouldn’t want to get into that personally.
Our house was built in the 1930’s and our base board molding is about 8″ deep. Do you think it could be taken off in this same method?? I want to fix some issues with the walls and the flooring and the best way would be to take the baseboards off.
Thoughts?
8″ DEEP? Holy crap! That’s deeper than my wall! I don’t want to assume that you meant 8″ tall but am going to…it should work. You just have to go slow and see what happens. IF your base moulding truly is 8″ deep, I have NO idea what’s going on there and wouldn’t touch it.
Wish there were a way to remove those horrible “marble” side pieces on bulder vanities…those suckers are glued on, and you have to live with holes…not that I know anything about that. 🙂
Oh they can be removed. Cut through the caulk and use the same method as described in this tutorial. Board under crowbar so you don’t punch through your drywall. Then repair the drywall behind the marble (where they put those big dobs of glue.) 🙂