Plywood Plank Walls – Creating Faux V Groove Planks
I’m installing plywood plank walls in the Jack and Jill bathroom as well as both bedrooms in my current remodeling project. I’m using the same technique I used on my studio ceiling to achieve the look of 3/4″ V groove, tongue and groove, Pine planks.
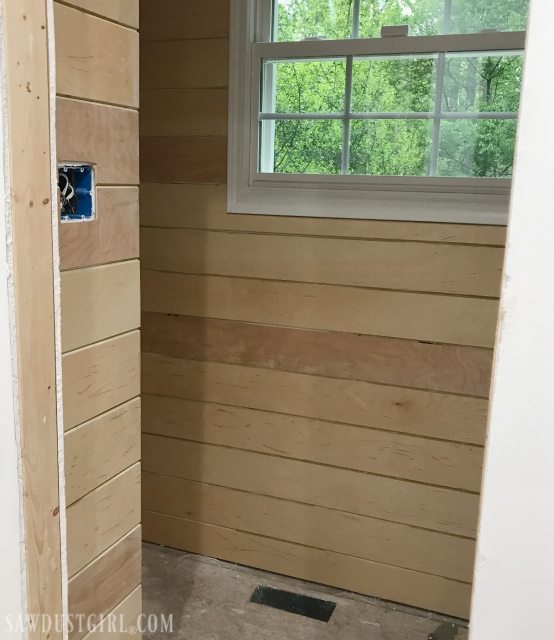
The underlayment was about on fourth the cost of the actual Pine planks.
However, the underlayment had tons of voids, the veneer was really thin and bubbly, and the edges were super rough even before I beveled them. It took a lot of extra work to make it look really good when finished. This time, I’m using 1/4″ Purebond plywood. It’s is more expensive than the underlayment but is still half the cost of using the Pine planks. There are hardly any voids, the veneer is thicker with no bubbling and the edges are pretty dang smooth, before and after beveling.
I bought 4×8 sheets of 1/4″ Birch plywood and used my track saw to rip them into 6″ wide strips.
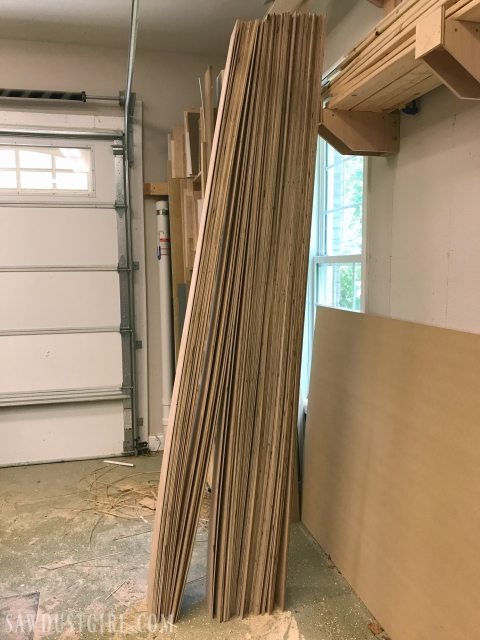
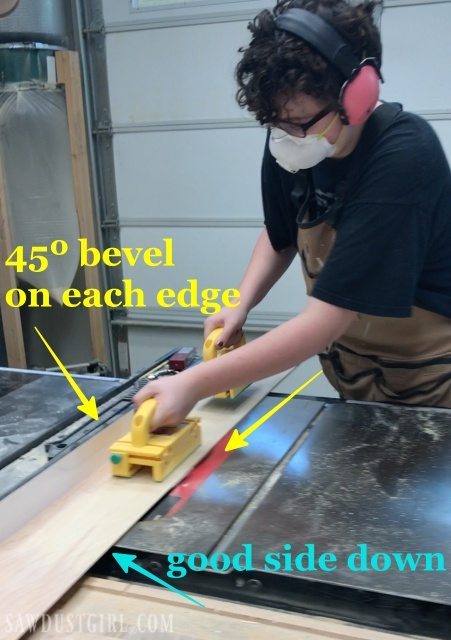
Then Madison spent a few hours at the table saw, beveling the edges.
- Make sure the best side of the plywood is face down on the table saw.
- The blade is set at 45º.
- Bevel one edge then spin the plank around and run the other edge through — good side still face down.
- Use push blocks to keep your hands away from the blade. Madison liked the MicroJig GRR-Rippers.
Installing V-Groove Plywood Plank Walls
First, I used a stud finder to locate and mark all the wall studs.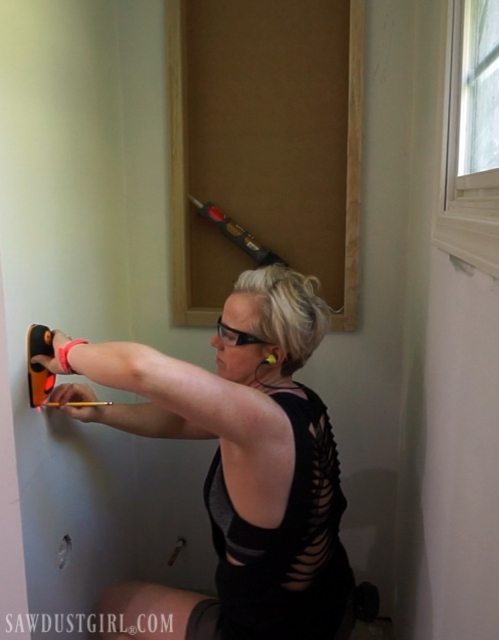
A laser level is a great tool to ensure the plywood planks are level on all walls!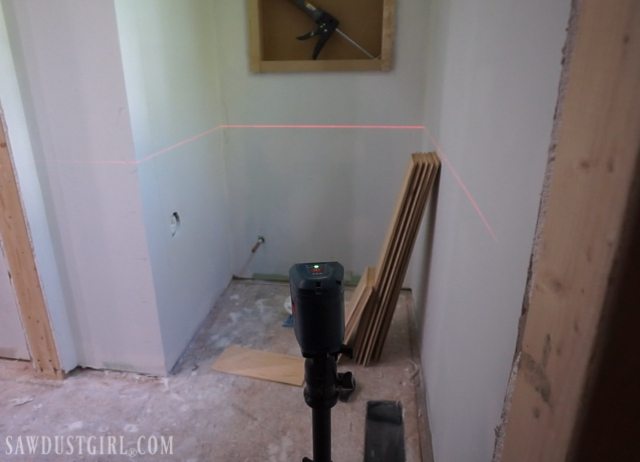 To secure the plywood planks to the walls, I used construction adhesive and 23 gauge pin nails.
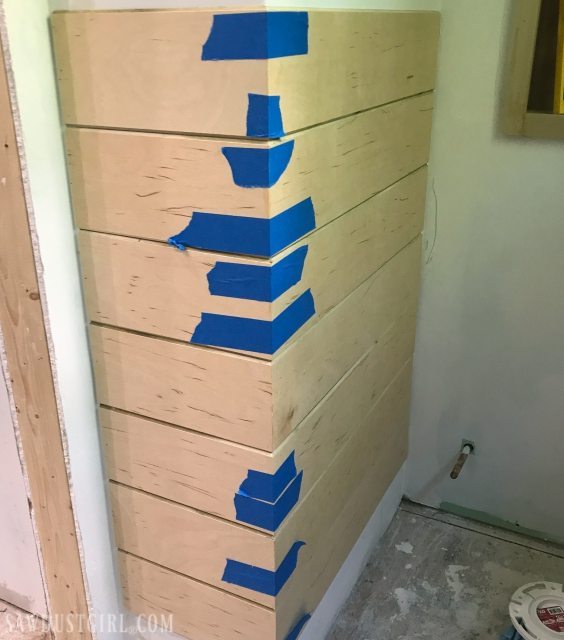
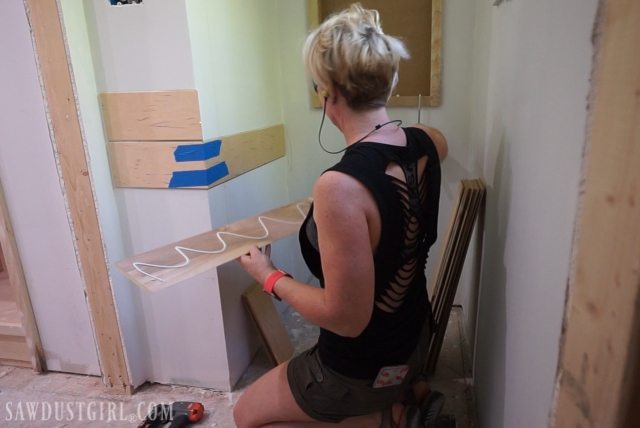 For the outside corner, I beveled the ends of the adjoining planks.
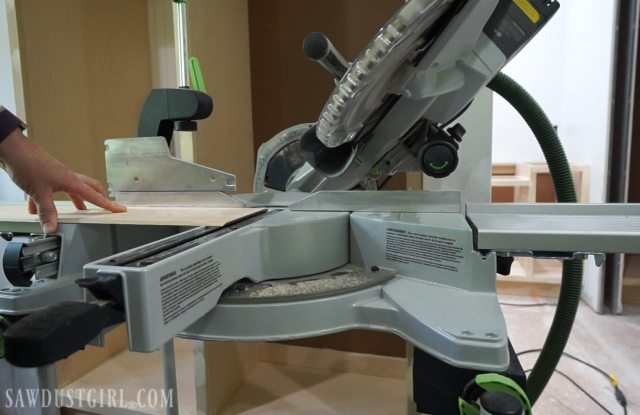
I applied Titebond Quick and Thick Glue and used painters tape to pull the planks together into a tight joint.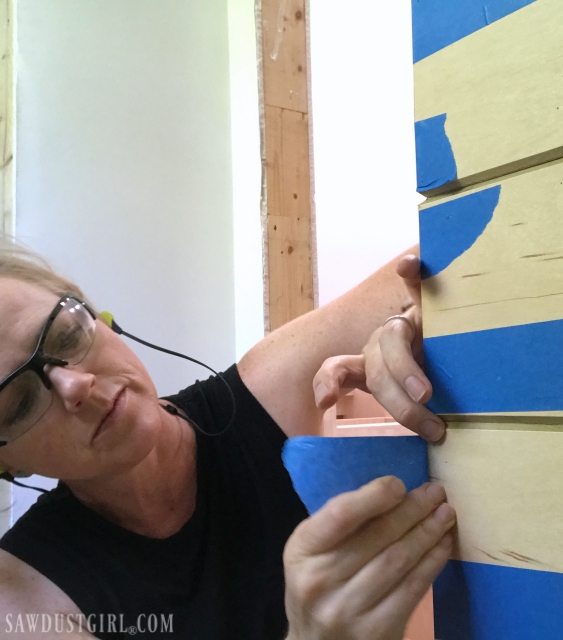
Then I secured each side of the corner with pin nails.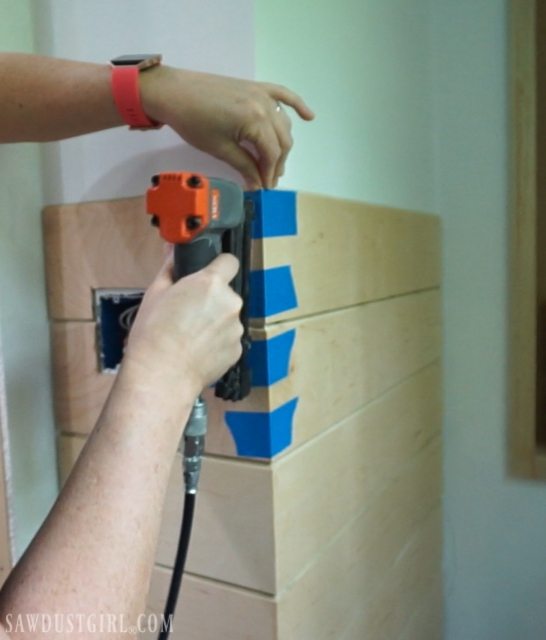
I used an oscillating multi-tool to cut out for the junction boxes.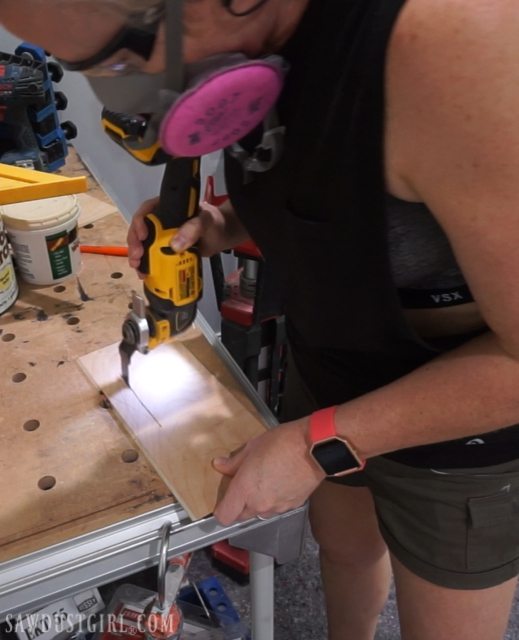
I trimmed the bottom row of my plywood plank walls about 1/2″ off the floor so they won’t get wet if water ever gets under the base. The base will be installed before painting so that portion of the planks won’t have any protection against water.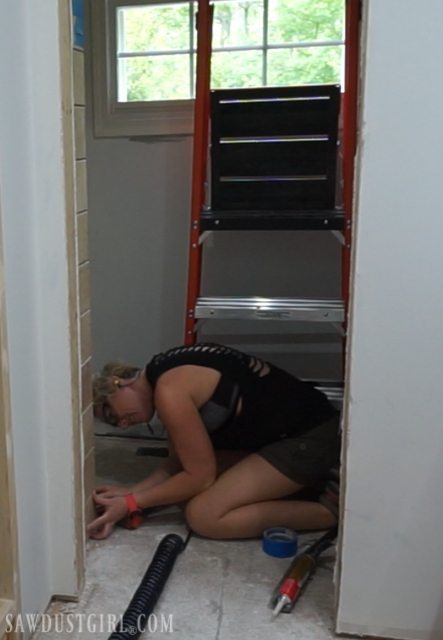
I set the laser level at the center of the V-Groove on one row of planks on the first wall to move on to the next wall. That line is where I started the first row on the new wall.
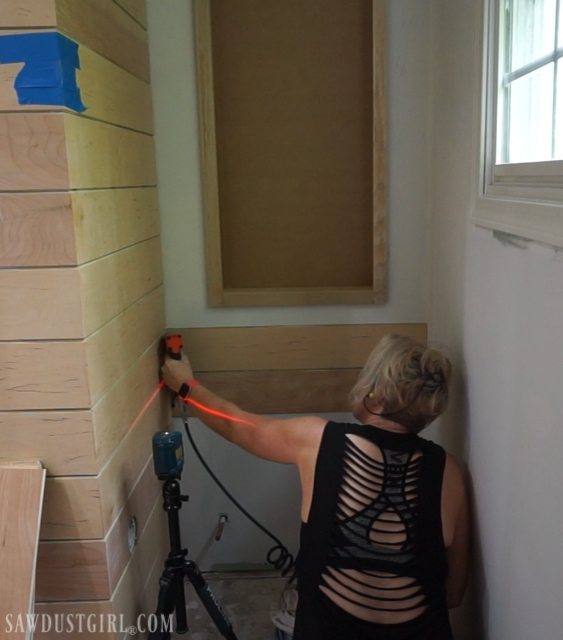
I continued my way around the room with the laser level, adhesive and nails.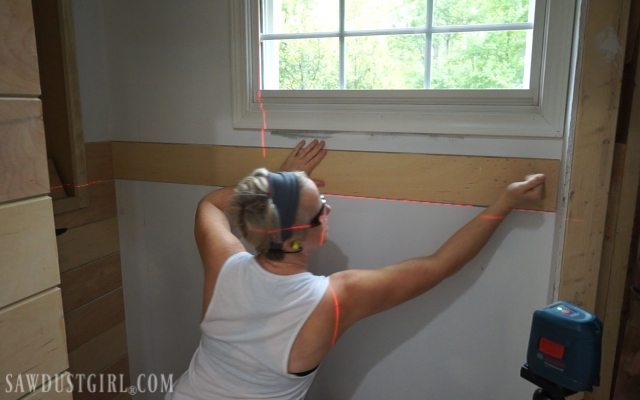
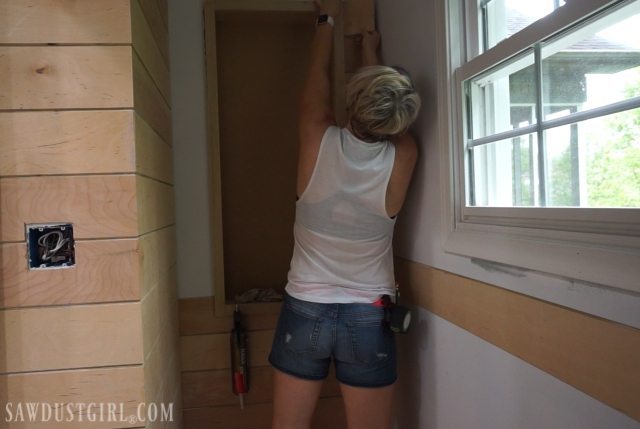
Every 5 or 6 planks I would move the laser level to make sure I was maintaining level with the plywood plank walls.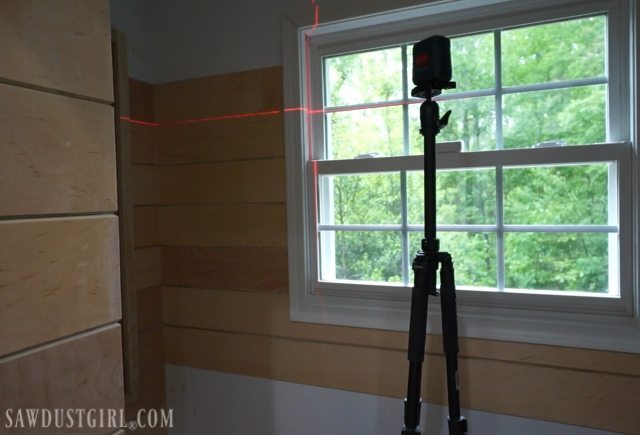
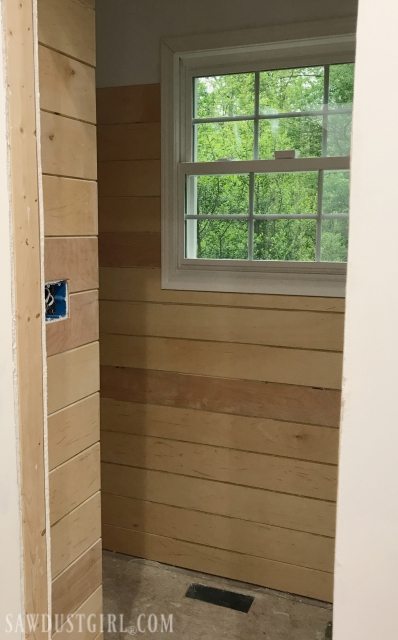 I know some of y’all love the look of the wood but I will be painting. YOU can leave your plywood plank walls unpainted if YOU want to. But I have a vision for my space and it involves white walls. 😉
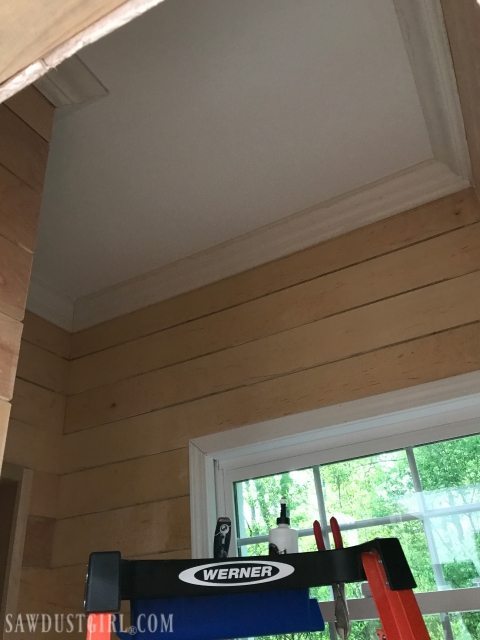
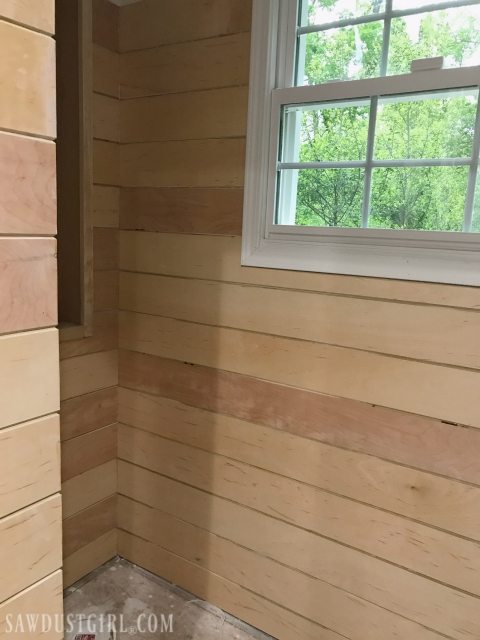 I installed crown moulding which is a bit of a controversy in the “bathroom renovating” space. I am installing a high tech ventilation fan in this room so I’m not concerned about humidity. However, installing crown moulding in a bathroom is definitely something you should research before you make an informed, personal decision.
I’ve installed quite a few Pine plank walls and ceilings in this house. The thing I don’t like about painted solid wood planks is the visible movement at the V-Groove. You can caulk it when it’s contracted but then it expands again and the caulk gets squeezed out and you have to scrape it away. Plywood is more stable so I don’t expect to have that kind of noticeable movement at the V.
Visibly, the two installed products look very similar. Which is why I go to the trouble of ripping and beveling the 1/4″ plywood. The pine plank (left) is 3/4″ thick but only the top 1/4″ creates the V-Groove.
Because the entire side of the 1/4″ plywood is beveled, the depth of the V-Groove on “real pine plank walls” and on 1/4″ beveled plywood plank walls are about exactly the same. For 1/2 the price. A lot more work but hopefully no movement. If anyone EVER wants to remove the plank walls they’re have to completely reface the drywall because of the construction adhesive. I don’t plan on ever tearing out a V-Groove plank wall. It’s a classic architectural element! 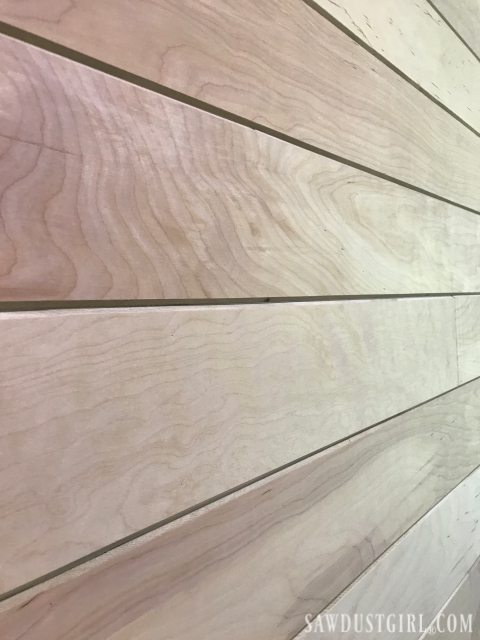



This is exactly the kind of solution I was looking for. Well done!
Did you still need to use that fancy sander for the v groove and caulk the v grooves with this better Purebond plywood?
For your table saw blade what did you use?
What adhesive did you use?
One of the bigger problems with using the expensive tongue and groove wood boards is finding enough of them in good shape at local box store. Using this stable plywood instead that is very common to find is a better approach if you plan to do many rooms. I don’t like to buy too much plywood at one time since it warps if it sits for too long so using this Purebond seems like a more reliable material to use and easy to find a buy besides the fact it is way cheaper! I love the way the beveled corners meet so no need for corner trim. I really think it looks super custom the way you lined up the corners. I was going to do vertical boards but after seeing how nice these horizontal boards look and the nice corners I am thinking maybe going with the horizontal. But it looks like you can go either way with all the sides beveled.
Thanks! I’m gonna go with the PureBond then!
Sandra, I am remodeling my bathroom from scratch and am slowly making my way to the drywall soon. I have the purple board but was thinking about vinyl beadboard because it’s a bathroom. My 1974 ranch does not have a fan, but a window in the shower/tub. Installing a fan is not out of the question, but if I don’t install one, it’s a no go with the Purebond if I do something like what you have done? I’m only installing beadboard or some other covering 4 feet up with trim moulding then drywall above it.
Hi! This is a great tutorial – thanks you for sharing and all the pictures! One question, when you go to bevel the edges do you loose much of the width of the wood/how do you make sure with beveling the edges all the pieces stay the same width? I love this look and think it looks wonderful! Great job!
As soon as I find it and install it I’ll let you know what it is. I can’t remember. I bought it about 5 months ago when I thought I’d be done with this project in February! LOL