• Home
  • About
    • Personal Posts
  • Privacy
  • Shop
    • My Account
    • Checkout
    • Email
    • Facebook
    • Instagram
    • Pinterest
    • Twitter
    • YouTube
Sawdust Girl®

Sawdust Girl®

Renovation, cabinet building and woodworking plans and tutorials. Build like a Girl®

  • My Home
    • Clinton TN House
      • Clinton TN House in Progress
    • Maryville TN House
      • Maryville TN House Tour – Completed Rooms
      • Maryville TN House in Progress
        • Basement
        • Basement Storage Closet
        • Bedroom Office
        • Craft Room
        • Dining Room
        • Entry
        • Garage
        • Guest Bedroom
        • Hallway
        • Jack and Jill Bathroom
        • Kitchen
        • Kitchen Entry
        • Laundry Room
        • Library
        • Living Room
        • Loft
        • Madison’s Room
        • Master Bedroom
        • Master Closet
        • Pantry
        • Porch
        • Powder Room
        • Wes’ Office
    • Illinois House
    • Calderwood Cottage
  • My Workshop
    • Clinton Workshop
  • Build & Breakfast
  • Cabinet Making 101
    • Cabinets
    • Doors
    • Drawers
  • Projects and Plans
    • Countertops
    • Beds
    • Benches
    • Bookshelves
    • Desks
    • Gift Ideas
    • Holiday
      • Christmas
      • Halloween
    • Home Accessories
    • Kids
    • Kitchen Cabinets
    • Lockers
    • Nightstands
    • Organization accessories
    • Recipes
    • Sewing
    • Tables
    • Vanities
    • Wardrobes
    • Woodworking
      • Wood Finishing
    • Workshop
    • Workshop Storage and Organization
  • Remodeling 101
    • Baseboard and Trim
    • crown molding
    • Demolition
    • Door and Window Casings
    • Door Installation
    • Drywall
    • Electrical work
    • Flooring
    • Home Maintenance
    • Painting
    • Plumbing
    • Resources
    • Safety
    • Tile
    • Wall and Ceiling Treatments
  • The Sawdust Diaries
    • Andrea
    • Ava D.
    • Beckie F.
    • Cara C.
    • Courtney B
    • Fawn T.
    • Jenn D.
    • Kelly C.
    • Kristy K.
    • Lara T.
    • Malisa B.
    • Marnie D.
    • Robin C.
    • Val F.
  • Tools
    • Products
    • Tool Reviews & Overviews
    • Inspiration & Ideas

Pine Tree Topiaries {Guest Post}

All Posts, Christmas

Hi! I am Stacy from Not JUST A Housewife and I am excited to be here and share a tutorial with you 🙂 Thank you Sandra for letting me blog here today!
I saw some cute pine tree topiaries in blogland thought to myself,  “I could probably make those.” So I gave it a try.
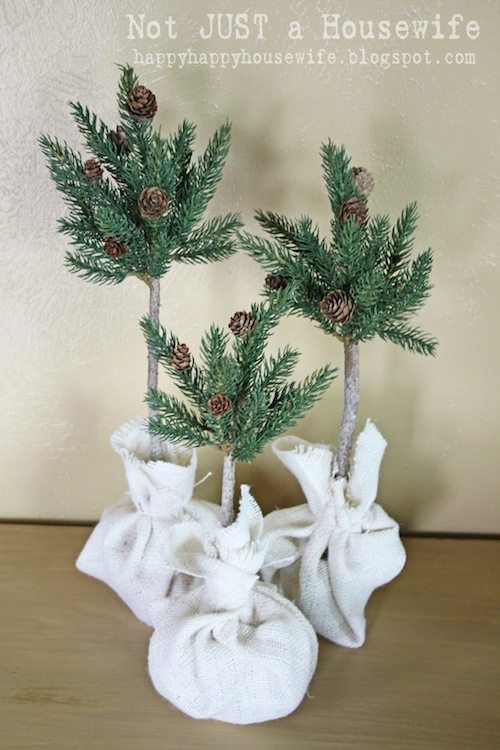
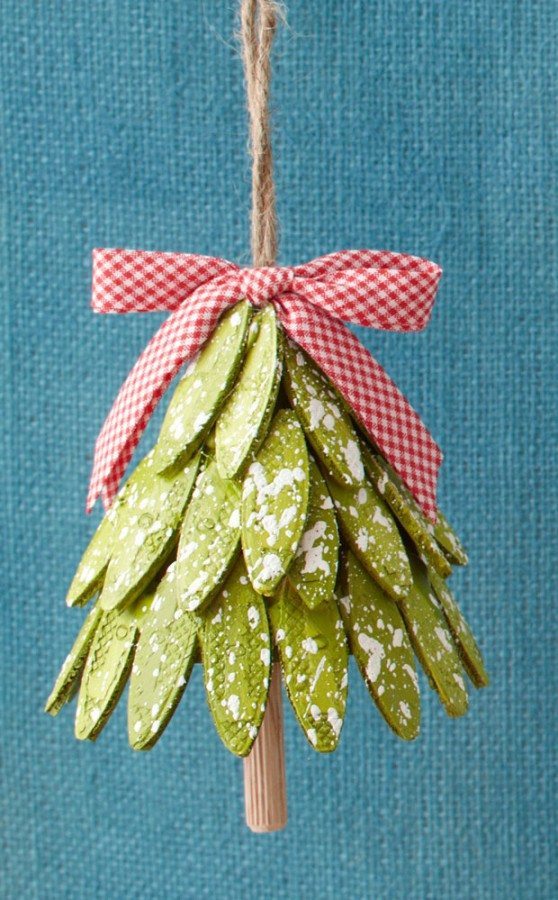
pine tree topiaries

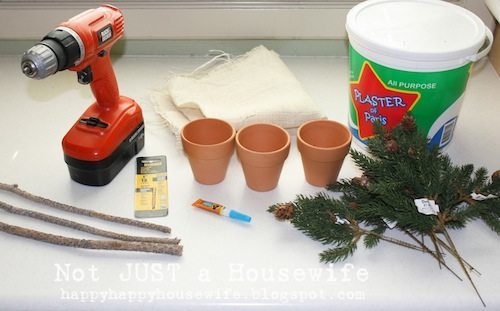
Here is what you will need:
drill, 1/16″ drill bit, plaster of paris, 4″ pots, burlap, sticks, glue, and fake pine branches.
pine tree topiary tutorial

The first thing you need to do is tape up the hole in the bottom of your pot. This way the plaster won’t get out.
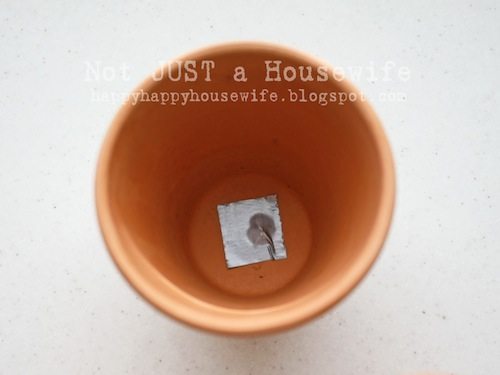
plant pot prep

Mix up the plaster directly in the post according to the directions on the package. Then put the sticks on the pots and let them sit for several hours until they have completely set up. I got my sticks in the backyard. I trimmed them off of one of my pine trees. Any stick would do. I cut them to be three different heights.
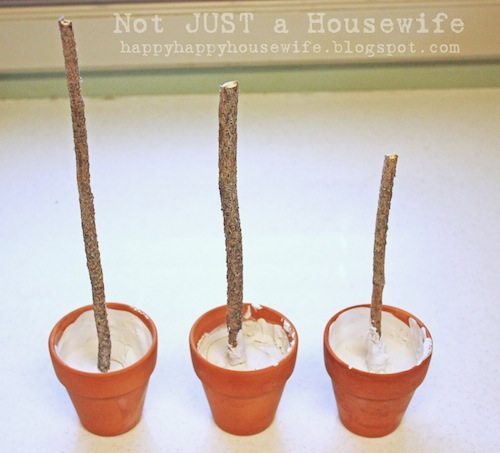
pine tree topiary tutorial 3

Drill holes in the top of each stick. The a few more at 45 degree angles just below the top of the stick.
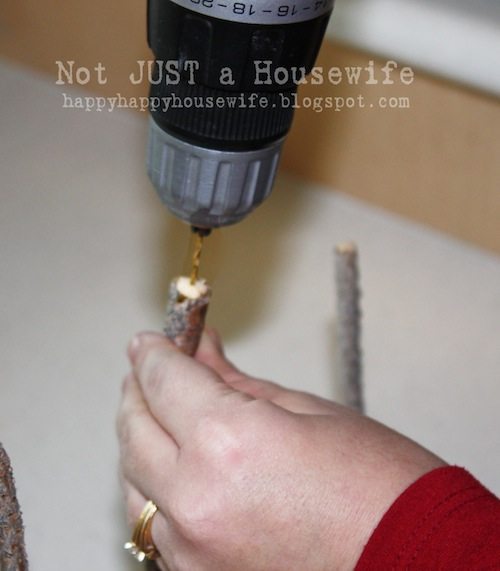
drill hole

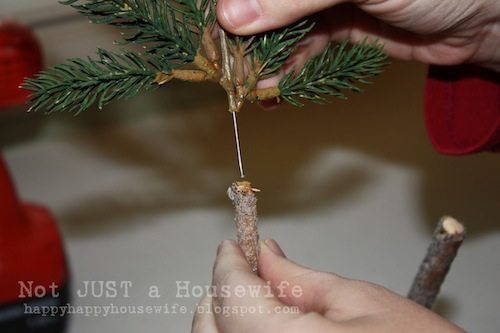
I stripped the plastic off of the fake pine branches to expose the wire. Then I bent the wire in half until it snapped in half. If you have trouble breaking the wire you can use wire snips.
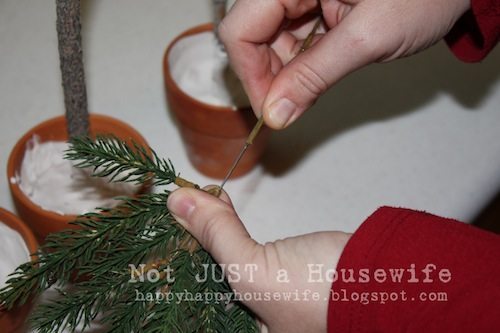
pine tree topiary 6

I put some glue on the hole before sticking the wire in it. Any glue would work.
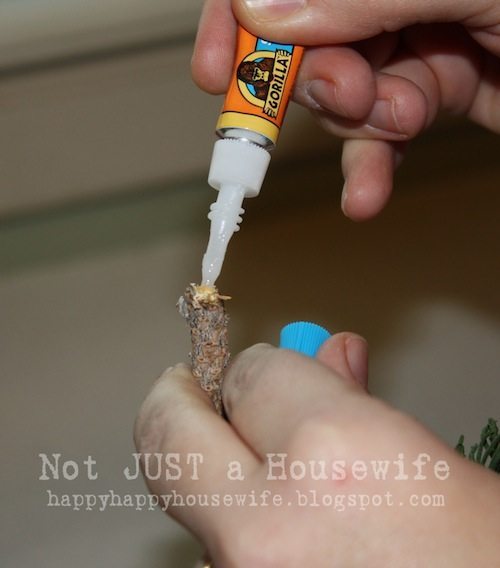
pine tree topiary tutorial 7
pine tree topiary tutorial 8

Here they are all glued! Just play around with the location of the branches until it looks like what you want. The holes are small enough that if you choose not to use that hole, you can’t see it. No one will know 🙂
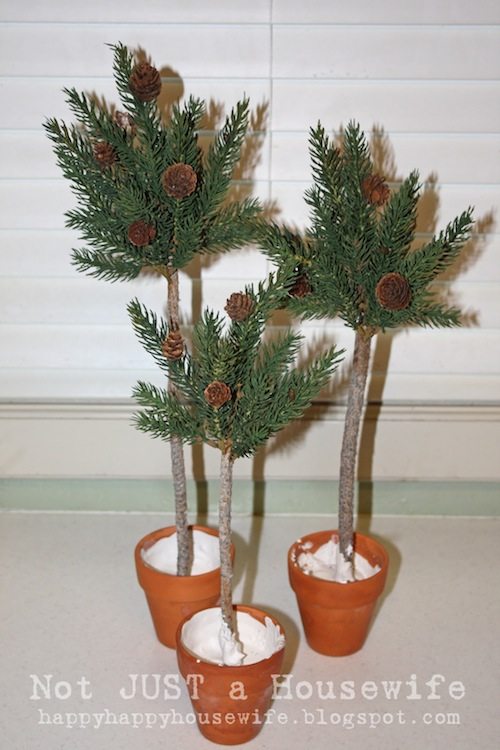
pine tree topiary 2

I used burlap but really you can use whatever fabric you want. Or, you don’t have to use any at all. You could add pebbles or moss to the pots to cover up the plaster.
Set the pot on the fabric and then bring all the side up around the stem. Since burlap frays so easily, I just pulled me of the strings and used those to tie the fabric. You could also use ribbon or jute.

pine tree topiaries

Thank you for checking out my tutorial. Come visit me at my blog any time for more ideas!
 

December 15, 2010 · 5 Comments

« Easy DIY wall stencil
How to Cut Tile Around a Vent »

Comments

  1. Val says

    December 15, 2010 at 6:07 pm

    These are super cute. Thanks for the great post! I will have to try these out.

    Reply
  2. Pam says

    December 18, 2010 at 11:11 pm

    I love the topiaries! Thanks for the tutorial.

    Reply
  3. Carolynn says

    December 19, 2010 at 6:05 pm

    Soooo Cute! I think I have to make me some 🙂

    Reply
  4. Holly @ Roller Coaster Life says

    December 22, 2010 at 3:42 am

    hahaha these are soo cute!!!! i think it would look cute if you filled it completely up and made a nice full tree =)

    Reply
  5. [email protected] says

    December 23, 2010 at 8:12 am

    Oh how pretty! Thanks for the how-to, I'll be linking.

    Reply

Leave a Reply Cancel reply

Your email address will not be published. Required fields are marked *

Categories

New Post email notification signup

You Subscribed!

Legal Stuff

Terms of Use

Privacy Policy

Disclosure

Recent Posts

  • Building and Installing a Giant Faux Beam on the Ceiling
  • White Wash Pine Wood Ceiling
  • Lodge and Life Update
  • How to Choose Which Track Saw to Buy in 2021
  • How to Choose a Paint Sprayer to Buy in 2021

Disclaimer:

Although it is my intention to provide accurate plans and clear instructions, not all plans have been tried and tested. Using plans or information found on SawdustGirl.com indicates that you agree with the Terms of Use policy and will accept full responsibility for the process and outcome of any project you attempt. All plans are for private use only. Plans and information published on SawdustGirl.com may not be reproduced, republished or distributed in any manner without written permission from Sandra Powell, Sawdust Girl. Actual projects built using Sawdust Girl plans may be published on your own site without instructions or "tutorial" as long as you provide a link to my original post with full post title or "SawdustGirl.com" as link title.

Copyright © 2022 · anchored theme by <a target="_blank"