Maryville Pantry Update – Crown Molding
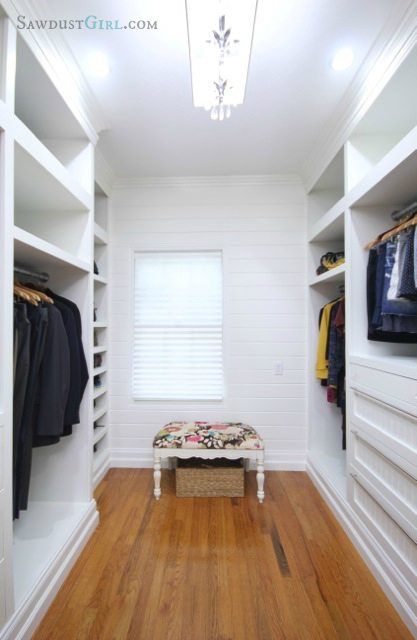
I completed the task of installing crown moulding in the pantry. I first had to deal with the heavily textured ceiling with all the patched holes from the remodel and electrical work. When I told Wes I wanted to just cover the yuck with 1/4″ drywall he actually protested a bit. We’ve done plank or box-beam ceilings in every other room I’ve remodeled so he was a bit disappointed that I wanted to leave it plain. Can you believe that? Wes wanting me to do MORE to a space! 😀
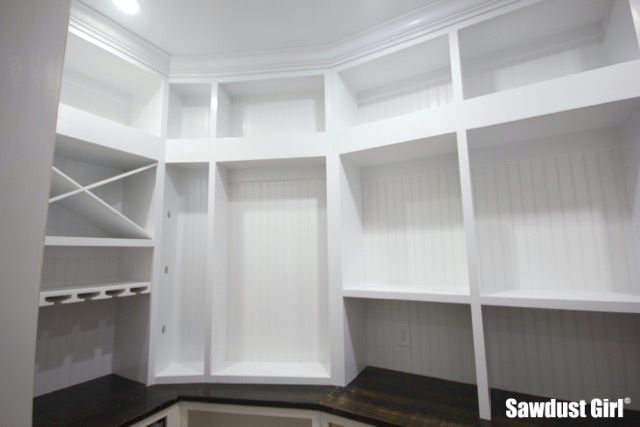
I talked him over to my side of the fence by convincing him that this small room already has so many details that creating additional detail on the ceiling wasn’t necessary and might even make it appear too busy.
So Wes helped me install the drywall. Then I filled all the screw holes, taped and mudded the seams and then sanded. I love that I can do that without creating a dust bowl of my whole house! (Dust Free drywall sanding shop vac attachment thingamajig!)
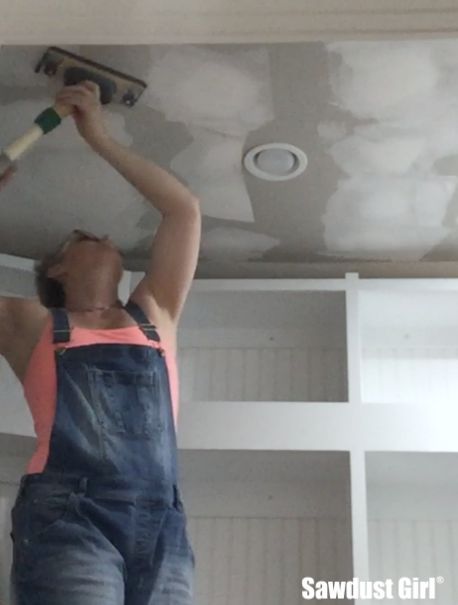
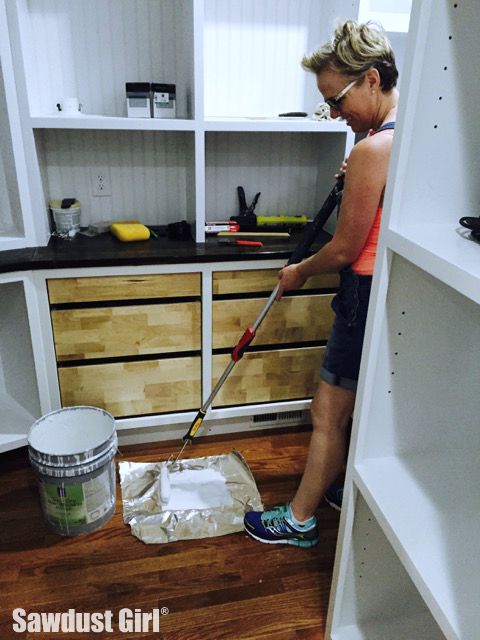
Then I painted. I had several large roller covers but my large roller was stuck. Must not have washed off all the paint because that thing would not budge. So I made do with what I had because I didn’t want to make a run into town. “What I had” was a mini roller because that’s what I use to paint cabinetry…and some aluminum foil for a roller pan. It’s a small ceiling.
THEN I installed the crown moulding.
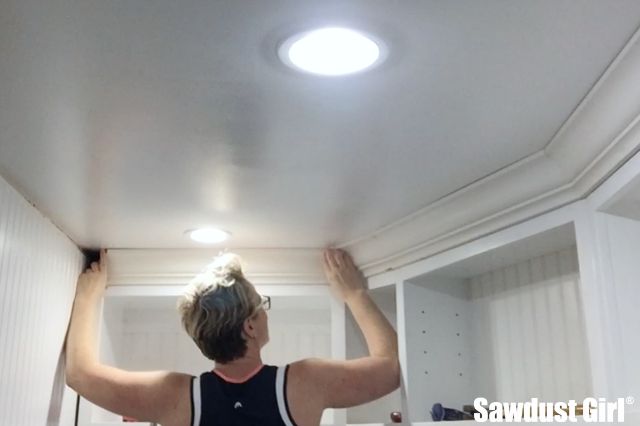
We didn’t bother covering the entire ceiling because …who cares about the part you cant see? Also, it would have required more seams which means more taping and mudding AND we didn’t address the ceilings until I’d already installed ALL the cabinets and floating shelves so it would have been really difficult and I didn’t care about the part of the ceiling I couldn’t see. SO, that’s why. ‘Cause you were about to ask… 🙂
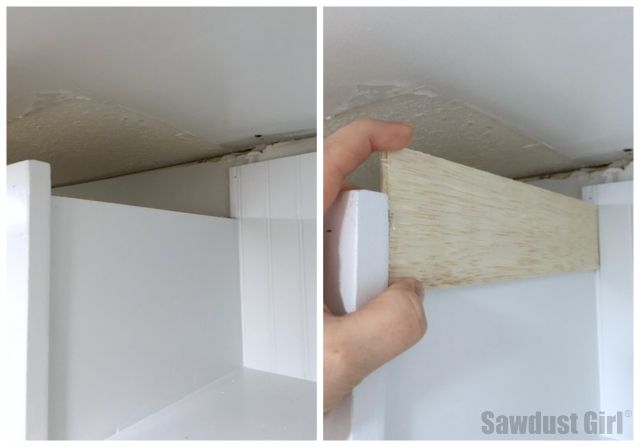
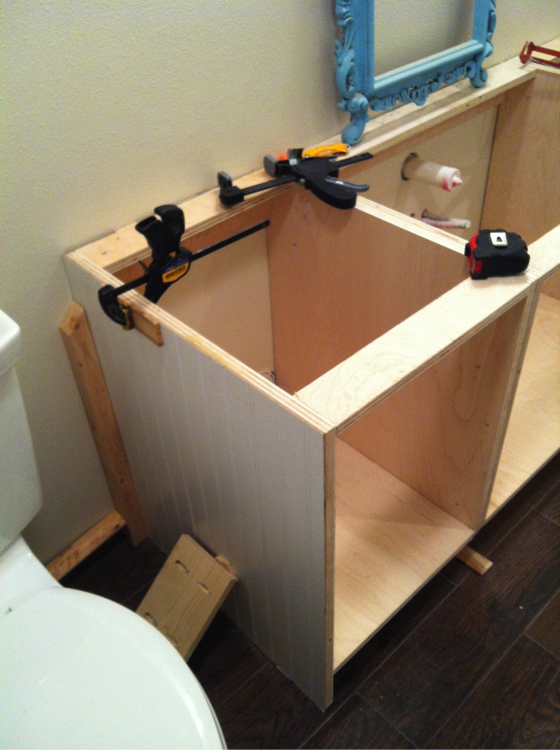
I purchased a huge bundle of crown moulding for $50 bucks at my local lumber yard when they had a “sidewalk sale”. SCORE! Well I’ve had that in my basement for — months — a year– a very long time. In that time, I never measured it. From eyeballing it at the lumber yard I knew it was the same profile and similar size to the existing crown and the crown I’ve been adding as I’ve been remodeling each room. So I just had it in my head that my crown would come down 4″. I planned and built my cabinets with that in my head. So what a surprise when I went to install! I was prepared to bulk up my crown by layering another moulding under it but luckily I was able to make it work by fudging the spring angle. Except for one spot where I had to make up for 1/2″. Easy fix. I nailed on 1/4″ plywood behind my faceframe – this cabinet that is the left side of my floating shelves.
Problem fixed.
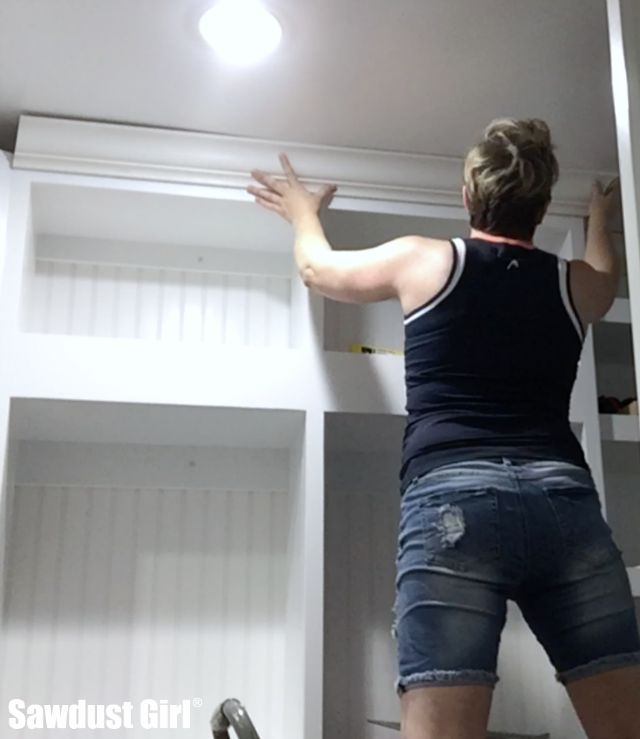
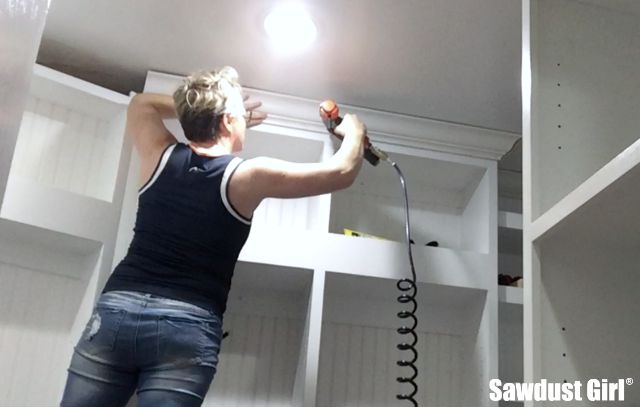
Problem mostly fixed.
Because I didn’t install the crown at 4″ down as I’d planned, there wasn’t much material left behind the crown into which I could drive my nails. I ended up having to use a nail set to sink a few and a couple places the nails just blew out and broke off a bit of the MDF moulding.
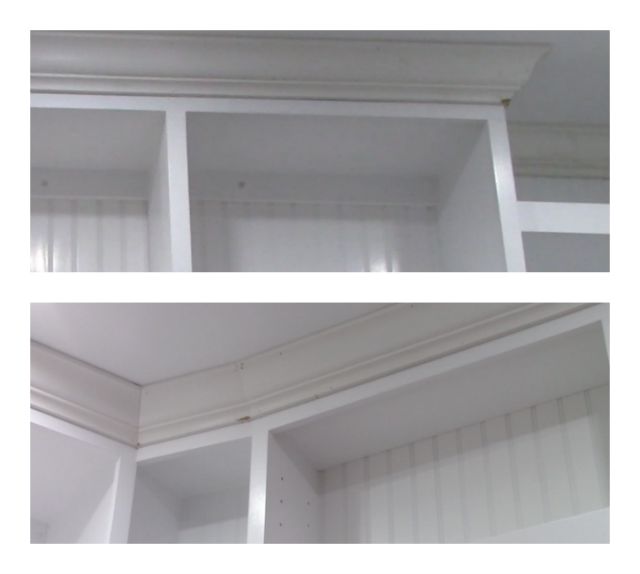
My choices here were to rip off those two pieces that chipped and redo them or fix the chips. I have some pretty mad wood putty sculpting skills so I put them to use. (I’ve had a lot of practice fudging perfect joints. Haha.)
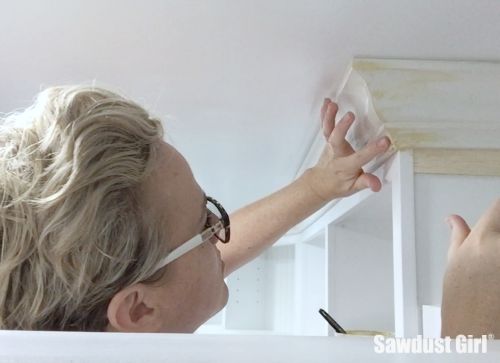
Fix, fill, sand, caulk and paint.
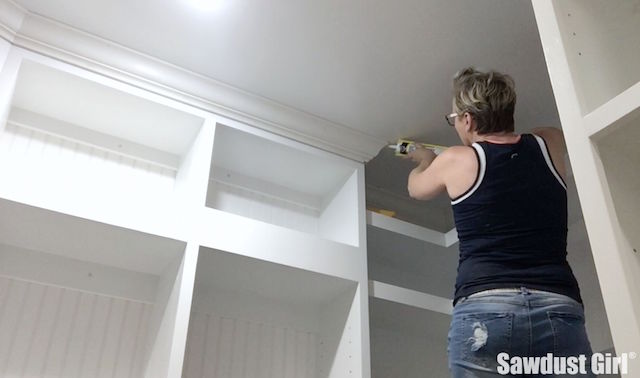
And voila!
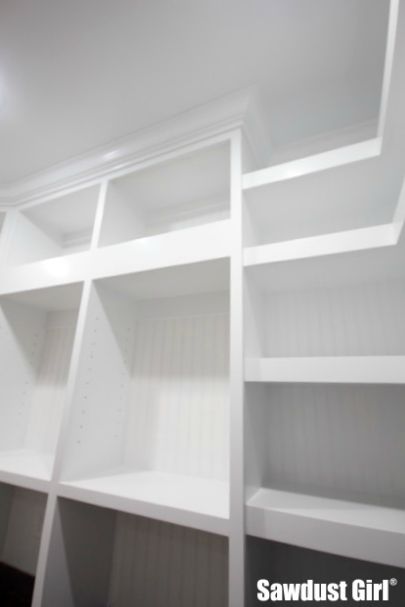
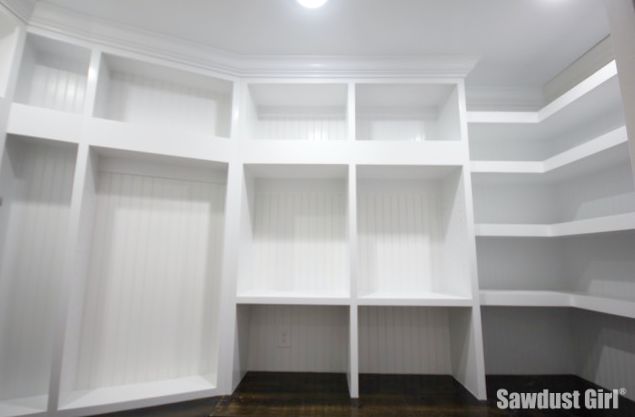
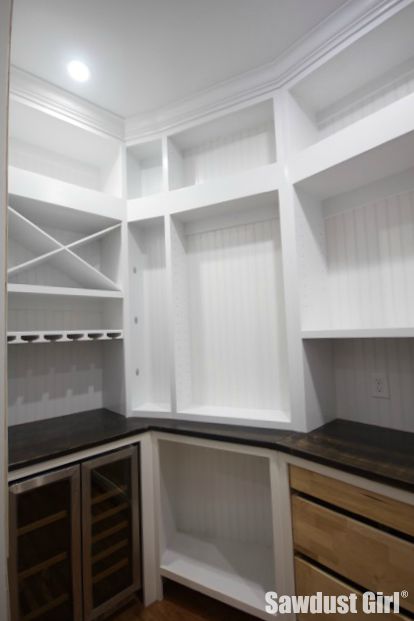
I’m doing a cool header over the doorway and the crown will bump around that but I can’t do that until I install the door track and I have to do a bunch of other junk before I can do that.
But hey, it’ looks pretty darn good as is until I get the other junk finished!
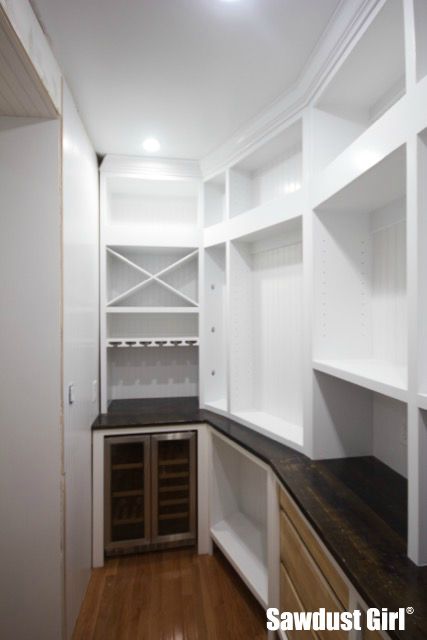
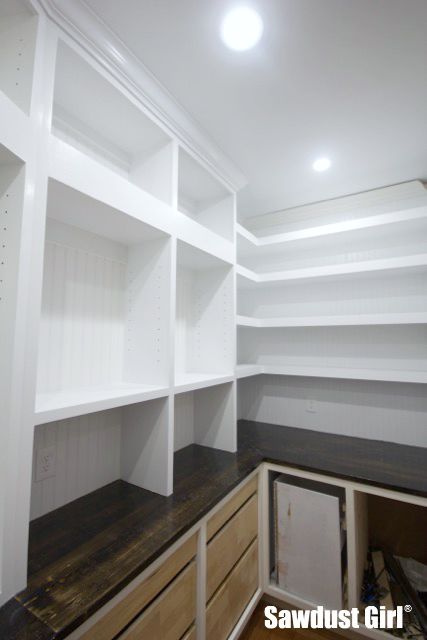
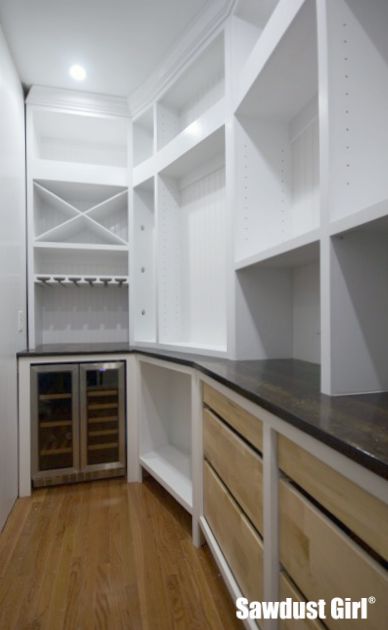
Still lots to do but I’m feeling really good about how it’s coming together.
I just love to see what you’ve been up to… fantastic job on the pantry… great inspiration! It’s giving me lots of ideas for my new pantry space (6.6m x 2.4m… pretty big… but think country farmhouse in outback Australia).
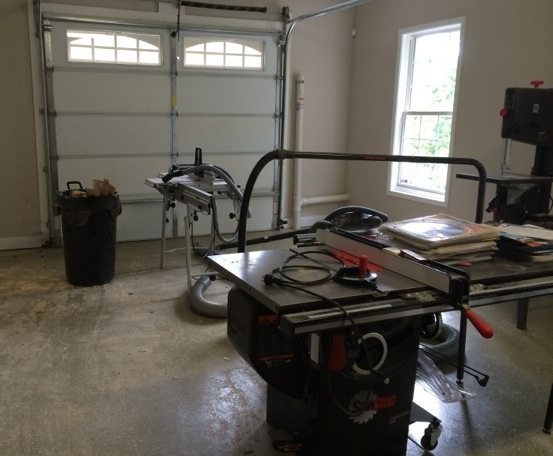
I have to confess to having major moments of workshop envy though!!
Can’t wait to see what’s next. 🙂
I’m having a major case of workshop needs to be redone completely! LOL Have to get the pantry and recording studio finished and then I need to redo my workshop. Make it more organized and easy to navigate.
Hey there, do you have a favorite brand of paint that you use for trim? I love the look of the gloss!
I currently use Sherwin Williams ProClassic paint on wood projects including trim.
it’s been so long since the beginning. can you post a before pic to refresh our recollection. I love to see differences.
awesome job as usual. We have come to expect nothing less but and awesome job. I guess that is why we follow you and check every day to see if you have posted something new.
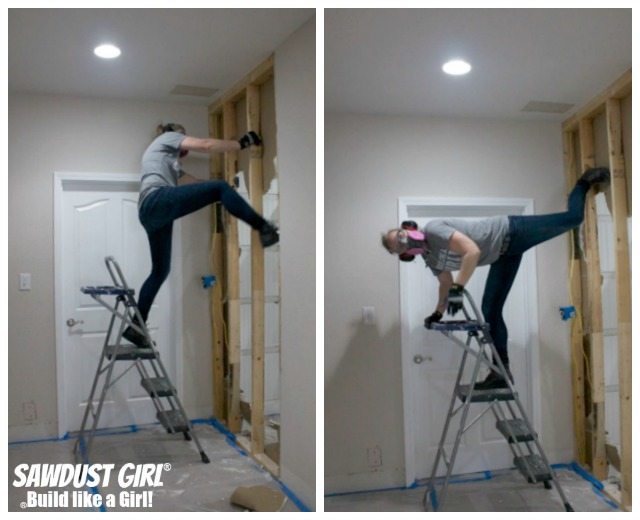
Well the before was a wall — that I tore out and framed in this new one. LOL
I really love your sense of humor. You really look good on tv. you should think about having your own show.
Thanks. I’m doing my own thing on Youtube. Traditional TV is too fake for me. LOL (Until I get my own show. haha)
Fabutastic! The crown turned out great!
I just love what you do!! I have a TINY pantry and I would love to be able to have one like this. Unfortunately it butts up to a door opening so there’s no way to enlarge it. Great job, can’t wait to see your finished kitchen.
Thanks Kim!