Pantry progress
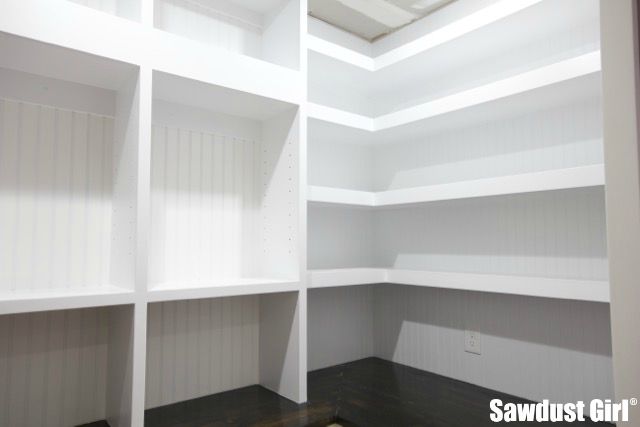
This is how you last saw the new pantry.
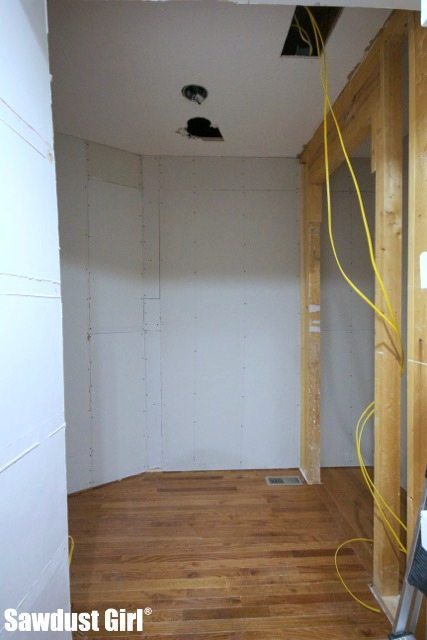
I originally was going to leave this door frame in place and use the new “closet” we framed behind it as a cute little wine storage area.
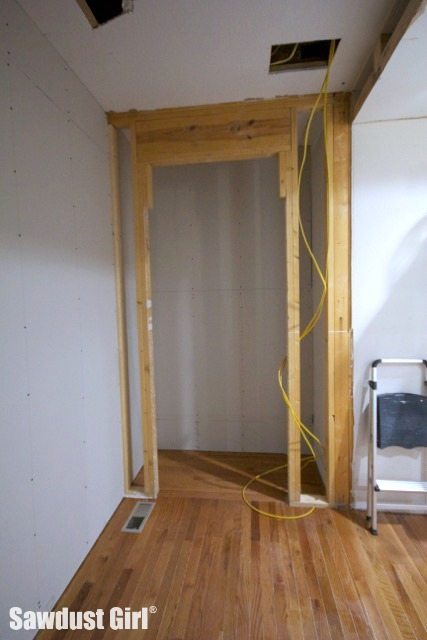
BUT, as I started playing with pantry cabinet layout designs I realized this framing was just bossing the project around and not allowing me to best utilize all my newfound pantry space. This is not a load bearing wall and no reason to keep it.
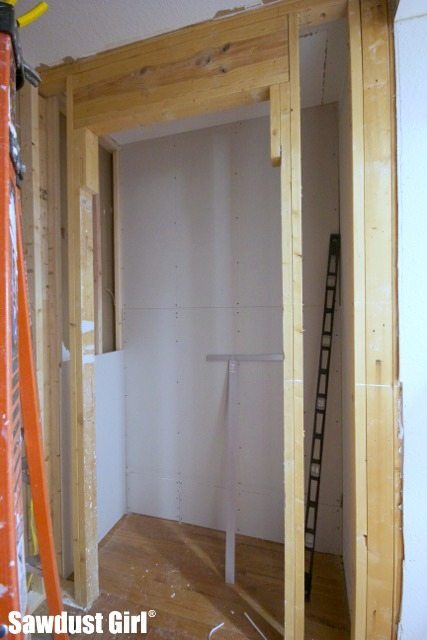
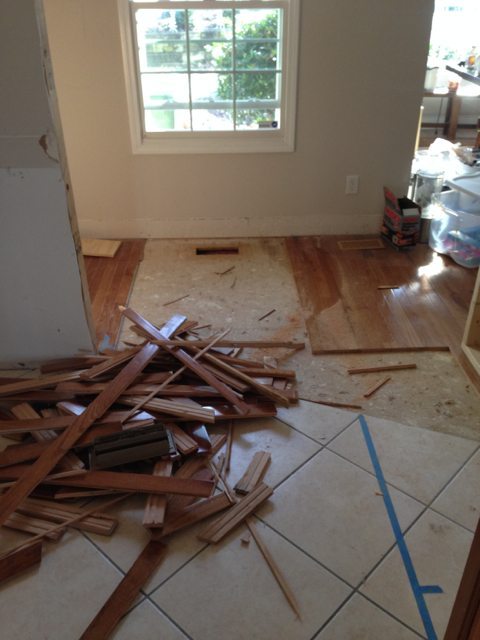
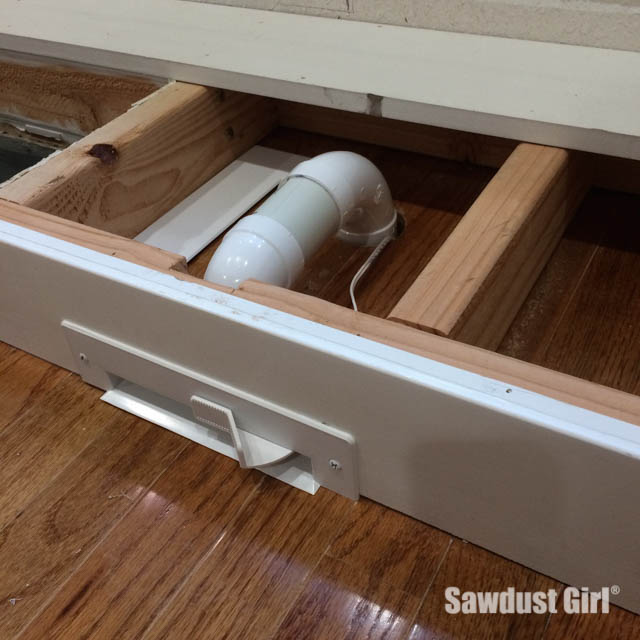
So I tore it out which meant I had to patch some drywall and flooring.
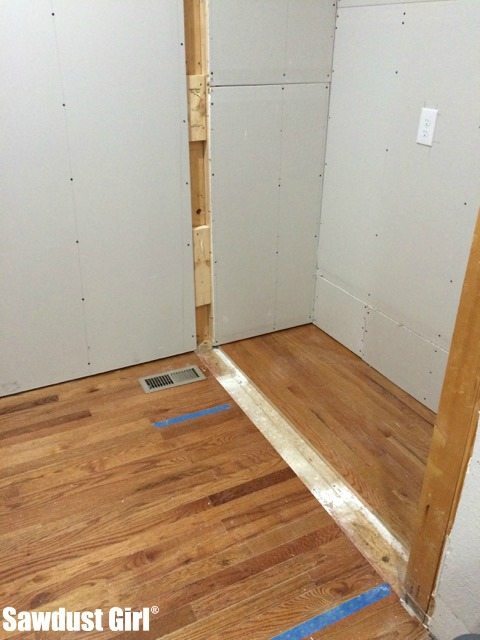
Not pretty but don’t care!
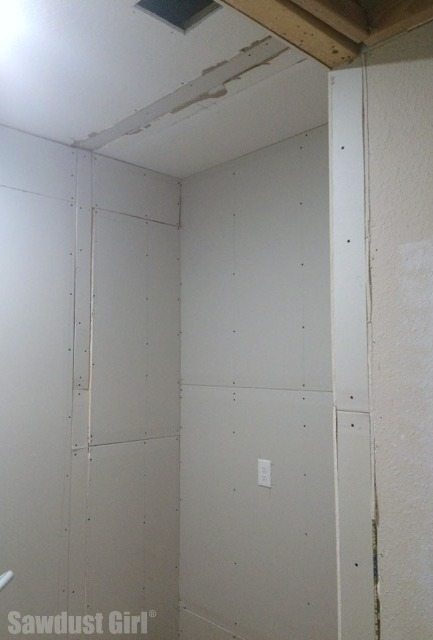
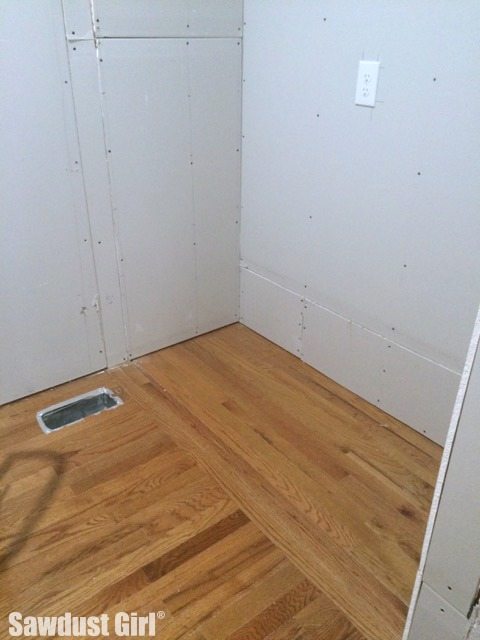
And now I’m for sure done tearing out the old pantry and focusing on building!

You did a great job! Looking forward to seeing more progress of your pantry. Thanks for sharing!
Quote: “Now I’m for sure done tearing out” 🙂
Wish I had room for a nice big pantry like that. I’ve been following the change up you made for the pantry, but I’m confused (not unusual). Could you, or do you have a floor plan of what you are doing/did… so I can understand it better?! Thanks Sandra.
I Julie! I don’t have a floorplan and haven’t drawn one up. I just stole space from the wide hallway behind the kitchen to build a pantry.
Yes, I realize that, but didn’t it somehow involve the master bedroom as well? Anyway, carry on!!
i see that you have an angled wall, do you have any pics or tutorials on how to frame the angled wall, I haven’t been able to find much on the web and looking to build and angled wall in bathroom. thanks.
I don’t have a tutorial Nellie. I build each section of wall and then tilt it up into place and secure it to ceiling and floor joists. The angled wall was simply a wall section that I put in place to create the angle. I tape off the floor to outline where I want the wall. That let’s me visualize the shape before the wall is built.