Paint and Trim – Day 7
I’m trying to get this project finished as quickly as possible. I keep telling Wes, “One more day — for sure”. It might not make sense to do things in this order (because the wall by the office is still in the mudding process) but I need this space to start looking like it’s nearing completion. So I’m going to prime, paint and trim the areas that are ready.
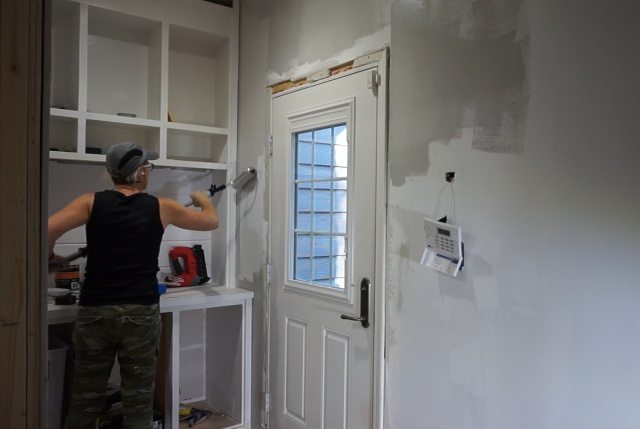 I cut in near the hutch with a brush not caring too much if I get paint on it because it will have to receive another coat of paint later anyway.
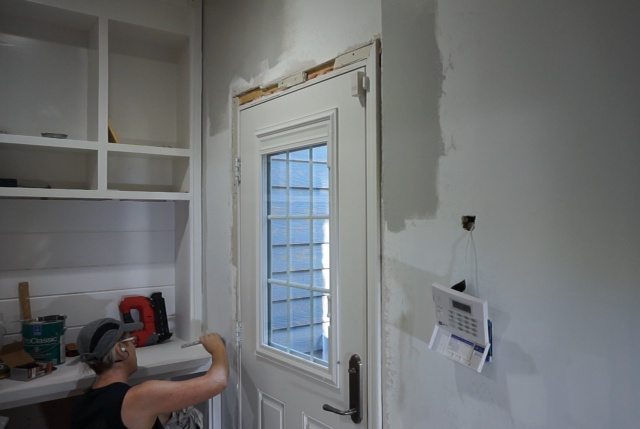
I applied two coats of Sherwin Williams, Light French Grey which is the grey I’ve used in other areas of the house (as well as previous houses). It’s a very neutral grey that goes with everything.
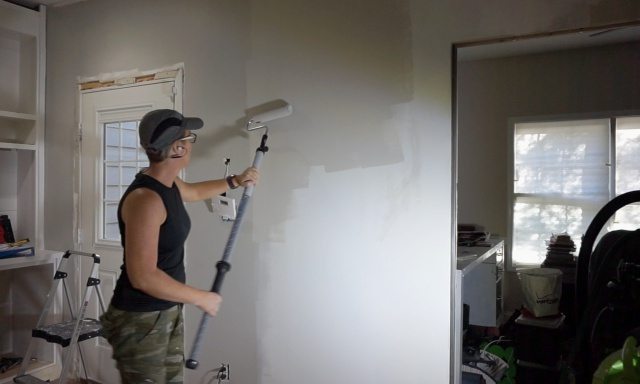
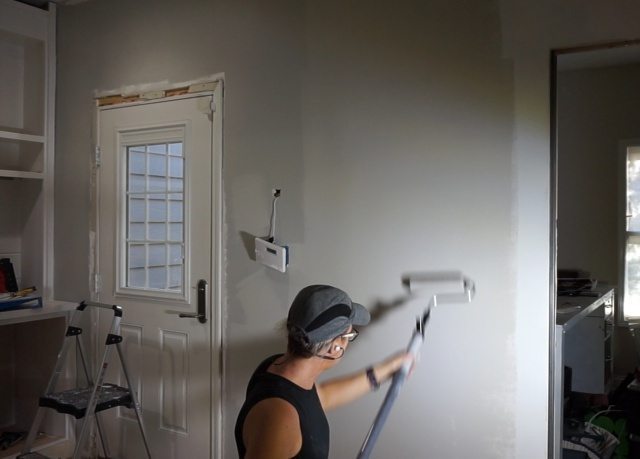
AND THEN … I installed the security keypad that has been hanging from a hole in the wall for 3 years! That was one of the most exciting moments of this makeover so far.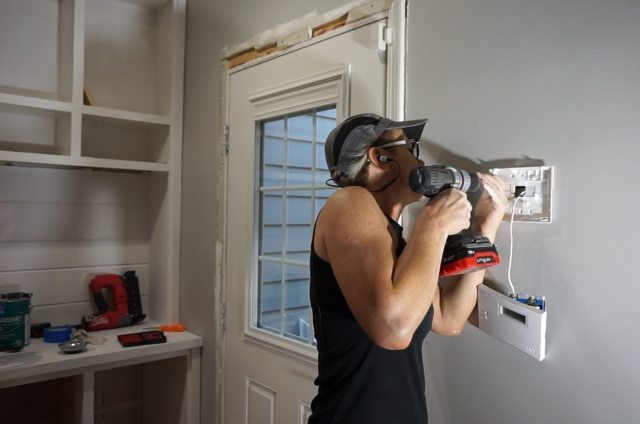
Then I re-installed the trim I removed to take out my bench. This is the original trim bulked out with an additional trim that I am adding throughout the house. See Bulk up your Trim for details.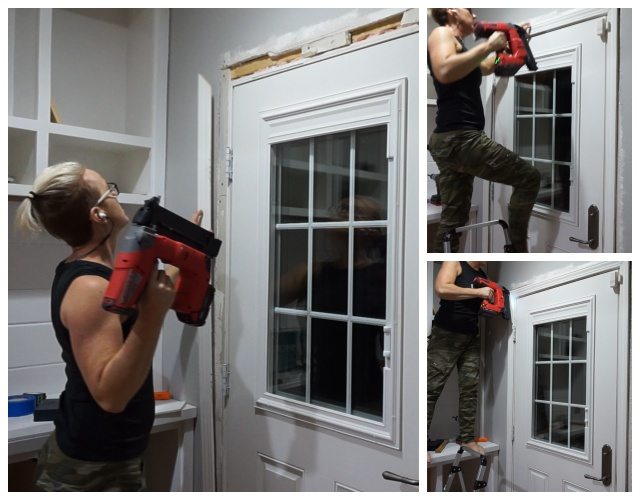
The doors by the entry and kitchen took about 5 minutes each since I was simply re-installing what I installed once, then uninstalled.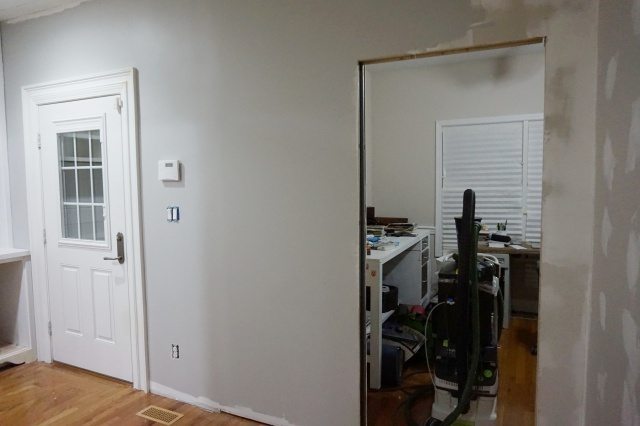
The office door was new and I had to completely trim it out including the door jambs.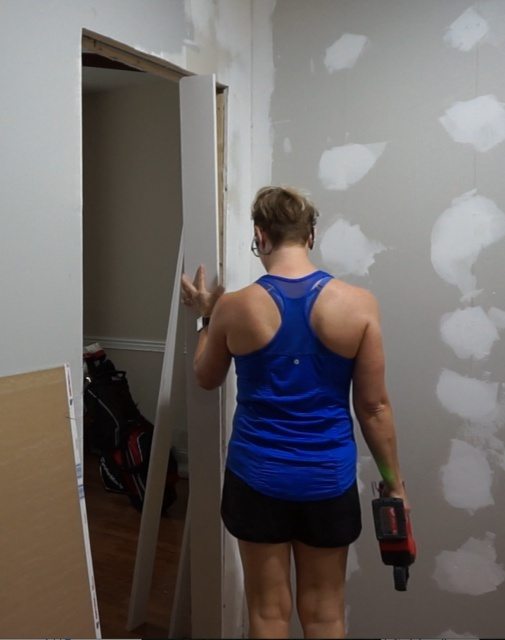
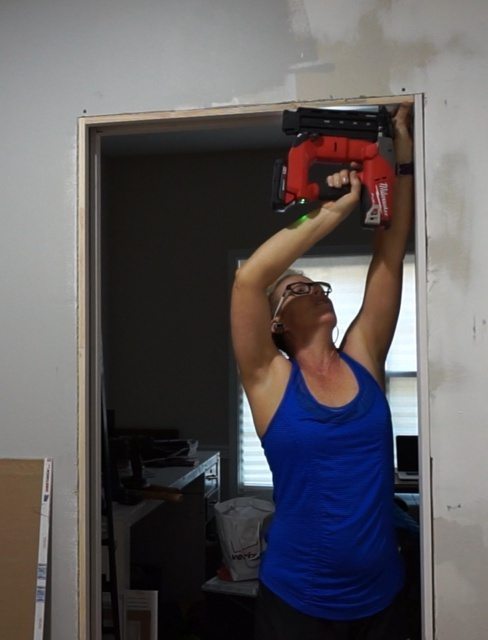
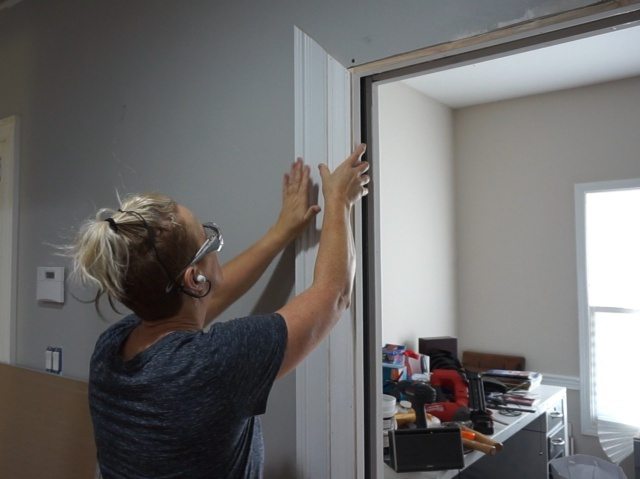
I used construction adhesive to secure the trim to the pocket door cavity side. Other than the narrow, thin metal and wood stud included in the pocket door frame kit, there’s just drywall on this part of the wall. Drywall doesn’t hold nails and I don’t want nails poking into the cavity where they can scrape the pocket door.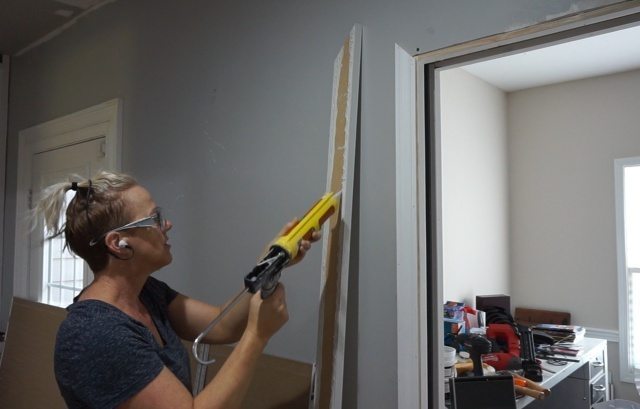
I only attach the left side because I still have to sand, prime and paint the end wall. I wanted to get this part up to give the adhesive time to cure before I do any sanding and painting.
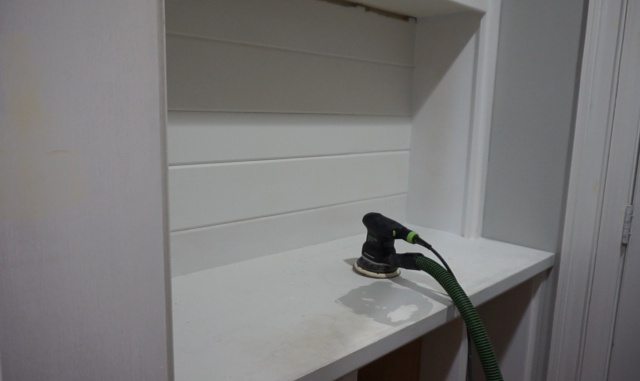
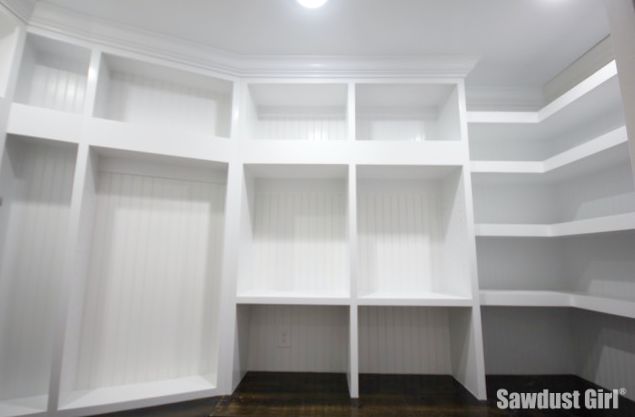
In the spirit of making this space start to look finished, I sand and paint the hutch to really make it shine!
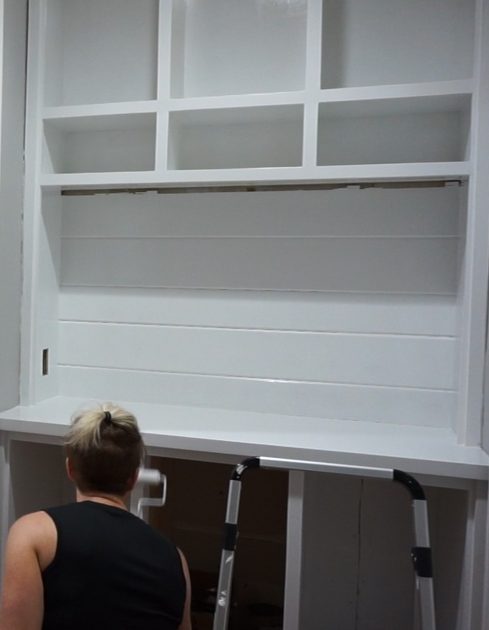
I can’t wait to get some crown moulding on here but I hate the texture on the ceiling so I’m going to deal with that first.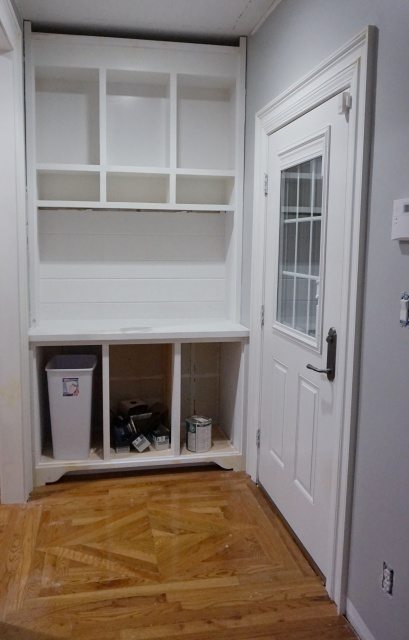
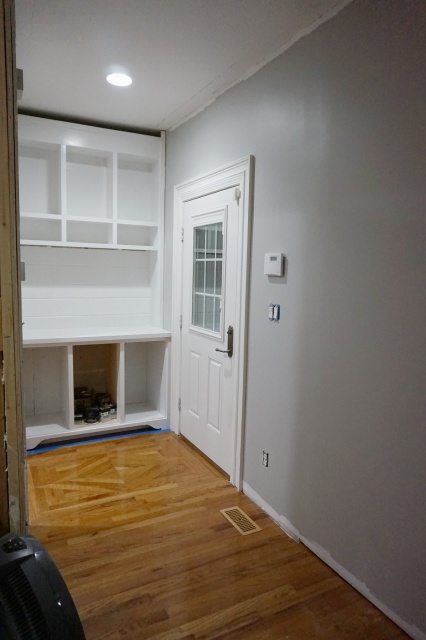
That won’t take too long. Maybe just another day…
Next post: Day 8
Start at the beginning: Day 1
hello Sandra – I live in rural Nova Scotia, Canada alongside my hubby at our hobby farm. My hubby is by no means a DIY-chap! So, I have had to take on this role…. and!…. am loving it!! 🙂 Being located in a very simple and rural environment, I am having to learn as I go along and your site has been a complete blessing for me! Not only do I feel I have a female companion in this regard but that you also have tasks lasting three years before you finish them! hahaaa!!
I am currently ‘finishing’ off our living space downstairs which consists of 2 bedrooms, create a bathroom, create a walk-in closet, create a linen cupboard and decorate the hallway area which will be a library/relaxing haven space. I’ve managed so far to complete the linen cupboard and half a bathroom! 🙂 I have a very understanding hubby!! LOL!!
I love your site and look forward to your ‘episodes’! 🙂
Keep up with the good work and great advice you share with us.
take care,
Jill, Jabula Hill Farm, Nova Scotia
It’s amazing how such a little task could make me feel so accomplished — but it totally did! lol
Thanks Ron. It is true, always more time than I plan. I never plan the money part anymore so I don’t disappoint myself. haha
Haha. Love it. Thanks for coming along on the journey with me!
Thank you Carla!