DIY Memo Boards
Getting parts of the house finished enough to actually hang something on the wall is very exciting! The entry is almost complete and I was tired of staring at blank walls so I took advantage of my opportunity to partner with Scotch and used some of their new fastener products to create some DIY Memo Boards. 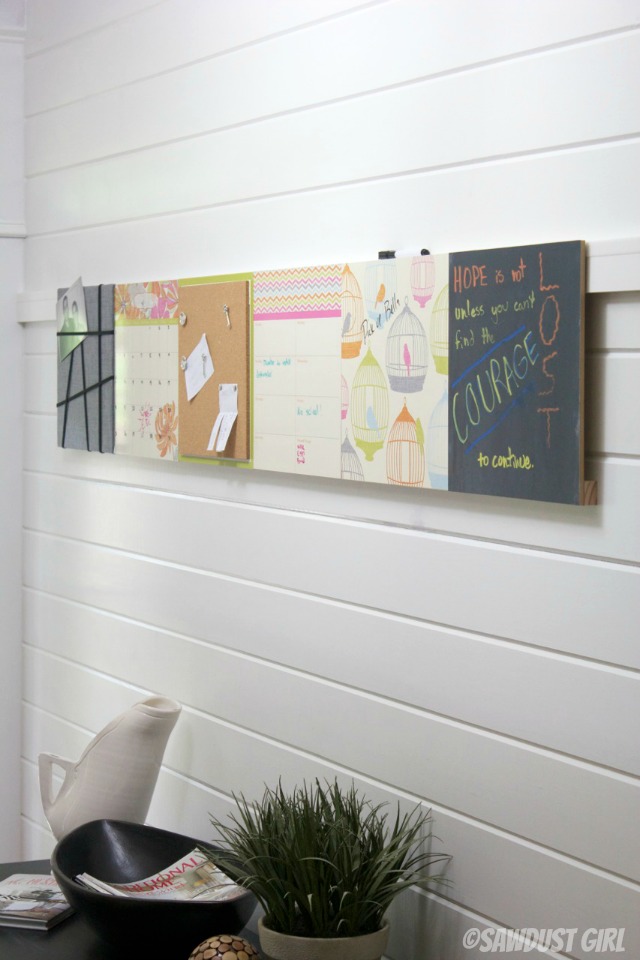
DIY Memo Boards
This project is SO SIMPLE and doesn’t require any special tools — anyone can do it!
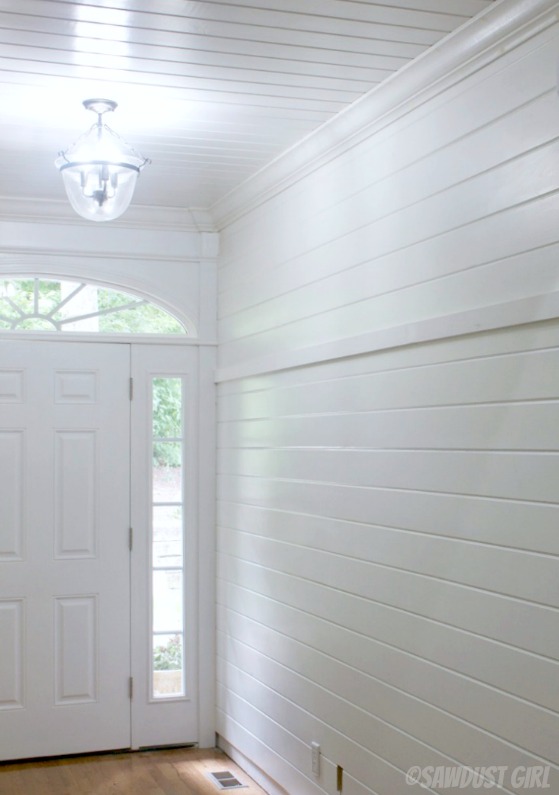
- The first thing to do is install a 1×3 (which is really 3/4″ x 2 1/2″) rail at the desired height for the top of your memo boards. I used a simple piece of primed pine and painted it the same color as my wall. Use nails or screws to attach the rail to the wall.
This will act as a grid for your DIY Memo Boards. You can do a straight line or layer them so you have 2 or 3 on top and a second or third row — depending on the space you have to use.
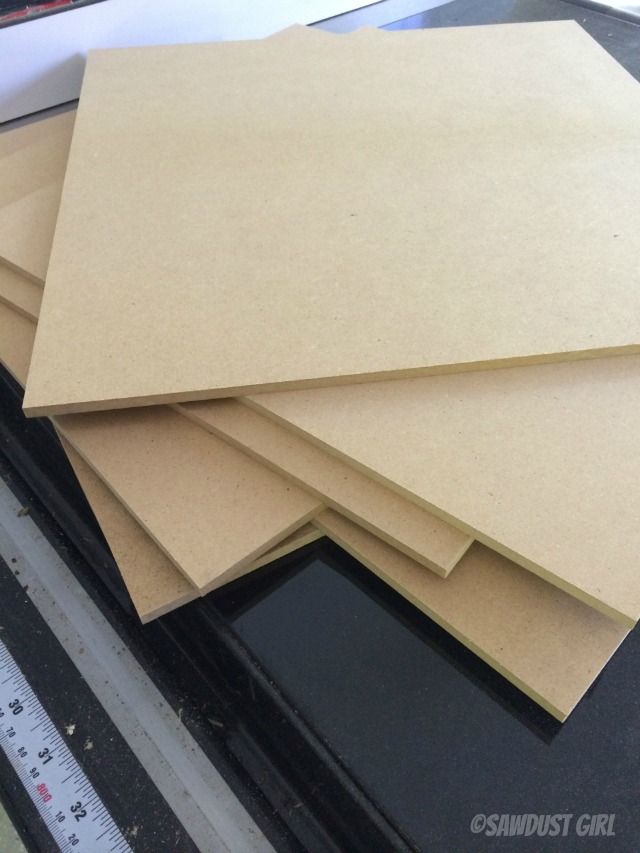
- I used 1/4″ MDF which is sold in 2’x4′ pieces at my orange home improvement store for about $7 each. I have a table saw so I cut mine down to size myself but they are happy to make cuts for you.
- I cut mine to 13″x13″ to fit the vinyl I purchased but if you did 12″x12″, you could get 6 boards out of 1 piece.
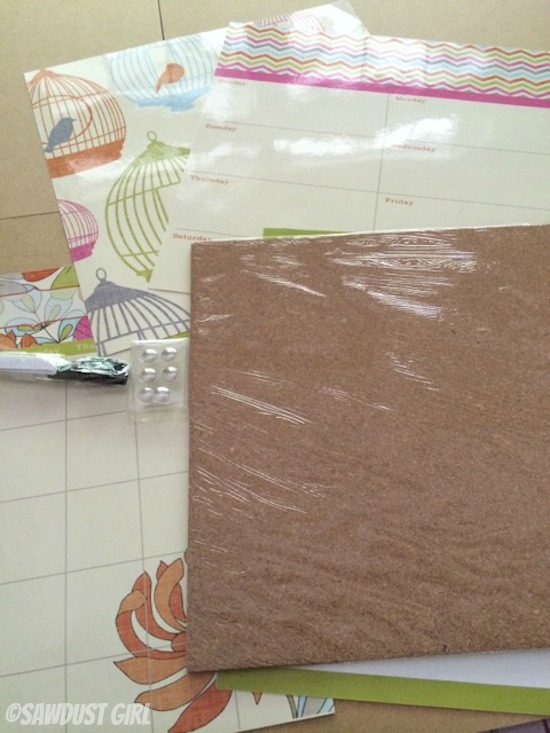
- You’ll need to decide how you want your memo boards to function. Office supply stores have vinyl calendars, chalkboards, whiteboards, to do lists and a plethora of other organizational vinyl that you can purchase. I bought a Decorative Pack that contained four of the above mentioned items for $32. I used chalkboard vinyl left over from Madison’s bedroom.
- Prepare your diy memo boards. For vinyl, simply peel off the backing and stick it to your MDF. I find that a plastic scraper or credit card is great for smoothing out bubbles on the vinyl.
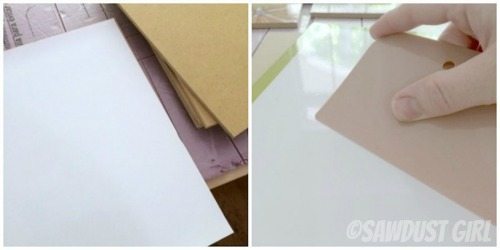
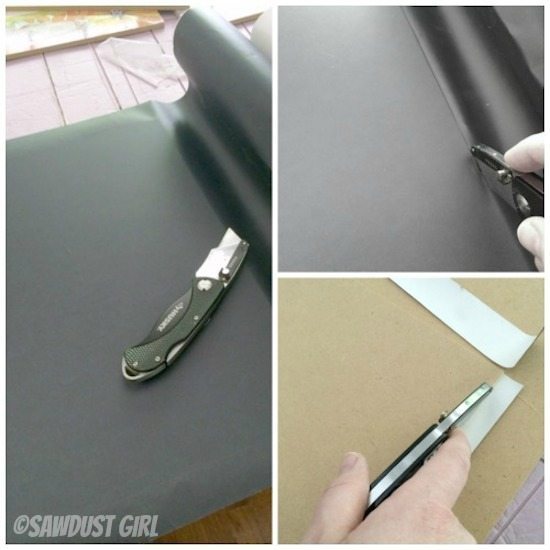
- If your vinyl is oversized, I find it’s easiest to trim after adhering it to the board.
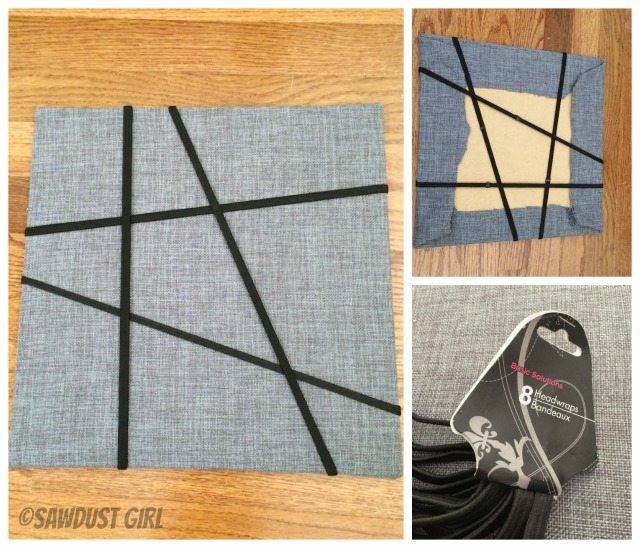
- I created a fabric memo board by wrapping the fabric around the MDF and using hot glue on the back to keep it in place. Then I used a pack of elastic headbands from the dollar store and stretched them around the board. I did not secure them by any other means than their own elasticity. That way I can move them around depending on the size of the photo or memo I want to hold and I’m not restricted by any “pre-determined” parameters. 🙂
Now the fun part!
I used Scotch indoor fasteners to secure my diy memo boards to my rail. They are strong and allow you to remove your memo board to change the calendar dates or change the configuration of your organization station.
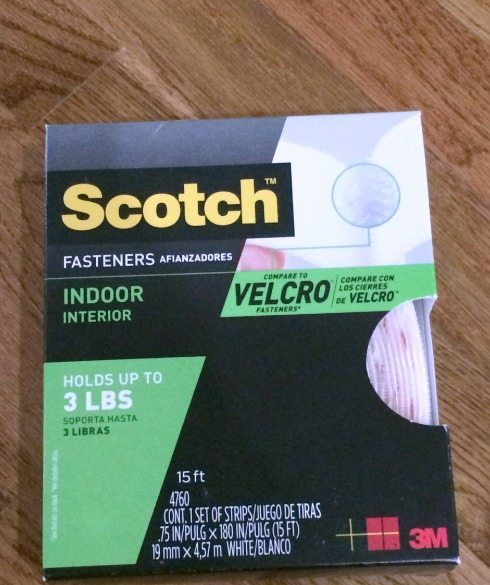
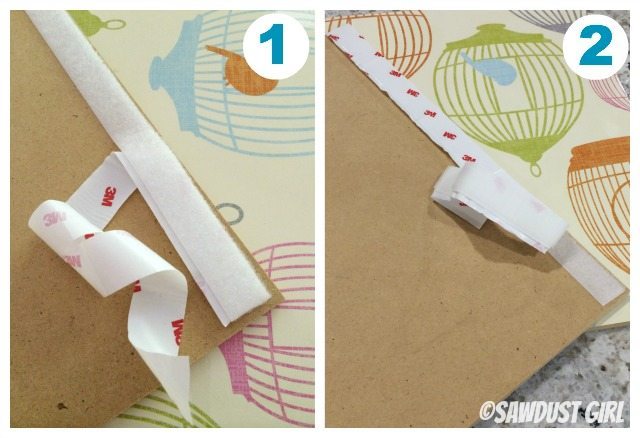
- Cut strips of fastener to match the width of your memo boards. Mine are 13″ long.
- Stick one fastener side to the memo boards, attach the other fastener side to the first and then position the board onto the rail in the desired position before pulling the backing off to attach to the rail.
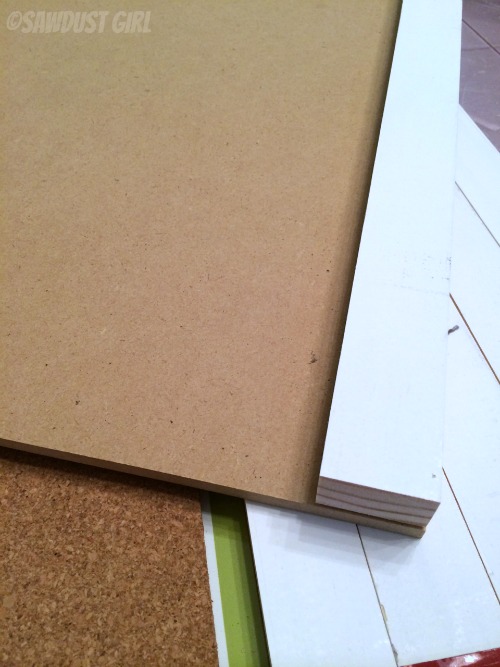
- The memo boards will need a “cleat” on the bottom to keep the boards from tipping in and hitting the wall whenever you try to write on them. The cleat needs to be the same thickness as the rail. If you have left over material from your rail — that makes it easy!
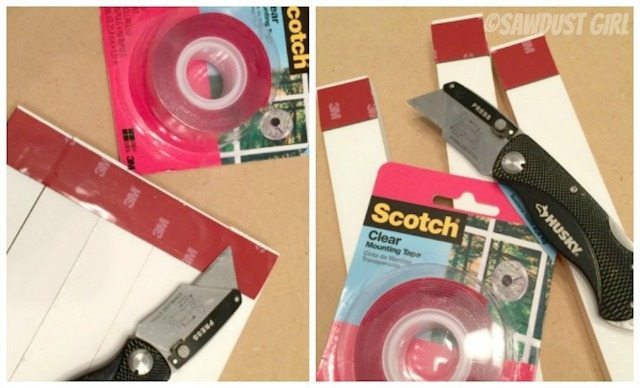
- I used Scotch clear mounting tape to secure my cleats to my memo boards.
- Fast and easy way to do all the cleats is to line them up, run the tape across all of your cleats at once and then cut them with a utility knife.
- Put mounting tape on both sides of the cleats, remove backing and secure them to the back of the memo boards –at the bottom.
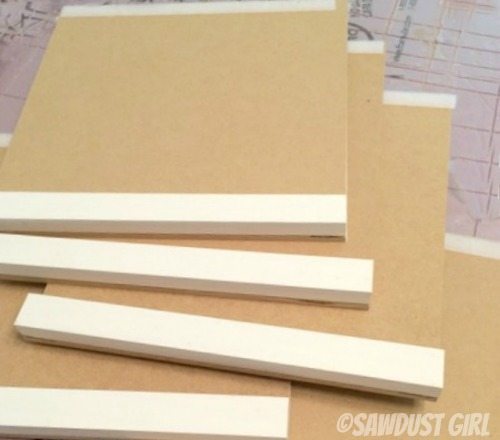
*Useful Tip: use the tip of a nail or screw to pull up the corner of backing if you have difficulty getting ahold of it with your fingernails.
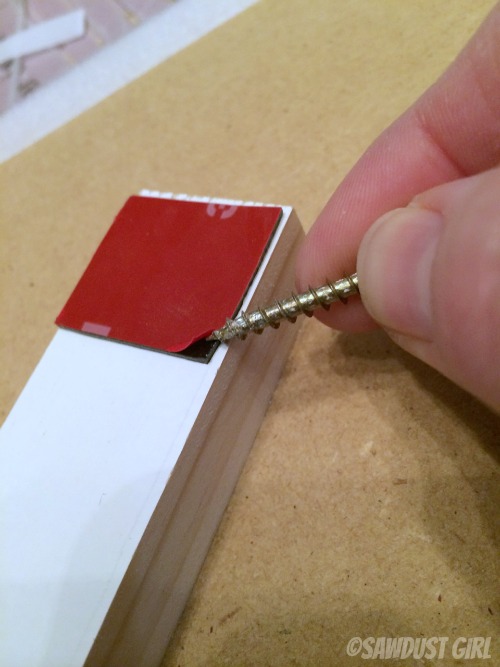
If you didn’t already, position your diy memo boards on your rail remove the backing and stick them in place.
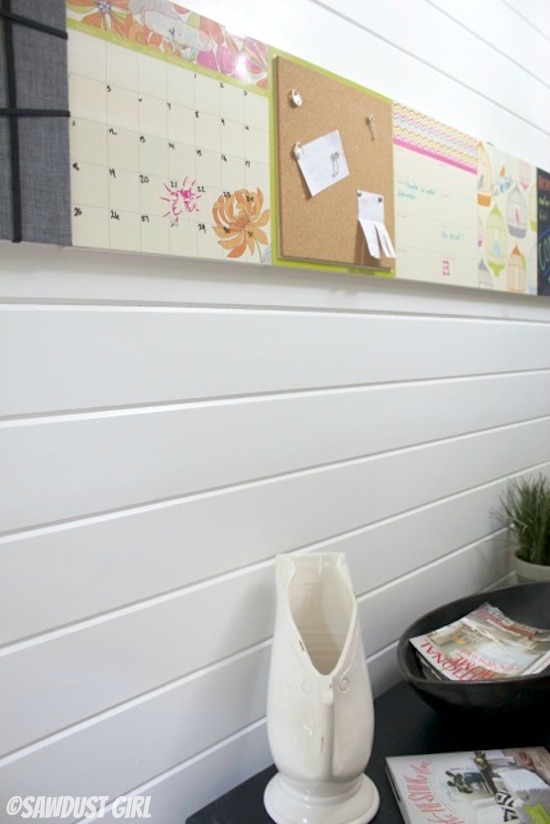
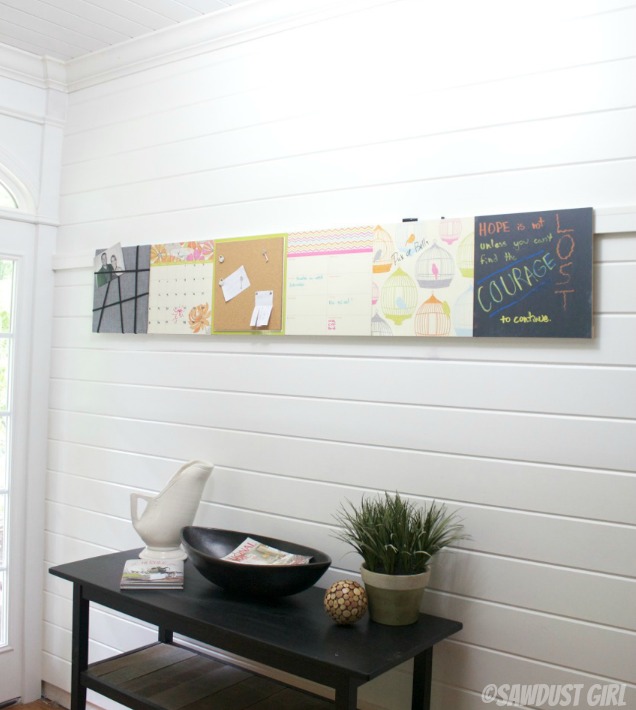
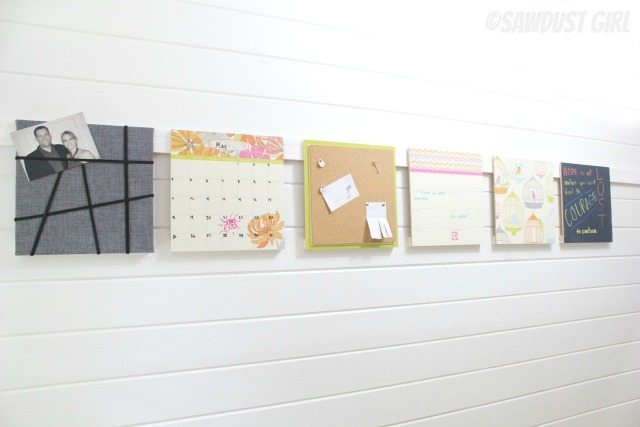
You can reposition, reconfigure and take them down to make writing on them easier. The fasters should adhere to their relative materials allowing you to remove them over and over and over again!


I used industrial strength velcro for attaching remotes to my bedside portable table. I no longer lose the three remotes I need to operate my AC, Dish TV box and TV. I am very happy. Great post.
I love that planked wall – what materials did you use to create it? I’m looking to do a similar wall in my dining room and would love some direction, thanks!
I love that planked wall – what material did you use to create that?
I love the headband idea! That’s great! I have a similar board I made, but my ribbons are tacked on, and the ability to move them would be great…..in hindsight!
I use dollar store headbands to keep my kids board game boxes closed, so we can store them on their ends. They are so useful!