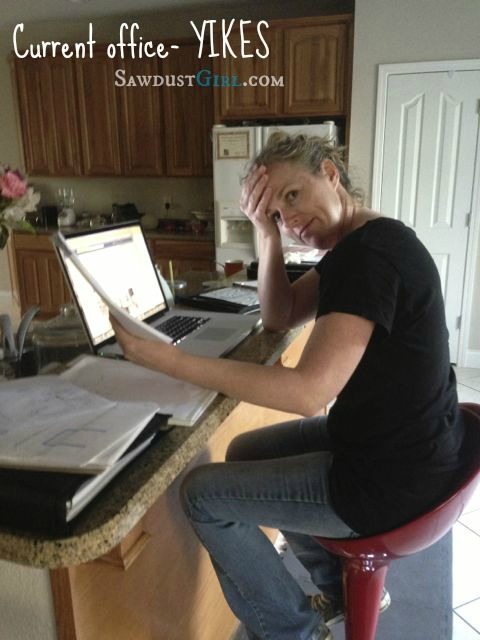
This is my current office.
This is where I sit for all my video chats and consults.
It’s where I plan all my clients’ awesome built-ins.
It’s where I try to keep all my projects organized. That is NOT working out well at all!
So right before I left for Utah (last week) we decided — going against ALL our promises to each other to work on ONE project at a time– to start on our office.
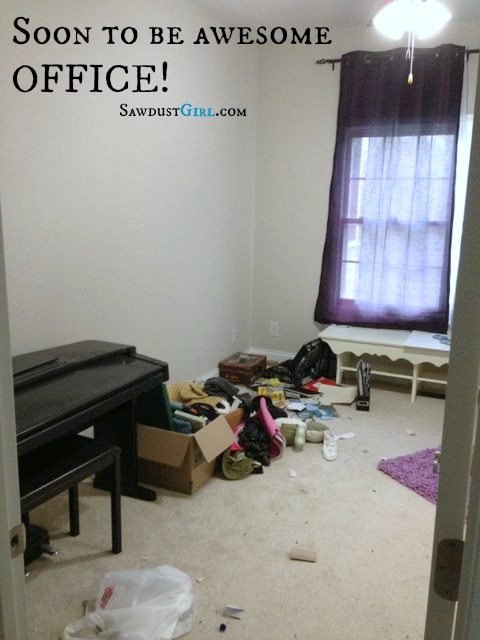
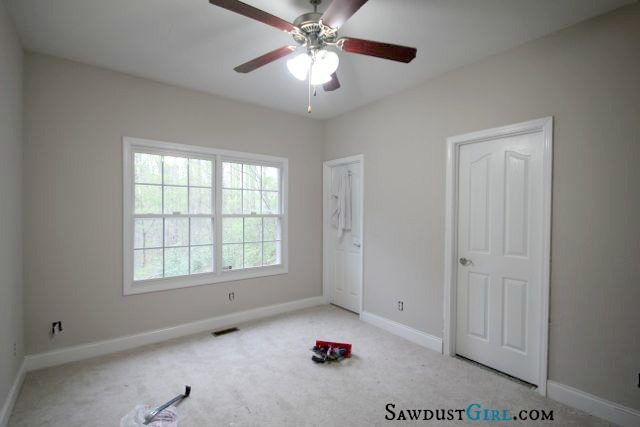
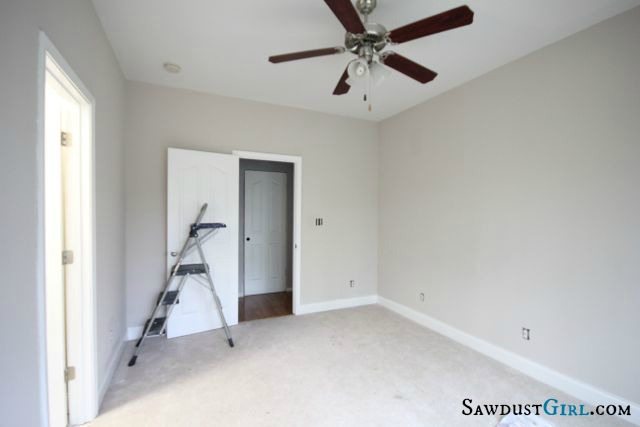
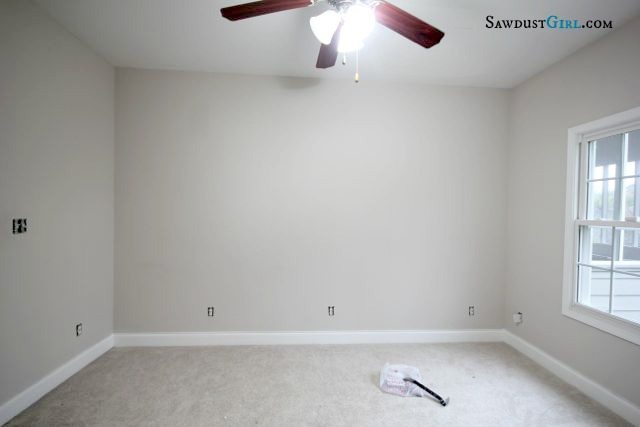
This is Madison’s OLD room. Before we created her new World Map bedroom. This is going to be Wes and my combined office. Because of how small it is, it will probably end up looking a lot like our IL office. T-shaped countertop anyway. The rest might be different. I started drawing design plans in December but still haven’t decided exactly what I want to do. All I DO know is that it is going to be 10000000% better than my little red stool and kitchen bar countertop! It looks much better already, just being cleaned out.
I’m excited. Eventually there will be a Jack and Jill bathroom to build in– but I’m ignoring those future changes for now. Here is what I have to work with:
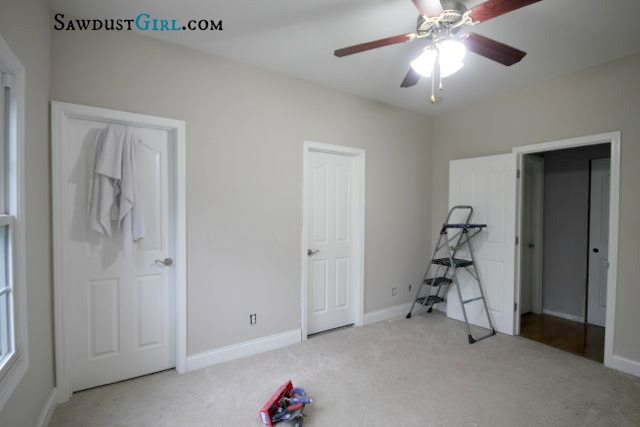
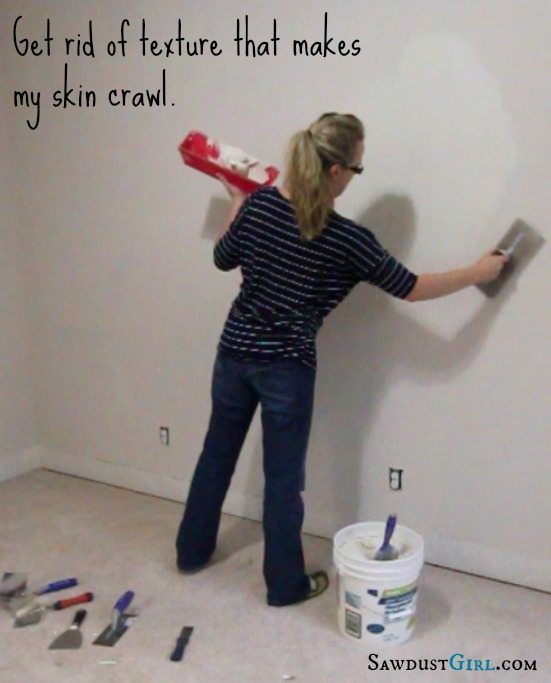
We Removed the baseboards before I left. Now I have to re-texture the walls. I spent some time teaching Wes my technique before I left in hopes that he would have it done when I returned home. He was busy with work so it’s still not done. Guess I’ll be working on that myself.
I was really looking forward to the reno fairies taking care of a few steps while I was gone but It might be fore the best. I am a bit of a perfectionist — I’ve been told. 😉
Giddy-up!

kristin says
That picture of you at the counter is cracking me up. Yes…you had said one project at a time…however, having a proper space to conduct your business is essential! Your blog/business has really had big changes with the client work. I think this will be great and well deserved. It is the perfect time to do it! GO Sandra GO!!!
Sandra says
Thank you Kristin. Wes and I are actually both on board for this — diversion. I’ll continue to work on the laundry room too. Layer of mud on the office walls, while that dries go sand my sink cutout. Paint something, while that dries go do something else. My life feels really frantic right now anyway so I don’t think it will be worse. (And I think it will be a whole lot better after I can feel organized in a real life office). yoohoo 🙂
Maureen says
Sandra,
How exactly are you retexturing the walls? Are you getting rid of the existing tecture by covering it up or smoothing it out OR are you giving the textured walls a whole new texture?
Maureen
P.S. Did you have fun in Utah?
Sandra says
Utah was fun! I’m making smooth walls. The texture we have now is REALLY heavy. I seriously hate it. Skin crawl — hate.
Colleen says
I’m with Maureen- I’d love to know how you are smoothing out the wall texture. Would seem such a messy and/or time consuming operation for the whole house. Especially as we have 18 foot ceilings in some places.
Sandra says
Well you are in luck because I just happened to have made a video about just that. (I have to edit it and cut out all the embarrassing parts before I can share.) 🙂
Jantral says
Hello,
Do you use any special software to make your projects, designs? For costs, cuts wood.
I love you.
Sandra says
🙂 I use Google Sketch-Up to draw my plans.
Nancy Williams says
I know it’s going to look fabulous when you are done! Can’t wait to see the retexturing video…I removed the wallpaper from my kids’ bathroom about ten years ago and it tore up the sheetrock like crazy!
Nancy
Sandra says
10 years ago and it’s been like that ever since. LOL Nancy – you crack me up. We’ll get you all set then. 🙂
Nancy Williams says
Sandra,
I make one of my “ummm, not so sure what to do” faces every time I walk in that darn bathroom. Maybe you need to come to NC with a cattle prod so I will get my rear in gear!
Christan says
haha, I’m sitting at my kitchen counter wanting to tackle the office space too! I’m hoping to start something within the next few weeks because my back is starting to hurt working from a wooden bar stool and hunching over my kitchen counter haha
Sandra says
I’m with you. This red plastic bar stool is definitely NOT helping my sciatica. LOL
Denise says
I have just discovered your blog when I found the post on the fantastic craft room. My husband just rolls his eyes when the gears in my head get going. I have done alot around our house like new front door, found out the old one was being held in by insulation foam and molding for 30 years, seriously. The door to our garage started falling out too. They are not going anywhere now! I have placed several kitchen staples too. I have the only place I put up wall paper now in the need to be removed. Looks dingy after 13 years. I remember they had the old wall paper behind the mirror and its still there. Mirrors and I, we don’t take chances. I am so looking forward to see more about your retexturing and smoothing the wall tricks. My first attempt at this I couldn’t get it smooth enough and being pregant, well I took the easy way, created textrue. So thanks for sharing and well getting my gears rolling. My current endeavor is getting rid of three horrible flourescent lights behind the plastic panels they called kitchen lighting in the early 80’s.
Sandra says
I say, “Bring on the eye rolling!” LOL Honestly, I’d take eye rolling over the steel trap door that slams down when I suggest a new project idea. Well, that’s not fair. Wes has gotten MUCH better with that over the last few years. heehee
Linda S says
Denise, I would love to follow along on how you solve your flourescent lighting problem. Our home was built in the late 90’s, so that’s how long builders have been terrorizing homeowners with those awful lights. My husband has removed the tubes and the metal fixtures, leaving an empty cut-out in our kitchen ceiling over our small island. (Is that called a trey ceiling?) (The inside of the “box” is unfinished as it was covered by the diamond patterned plastic panels). I would love to see how you tackle your problem, but don’t be too speedy with your answer because I kind of like having an excuse not to cook!! Any ideas, Sandra?
Sandra says
Wow, I have an ugly fluorescent box in my kitchen but I’ve removed this type (in my closet) and there isn’t any ceiling repair. It was just like changing out any light fixture. I’d love to see a picture of your ceiling. I can’t even picture it.
Linda S says
I would love to send you a photo, but,….it’s soooo dark out there. I’ll see what I can do.
Denise says
As soon as my weekends start to free up, I am on board with sharing. I have four big dilemas. One they lowered the air vent to be flush with the plastic and wood framing, oh yah they trimmed it out like crazy. The other three problems are that the light fixtures I think are wired on the side instead of the center. Which makes choosing fixtures difficult. Moving wires yah I could, but as many other projects I have found in this house, is that they never grounded anything. Our old chandelier you would get a buzz off it if you touched it. Any imput from Sandra would be great. Other then the plastic breaking and just horrible lighting. Well out of the three fixtures, one stays on, one when it wants to works and then goes off again, and the third if your lucky! How long has it been like this, well too embarrassed to say and well too many bleeps have been said when cooking.
Dale Rose Stream says
I can’t wait to see what you do with your new space!
Kim says
Smoothing out the texture is a great idea. We have the orange peel texture in our home and it is not my favorite. It is especially hard to reproduce (for me anyway) when repairs are made in the drywall. I have some drywall to repair right at the ceiling and I am avoiding it mainly because of the texture issue. It is right above the fireplace and will be so visible!
Your office will be great! You will be even more productive, I’m guessing. 🙂
I’ve tried Google Sketch-Up. I’m not very good at it. I need to try again!
Thanks for the inspiration.
p.s. I have those icky ceiling fluorescent box thingies in my kitchen…yuck!
Darlene says
I have that orange peel texture and it’s very dated. I’ve managed to do a few repairs that blend in nicely but I would love to make it go away! I’ve read online about ways it can be done but I don’t know if I can/should attempt it. Looking forward to seeing a video.