Moving Can Lights ‘n stuff- Day 8

You know how much I hate the heavy texture in this house. In a lot of the house I’ve done tongue and groove planks or box beam ceilings. I’m not doing anything that decorative here but want to be consistent with the smooth (textureless) drywall in the rest of the house. I’m covering the ceiling with 1/4″ drywall instead of skim coating the whole ceiling because that’s really hard on my neck.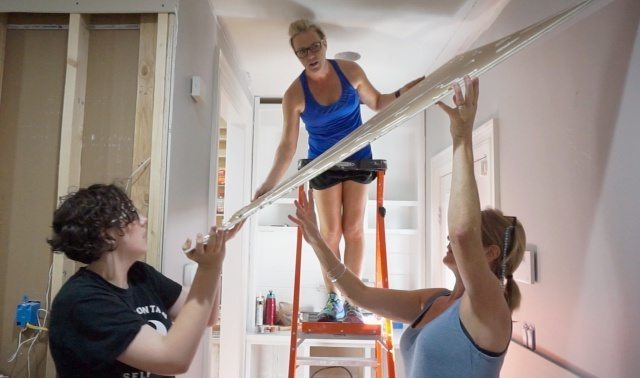
There is a single light on it’s own switch in this entry. I marked the location of the joists on the walls so I’d now where to drive my screws. Then I used construction adhesive in addition to screws to secure the new drywall right over the old. 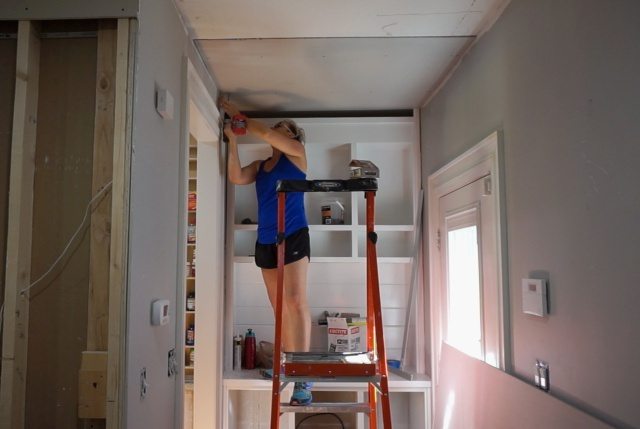
I made a note of the light location before I covered the ceiling so I’d know how to cut out the hole.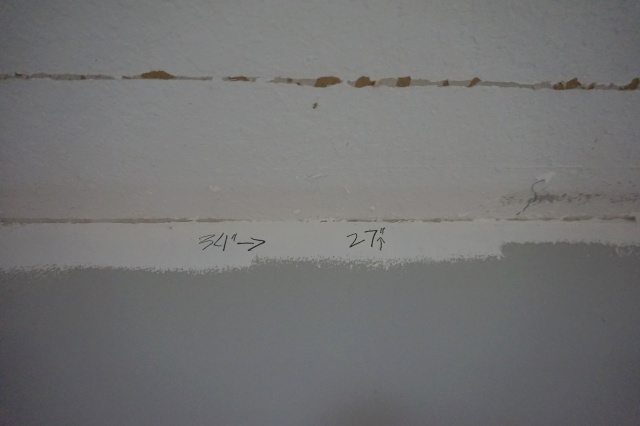
I used a Dremel with a cutting bit to cut out the light hole. I run the bit around the edge of the metal can so I get a perfect circle. (The light bulb was removed.)
Pretty easy!
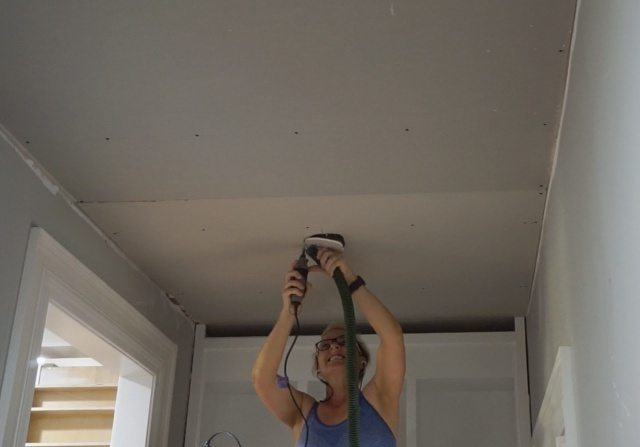
But of course it couldn’t really be that easy.
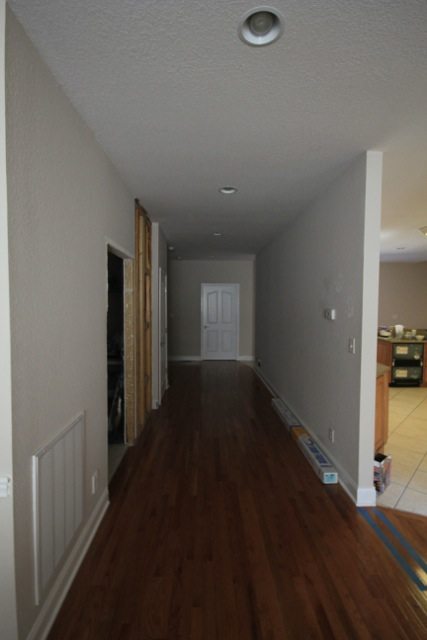
Where the kitchen entry hallway ends, you turn right and there is another hallway. There is a row of lights in that hallway and the last one on the run ends right outside the “soon someday to be” office — so that light is in both hallways. 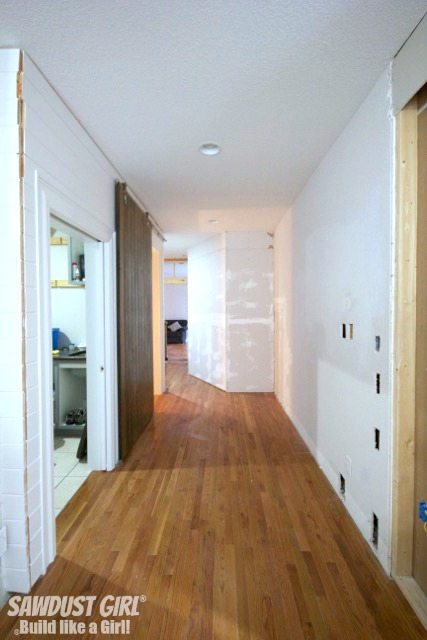
But that one light doesn’t line up with the light in the kitchen entry hallway so I HAVE to move it over.
I actually move it over and back because all the lights in that other hallway will have to be moved eventually. I plan to build built-ins in that hallway which will take 2′ off the width — and then the lights will no longer be centered.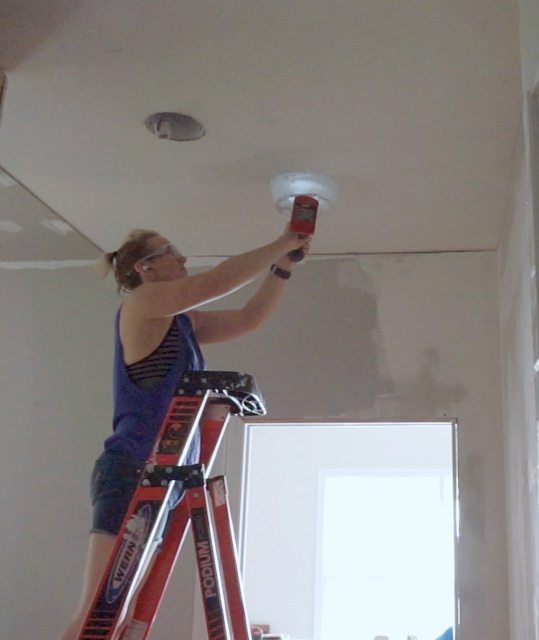
At this point I thought about those built-ins. Would I want them to be enclosed between two walls – making them truly “built-in”? Or will I be ok just having the end of the last built-in show? Of course I want a wall! So WHILE I’M AT IT…
I build that wall. 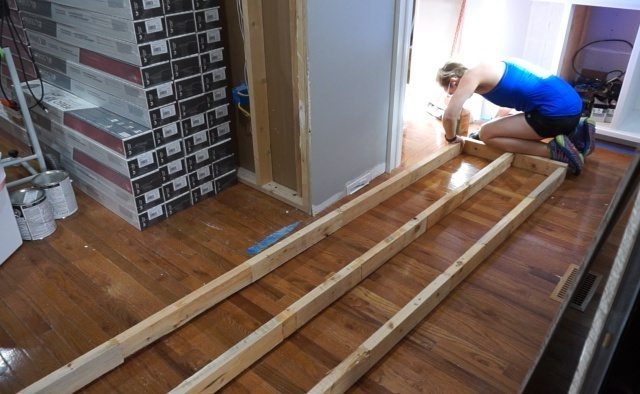
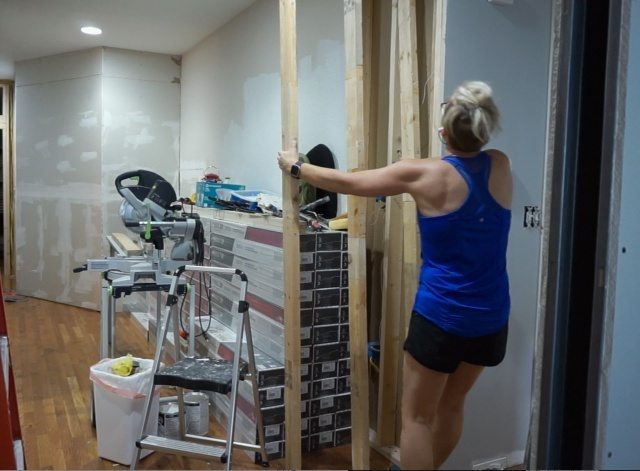
I have no access above this hallway because it’s where the loft is located. The roofline changes right where I’m adding this little wall extension so the joists change direction. So my wall extension has nothing to secure to above it. This is just a partition wall, it’s not holding any weight. I just need it to be held in place. SO I cut a hole in the ceiling and shimmy up a 2×4 into the dead space. Now the drywall is sandwiched between that 2×4 and new wall extension.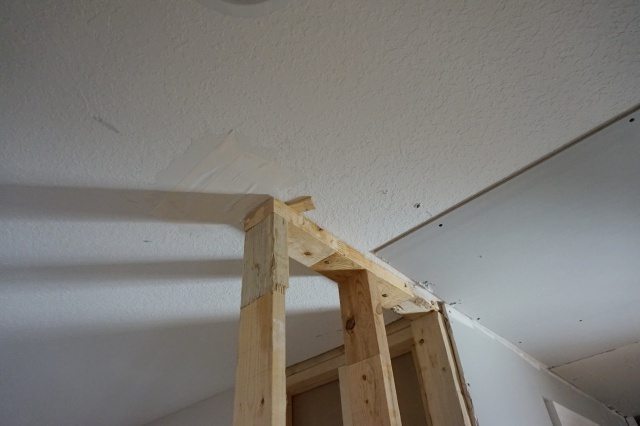
The wall is also secured to the adjacent wall and to the floor.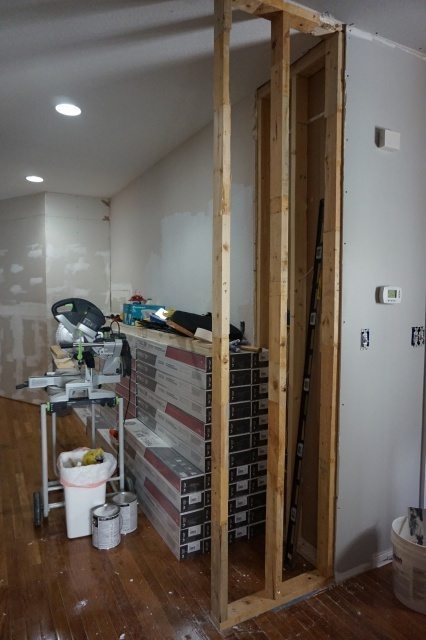
I get drywall secured to this side of that wall extension and start mudding it.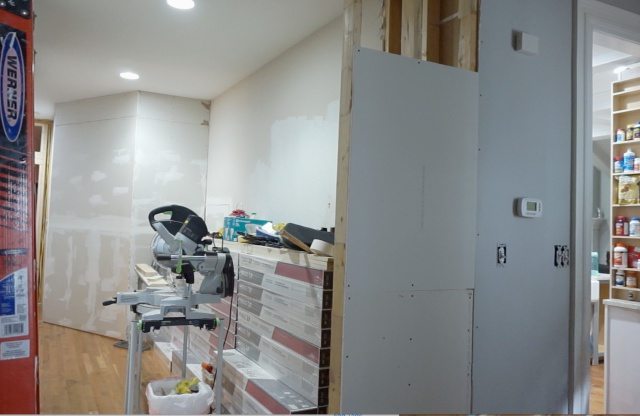
I’m still finishing up the mud on my new office wall too so I’ll continue coating both sections until they’re smooth and perfect-ish.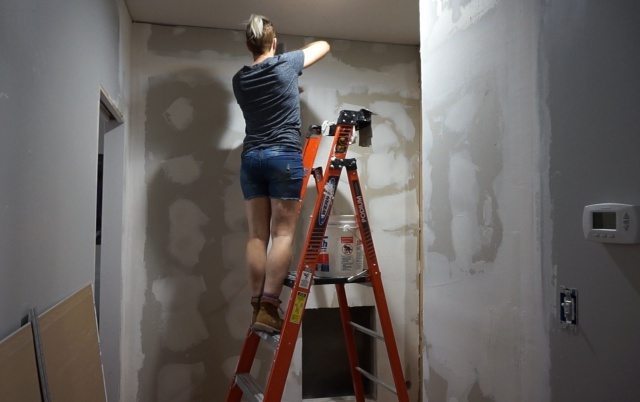
Now back to the lights.
I’m not removing the old cans. They were new construction cans which can’t be installed or removed after the drywall goes up so I’m just leaving them in the ceiling. They’ll be dead — don’t worry.
I have to at least wire the new light but there isn’t enough slack in the existing Romex to pull it over from the old can to the new one so I have to run a new wire from the new can to the next one in the run. 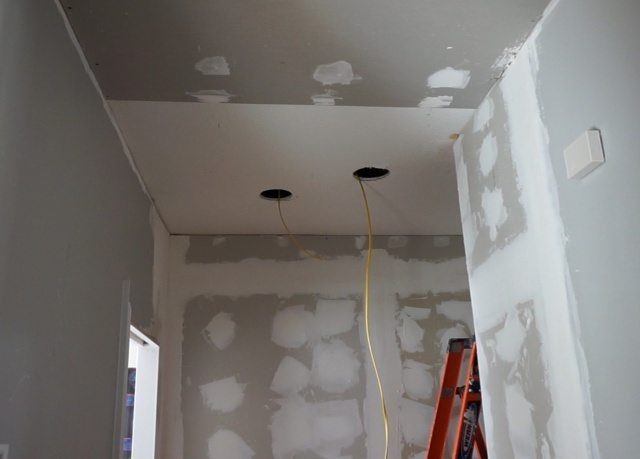
AND since I have to do that I have to move the next light over too or I’ll be re-doing work later. So I might as well just move them all. There’s only four total. No biggie. It’s just work, time and more mess.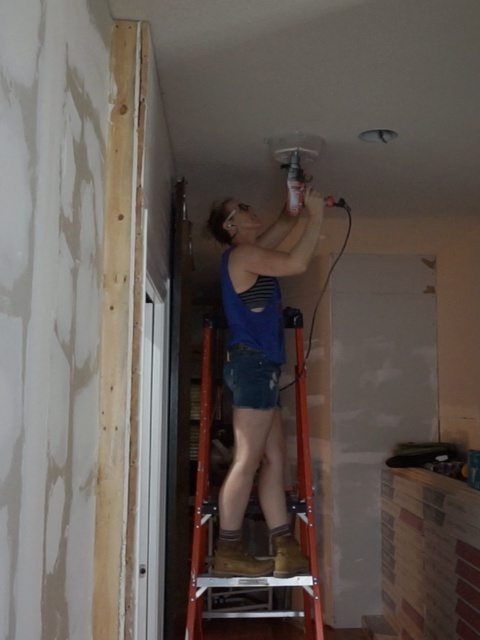
Having no access to the lights from above, I have to cut a bunch of holes in the ceiling to get the wires through all the I-joists. 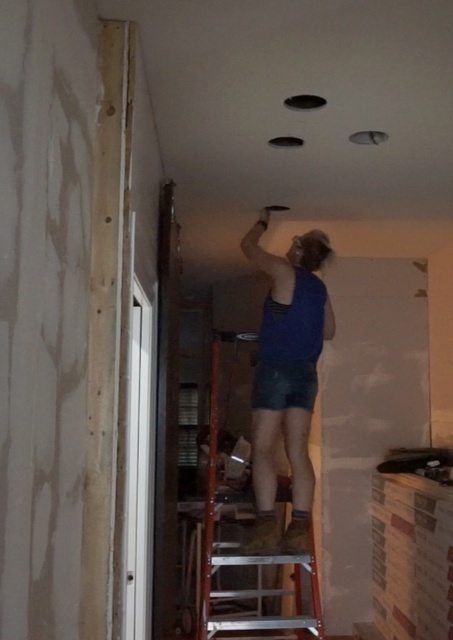
I recruited help when it came time to pull the wires through. It was a two person job!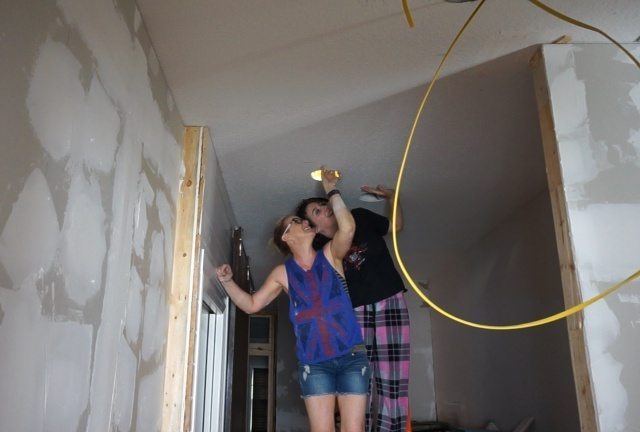 I used a drywall circle cutter to cut all my holes and kept the cut-outs for patching.
Simply screw a piece of wood in the hole and then screw the drywall circle back into place. I’m covering the ceiling with new drywall anyway so I really don’t care about all the holes.
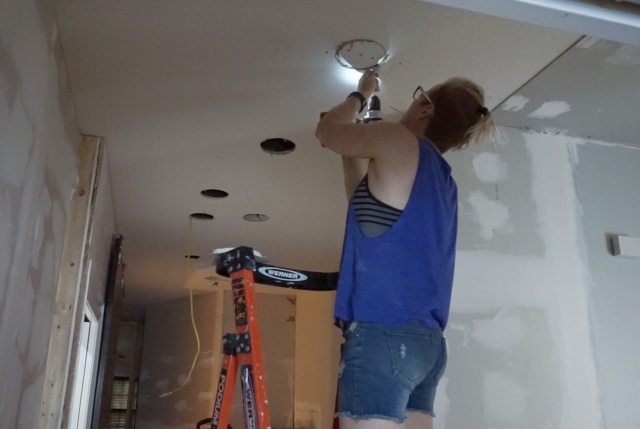
FINALLY finishing up my ceiling drywall covering. I totally messed up on the piece you see where the brown paper is showing but I didn’t want to waste that piece so I just used it anyway. Does it really matter which side is showing on the drywall anyway? It’s just paper on both sides after all.
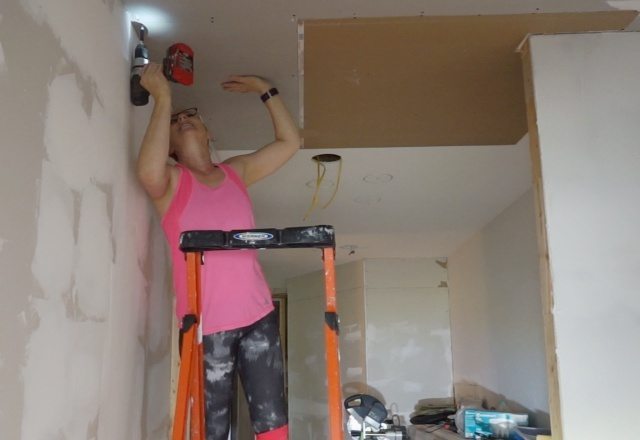
Now just have to finish mudding, sanding and painting — and cut that other light hole –and install the can and trim…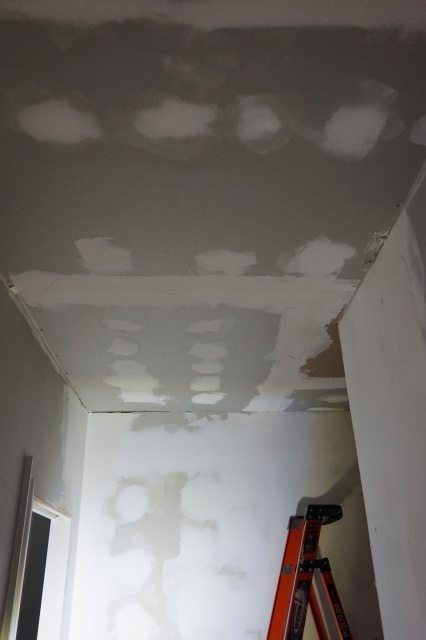
This should definitely be the last additional “while I’m at it” chore that needs to be done in this
1 Day Kitchen Entry makeover…
Thanks so much. I do think I tried to cut a corner on those drawers by not waiting for better glides and I’ll be re-doing them at some point because they are not perfect enough. I mean not even close and I won’t be stomach leaving them permanently. BUT they are good enough to do until absolutely everything else in the house is done and I’m looking for projects to just keep busy with. 🙂
I think this beats any detour I’ve ever taken too. It seems like extra tasks just keep popping out of the woodwork in this entry! haha
Thanks Carol.
LOL Aren’t you kind of reading it right now. 😉
Haha Thanks Carla!