Malisa’s Mudroom – Part 1
I’m working with a new client on a built-in locker storage project that I am calling “The Mudroom”,although it’s an alcove not a room but I’m calling it a mudroom because it’s fun to say when you add the client’s name — Malisa (pronounced Maleesa). Malisa’s mudroom. Here’s the mudroom design that Malisa and I have come up with.
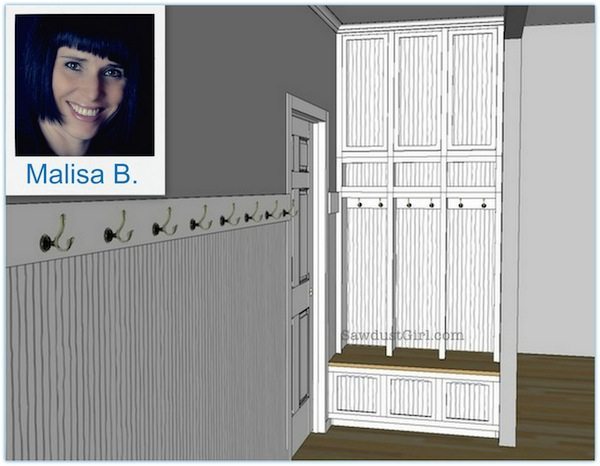
Now, we’re going to be building this awesome locker type built-in but she had some work to do before we could get started on the built-ins. You see, there is a bathroom door that opened up right in front of the locker area– that just wouldn’t do. This is how Maleeeesa’s first week went down!
1/8/13
I talked with Sandra tonight and she was nice…and normal. I was oddly nervous to ‘meet’ her and was very scatter-brained. Perhaps it is because my confidence in my abilities has really gone down with me doing less projects these days.
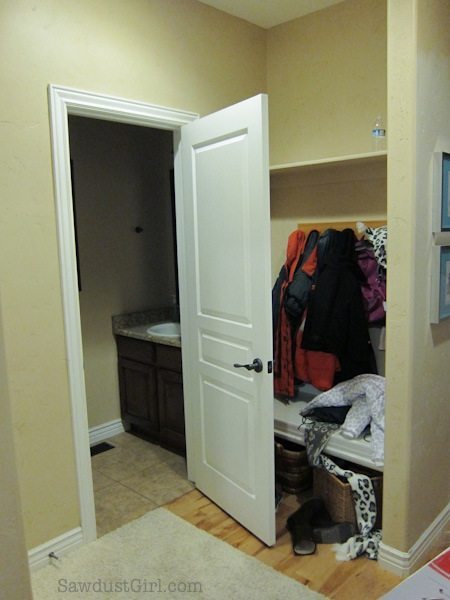
We decided to work on the mud bench area which has never been an overly functional place in this house. The half bath door opens right into the bench and the bench has a severe lack of organization.
Tasks: Order pocket door hardware.
Am I ready for this? It’s cold in the garage.
1/16/13
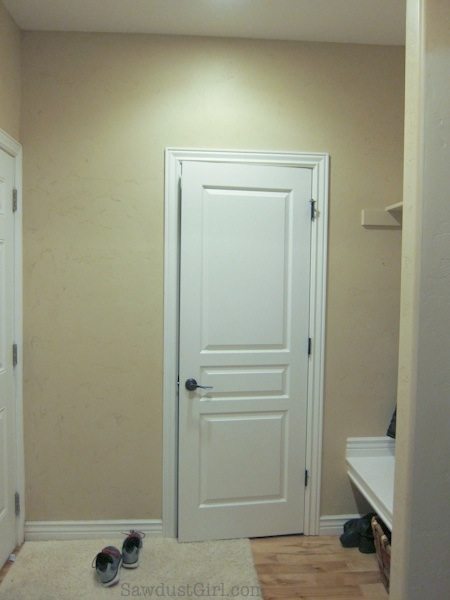
Pocket door hardware is here. Sandra says to read the instructions and see if they make sense. It’s not the instructions that are a problem….it’s the rough opening.
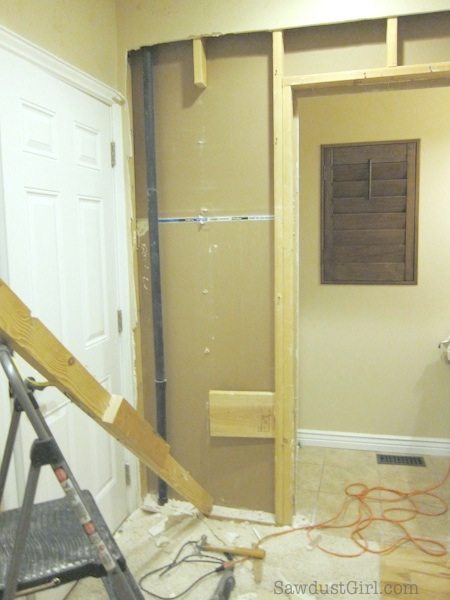
Started taking off the molding and hacking at the drywall.
Oh no! There’s a pipe in the wall!
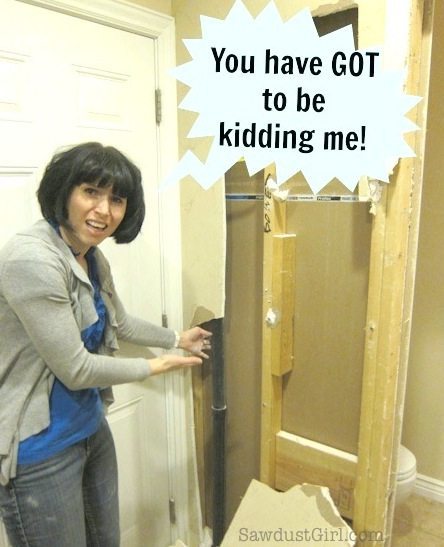
After investigating, we found that it seems to be a vent pipe for the future basement bathroom. There’s a chance we can shift it. Lots of extra work though. :/
1/17/13
Skyed with Sandra again. Bought a Dremel Multi-Max per Sandra’s instructions to get a multi-tool and pipe stuff. Cut out more drywall and blob of plaster.
I’m working hard to preserve one side of the wall. Sandra says it’s possible…
1/18/13
Got most of the studs out. Tired. The Multi-Max is AWESOME. Don’t think I could do the project without it.
1/19/13
Pulled up the 2×4 floor board. Learning more about the construction of the wall to say the least.
After three trips to Home Depot I finally ended up with the right hole cutting drill bit for the pipe to go through the floor. Easy to drill the hole. Daniel is spending a lot of time tonight making the pipes fit just right in the basement. I’m making the cuts..with the fabulous tool. That dang Multi-Max is paying for itself.
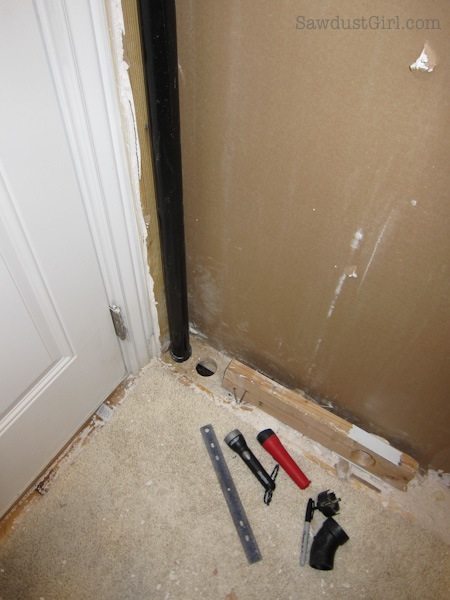
I can already see 2 or 3 more potential issues with the pocket door alone. This is going to be a long and frustrating project, I believe.
That stupid pipe!
1/21
Worked the whole day today. I have never had a project have so many problems. The pipe is done…
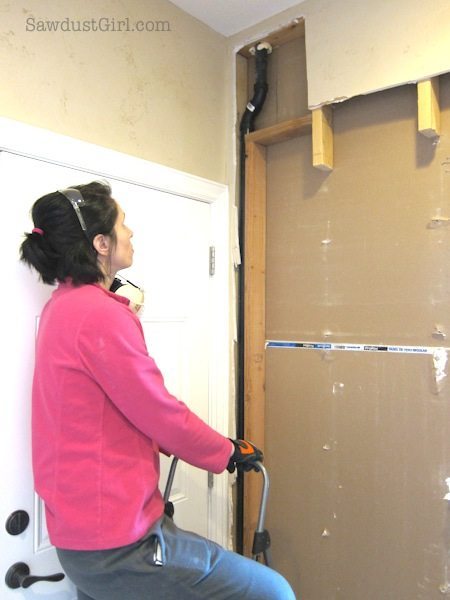
… but that was just part of the issues.
The studs I had in the garage were terribly warped. The studs I spent time picking out at Home Depot turned out not too great themselves.
Try as I might to attach the left side door stud to the left side (around the pipe), it was not to be. I nearly pierced right through the (if I cursed there would be a word here) pipe. It’s stable enough now, but it was painful.
The stud on the right side of the door (that I left there) is about 3 1/4″ across instead of 3 1/2″ like a normal stud should be. Say what? Just another weird problem! I didn’t realize this for a while, but it affected a lot of things. The drywall is going to be tricky there.
I had to cut the pocket door header after all. I dreaded cutting the metal track, but it turned out to be one of the easier things to do when I used the Multi-Max and a wood/metal blade. LOVE that tool!
My rough opening ended up being EXACTLY what my door needed – 56 1/4″ . I could not have made it even 1/2″ bigger if I wanted to. One of the only things to go just right.
One of the split studs included in the kit is very warped.
The center pair of split studs must sit on tile. Ugh. I have to figure out how to attach it to the floor. Researched adhesives. Might drill through.
Retrofitting my pocket door has not been as easy as I expected. Most of the directions online start with ‘once you have your rough opening…’. Getting to the rough opening was hard!
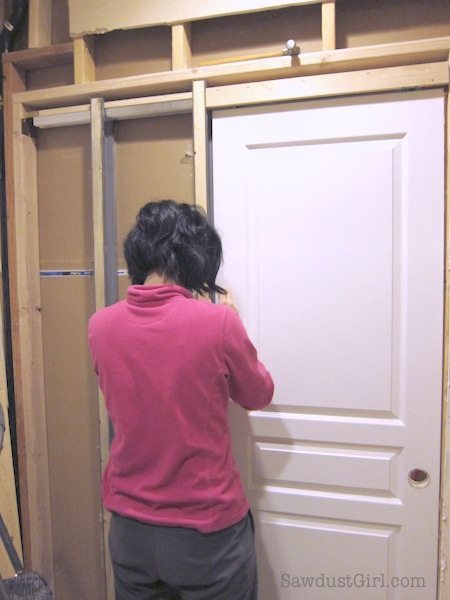
As crappy as it has been, I don’t think I’ll regret doing it. In a test run, that door rolls as smooth as butter. Let there be light!
1/22
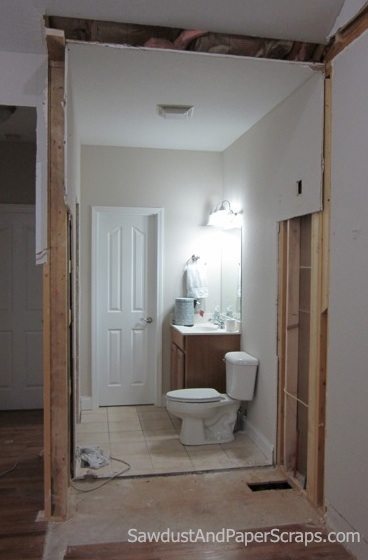
Crazy busy day, but I snuck every minute I could and got the door officially hanging! I ended up getting a tile bit and drilling through the tile to secure the center split studs. It worked….okay.
Realizing now that I haven’t worked with sheetrock much, but I need to go buy some to finish the wall. Also wondering what I’m in for with the rest of the project.
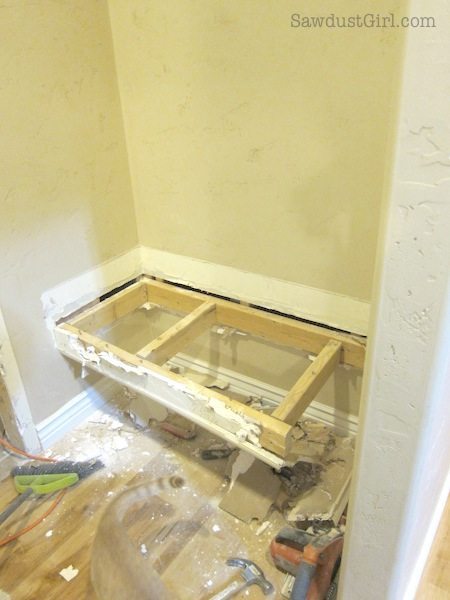
Planning to tear out the bench/shelf in the morning.
1/23
Wahoo! I cleaned up all of the crap! My goal today was to finish with demolition and I think I got there. I tore out the shelf and bench and baseboards and pulled out extra nails. I swept and mopped and took out all of the debris/boards/garbage that had collected over the week. Perfect that it was garbage and recycle day. So relieved to be at this point.
I have never taken more photos or written more about a project in my life. I barely even document a vacation like this. And this is no vacation.
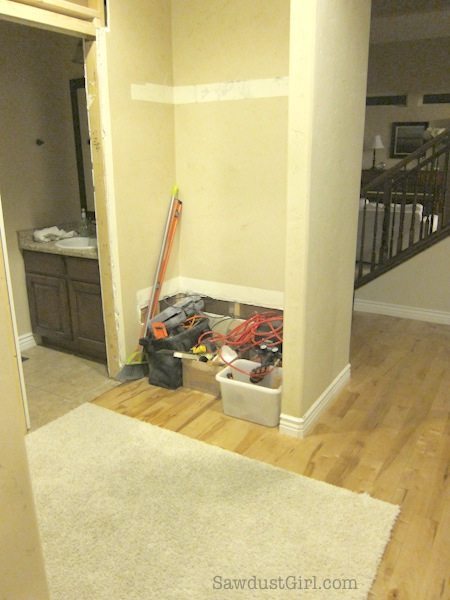
I know there’s a crazy amount of work ahead, but at least I won’t be tearing our other people’s work anymore. When I tore into the initial wall and found that pipe I could have cried. In the end we made it work, but it was so much harder. I feel like most of the problems ahead should be foreseeable (though from experience I know that’s not always the case).
Wondering what to expect as far as plans go. Wondering what I would have come up with if I did it on my own?
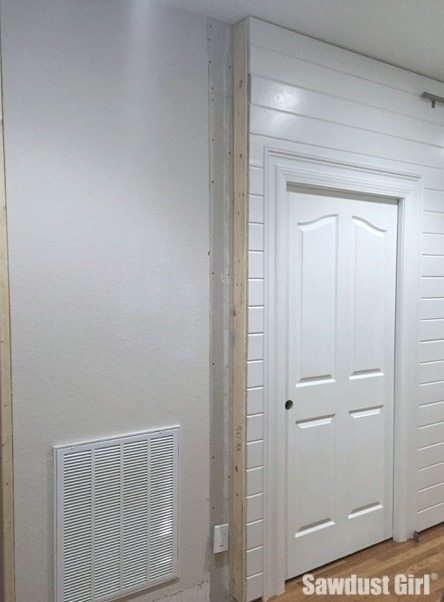
Malisa tackled the pocket door installation on her own. She told me she had received the hardware and I anticipated Skyping the next day …but she just texted me a picture after the wall was torn out! I felt like a proud mamma. 😀 She’s a real go get-er done-er!
Keep reading! part 2
2 Comments