Make a Bathroom Vanity look like a Custom Piece of Furniture
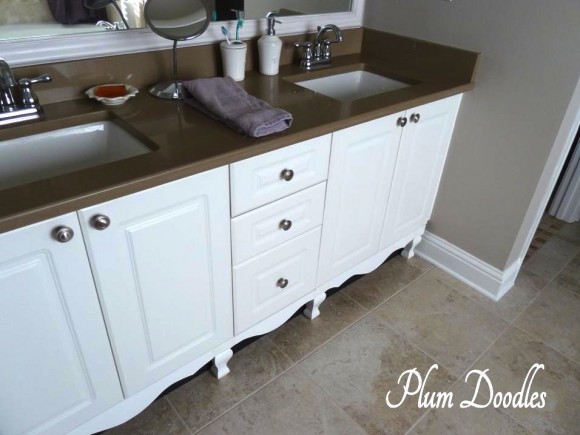
Sheila at Plum Doodles turned her boring bathroom vanity into a Custom Piece of Furniture. I love this so much I asked her to guest post and share her process. It’s such a smart idea! Here I was thinking I needed to tear out ALL my Bathroom Vanities and build new pieces to give them some custom character, when all I need to do is … well, I’ll let Sheila explain.
Hello, all you Sawdust Girl fans! My name is Sheila and I blog over at Plum Doodles. If you enjoy this little project, I hope you’ll come on over and look around! I’m so thrilled that Sandra asked me to share my bathroom vanity makeover. We bought our home a little over 2 years ago and thought we had found a bargain. Unfortunately, home values have continued to fall in the Atlanta area. Rather than sink unnecessary money into renovations, we try to work with what we have as much as possible. For example, we kept our big ugly builder mirror and framed it. I wanted a furniture style vanity in our master bath, but didn’t like the prices. Here’s what we did to give our existing vanity a little furniture style.
First, I painted the toe kick- black to give the illusion of a shadow under a leggy furniture piece. Sorry, no pics of this step, pre-blogging days.
My next step to aid in the furniture illusion was to add legs to the cabinet. Because you hafta’ have legs on a leggy furniture-look vanity, right?
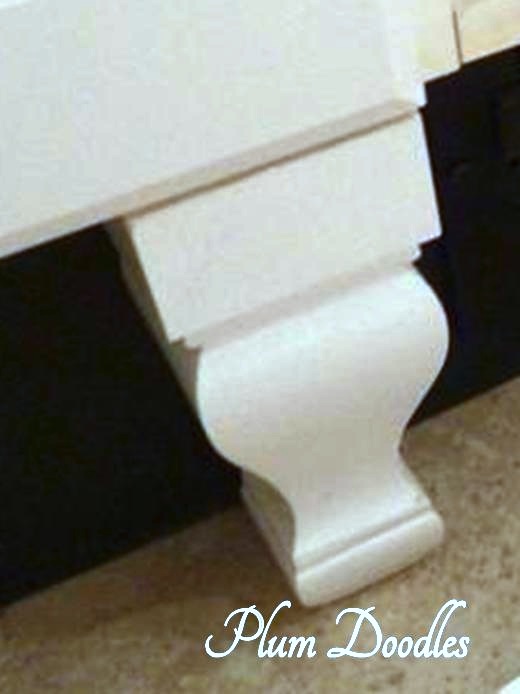
One of my favorite catalogs is from Van Dyke’s. They have a website, but I love thumbing through a catalog and turning down the corners on pages I want to remember. Yeah, pre-pinterest.
Anyway, I measured the height of the toe kick on our cabinet in each spot where I wanted a leg, then looked for legs that would be a little taller than the largest measurement. I also knew I needed the top section of the leg to be straight so that it could be easily cut down to the exact height needed. All 4 legs had to be cut to a little bit different height, primed and painted.
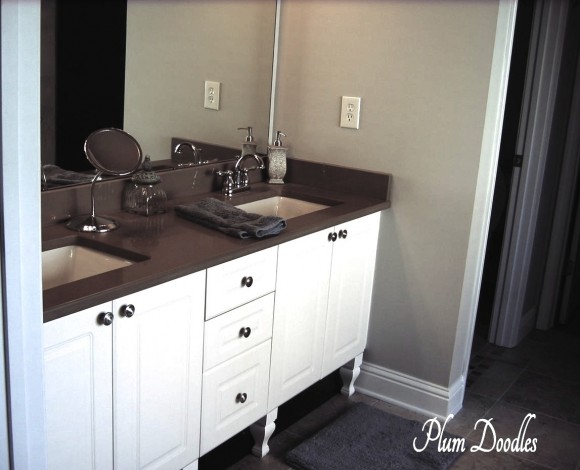
The cabinet stayed in this stage for several months until I decided on a design for the skirt sections. I first cut the design out of cardboard and adjusted as needed for each section. Then I used my rotozip to cut the pieces out of 3/4 inch mdf. I primed, then painted with the same semi-gloss latex enamel I used on the legs.
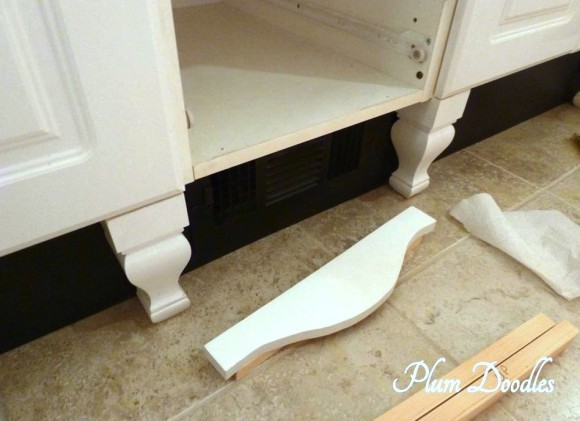
Richard screwed 1×2 cleats on the back of each piece in order to attach them to the vanity. (The cleats were shifted up slightly at each end as needed to account for my less than perfect cutting.)
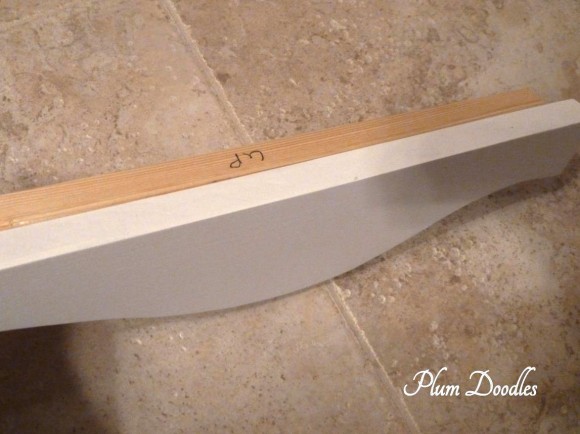
Richard patiently holds up the process while I snap pictures.
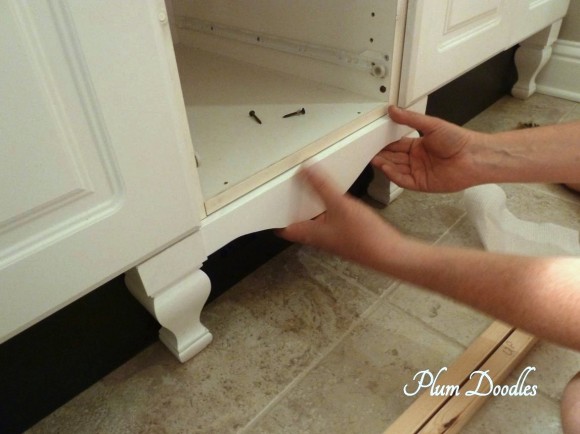
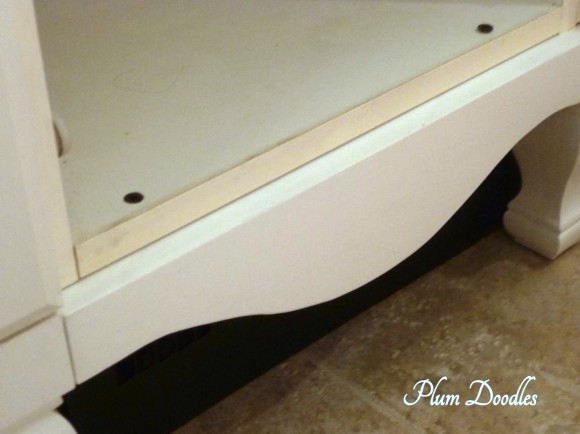
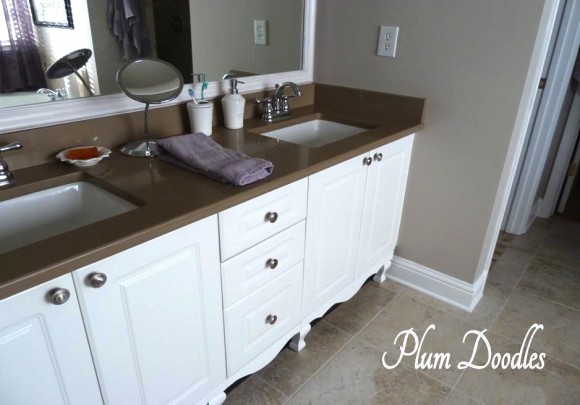
Doodles,

—————————————————————————–


Great job, that looks amazing!! I have a very similar bathroom vanity and it so needs a facelift and this would be just the thing. Plus it looks like a project that would be easy enough for me to undertake! Thanks so much.
What a great idea! I was just going to paint, but this gives it a “new” look. Thanks!!
Sheila, I needed to see this TODAY! I am in the process of redoing my bathroom, and love the look of furniture to drop a sink into, and after months of searching, I found just the right dresser yesterday. Then, my contractor mentioned how much space the P-trap will take up inside it and my months of looking completely faded. I looked at plain vanities today and played around with the idea of adding decorative wood, but what I wanted were legs and a skirt–EXACTLY what you did! I just couldn’t figure out how to do it. Thank you!
Wow! I love this! You are so creative!