Daybed – the Kristy Collection
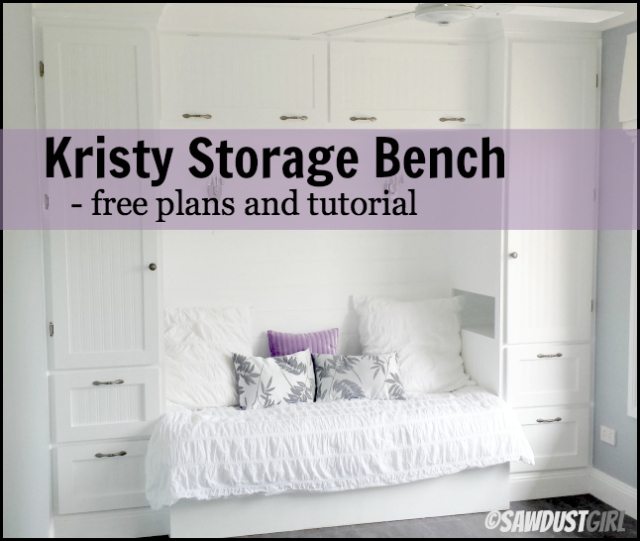
This post contains instructions for building the daybed in the Kristy Collection. I always make sure I am getting the most out of the spaces I design, and this project is no exception. These plans were custom designs for a very small bedroom where we wanted to utilize every possible inch for storage.
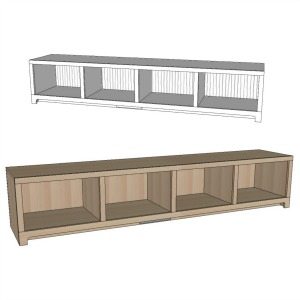
The bench can be used as a stand-alone bench in addition to being a part of the platform bed configuration.
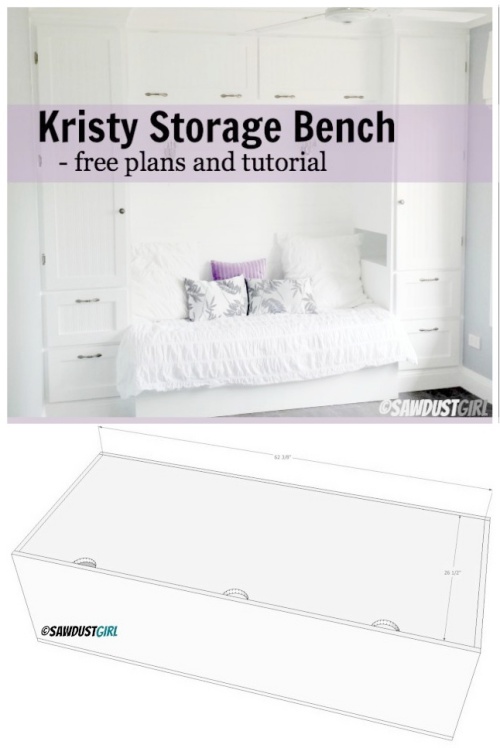
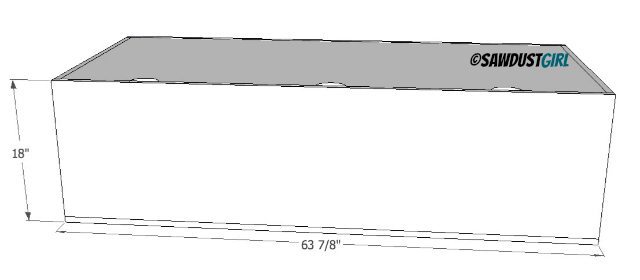
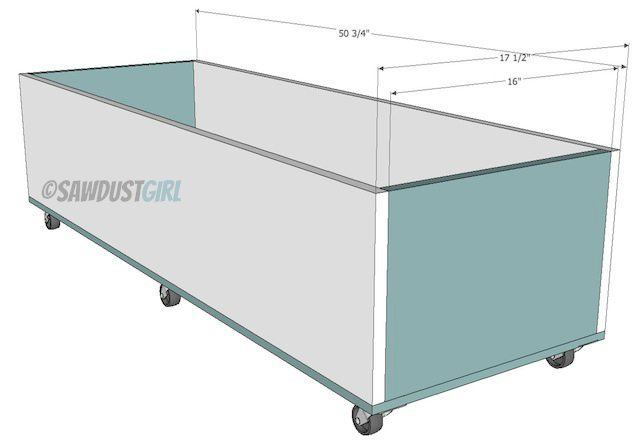
The overall dimensions of the finished bench are: 18″ high, 63 7/8″ wide and 28″ deep.
Material List
What you’ll need:
- 2 1/2 sheets of 3/4″ material, either MDF or Plywood.
- 1 3/4″ wood screws
- or 1 1/4″ pocket hole screws
- wood glue
- drill/driver
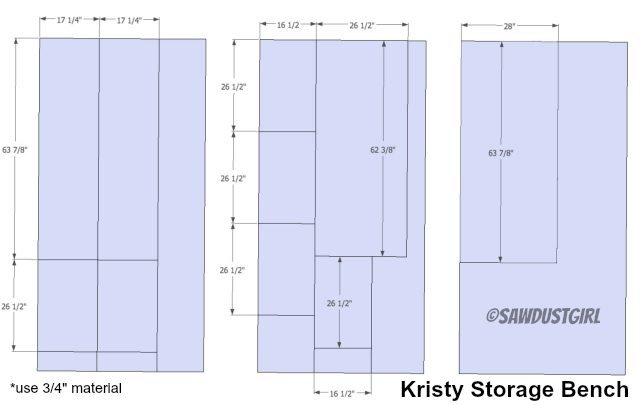
Cut List
Assembly
Step 1
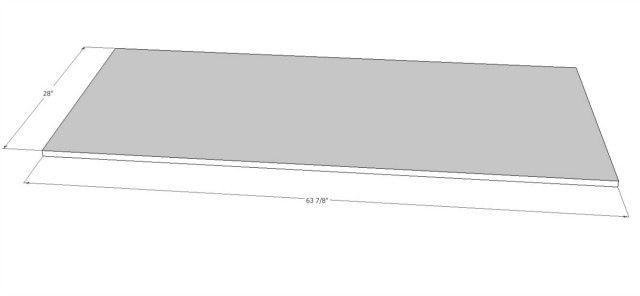
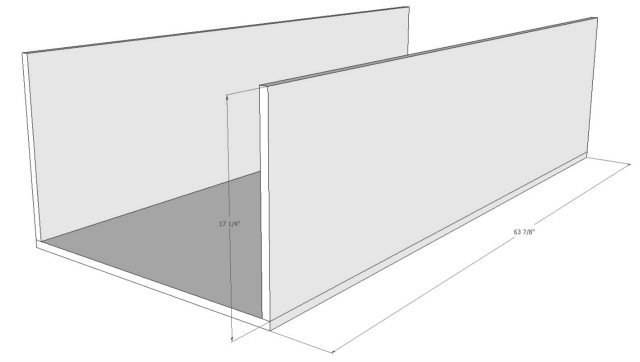
Use glue and screws to attach your two long sides to the bottom. You can either use pocket holes or drive 1 3/4″ screws up through the bottom. If you’re using pocket hole screws, drive them all in from the inside of the box. This way, you won’t have any screw holes to plug or fill on your bench front or back.
Step 2
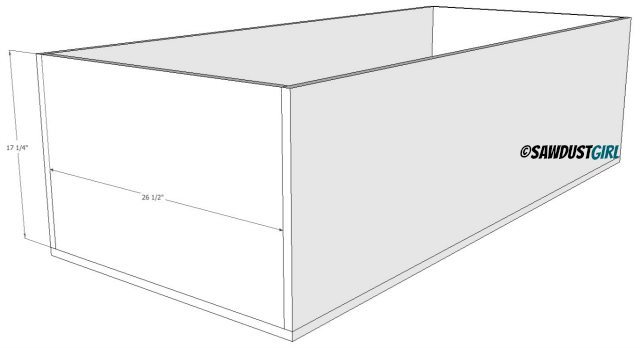
Attach the two 17 1/4″ ends. Secure with glue and pocket hole screws from the inside of the box. You will have 3 per side on each end.
Step 3
Secure the dividers with glue and pocket hole screws.
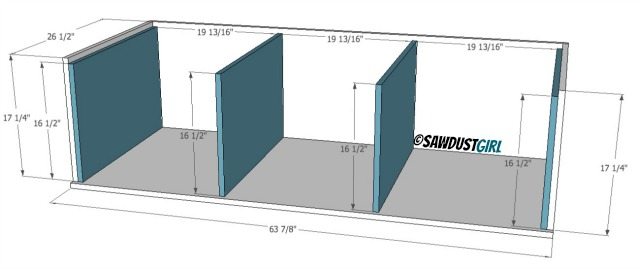
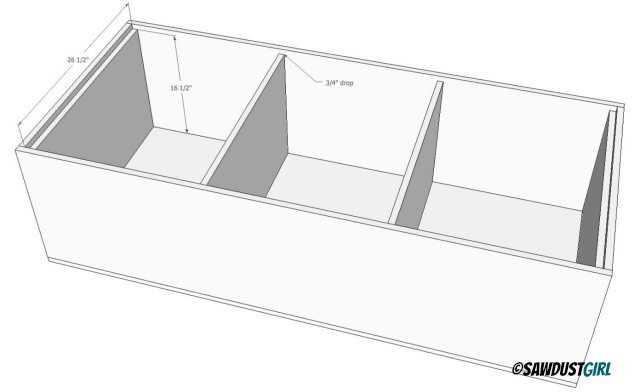
The dividers are 3/4″ shorter than the sides and ends creating support for the bench top.
Step 4
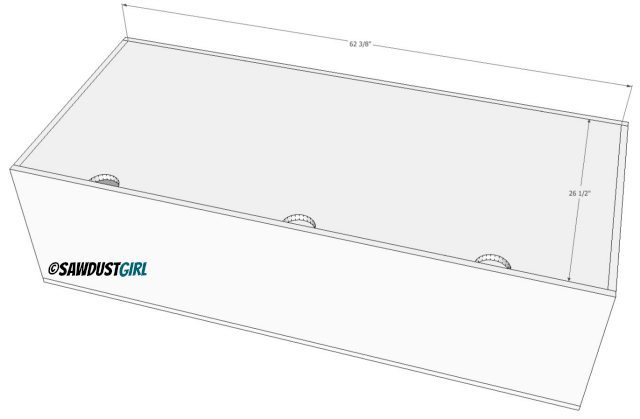
Cut handholds into your top, so you have a way to open it without needing to attach handles. That would be uncomfortable to sit on!
Step 5
Secure the lid with hinges that keep it from slamming shut.
Step 6
Add decorative molding to the front. Kristy’s bed sits against the front of her bench currently, so we didn’t add trim, but if she ever changes this bedroom to a playroom where she would want the reading nook set up, she could easily add some trim to trick out the front of the bench.
Step 7
Paint and enjoy as is! Or, check out the rest of the Kristy Collection plans.
You can also get my Cabinet Building 101 eBook. All the information in one place that you can download and keep on hand!
$9.99Add to cart

I think that’s about right. 🙂
Well you could certainly put drawers in the front though for this particular project that would defeat the purpose of having storage at all. When the platform bed is in place, you can access the top by pulling the mattress back 2′ which is a lot easier than moving the entire bed. Maybe you’ll see a bench with drawers soon though. 😉
Love this project!!! I only wish that daybed had drawers instead of the bench top. I made one like that in my last house and found it was very junky, because I had to pile stuff up to get it in there. Of course mine was one large space and not divided into cubbies. I think I’d rather one that has drawers though. Easier to pull out and see what you have. And I’m more likely to keep something organized if it’s not of the free for all open space thing….. but that’s just me. She did a great job with the entire thing and the finished bedroom is GORGEOUS!!!
Love it! I can’t wait til you share the plans of the platform bed; we are doing this one!
Thank you so much for sharing this! I can see how thinking and planning of all the possibilities of the use of space are important before the work begins. I am beginning to think the process is 90% planning and 10% building. Very Cool indeed! 🙂