Installing Cabinet Drawers with Side Mount Glides
Installing cabinet drawers and getting them level and evenly spaces can be tricky. These drawers are pretty big and heavy so I’m using heavy duty, full extension drawer glides. Full extension drawer slides let you open the drawer the complete length of the glide. (As apposed to opening MOSTLY all the way open, leaving a dark hole in the back where you can never really see what you’ve got in there.)
With this particular type of glide, you generally install them along the bottom edge of the drawer sides, or in the middle. I chose middle…but how to get the cabinet part in the right spot so it lines up to the drawer part?
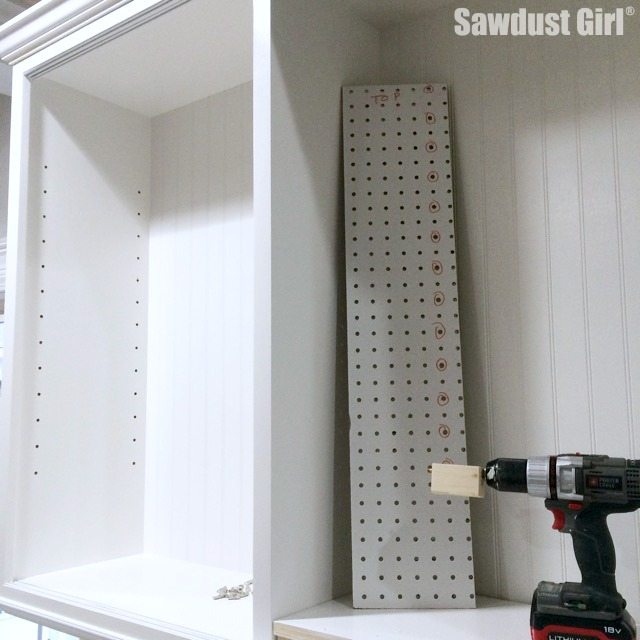
I created a template that would ensure all my glides were installed level and exactly in the right spot.
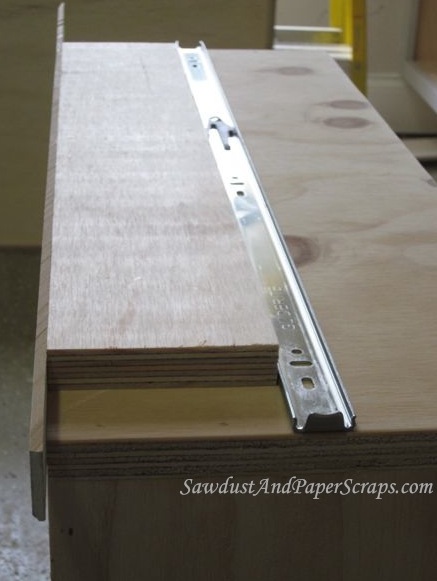
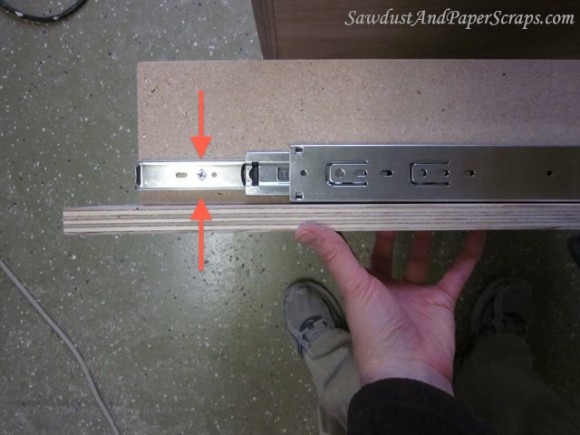
I used a scrap of wood and nailed on a thin strip of scrap wood that stuck out enough to create an edge that would hold my “template” flush with the drawer bottom while I screwed the glide in place.
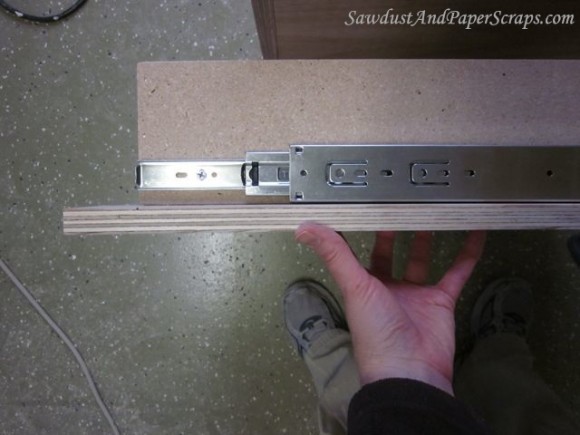
EDIT: You have to keep the both parts of the glide together while you secure the drawer member. Slide the glide slightly open, secure the first screw then open the glide more to secure the second screw and so on. (Like in the picture below)
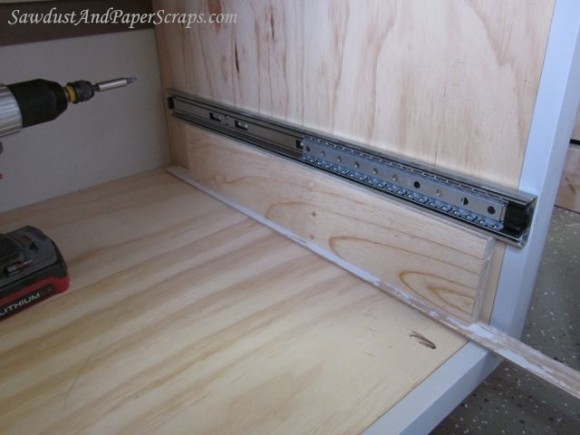
The template is now placed inside the cabinet as the guide for installing the cabinet member of the glide. The thin strip of wood that created the “edge”, now creates the appropriate space for the required clearance for the bottom of your drawer.
*It’s important to read the instructions for the glides you purchase for the required spacing between the drawer and cabinet.
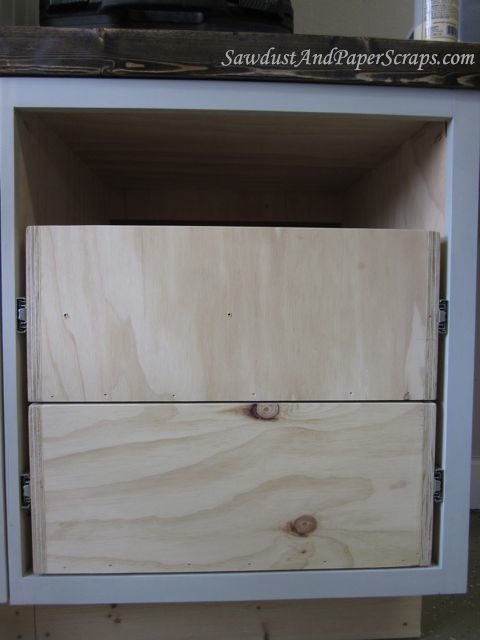
I installed my first drawer and then used the template again, this time sitting it on top of the first drawer.
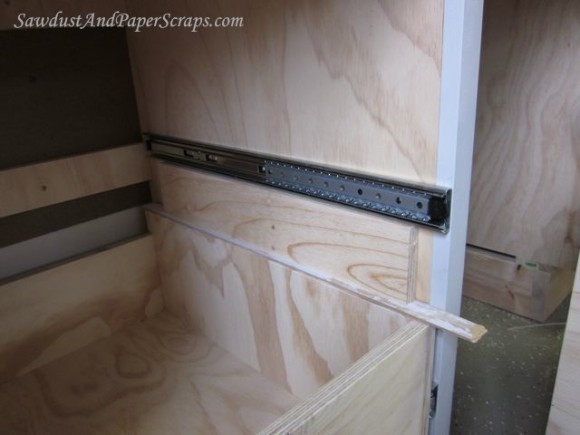
This gave me evenly spaced drawers.

I might have fudged on the “recommended” clearance for BETWEEN the drawers. If you plan on using this template method for installing drawer glides, you might want to use a thicker strip of wood for the “edge” piece to give you more clearance between drawers.
For the top drawer, I didn’t have enough space to use my template so I just installed the glide at the bottom edge of the drawer and then used a 1/4″ spacer on the top of the drawer inside the cabinet to match the spacing between the other two drawers.

One note about installing drawer glides: The predrilled holes for the screws allow for minor adjustments either vertically or horizontally. Usually, I use the horizontal adjustment holes on the cabinet member (part).
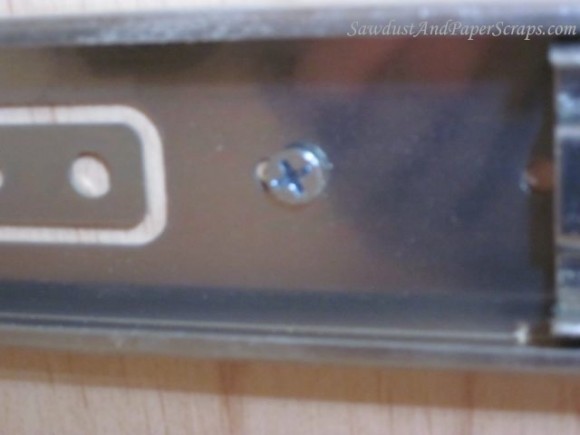
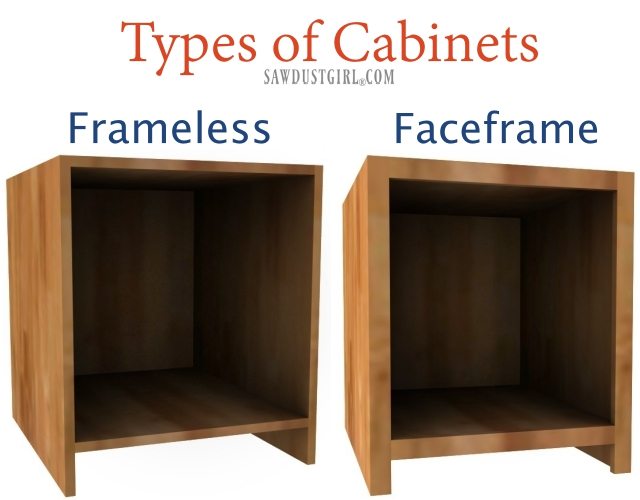
That way, when I install the Drawer Front, if it sticks out to far from the cabinet, I can adjust my glide to pull the drawer back farther into the cabinet so the Drawer Front sits flush against the face frame.
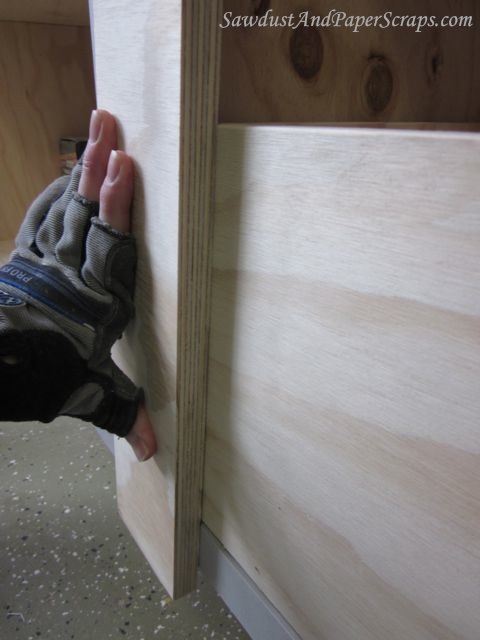
I install the drawer member using the vertical adjustment holes so when I install the Drawer Front, I can make minor adjustments to the height on one side or the other without having to take the whole Drawer Front off and move it slightly (which is never a quick fix).
You used the “template” to position the drawer portion of the glide, or “inside” part. This is narrower than the whole slide assembly, but you used the same template (with the shim to provide bottom clearance) to position the wider whole slide assembly. Am I wrong, but does this not throw it off by the difference in width of the small draw part of the slide versus the whole slide assembly? I would think you need to use the complete assembly to position the slide on both the drawer and cabinet. What am I missing?
Yes, I always install the drawers before I build the drawer fronts so they end up the right size.
Nice idea – and a very clear exposition. I assume you size and fit the drawer fronts after mounting them?
And that’s a pretty nice utility/storage space. Thanks for the idea.
I think if your cabinet and drawer are both square it could work. No guarantee. Try it and find out – if you don’t mind having a dado cut out of your drawer if it doesn’t work out.
I’m thinking about retrofitting wood-on-wood kitchen drawers with slides. Do you know if it would be feasible to cut a dado in the side of the drawer to fit the drawer half of the slide, and eliminate the need for half-inch clearance between the drawer and the cabinet? Or would that be a bit too tight?