How to install a Door Sweep – Winterize You Home
My next project to help winterizing a historic Knoxville home with *FrostKing was to install a door sweep on one of the primary outside doors. That door had a horrible draft. Door draft is a big culprit when it comes to loosing heat in your home, and it’s generally an easy fix.
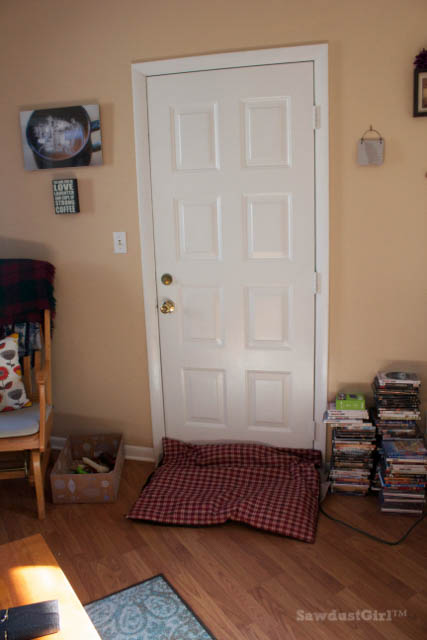
Karen, had placed a towel and a dog bed over her threshold to prevent the cold air from entering from under the door. This works if you are in a pinch, but a door sweep gives you a more permanent fix. One which you don’t have to rearrange every time you actually open and close the door. LOL
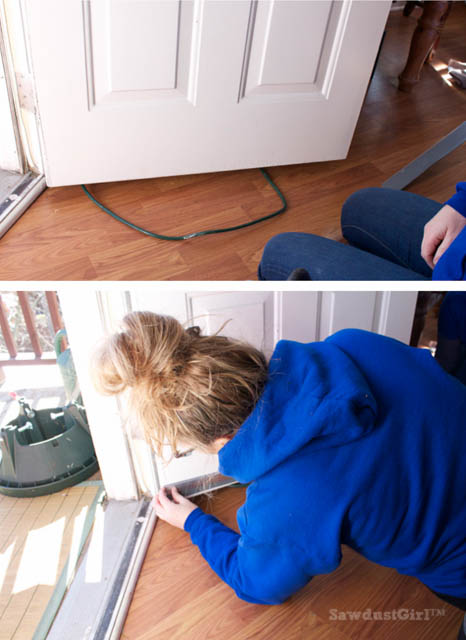
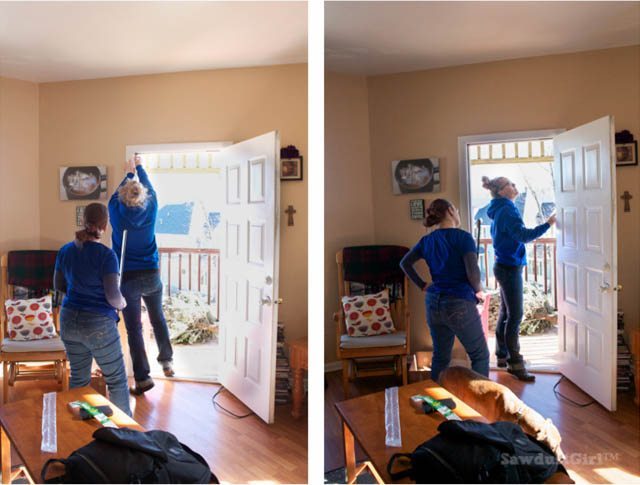
Checking for light or draft
If you look at the door bottom and see sunlight or can feel the cold air, you could probably benefit from installing a door sweep. There was a good amount of sunlight peeping through across the entire width of Karen’s door!
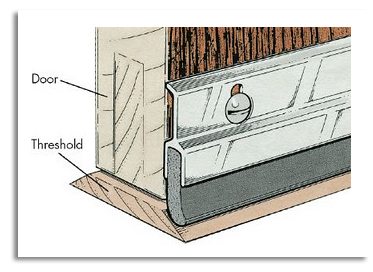
The door sweep goes on the bottom of the door on the side that faces the outside so a seal can be made between the rubber of the sweep and your threshold on the bottom of your door frame.
Not all doors are universal. You will most likely have to trim to fit your door. As well as determine the right height to install your sweep so that it closes the gap between your door and your threshold.
Trim to size
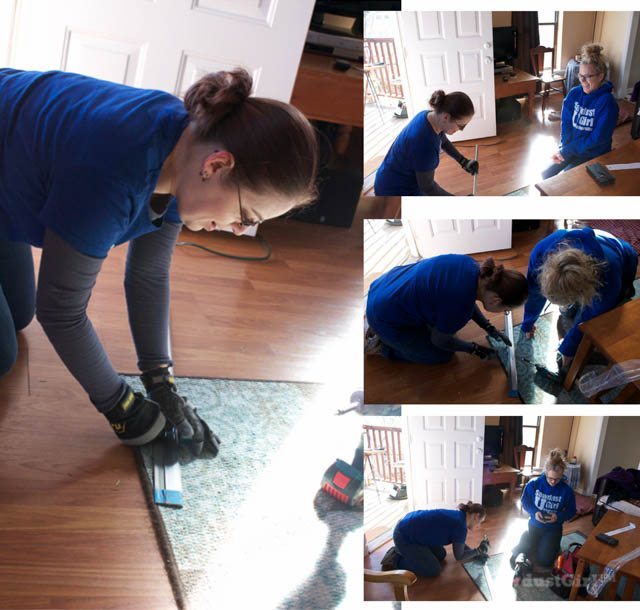
The vinyl of the sweep can be cut with scissors and the aluminum can be trimmed with a hacksaw. Make sure you wear gloves because the hacksaw will probable leave a rough edge. Use a file to smooth out the edge.
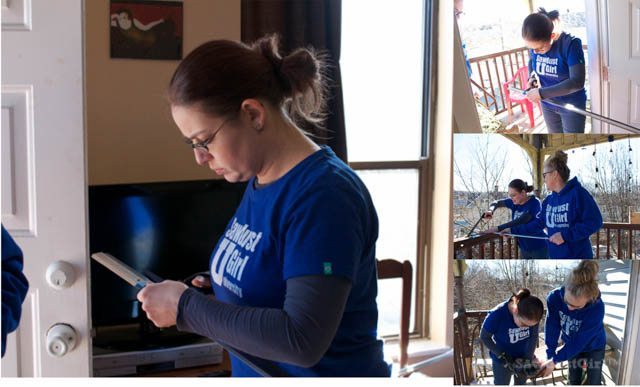
If you cut off a predrilled hole when you trim the door sweep, you might need to drill a new hole. If you don’t have a drill bit to do the job, a wood screw can work. Set the door sweep on a block of scrap wood so you don’t damage a surface you don’t mean to.preventing
Transfer screw hole location to door
Once we had the holes prepared in the door sweep we had to make holes in the door, this was slightly more complicated because I once again, did not bring my workshop with me, and Karen had a metal door. It would have been much easier to drill into with drill bits!
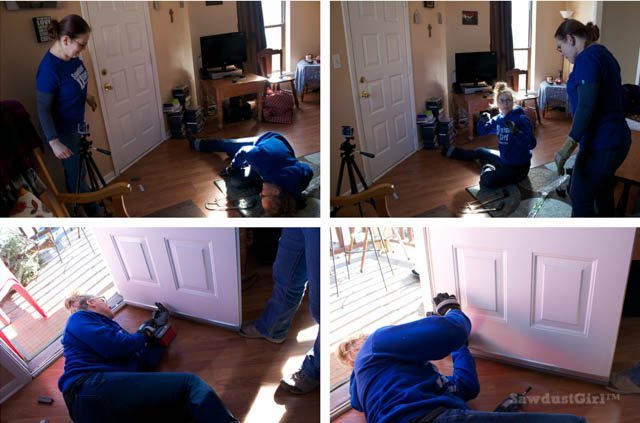
First, hold your door sweep in place and mark the location of the slotted holes in the sweep onto your door. Then drill pilot holes in your door. (I again used my screw…which was not easy!)
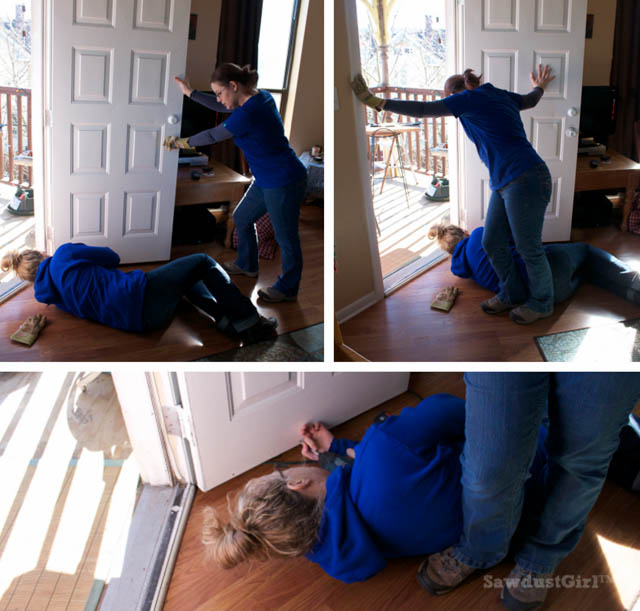 I do not recommend using a screw to drill pilot holes but we worked with what we had.
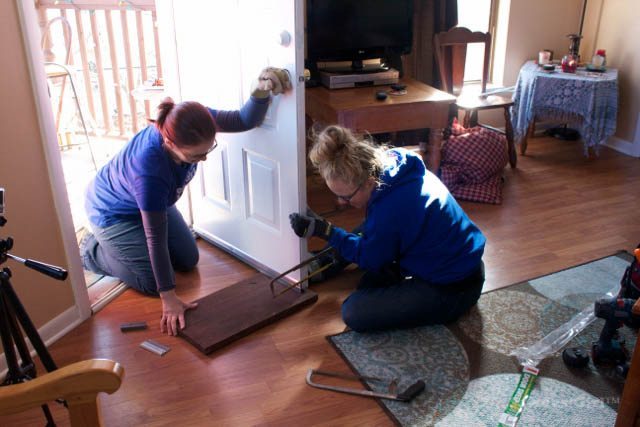
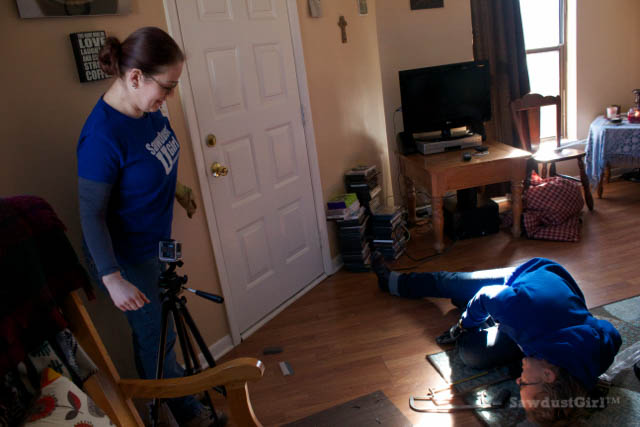
We had quite a time trying to force the screw in the metal door Karen had to stand behind me so I could push against her to generate enough force to drill through the door because I was just sliding backwards on the wood floor. It would have been funny if it wasn’t such hard work in an awkward position. LOL
Once we’d drilled all the holes, it was a breeze to drive the provided screws into the door.
Re-check for daylight or draft
After installing the door sweep we checked again for sunlight. The door sweeps has a little wiggle room with the slotted holes so you can adjust up or down. Loosen the screws slightly and wiggle the sweep down. Just make sure you don’t place the door sweep too high originally because you do not want to have to drill any more holes in your metal door!
Weather stripping around the door is a good winterizing step and easily replaced too. Karen had recently replaced hers so there was no need to replace it. (Check out my tutorial: How to replace your weather stripping.)
Next, we tackled the dark, spider-webby basement to wrap the hot water pipes. That was spooky!
See that project here: Insulate with Pipe Wrap.
*This post is sponsored by FrostKing . All opinions are my own.
You put the sweep on the wrong side. They are supposed to be placed on whichever side the door opens. If it opens inside, the sweep is placed inside. The seal is created when the rubber rests on the inner edge of the door threshold. The way you installed it, the rubber will get folded under the door every time you close it and eventually tear the rubber seal.
Try using hollow core anchors with the screws.
Help!! I have a hollow wooden door and the screws won’t tighten, so the sweep won’t stay against the door. Any advice?
Maybe try a heavy duty double sided tape to attach it?