Decorative Coat Rail
This simple and super easy DIY coat rail was built using a finger-jointed pine 1×6, trimmed with panel molding, and finished off with decorative hooks. This post is sponsored by Metrie.
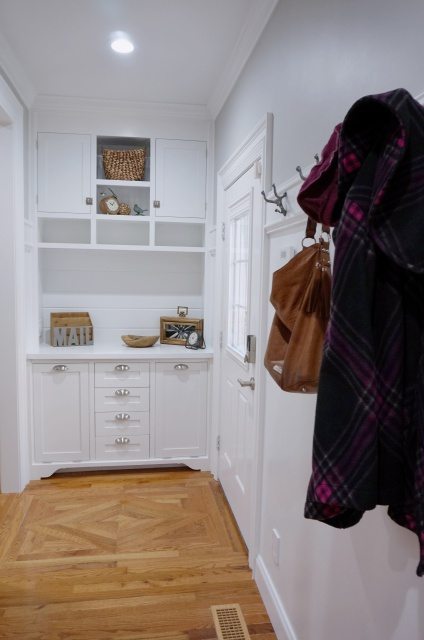
I used construction adhesive and nails to install 5 1/2″ Fingerjoint Pine Flat Stock (which I will refer to this as a 1×6). I added construction adhesive because this is the pocket door wall and I don’t have any real studs to nail into on the right half the wall.
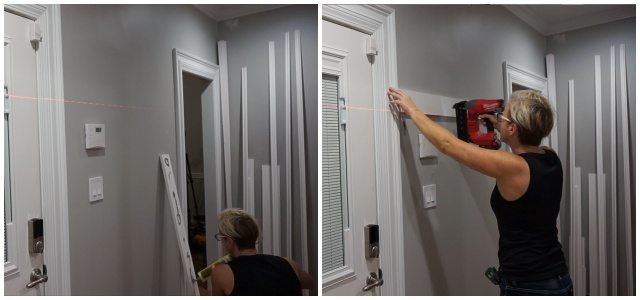
On the right side where I couldn’t nail into a stud, I didn’t want the rail sliding down while the adhesive cured so I jarred an extension pole between the opposite wall and the rail. *A little dab of hot glue in addition to the adhesive would have worked great but I didn’t learn that trick until later in life.
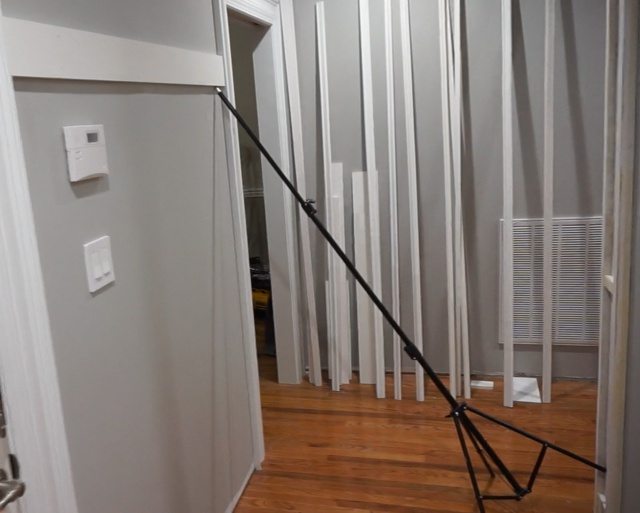
I filled, sanded and painted the 1×6 before adding the panel molding because it’s easier for me to get a perfect paint finish with a microfiber roller than with a paint brush.
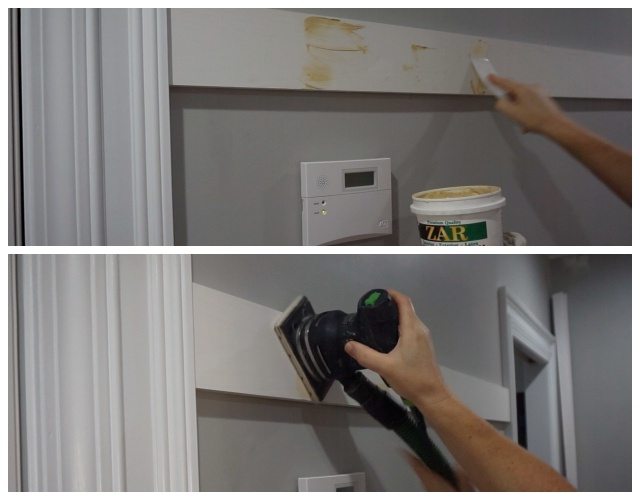
Next I attached Metrie’s 42PR Pine panel mould to the top and bottom of the 1×6.
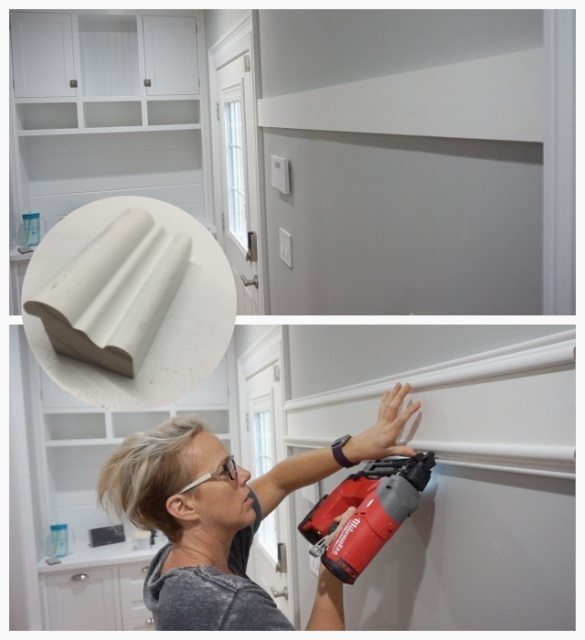
Next I filled the nail holes and painted the moulding with a brush.
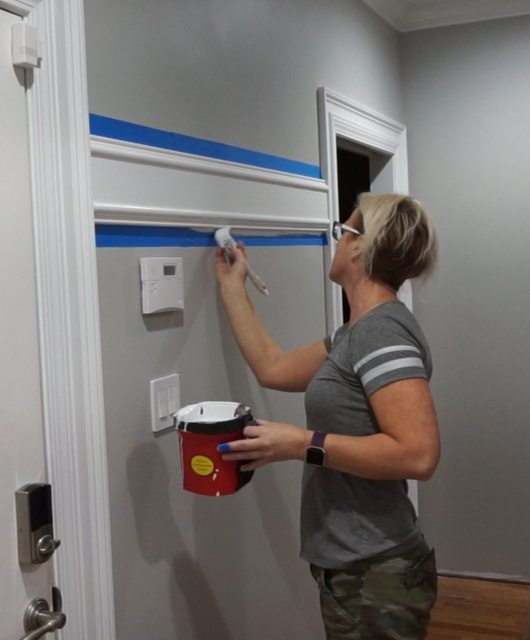
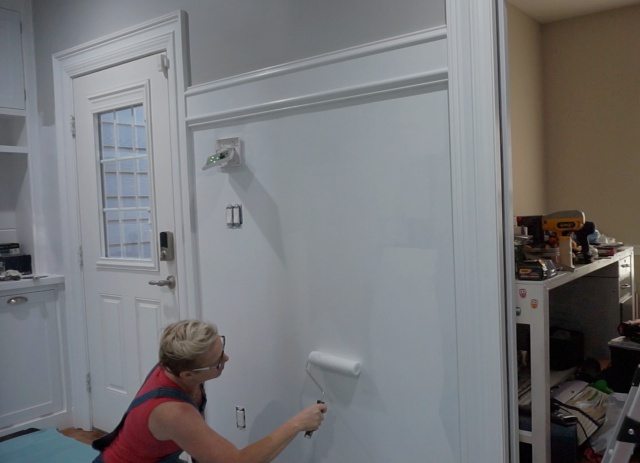
I decided I wanted to paint the walls under the coat rail white to create a wainscoting look. I used with the same color and sheen (SW -Decorator White in semi-gloss) as the coat rail so the wall paint will hold up better against damp jackets and coats.
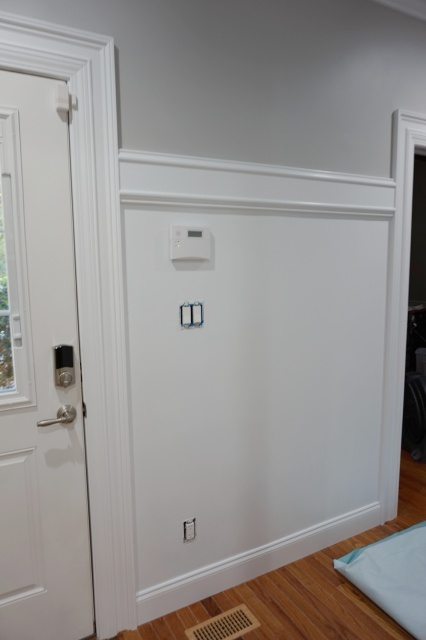
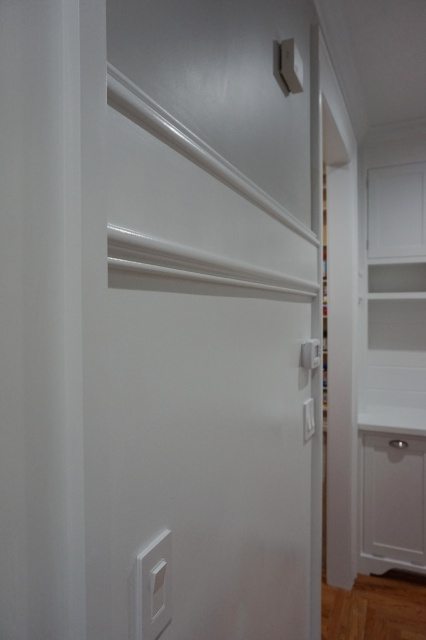
The only thing left to make this a Coat Rail rather than a tall chair rail was to add hooks.
I installed the decorative rail on the opposite side of the hallway and on the little section of wall in front of the door – for consistency in this little entryway.
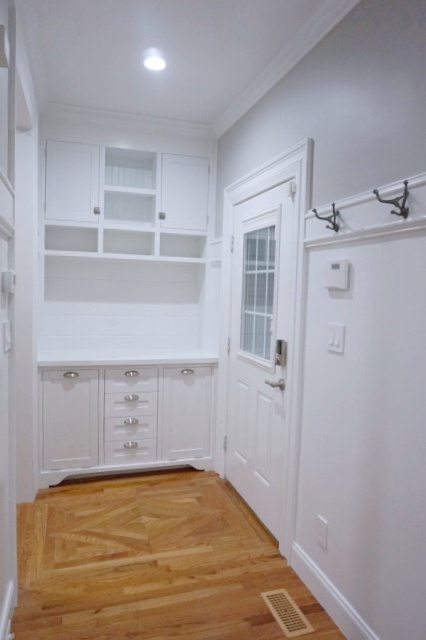
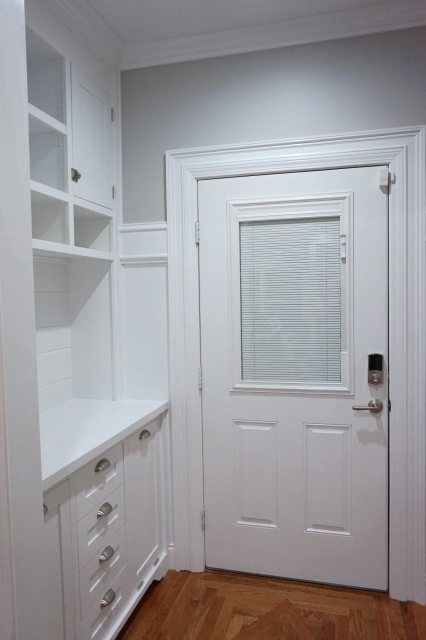
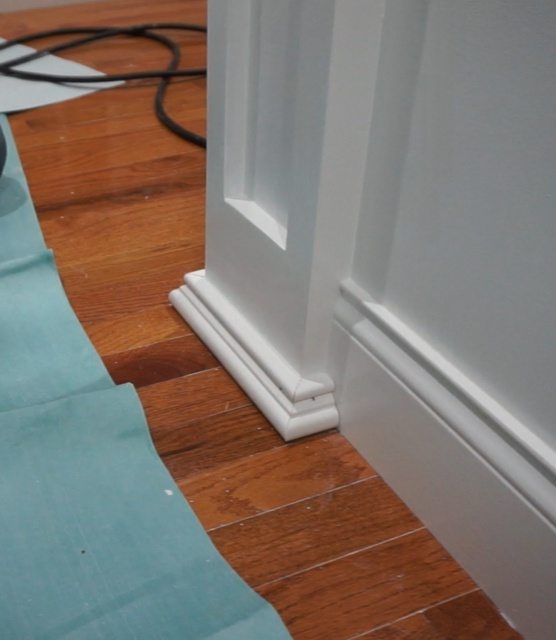
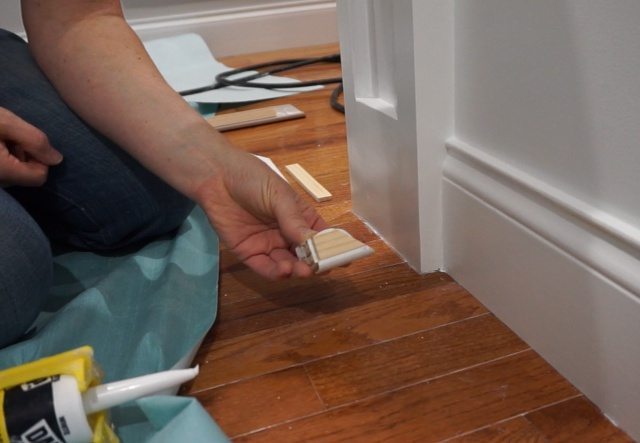
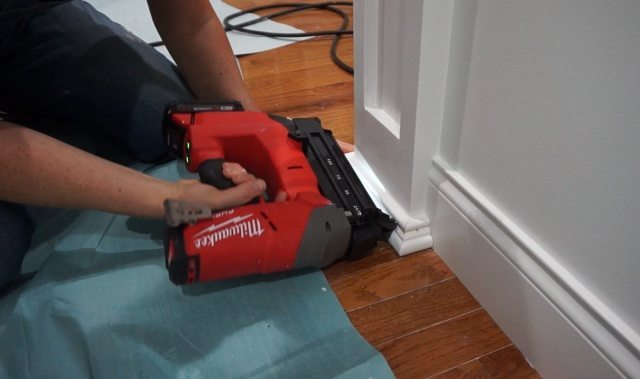
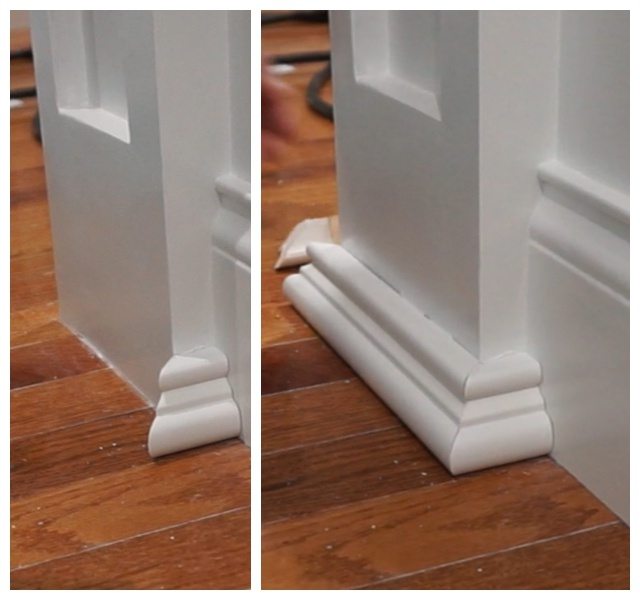
The bulked up door casings are thicker than the decorative rails but I did need to create a termination point at the end of the entryway – where it turns the corner into a wide hallway. A simple mitered return would have worked fine but I wanted a feature that would clearly define the end of the entryway. I created a sort of Decorative Column to serve that purpose and am happy with how it finishes the kitchen entry space.
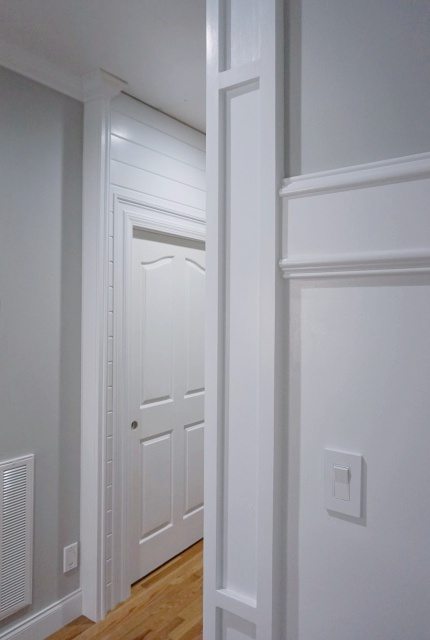
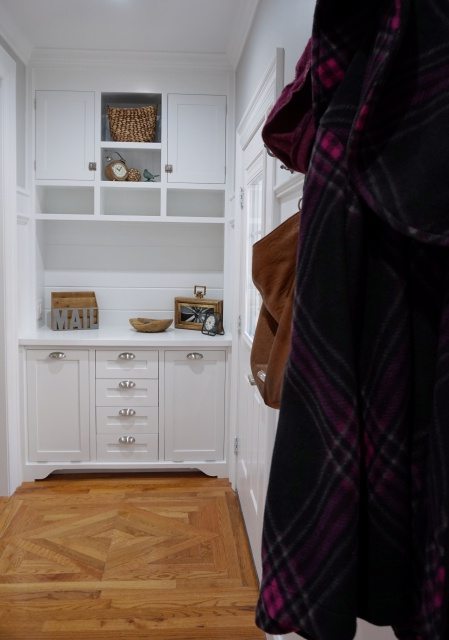
The kitchen entry hallway is definitely more functional now than it was with my built-in bench – and it’s so dang pretty. I love walking through here every day. Even though my one day turned into 28 days — it was worth it.
This post is sponsored by Metrie. I was provided with materials and compensation to share my creations with you. Check out Metrie.com to see the entire line of interior moulding and doors.

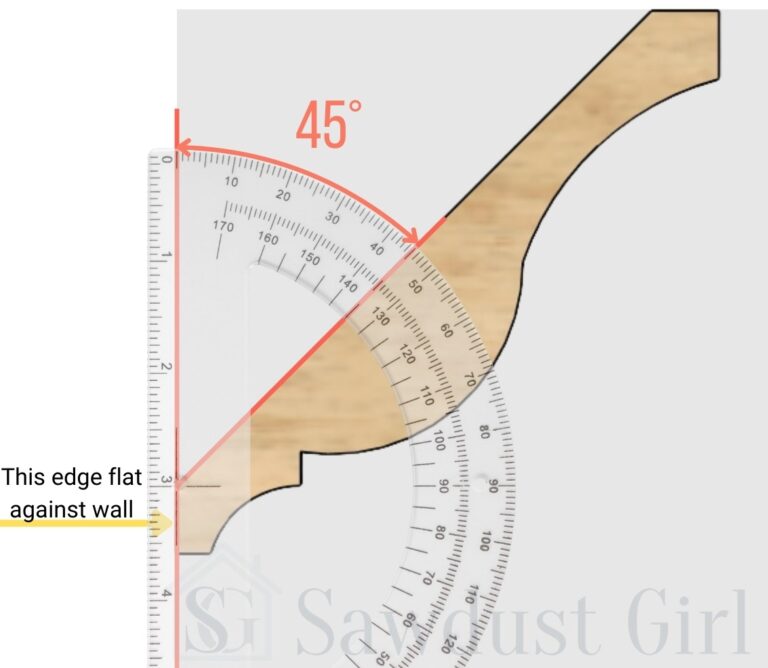

Sandra Your idea and the way you cut the curve molding was really a great idea. Where do you live? I’d like you to see the old church I’m planning to make in to home.
You have great ideas I will view them all. Keep it up…… Ken
Thanks, Ken! That sounds like an awesome project–I’d love to see your end result. Happy Holidays to you!
Outstanding!! Extremely talented, you are! Looks gorgeous. Was a little confused about you using nails in addition to construction adhesive cause if you have a pocket door didn’t think you could nails..Maybe the drywall is thicker than the one I used.
“I used construction adhesive and nails to install 5 1/2″ Fingerjoint Pine Flat Stock”
Wow….it’s gorgeous!!!
Beautiful job. Would you mind explaining how you added the moulding around the existing doorway moulding? Thanks
I like how you use so much moulding, it’s very pretty!