DIY Wood Countertops Finished With Tung Oil
To build inexpensive, distressed wood countertops like I did in my Workshop, I do everything I ordinarily try NOT to do in the finishing process: Sand against the grain and unevenly. Create dips and crevices. Hit the finished piece with all kinds of tools and object in order to scratch, scrape, mark, dent and ding it.
It actually is a fun process and feels really “artsy”. I love working the wood over and over, watching it transform into something more beautiful with every coat. It’s therapeutic. You have to actually build the countertop before you can distress it.
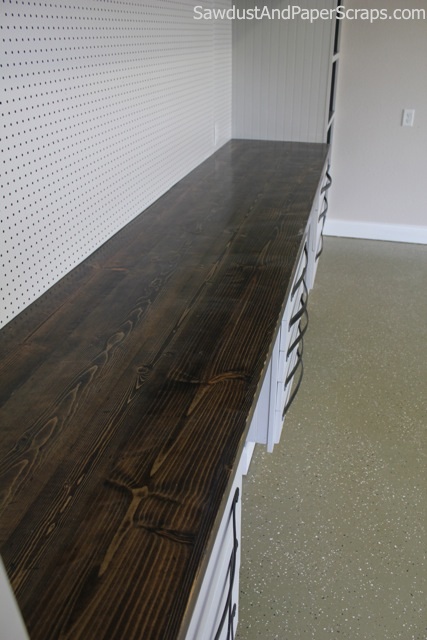
DIY Distressed Wood Countertops
I first built a solid MDF Countertop base. It’s almost 12′ long so I had to join two pieces of MDF together. I made sure the seam was over the center cabinet for support.
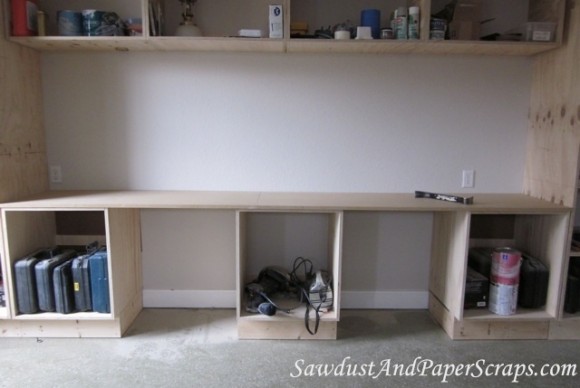
Then I added inexpensive Pine planks by gluing and nailing the planks onto my MDF base.
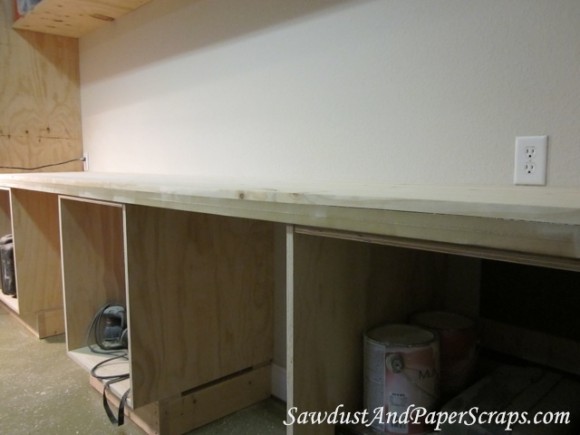
I covered the exposed sided of the MDF base with a piece of pine that was wide enough to span the thickness of the entire countertop. (About 2 1/4″ wide with 2 layers of MDF and the pine on top.) Again, just glued and nailed.
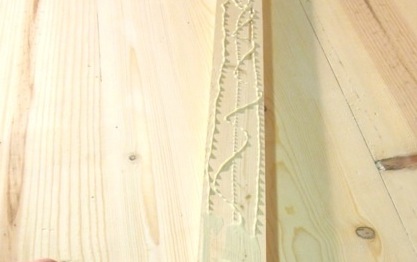
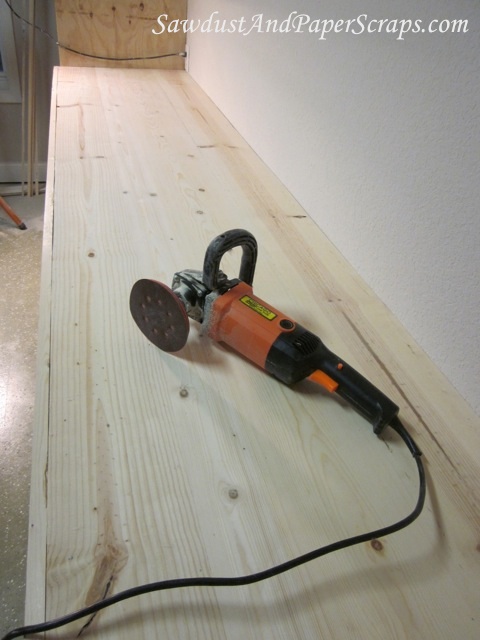
Then I sanded the entire thing like a mad woman. I used a heavy duty sander with 80 grit sandpaper and then a random orbital sander with 120 and then 220. I wanted it smooth and all the seams level. (I don’t own a planer– so I sand!)
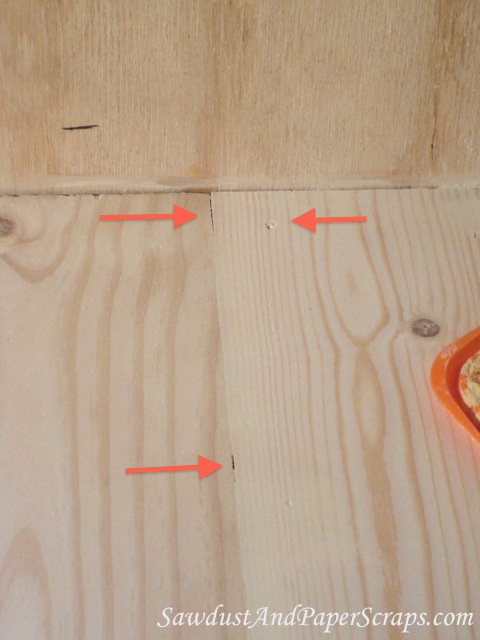
After sanding, I filled everything that made it look like I’d glued and nailed several planks of wood together. Like the cracks in the seams and the obvious nail holes.
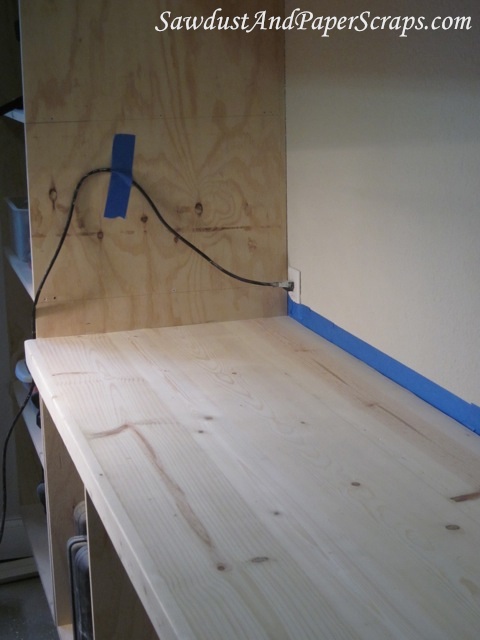
Then I sanded again. Lightly. Then I vacuumed and dusted off all the sawdust.
Now here’s where it gets fun!
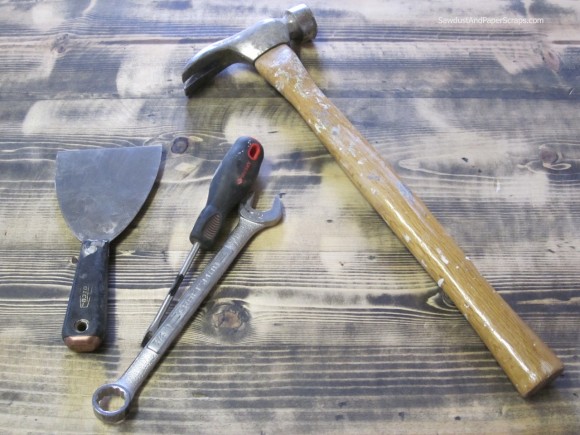
I used a bunch of tools to beat up my countertop. It’s just pine. Pine is soft. It’s going to get dinged and scratched REALLY easily as I use it which will just make it look older and more worn.
I rubbed some black stain all over it and then sanded it with my orbital sander PURPOSELY creating swirl marks to add to the distressing. The black stain also filled up all the initial dings (etc) that I put into the countertops.
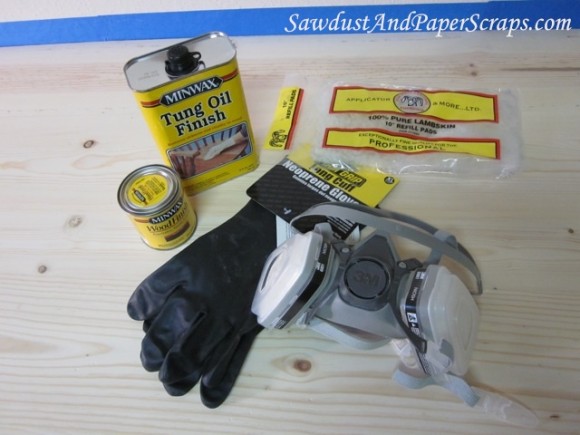
Just MAKE SURE YOU WEAR PROTECTIVE GEAR because it is serious business if you inhale the vapors/fumes/whatever and it’s nasty on your skin and in your eyes! (**Read the directions!)
You can brush it on or use a lambswool applicator. Wipe it on. Wipe it off. Let it dry. Wipe it on. Wipe it off. Let it dry…
It takes about 24 hours to dry between coats *and proper ventilation is A MUST.
With every coat, your surface changes. It gets deeper, darker, glossier and more awesome.
My Distressed Wood Countertops after one coat of tung oil.
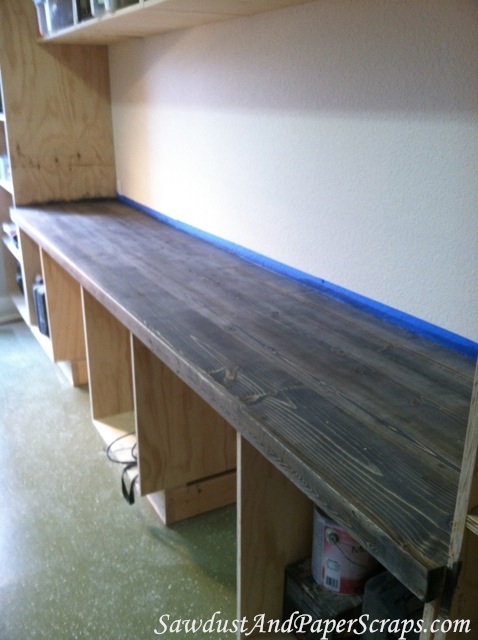
…and after three coats.
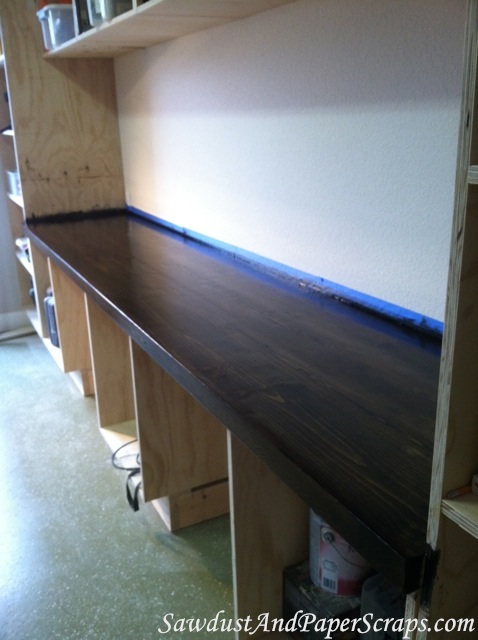
I think I stopped at three or four. The Tung oil penetrates the wood so it takes less each time you add another coat. It’s cool!
The thing I love most about these Distressed Wood Countertops is that all the marks, dents, dings and scratches, will just make it look even older. It’s easy to fill those “blemishes” with a touch of Tung oil tinted with a little oil stain or wipe on a little black wax.
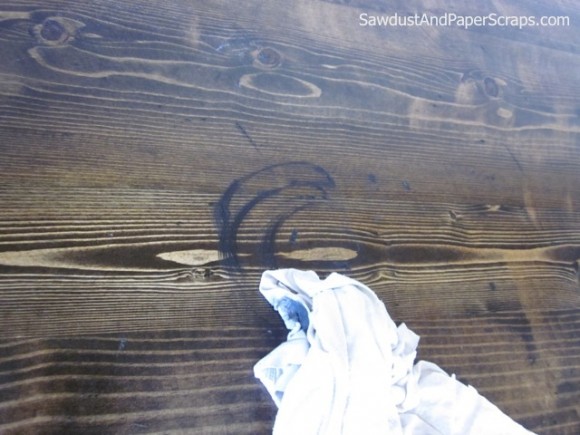
Well, that’s how I do it anyway.

*Cross ventilation is necessary for proper curing of tung oil. It HAS to have oxygen in order to dry.
**While Tung oil is food safe after it has cured, people with Nut allergies might want to steer clear. Tung oil comes from the “Nut” of the Tung Tree. Just FYI.
***Not all Tung Oil is the same. Tung oil products are mixtures of this and that and some mixtures are more of “this” and less of “that” and visa versa…If you know what I mean. Waterlox is my fav Tung Oil Product but it’s here and there and NOT everywhere. I wanted Tung Oil NOW when I was ready for it and just picked up what was available at the home improvement store. It worked fine in a pinch.




Thank you so much for that !!! I started with a dark walnut dye ( not stain ) but it’s not dark enough and when I wanted to start using brown and black stain someone ( unfortunately…) mentioned that stain might be a bit toxic and can’t be used on kitchen work tops where food will be in contact…what’s your view on that ? ( please tell me it bullsh***) !!!
I’m sure it depends on the stain. Tung oil is also not great if you have nut allergies in the house — I’ve heard.
Superb instructions. Getting tung oil and a new mask today! Thanks