Cabinet Doors Prep and Painting
Painting cabinet doors is something I do all the time and I generally do it by hand, with a brush and roller. I’m using my airless sprayer for the kitchen and pantry cabinets because there’s a LOT of them so the benefit of a speedy application justifies the cleanup and gallon of paint it takes to prime my 50 foot hose (I ordered a much shorter one for next time). Cleanup really isn’t that bad but that hose… But there’s still a lot of prep work to do before I touch these babies with paint!
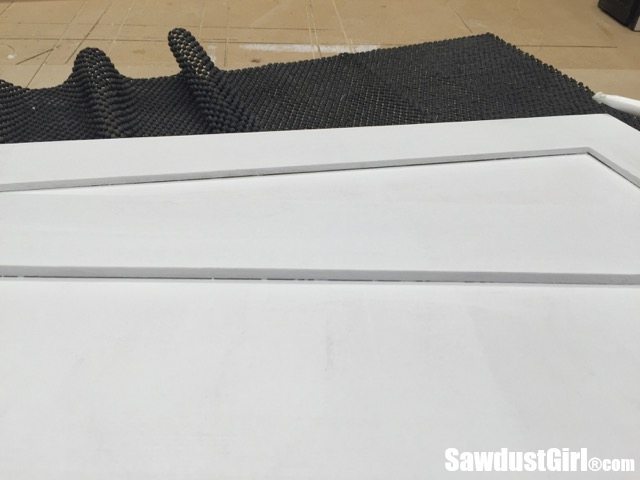
First I wanted to remove all the pencil marks. I generally prefer to erase pencil marks rather than try to paint over them. I tried sanding but the marks were stubborn and I think would have gone through the primer before I removed them.
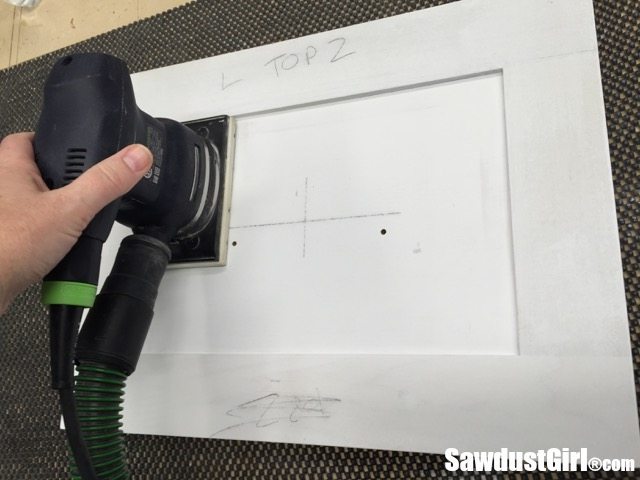
So I resorted to a magic eraser which worked like a charm!
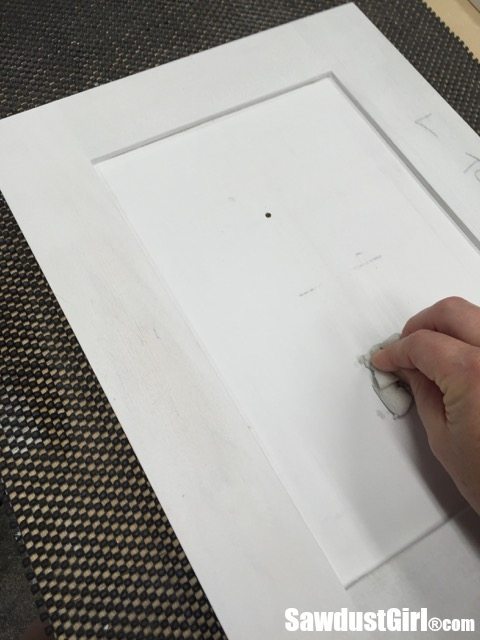
I had a few misplaced drawer pull holes to patch as well as filling any little imperfection I could find. I used my favorite wood patch for all of that.
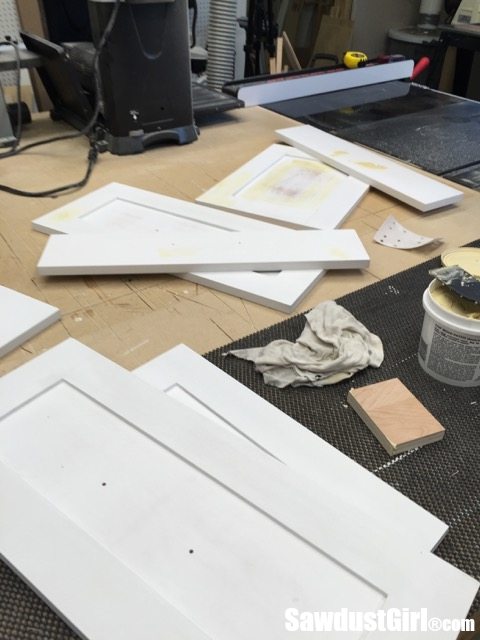
I sanded every surface, including the little reveal on the inset panel. I used 220 grit sandpaper and a block of wood and just a very light touch.
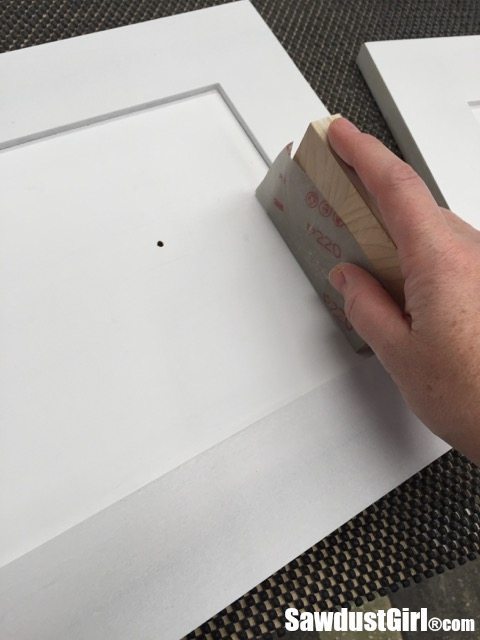
Some of the primer was left pretty thin but what’s another coat of primer? Nothing — much.
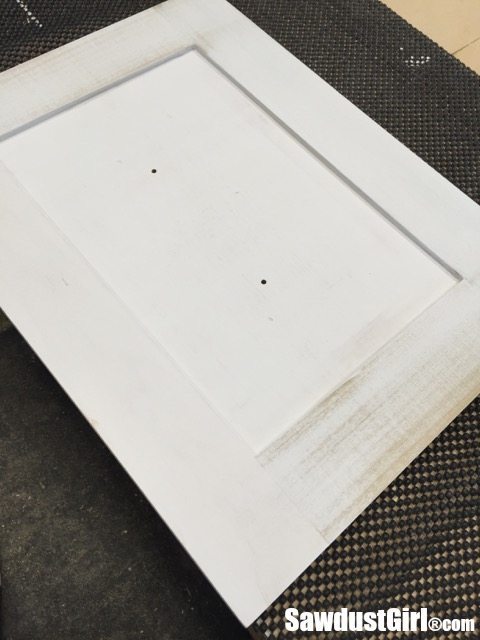
First I dealt with the cracks between the frame and the panel. With a plywood or MDF panel I don’t have to worry about leaving room for the panel to move (expand and shrink and all that jazz).

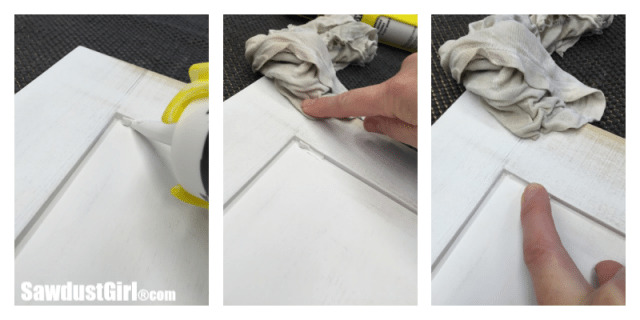
So I caulk. I used a combination of a wet finger to force the caulk into the crack.
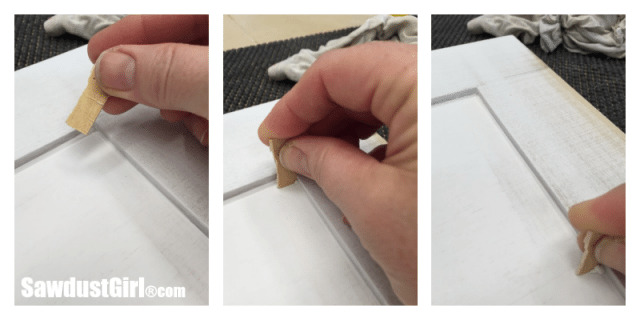
Then I used a scrap of wood to clean up. I wanted crisp lines, not rounded transition from the panel to the frame.
Then I did some touching up with my primer. I wrapped the roller in plastic wrap and kept it within an arms distance because I kept finding something I wanted to sand or scrape or fix…and then re-prime. I was pretty OCD with this whole process.
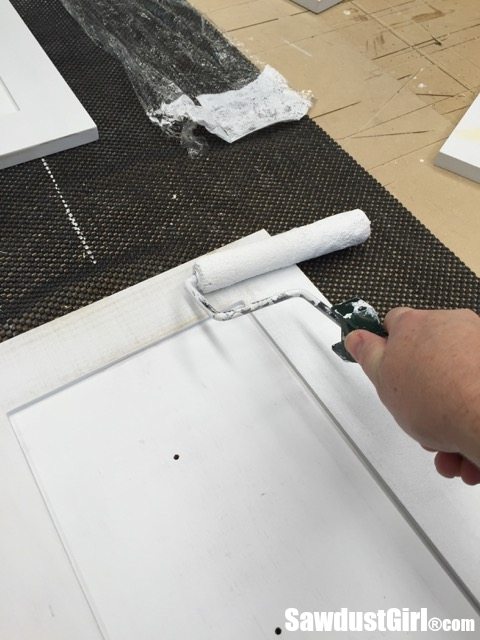
Not much of the backs will be visible, like less than an inch anywhere but I primed the whole back. It just felt necessary. I transferred my marks from the dry fit first. They all kind of only fit perfectly in their designated place so I could figure it out but the numbers are comforting.
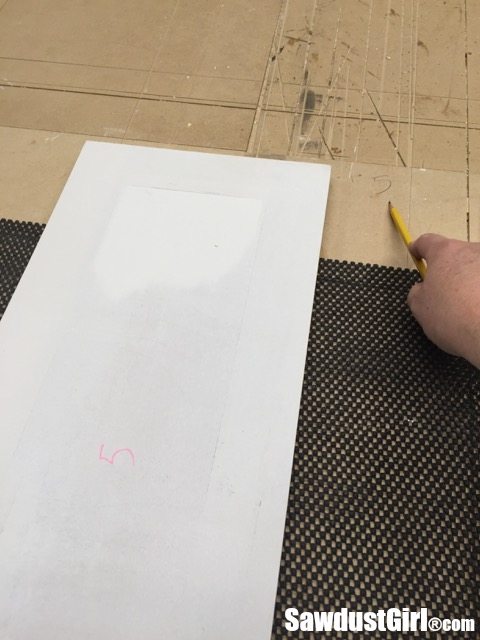
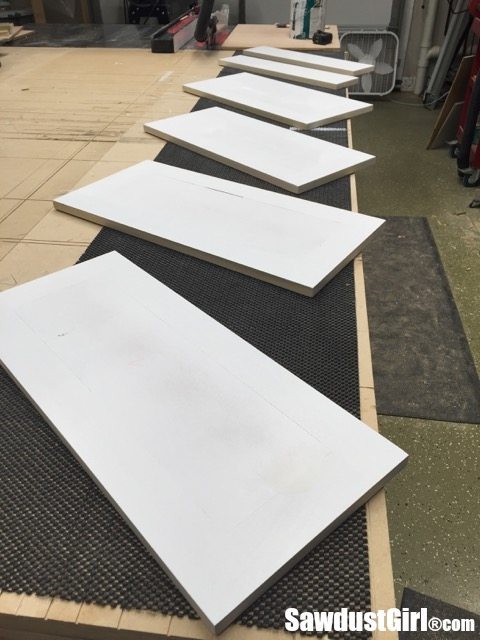
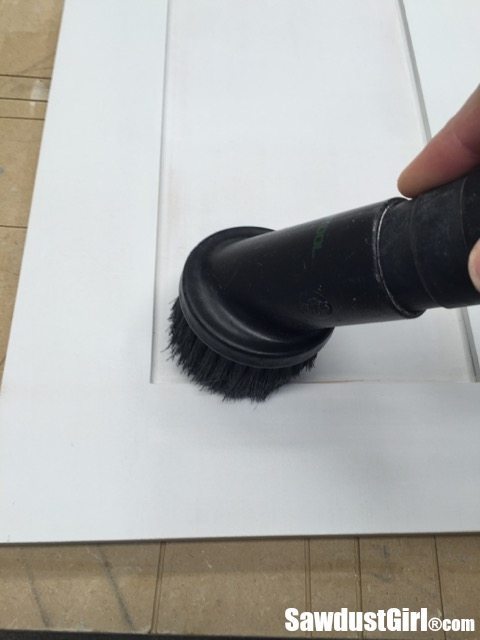
After the primer was dry I sanded lightly again. Then I vacuumed and wiped them all with a damp cloth.
Painting Cabinet Doors
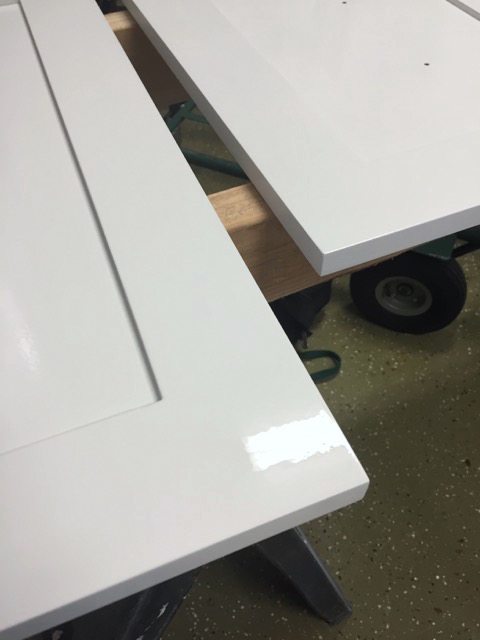
Then hauled the big stack over the other garage (Wes’ side) which I commandeered for a few days and set up as my painting station. I set up the spray tent and painted. I intended to spray the backs first but was so nervous about getting my spray pattern perfected and ON the doors that I just set the first door down, willy nilly and started painting. So the first coat went on the fronts.
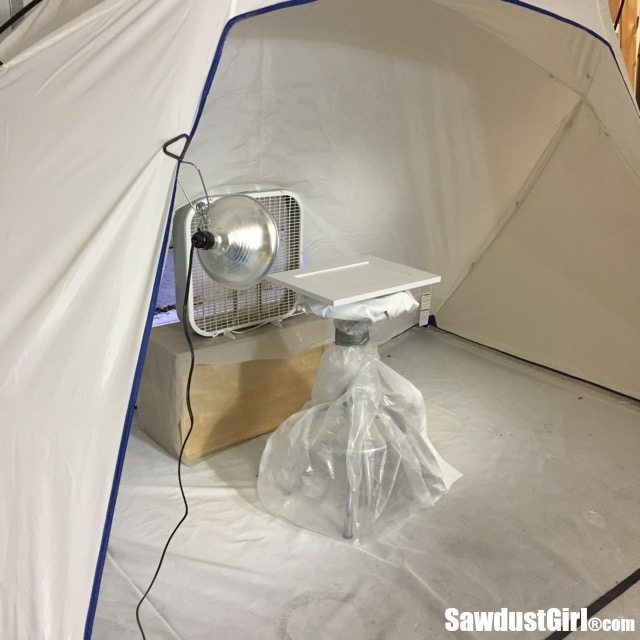
I let those dry overnight.
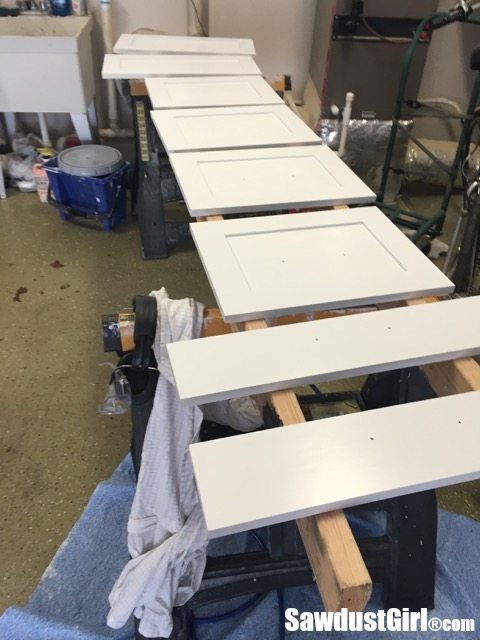
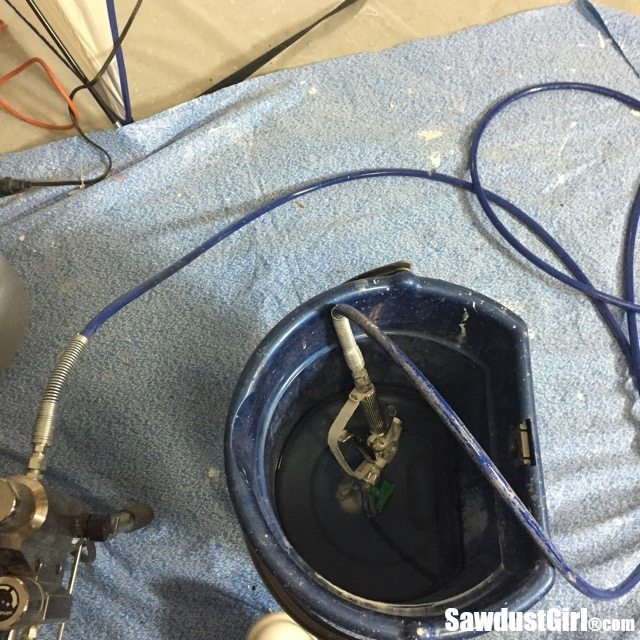
And here’s something new I learned from watching a video on the Graco channel — I didn’t even have to clean my sprayer. I just put it in a pail of water! Cool. Sometimes reading instructions pays off.
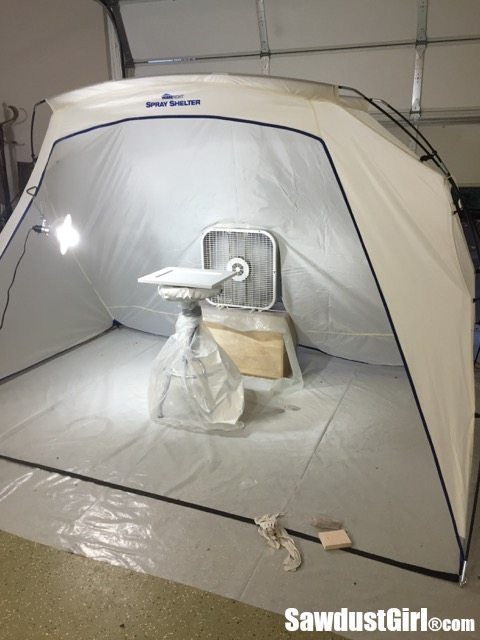
The next day I painted the backs of the cabinet doors and then fronts again – twice. Light coats dry fast and then you can re-coat sooner.
Also, painting horizontal surfaces allows the paint to level out with a thicker coat so I didn’t worry too much about not being awesome at applying “light coats”. There’s something about noticing that one area didn’t get as much paint as another area that makes me go back over the same area I just sprayed even though I know I should leave it and move on. I JUST HAVE to go back over it. I have a thing about “being even”. It’s one of my quirks.
But, like I said, thick paint — horizontal surface — leveling out — it’s all good. Then once these puppies dry I can finally install them! Does it feel like years, yet? It does to me! 🙂


OK, then I’m going to need to buy some of your time. I’m in the process of adding painted jamb extensions and casings to all our windows and new trim for the doors and I want a nice finish.