DIY Wood Countertops
I’m building counter-tops for the laundry room by gluing up 2x6s. This is inexpensive material that I can finish into a beautiful wood countertop.
DIY Wood Countertops
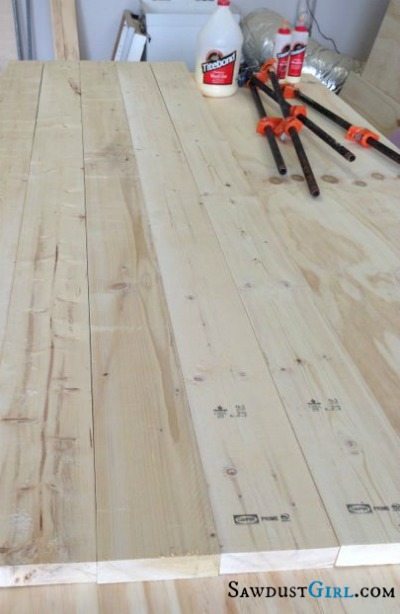
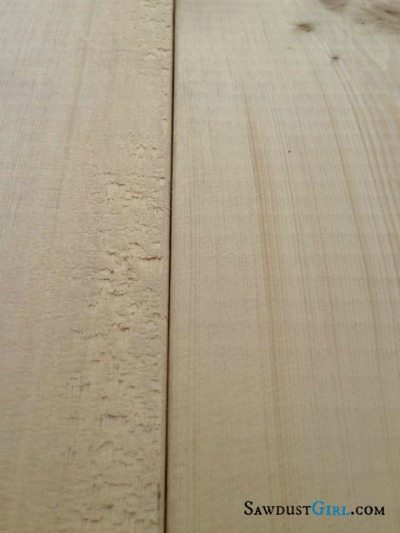
I cut the edges off each 2×6 so they all had sharp edges. I don’t want these rounded –beveled edges on my countertop.
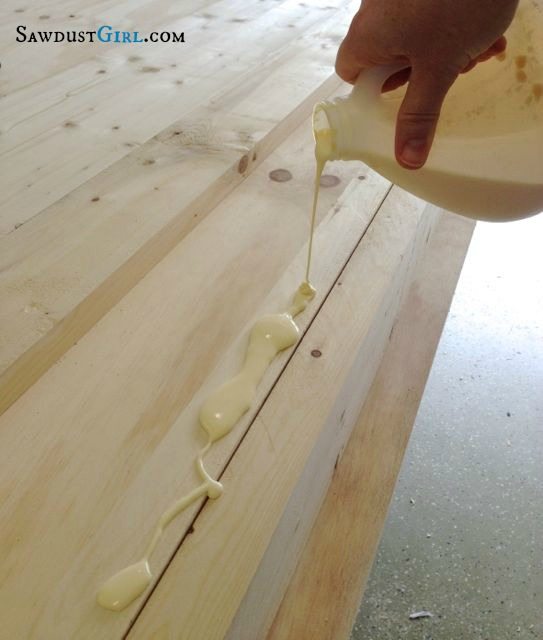
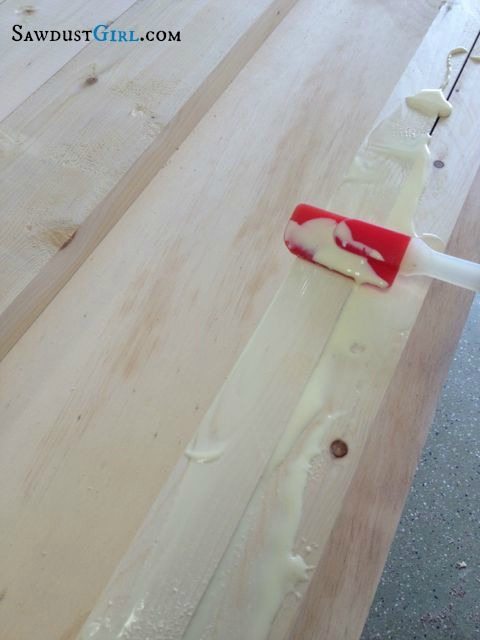
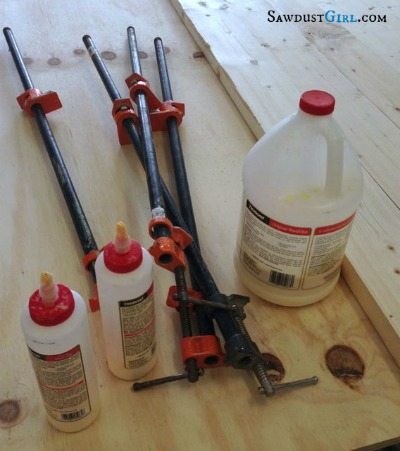
This process involves a LOT of glue!
And then a whole bunch of clamps.
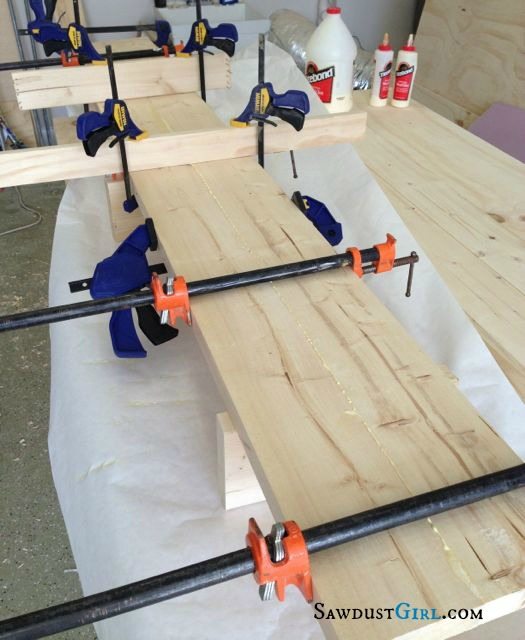
I’m glueing up 2 at a time, then glueing up those pairs. I don’t want to try to keep track of all the boards in one glue up.
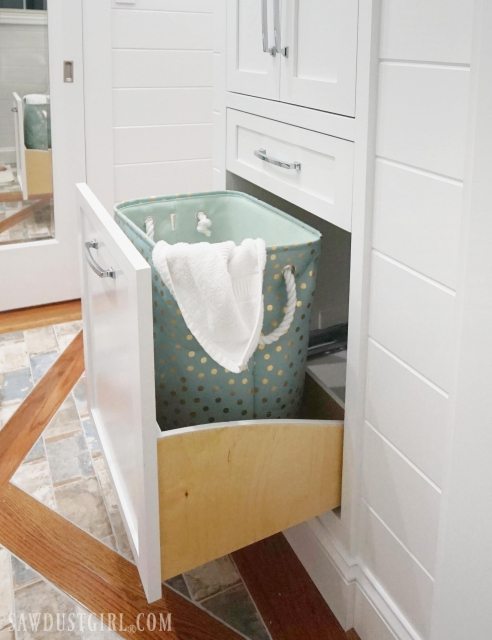
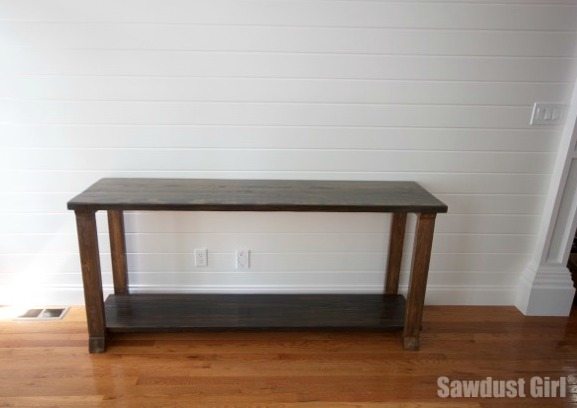
Check out some of my other countertop ideas:

Ha! I’m doing the same thing only a much smaller counter and I’m using kiln dried pine boards that are 12″ wide. Happy building!
nice!
Sandra just curious – what about pocket holes on the underside? I think maybe that would make the seams too tight and you’d loose the ‘boards’ look which I love but the PH’s are confidently secure as opposed to just glue. Only curious and can’t wait to see the final.
Glue alone will definitely be strong enough to meld the pieces together. My main concern is keeping the pieces from bowing while clamped so it’s flat when all is said and done. We’ll see…
Have to say it’s looking good there. Can’t wait to see the finished project. It should work as I’ve done very similar tops, my only tip for anyone thinking of trying it is to make sure the wood is well seasoned and well dry. Mine wasn’t as dry as I thought and it shrunk despite copious amounts of glue 🙁 Also when clamped and drying make sure the worktop is laying completely flat – mine wasn’t due to the clamps and it ended up with a very slight but very annoying bow.
I know you’ll have that all in hand Sandra but just in case one of your less experienced readers wants to give it a go I thought I’d mention it.
Thanks for sharing this Sandra. I’ll be doing our laundry room soon and although i made table tops the same way it never crossed my mind to do a worktop – duh! So thank you for the inspiration.
Linda
My main concern is not the seams, it is keeping the planks flat. And my wood is neither dry nor seasoned. I’m in trouble. LOL
Did you by chance use biscuits or splines between the boards?
Nope. 😉
I love that you use a spatula to spread glue and I use that same one to spread frosting 😉 Can’t wait to see how it turns out! 🙂
I clean it off and use it for frosting too. LOL (JK)