Building Beams at Calderwood Cottage
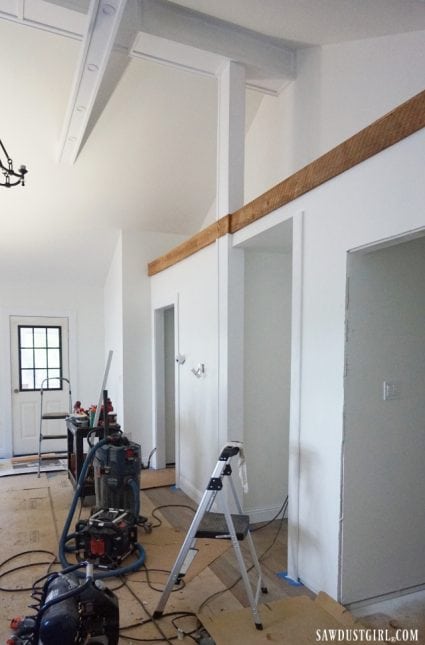
We’ve completed round 3 at Calderwood Cottage and we’re still not done but we made a lot of progress! We have an awesome new deck! And in the kitchen and living room, we added new, extended and bulked out some existing beams. Some of this work was simply for the look of it. most of the beam work provided overhead lighting that we otherwise couldn’t have had. Because of the shallow ceilings cavities and closed cell spray foam insulation. (You can do recessed lights but it’s more difficult because there is no easy access to run electrical wiring after the insulation is in.)
Building Beams
We installed the engineered beam in order to take out the ceiling joists to get the cathedral ceilings. That is no decorative beam! But we were not worried about hiding the beam itself and the visible fasteners.
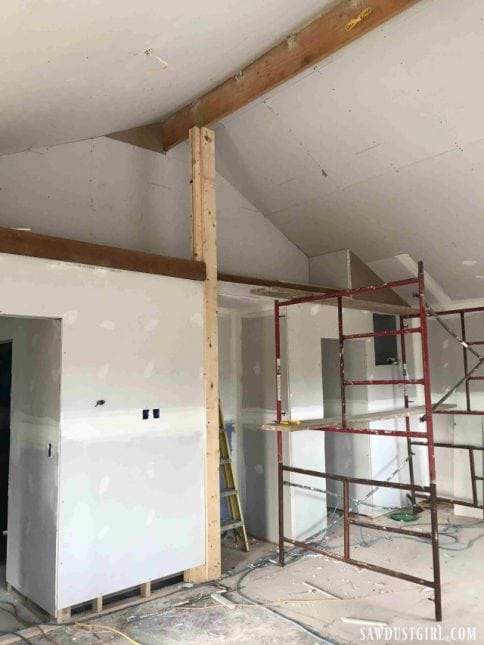
Large Center Beam
We simply blocked out the sides with 2×4 scraps and attached 1×2 material across the bottom of those.
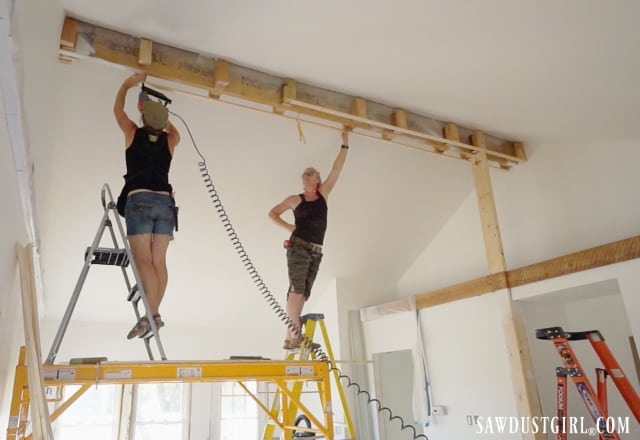
This created a skeleton on which to secure 1/4″ plywood. We used adhesive and nails to secure the plywood to the skeleton.
Then we added a decorative grid with 1x2s. Our scaffolding wasn’t tall enough so we had a step stool on top of it. Alert the safety police!
I cut pieces and handed them to Julie to secure in place. 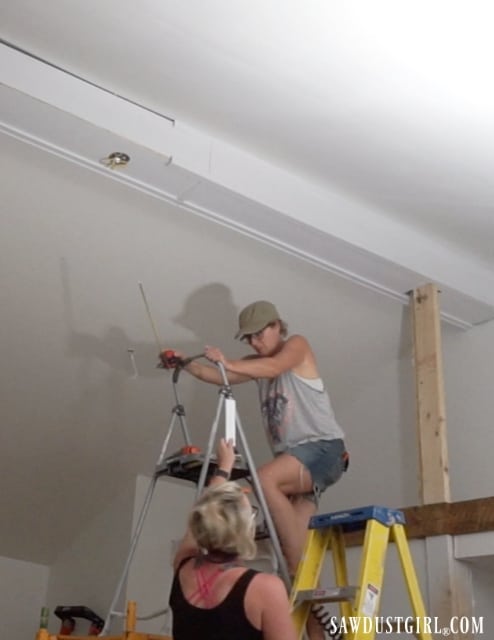
Horizontal Beam Extension
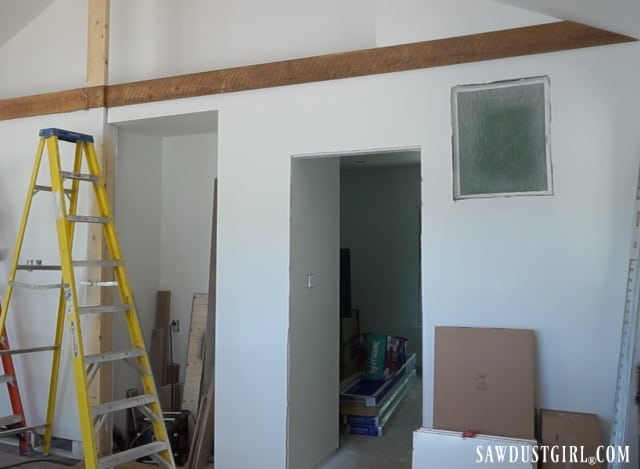
This house was built with old lumber. Cool, thick, awesome looking wood that is dense and HEAVY. The roofline changes at the halfway point of the house. That is where we stopped tearing out the ceiling joists for the cathedral ceiling. So the beam that is on the left in the below photo is a structural part of the house. We wanted it to look like that beam went all the way across.
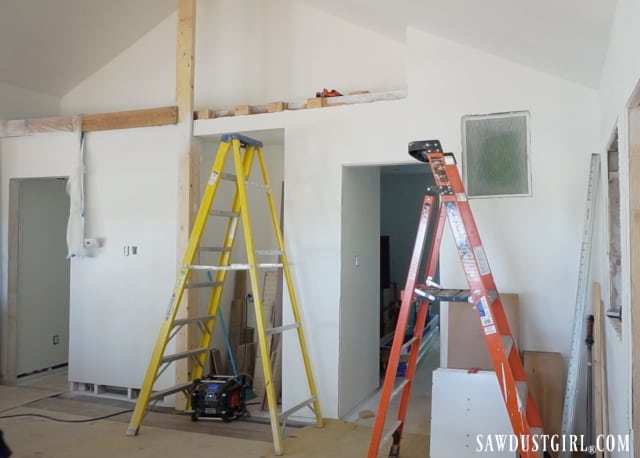
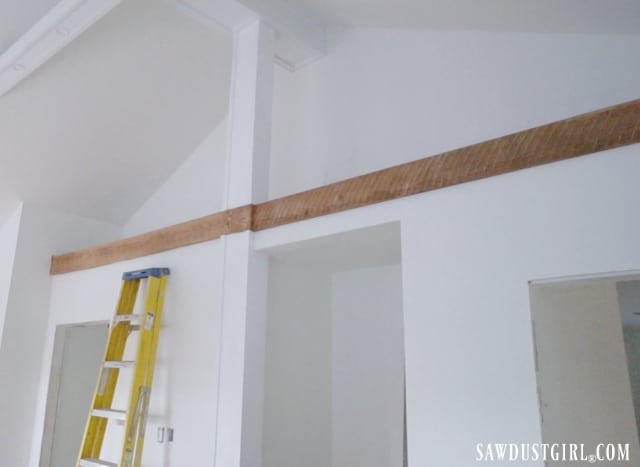
This “fake beam” was easy! We used a piece of wood that we had removed from the house so it looked the same. 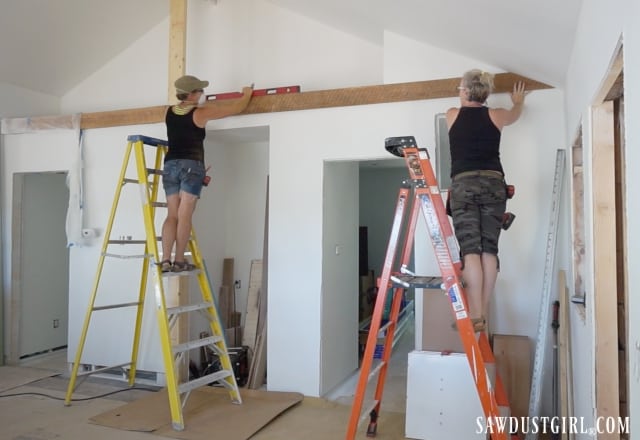
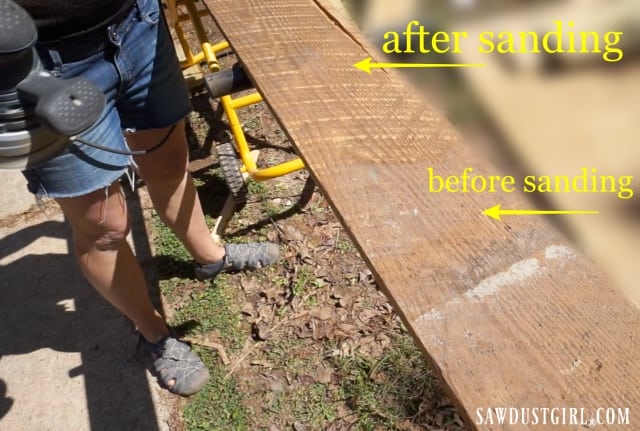
It’s amazing how cool the wood looks after sanding off all the “yuck”.
I had to manipulate a piece to fit over the vertical support to tie into our new piece. The original joist was over 2″ thick and we only had 1″ thick pieces to choose from for our extension.
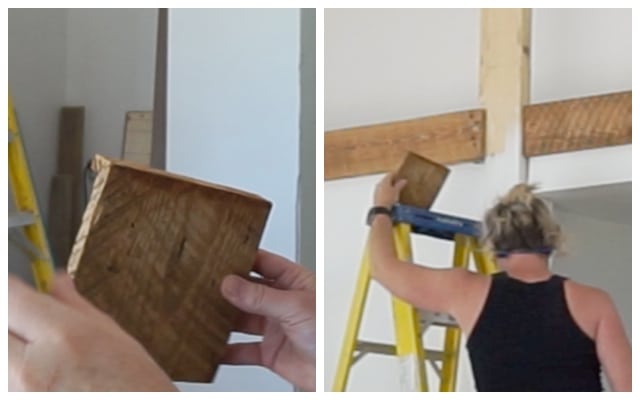
SO it doesn’t really look like a single, continuous joist (beam thingy). But the visual continuation of the existing piece IS very satisfying to the eyeballs.
Vertical Support Beam
Next, I bulked out the vertical support to center it with our new ceiling beam. I just added scraps of 2×4’s, OSB, and plywood until I had the whole thing built out to the depth and thickness I wanted.
Similar to what we did on the ceiling beam, I added 1×2 to the outside edges for added detail.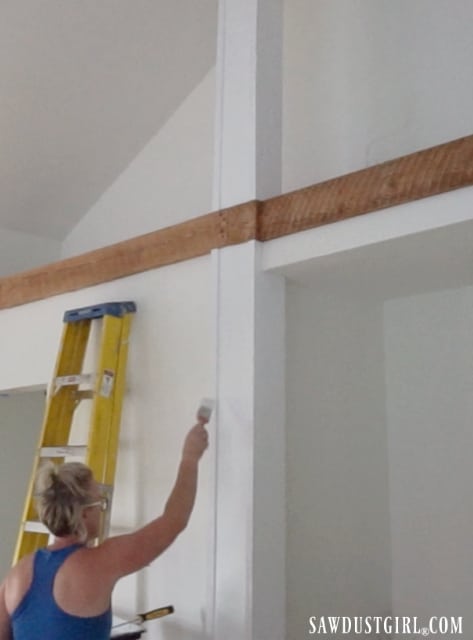
Everything we do now makes a big difference. FINALLY we’re to the fun part!
Lighted Beams
Running electrical wiring to the center of the engineered beam was easy– because it existed. We wanted a big chandelier for that spot. A chandelier wouldn’t be enough light for this large space so we planned our the location for …these beams.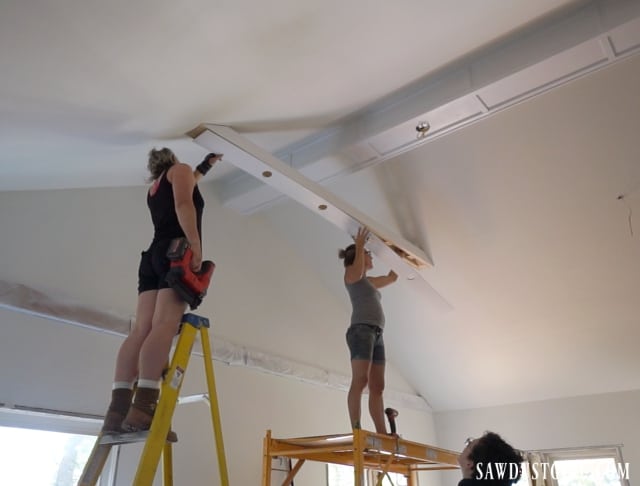
Which I built out in the driveway with the neighbor’s barn and horses in the background.
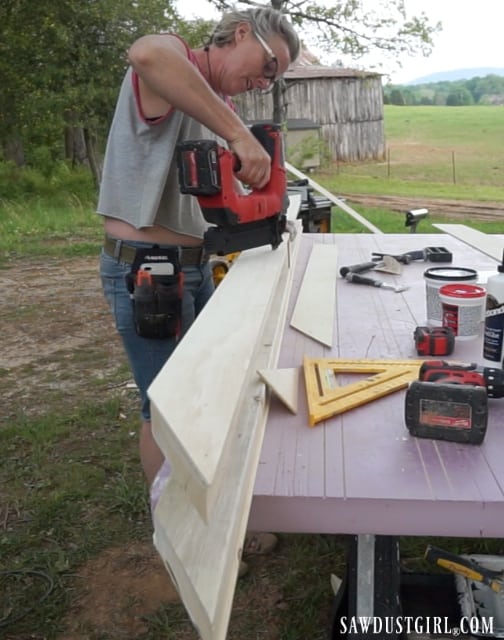
They’re constructed of 2×4 material, faced with 1/4″ plywood and then decorated with 1×2 material.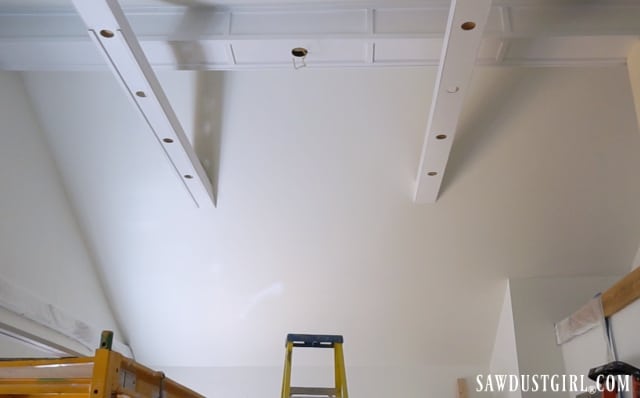
I built them to fit these 3″ ultra thin LED recessed lights. These lights provide plenty of light for the two rooms and the candy offers additional light and ambiance. Funny thing about the chandelier, when we ordered it, we thought it was round. It’s oval, which was a surprise. We decided we like it anyway. We’re leaving off the glass covers and using some led, cool white, Edison bulbs.
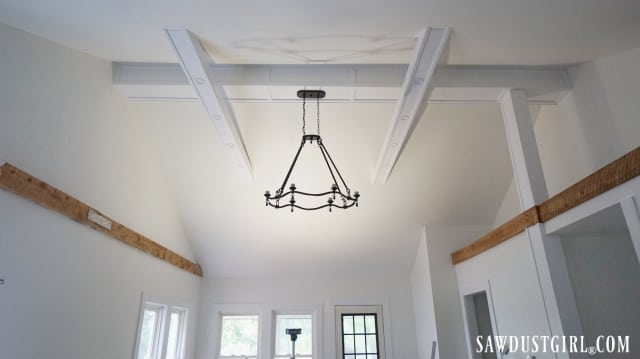 Which I apparently don’t have a picture of. LOL Just use your imagination! So that’s one bit of progress we’ve made. Looks good, don’t you think?

My God! How do you know so much?! You blow my mind! It looks fabulous!
Thanks Katherine. We just research and learn what we don’t know and then do it. Sometimes we have to do it over a few times to get it right. LOL (Sad but true.)
Was worried about you guys there for a minute.With a lot of hard work you’ve made it look great! Kudos.
We literally were working or sleeping. No time for anything else there for a good month (or two). So glad to finally take a break! 🙂
You guys are amazing! Loving the changes!
Thanks so much. We just keep working hard…eventually it will be done. Or the house will implode! One or the other. LOL
How lucky you are to have a sister to collaborate with! This cottage is becoming charming. Keep going!
We have so much fun working together. Except when we’ve been pushing for week after week and realize we are not going to finish before she needs to go home. Then we get not fun for a couple days. But when she comes back, we’re going to be rested and ready to go — and have fun while we’re at it!