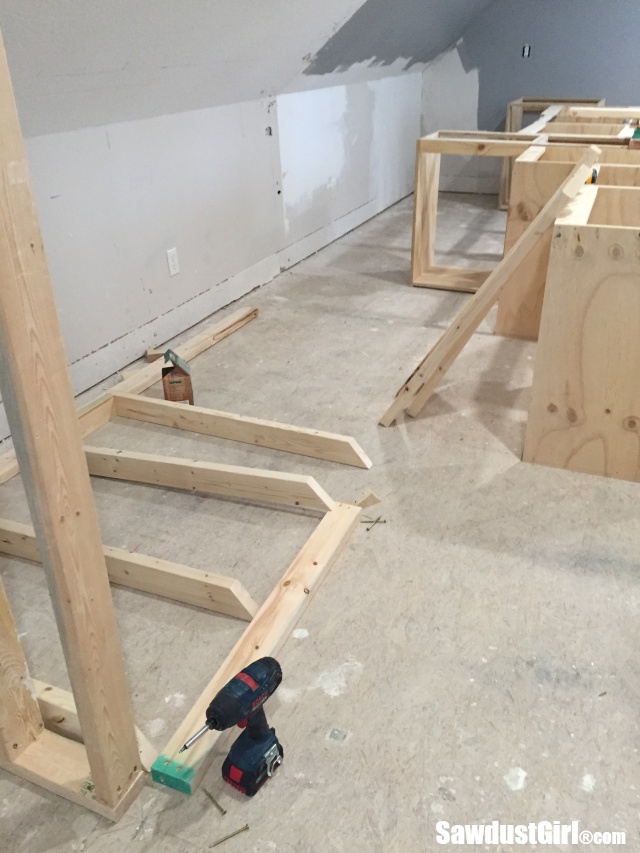
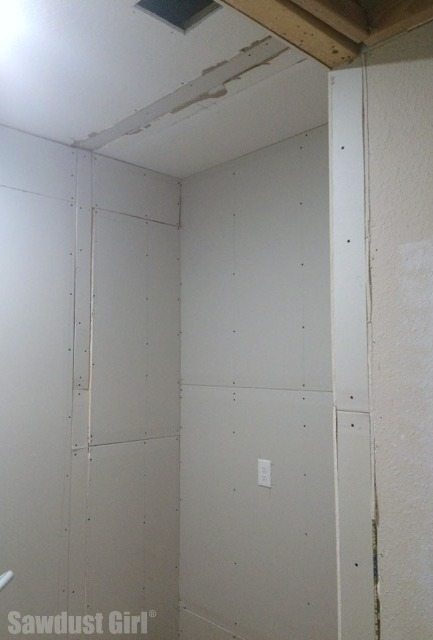
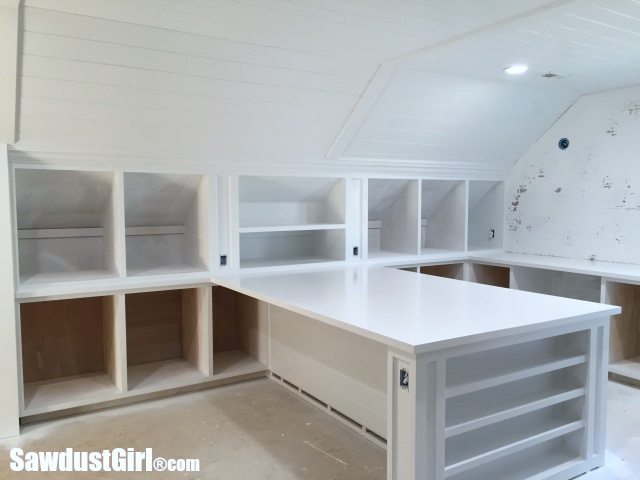
Building a wall behind the cabinets is the next step to progress with my craft room plan. Now that my new closet is framed out, I know exactly how much space I have to work in my storage cabinets and desk areas. I have to push the cabinets forward because of the low ceiling on the side walls. How much to push them forward is the hundred dollar question. I want to utilize as much floor space as possible but I don’t want to hit my head getting into my cabinets. I settled on 9″ — for now.
Building a wall behind the craft room cabinets
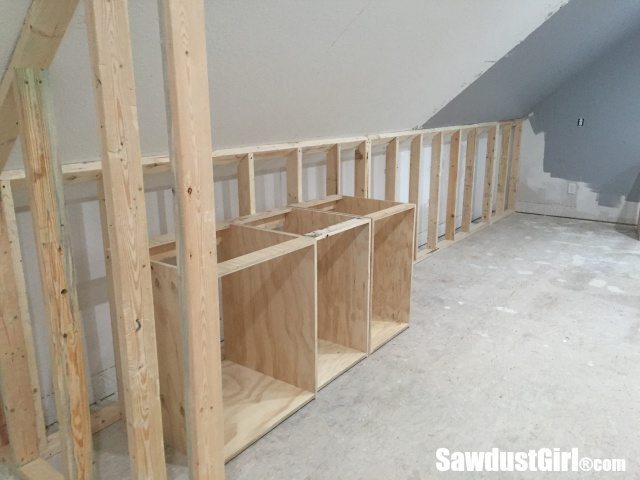
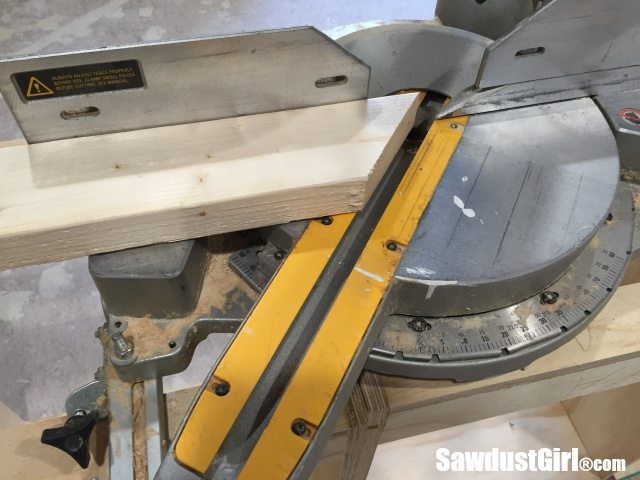
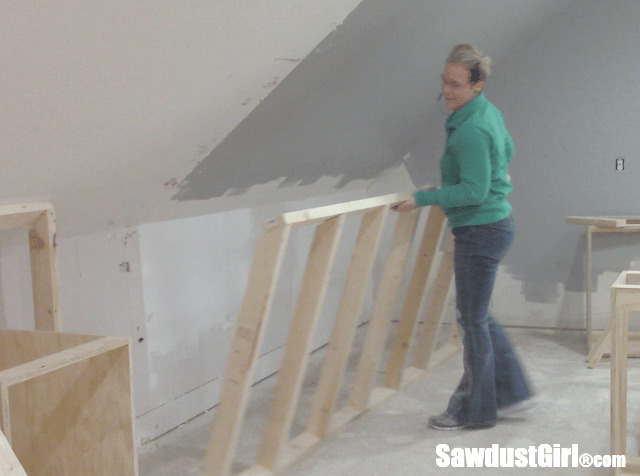
Since the wall is meeting with an angled ceiling, I cut the top of all my vertical studs at a 40º angle (to mach the ceiling).
Then I just secured the top plate on at an angle. I use a 14 1/2″ spacer block between studs to quickly find the correct location for the next stud when building a wall. This spaces the studs apart 16″ on center (center of one stud to the center of the next one).
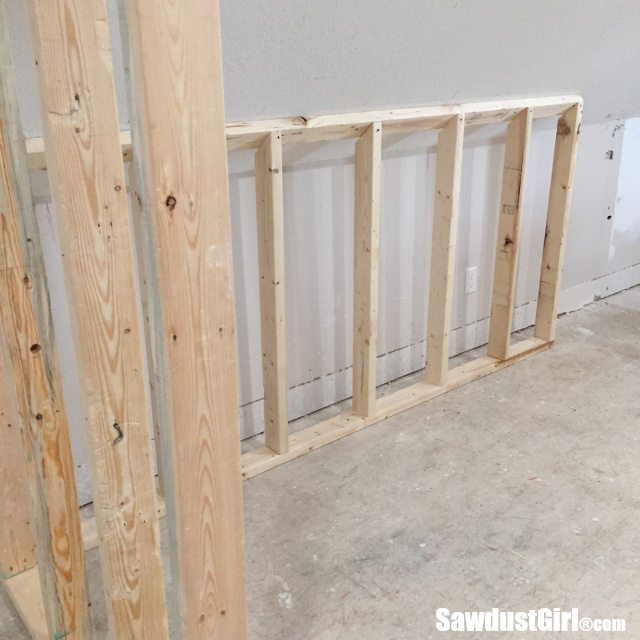
After the section of wall is built, it’s easy to tip it up into place. I used a level to make sure it was plumb before securing to the ceiling joists and floor.
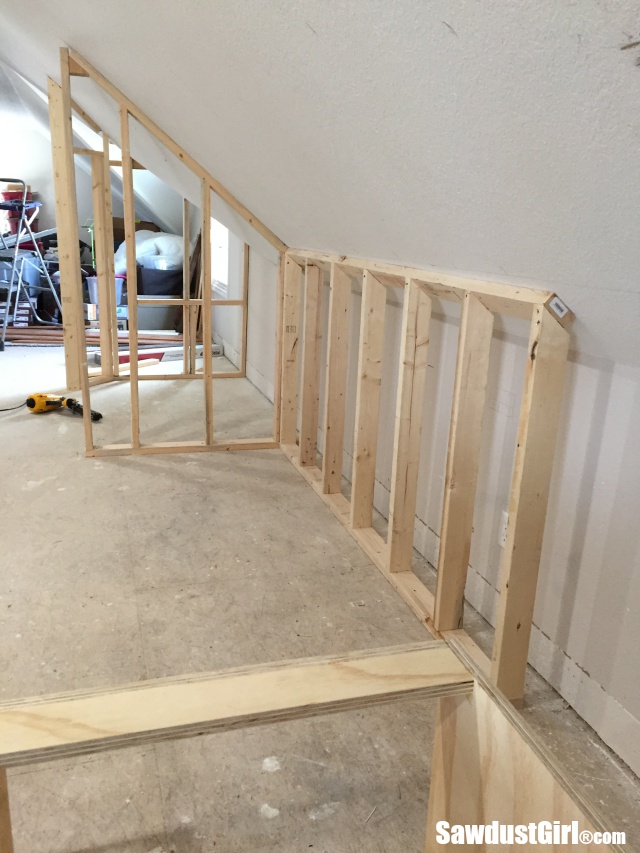
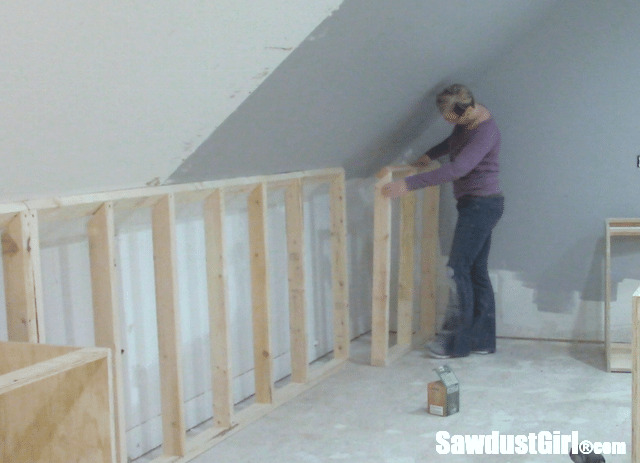
I had to build the wall in three sections because of the length of studs I had on hand and to make it manageable. After completing the first section I had to move cabinets out of the way so I could get to the next area. I feel like I’ve moved these cabinets 100 times since building them and I had to build them in order to figure out what the best placement would be. That’s how I work anyway. Drawings on paper never do the trick. I like to feel what the room feels like with the stuff in it that will fill it. Get that? 😀
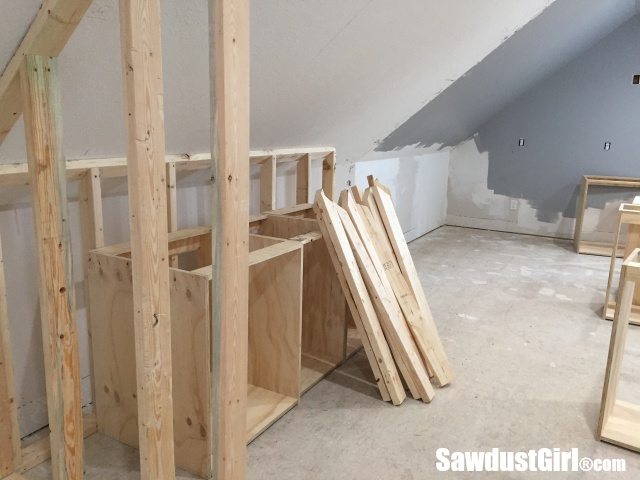
So I built the next two sections and secured them in place.
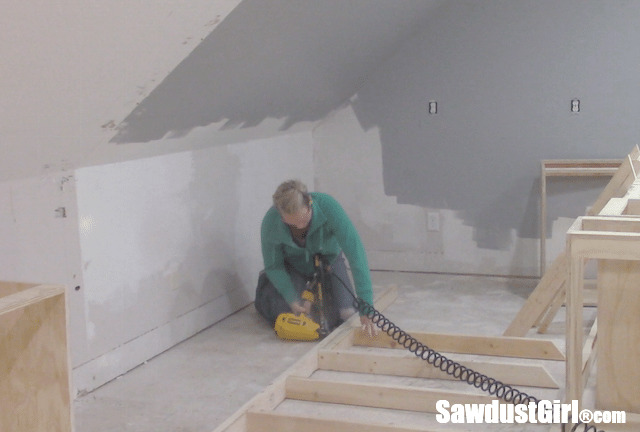
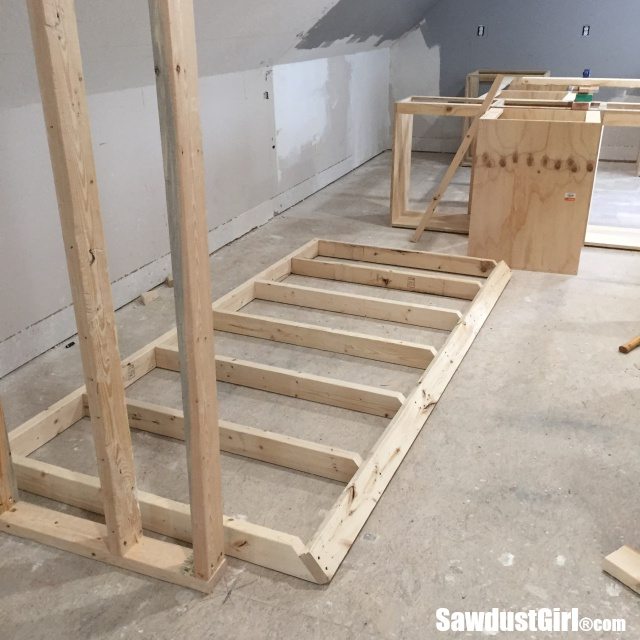
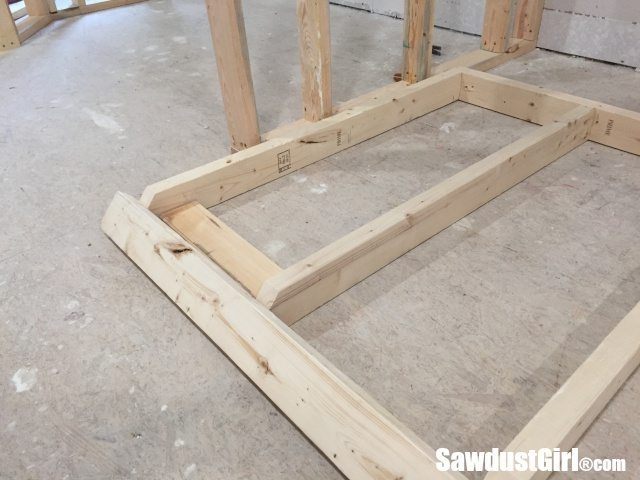
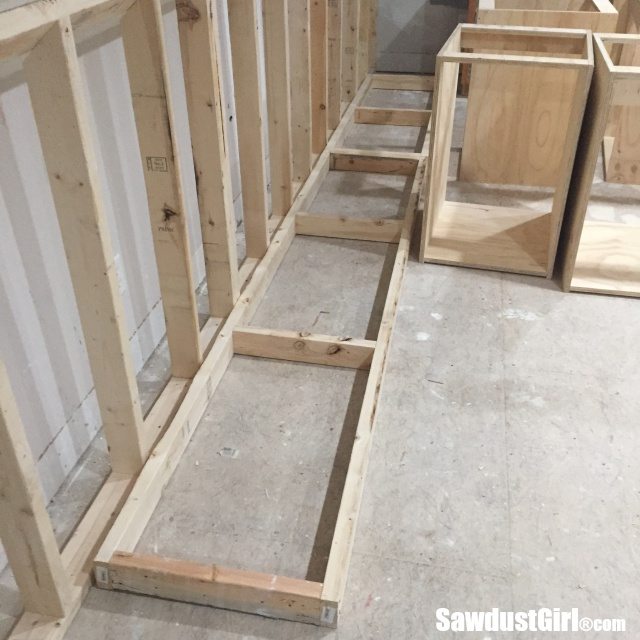
Then I built the base for the cabinets. I build cabinets in all kinds of different ways, sometimes I cut the toe-kick into each cabinet but with a whole bank of cabinets like this, it’s generally faster to create a separate base. Also, depending on the height of the cabinets, building the base separately often allows you to get more out of your plywood.
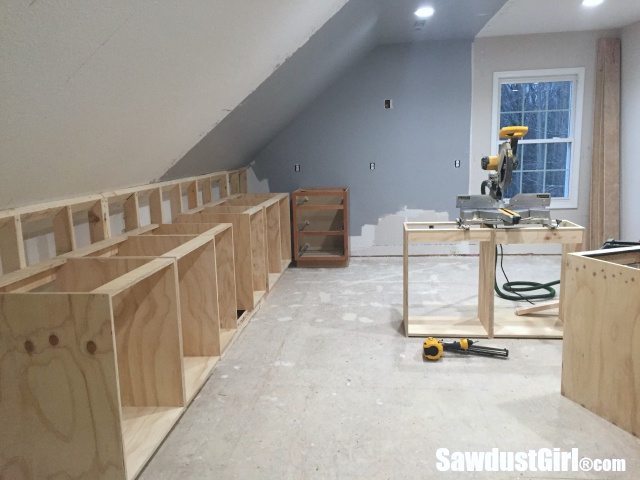
With the base built, I set my cabinets in place to get an even better idea of how they will actually fill the space.
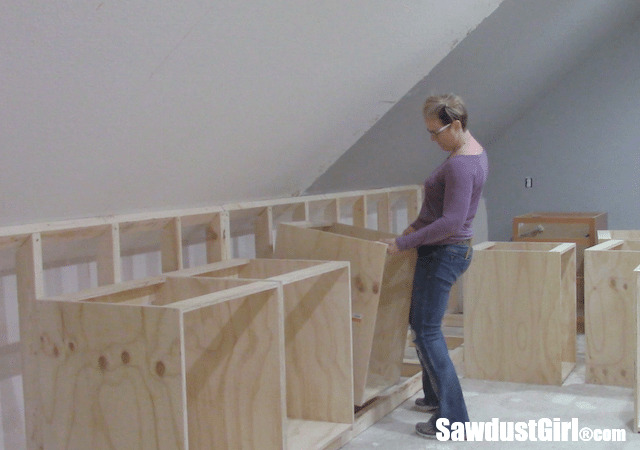
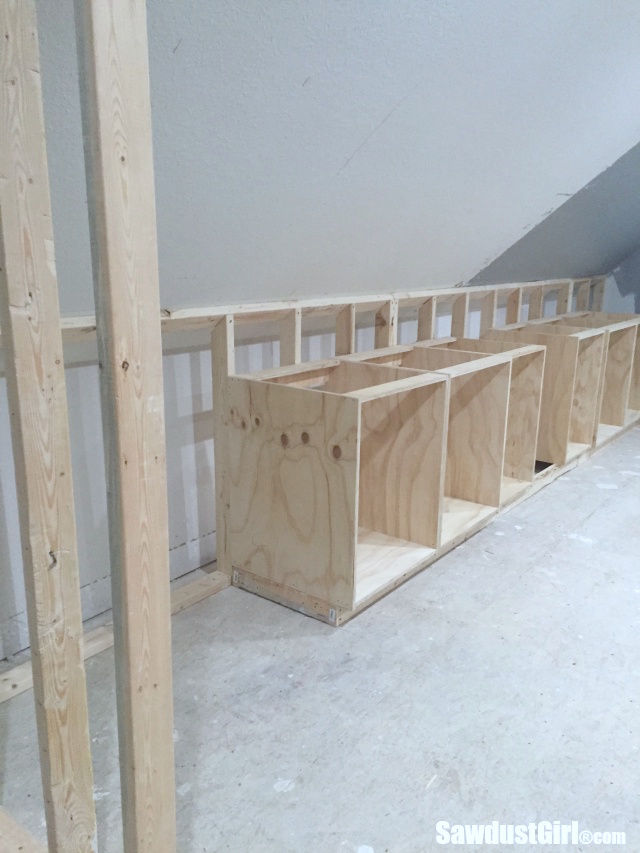
I have to use a level to figure get a feel for the upper cabinets. I’m not sure pushing the cabinets forward 9″ is enough. I won’t hit my head, but I don’t think I like the height.
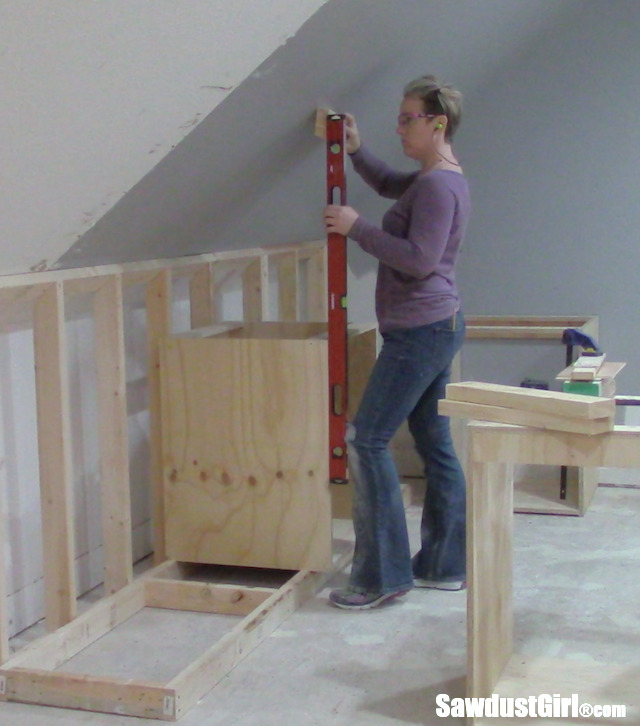
Finding the balance between function and aesthetics is something I spend a lot of time considering. I think I’m willing to lose another 4-6″ of floor space in order to get more height our of my upper cabinets.
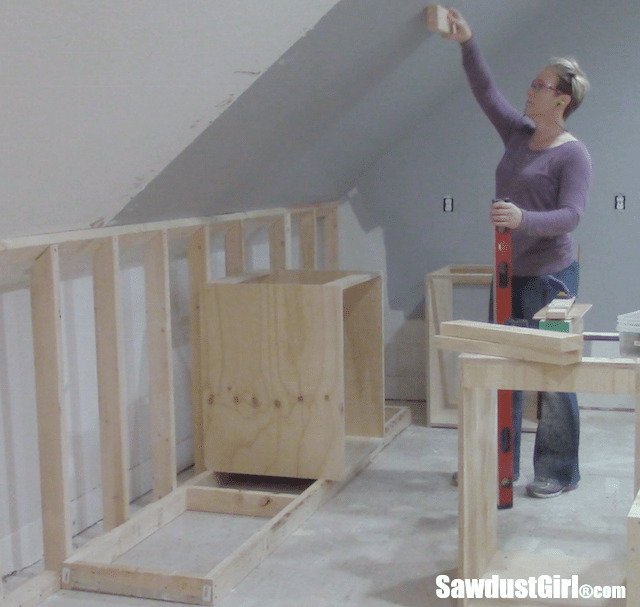
I want my island to be as long as possible but 4-6″ shorter on my island will bug me less than having weirdly low storage cabinets so … I gotta’ go move my wall!
Terry says
The wasted space would bug me also. Since you do not want / need deeper cabinets, how about installing a fire proof home safe behind a false back in one of the cabinets. Save money on renting a safe deposit box at your local bank. Or perhaps a home made panic room accessible from inside the adjacent closet?
Sandra says
That would be one SNUG panic room! 🙂 We’ll see what I do with it if anything. Probably nothing.
Tom says
Gotta ask…. I remember you vowing to never again used Sanded Ply for cabinets. When I was at HD recently, I looked at the Sanded Ply and it actually had more layers than the Hardwood Ply–seemed better to me. So are you used sanded again because of cost or are you using it because of quality?
Sandra says
Tom, funny you remember that! LOL This is Sanded ply from HD and it appears to be really good quality. I think it’s got 7 layers and there don’t appear to be any hollow spots which I find too often even in high quality cabinet grade plywood. So…I’m giving this a try. I’ve used 9 of the 10 sheets I purchased and haven’t had any issues.
My Crappy house says
I’m so confused as to why you wouldn’t just place your cabinets 9″ off the wall and test them out before building a whole wall? I mean, build the base/kick, sure – that won’t change. But why build the wall before you decide how far out to put the cabinets??
Sandra says
It would definitely be preferred not to ever have to redo anything but I do change my mind sometimes. I did play around with the placement before I built that wall. I decided pulling them out 9″ would be a compromise I could live with…and then I decided I couldn’t.
CharLotte says
You know what would be awesome? Make a little secret door inside one of your cabinets to access that space behind the wall and hide super secret stuff in there. 🙂 If it were a little bit wider, it could even be a secret passageway.
I probably read too many books.
Sandra says
Trust me, I have tons ideas of what “could be cool”. Whether or not I decide it’s worth the effort to make those ideas come to fruition remains to be seen. ;-D
Darlene says
Planning on paper is so difficult for me because I don’t live on paper. The whole “arrange your furniture on paper” thing has never worked for me because it’s only one dimensional.
Melissa from Hey,Girlfriend.Net says
I understand your quandary! I hired a contractor to remodel the kitchen and a few other rooms in one of my homes. When he learned I was an interior designer, he told me the price would double. He was right.
Sometimes, all of the to-scale plans and elevations in the world can’t show you how light will flow into a room, if you move a wall, or how removing a wall will improve the way a room will “feel” in a feng shui sort of way; or how a wider walkway can up the elegance factor… So sometimes, you have to redo good work, in order to have exceptional results!
I love following your projects and your videos are beyond adorable!
Sandra says
LOL that is too funny! I never expect the real deal to translate like it did in plans on paper which is why it’s generally easy for me to accept making changes. Resisting is futile. haha I really like your statement, “sometimes you have to redo good work in order to have exceptional results”. Exactly!
Deborah says
Am I missing something? Since your cabinets are already built, why not just set them where you want them and then your would know where to build the wall.
brenda says
my thoughts exactly but perhaps I am not seeing something that would prevent taking this K.I.S.S. method
Sandra says
Only the base cabinets are built – the upper cabinet can not be built until I decide on the location of the base cabinets. Pulling the base cabinets forward will allow the upper cabinets to be taller. That’s what I’m doing with the level in the second and third to last pictures – identifying where the upper cabinets would hit the ceiling on top of the base cabinets where they are currently compared to 6″ further out.
G says
I know that you have already made a number of boxes for the cabinets. However if you are going to lose 14 – 15 inches behind all of them, that is half of a cabinet. If it were me, and I know that it isn’t, I would rebuild more boxes and make them deeper thus making more storage. I would then build the upper cabinets and just move them out on the lower cabinets to gain the height that you want,. Result: more storage and also the aesthetics of the fronts that you want. Using the idea from my last comment of putting drawers on the lower shelf level of the cabinets with wheels, there would be easy access to the full depth of the cabinet. I like that you are concerned about appearance as well as function. I am a bloody perfectionist and work much the same way as you do to get the best of both.
Sandra says
I don’t need any additional depth to my base cabinets. I only have so many buttons and baubles to store so I’ll stay with the standard 24″ deep cabinets that I’ve already built. I’m not worried about gaining more storage space, I’m focused on finding the right balance between my work area (island) and the height of the storage cabinets.
Jeana says
Oh no! I actually saw that one coming (just from my own experience) regarding the need to bring out the back wall a little more. I am with you. It’s better to just make the adjustment than to continue on and be displeased every single time you use the cabinets or look at them. I truly enjoy everything about your blog. I like the way you take on projects and explain as you go, showing the bumps along the way. It is confidence building for us as your readers to see you persevere and the end product turn out amazing. It is inspiring.
Sandra says
Thanks Jeana, I absolutely agree with you, the time to decide you don’t like something is while you are building it — not after! I can make any changes I want right now. After I have everything finished, I’ll likely not want to rip things out and start over. I’ve only ever ripped out one major build that I myself built, and that was my pantry in this house. I hope not to make a habit out of that sort of nonsense! LOL It was totally worth it though.