Building a Deck
Our cute little house looks so tiny nestled on it’s 1.1 acre lot. We’re pretty excited to partner with Wood, Naturally to build a deck. This project will create an outdoor living space, take advantage of the beautiful country views, and make our little Calderwood Cottage appear bigger! 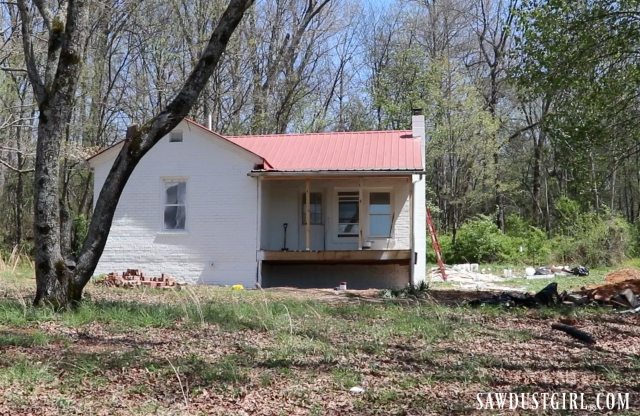
Clean up
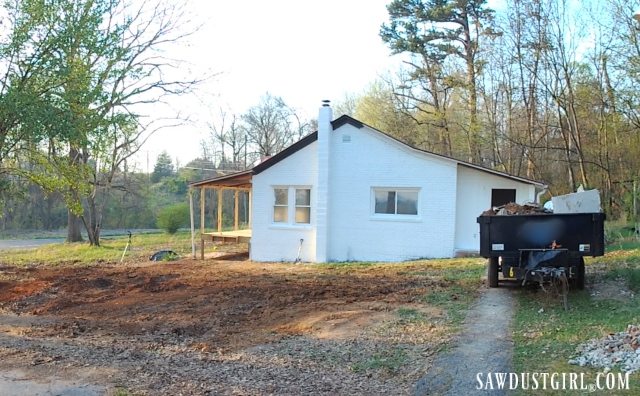
Before any deck building could happen, we had to clean up and level the ground. Since trailer theft is rampant, we don’t leave ours parked at the cottage. We just wait until we’ve accumulated a big pile of trash, then we haul in our trailer and make a run to the landfill. 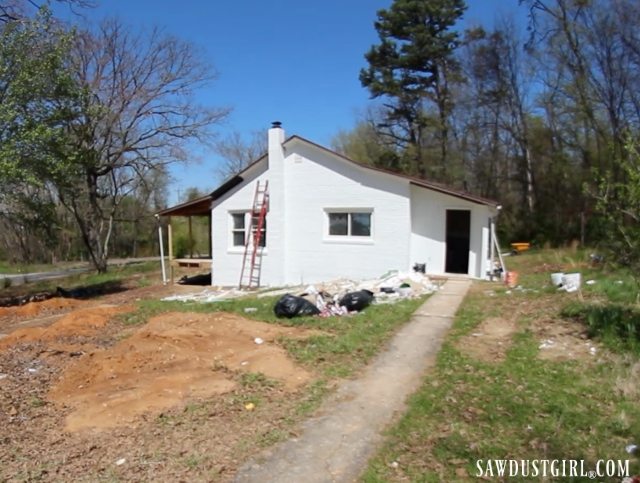
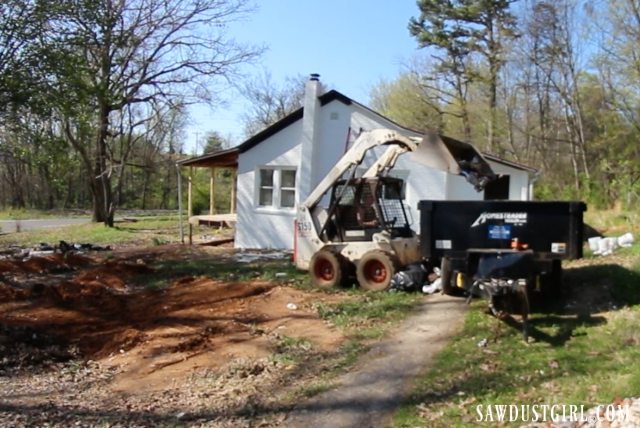
Since we had rented a Bobcat to level out the big piles of dirt we dug out of the crawl space, we decided to get as much use out of it as possible. It made the task up picking up our trash pile pretty fun!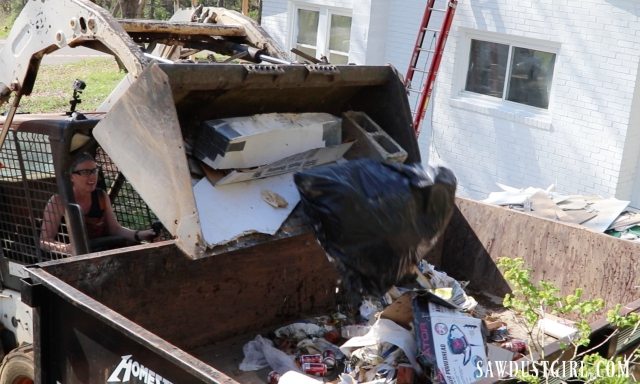

We also rented a dump trailer so we could make ONE trip to the dump and literally dump the trash (instead of tossing everything out by hand like we normally do…which is awful).
Building a Deck: Design and Layout
Next we were ready to mark the layout for our new deck.
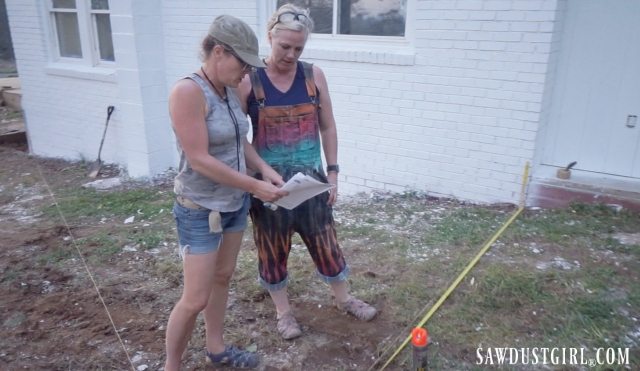
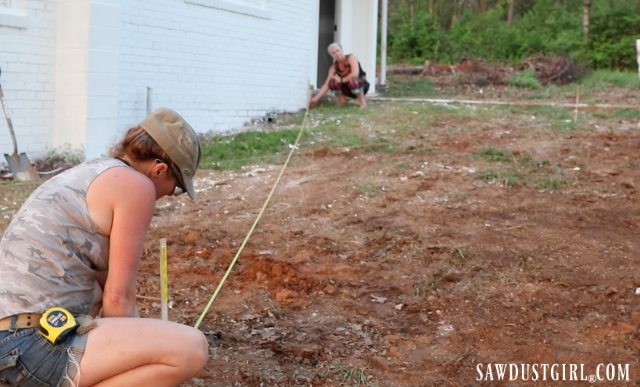
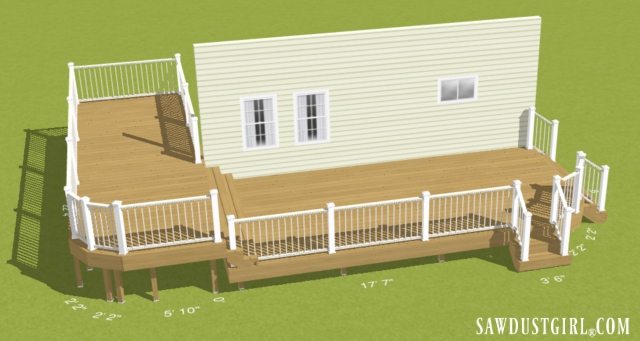
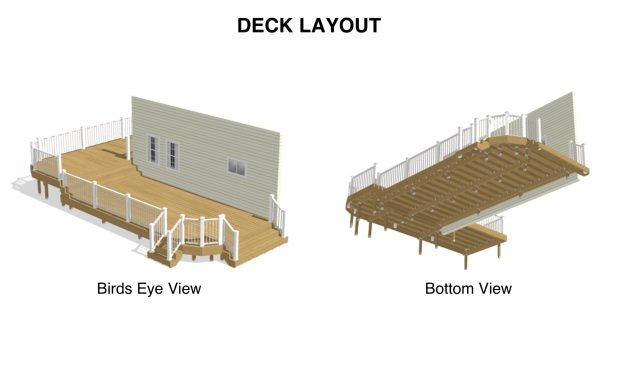
We used a free online deck designer to plan out our deck. Most online deck design programs comply with IRC (International Residential Code). You can also refer to American Wood Council’s prescriptive residential wood deck construction guide for deck construction guidance and good practice recommendations.
It is important to understand your local building code requirements …which may or may not follow (any or all of the) IRC recommendations.
Our local planning department is smack dab in the middle of a transition from the 2012 to the 2018 IRC, so “building to code” was a little extra challenging for us. We had a lot of phone conversations with inspectors to clarify one thing or another. Depending on which inspector we spoke to, we got a very different answer to the same question. But the main objective was universal: one way or another, we were going to build a very strong, sturdy deck!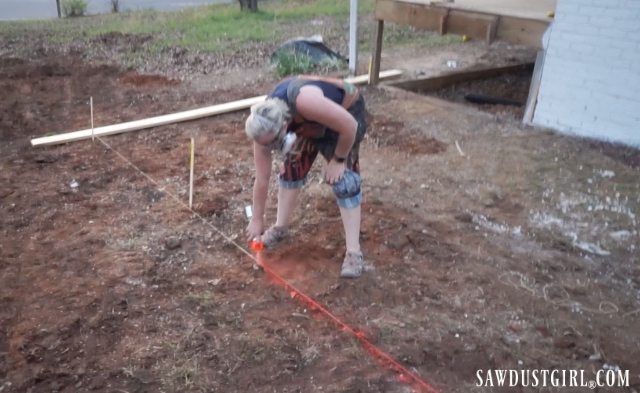
We went all out with our desk design, which involved a couple curves as well as a level change. Those little curves are responsible for a whole lotta’ extra footing holes. (Just keep that in mind as this story progresses.)
Lumber
After planning, the next step was to go shopping for lumber and supplies for our beautiful, elaborate deck. We chose Southern Yellow Pine because it is cost effective, locally sourced and in the long run, the best choice for environmental considerations. Code calls for pressure treated lumber. You can get lumber that is kiln dried after treatment so it’s immediately ready to stain. The lumber store guys told us that, because it’s so dry, it needs to be stained and sealed right away to prevent warping, bowing, twisting… We got regular pressure treated lumber because it’s not as time sensitive. We weren’t sure how long it would take us to be ready to stain/seal. We were building a pretty elaborate deck, after all!
As the lumber yard guys were loading up our trailer, they got about half our order loaded when they determined that the rest would need to be delivered. Our trailer wasn’t made for hauling THAT much lumber. The guy was super polite when he informed Julie, “Ma’am, that’s a lawnmower trailer”. We laughed about that for days! 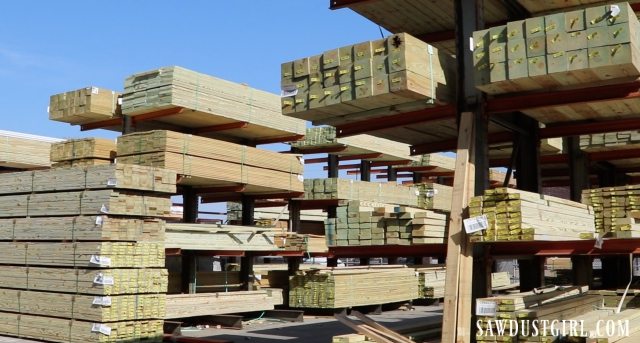
Also, why didn’t we ask about delivery before we had them load half our order into our lawnmower trailer? We had to unload that half order all by hand!
The next morning, the second half of our order showed up on a big flatbed. It was all unloaded and delivered (right up to our build spot) with a forklift. So awesome!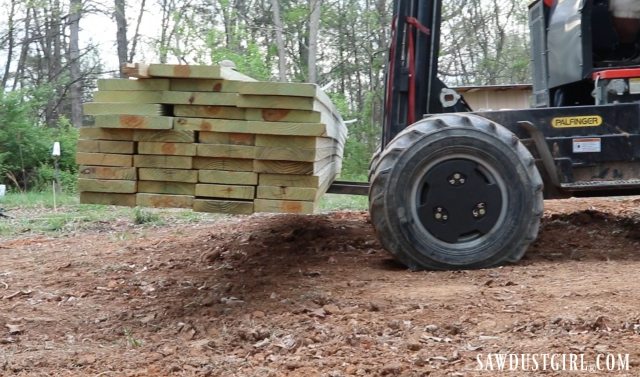
Footings
We rented the Bobcat for two reasons: to level the dirt piles and to drill holes for our footings.
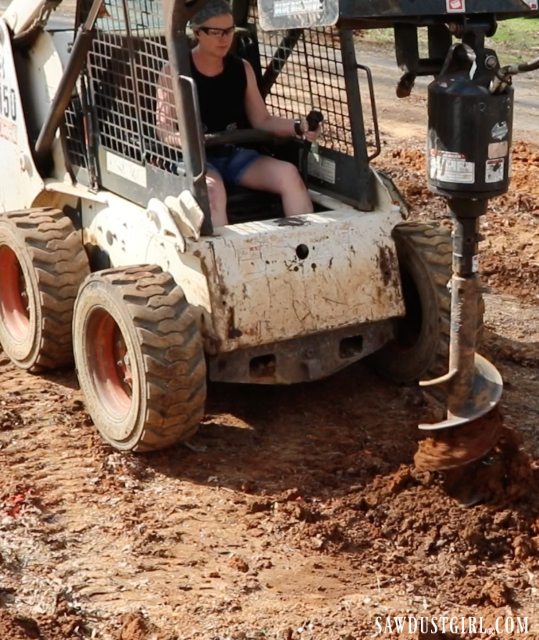
Our deck design required a LOT of footings which is a LOT of holes.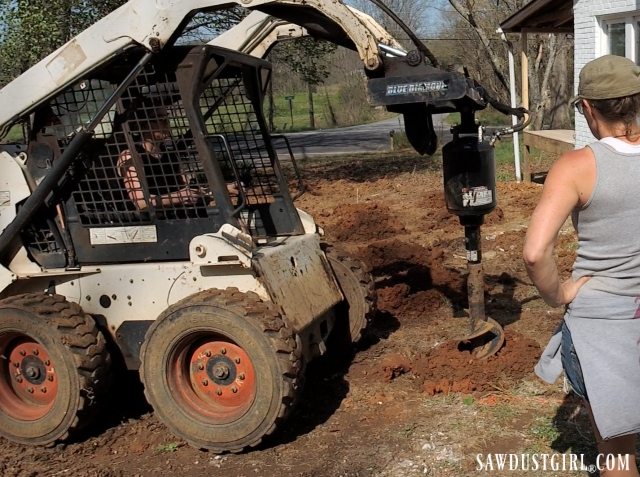
We dug twenty four 12″wide by 24″deep holes!
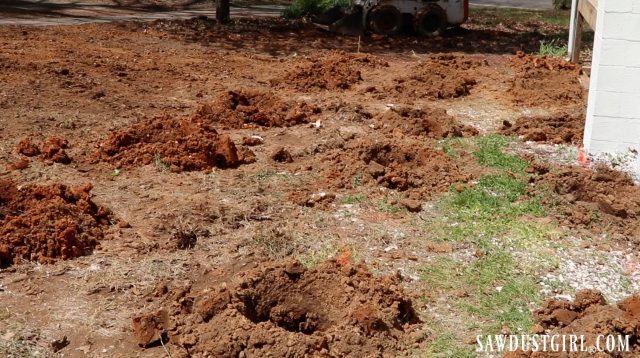
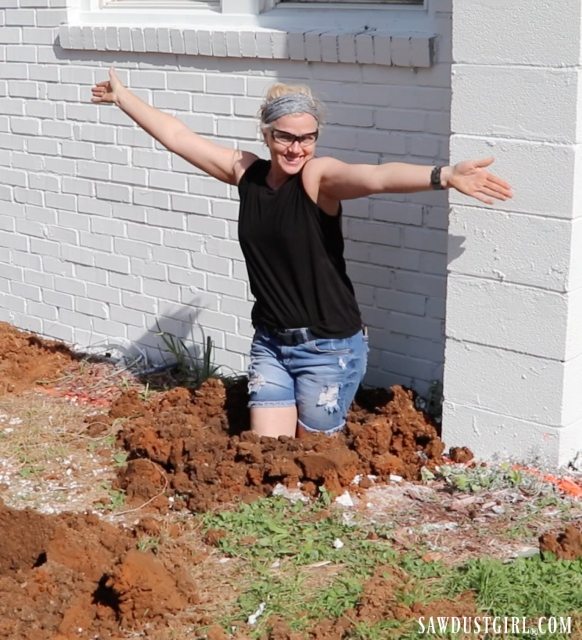
I found a new skill, I am a great hole digger!
Then we had to fill all those 12″x 24″ holes with concrete! That’s a lot of concrete. We used 64 bags of concrete. In hindsight, we should have ordered ready mix concrete to be delivered in a truck and poured right into our footing holes. Next time!
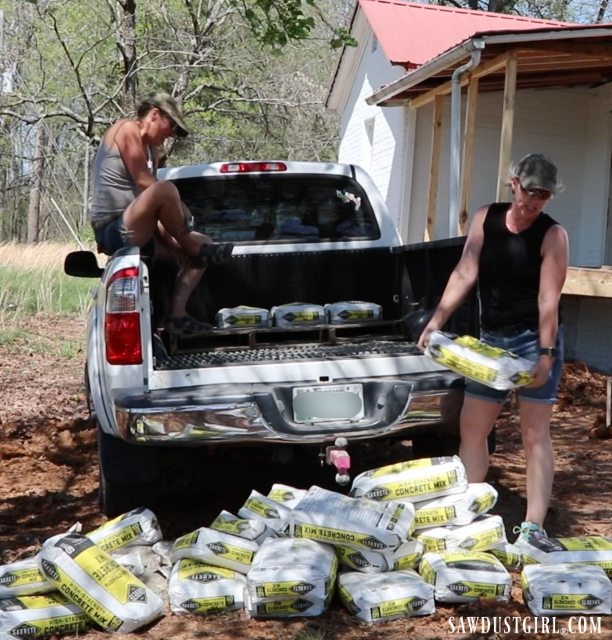
We at least thought of renting a concrete mixer.
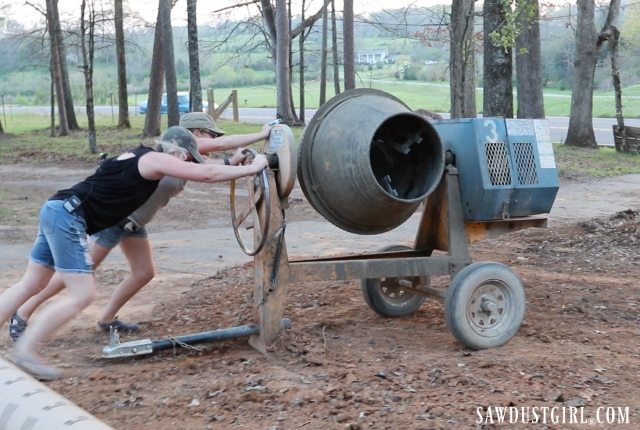
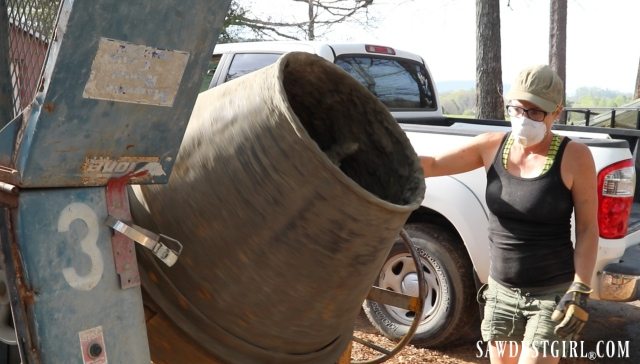
Wes helped us out that day so he could help lift the bags of concrete mix and pour them INTO the mixer. Julie mixed the concrete and poured it into our little wagon. Then Wes hauled the wagon over and helped me shovel it into the holes.
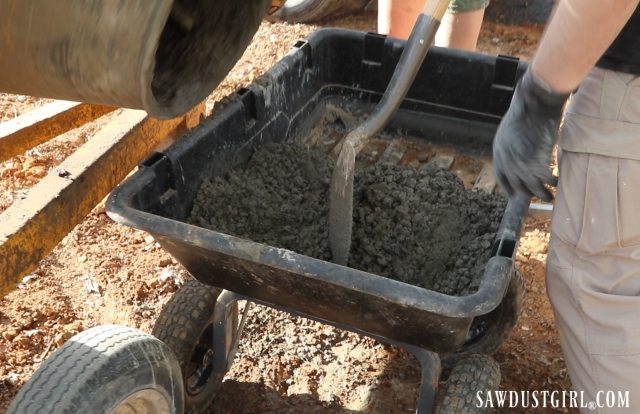
We got all our footings poured, reinforced, tamped and mounded. Then we lined up and inserted all the J-bolts to secure the post holders.
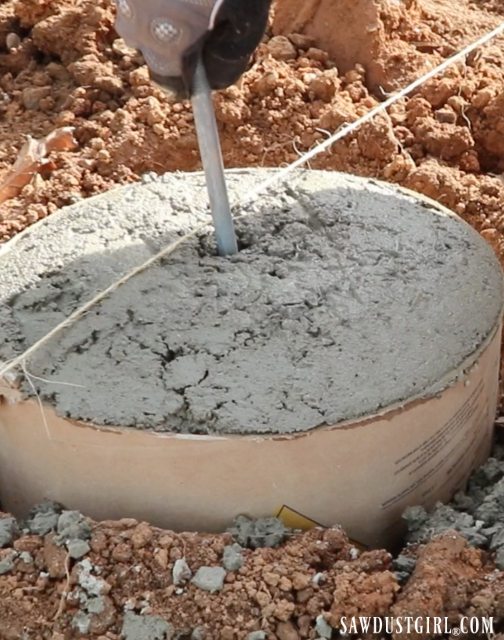
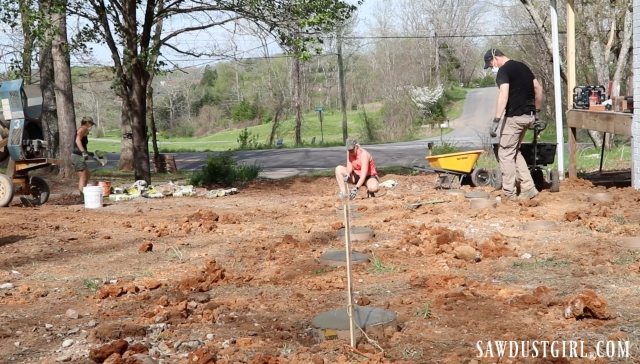
Then we let the concrete set up overnight. We went to bed tired but excited because the next day we’d start seeing the beginnings of a deck (which would be way more fulfilling than all this prep work we just did)!
Amazing job Done, that deck is making me feel that I should try to do something like this just on a small scale.
I’m really excited to see the result and I’m pretty sure it will be beautiful, because of the hardship you put throughout the building process.
I can see you guys worked really hard to complete this project! Really appreciate your hard work. Thanks for sharing your experience with us. Glad to see your blogs, wish you good luck for your upcoming projects.
Thank you for pointing out that you must follow your town building requirements so that you are up to code! Yesterday, my godfather and I were talking, and he was saying that he would love to put a deck on the back of his house so that he could get some fresh air and enjoy the view. I am excited to help him with this project. I guess we should go look for lumber suppliers!
Outstanding write-up! you just did it you gave me the final push to go renovate my deck. Thanks a bunch!