Workshop Layout — Ideas Welcome
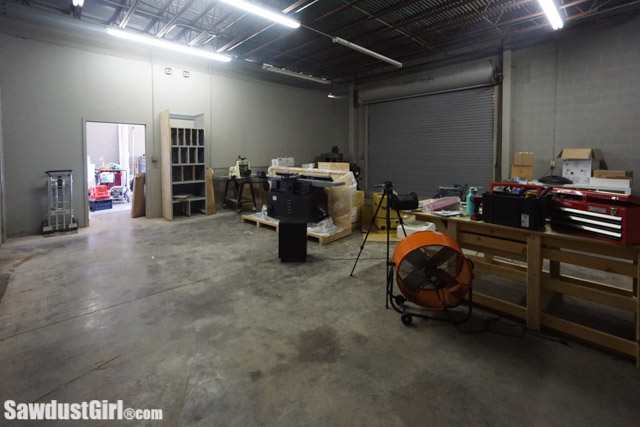
This week I got to the point where I was finally ready to un-crate my new tools! I ordered these tools right after finishing Richwood, and moving into my new shop. I gave away my drill press, band saw, jointer and planer when I moved. The whole reason we moved was so I could have a larger workshop so I could get… more professional tools. I ordered right way because I wanted all the main tools, in hand, before deciding on the layout. Then I discovered the water issue and had to spend a couple weeks dealing with that. I picked up the tools and they’ve been sitting here for 2 weeks.
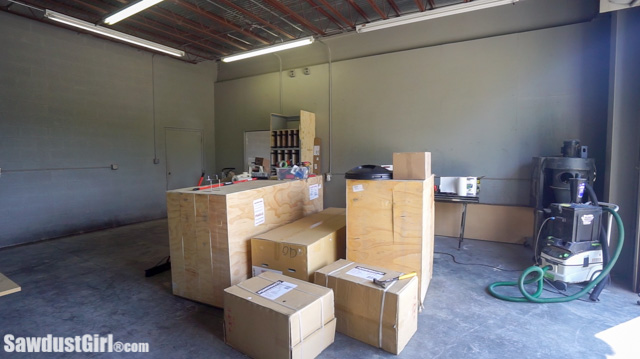
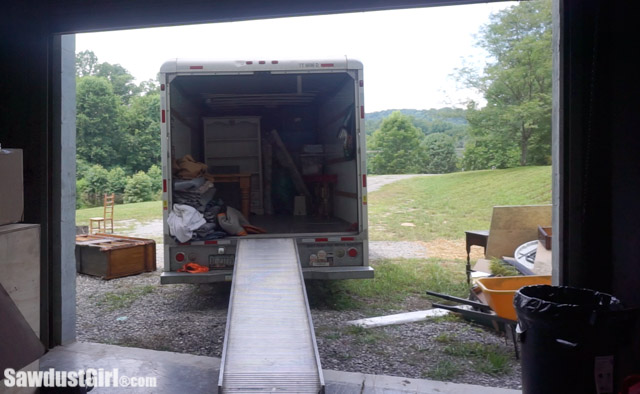
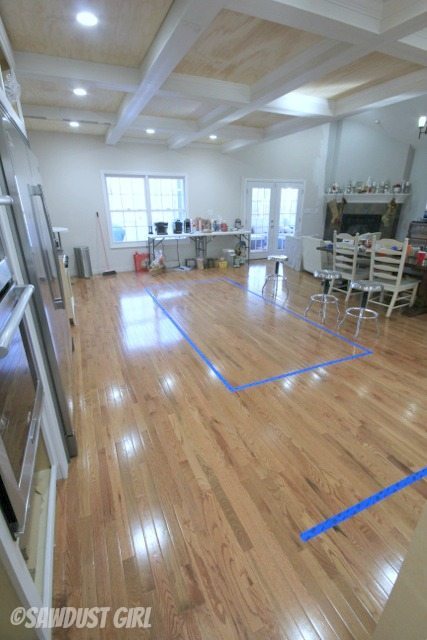
To get the shop ready to actually BE a WORKSHOP. I had to get all the non workshop crap out of there. Last week, we rented a moving truck and relocated all the stuff to a storage facility. Woohoo!
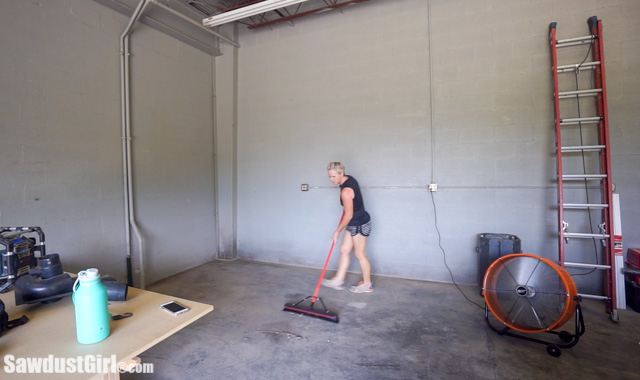
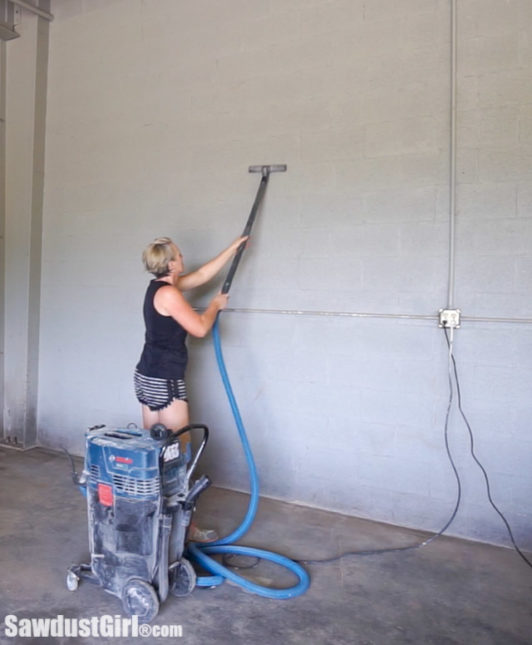
That really opened up the space — which made clear that the space is kinda gross. Even after sweeping the floors and vacuuming all the cobwebs off the walls (that I could reach).
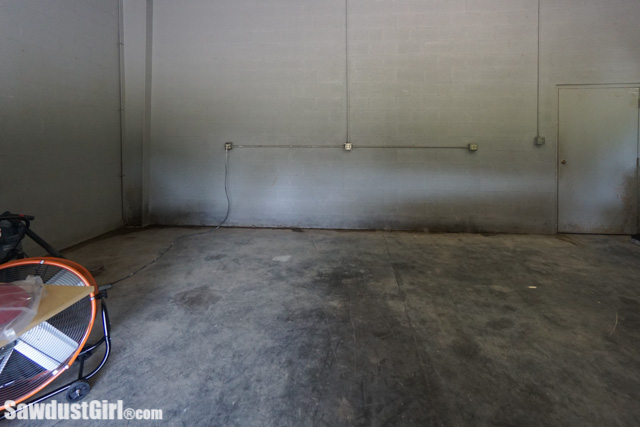
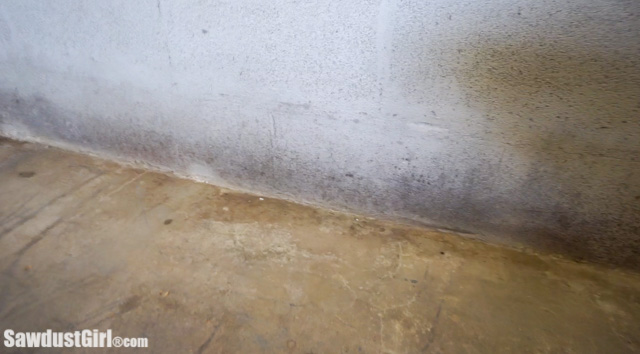
The lower portion of the walls have some mildew/mold. I sprayed them with mold killer/inhibiter but I want to remove the stains. There’s too much surface area to try to clean it with the ZEP, as I mentioned I was going to try. I’m going to paint over it with a stain blocker. But I don’t want to paint the whole room, including the ceiling. So I’m going to go up part way, end it with a crisp line and call it an “intentional design choice”.
Planning a Workshop Layout is Hard
Back to my new tools! Finally getting to uncrate my new tools was super exciting — until it wasn’t. First, I couldn’t get the tools OFF the bottom of the crate. Second, none of these giant tools are mobile so I’m not going to easily move them once I figure out how to get them off the crates so I need to know WHERE I’m putting these tools.
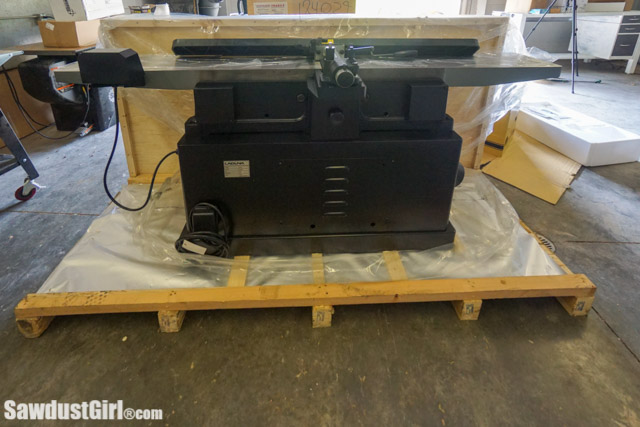
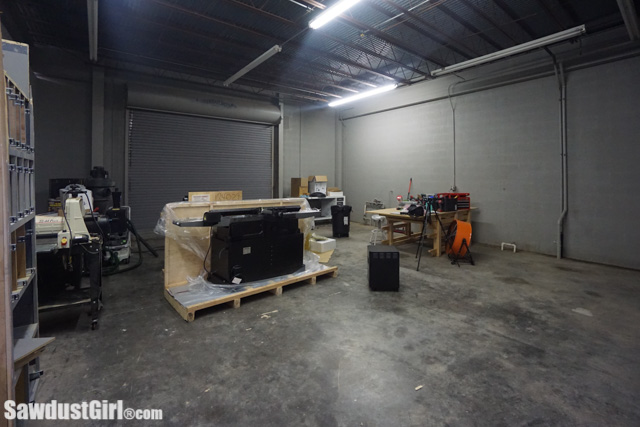
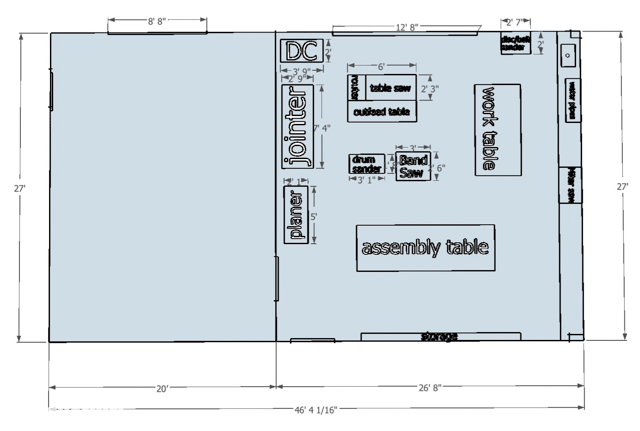
This “bay” is basically 27’x27′. I have plenty of room for all these tools and I don’t expect to love the initial layout forever. But I’d like to not immediately hate it. As in, realize that I grossly miscalculated how much space I need on both sides of my GIANT 12″ jointer. (Or something! Honestly, my last jointer was a little bench-top version.)
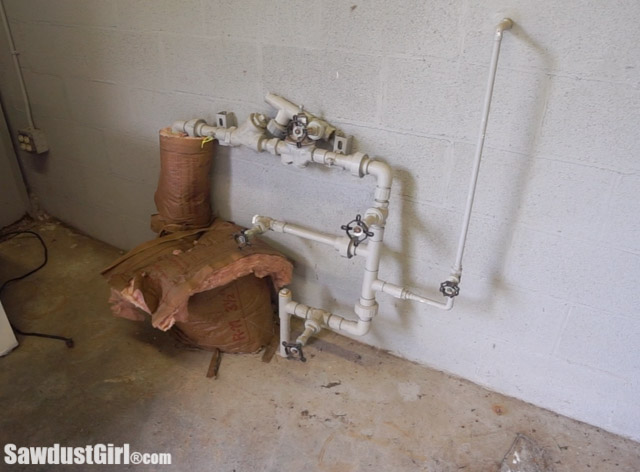
I haven’t had a plumber in to look a the place yet (hopefully this week) but I have access to water in here. Not sure about a drain but…I put a sink in my design anyway.
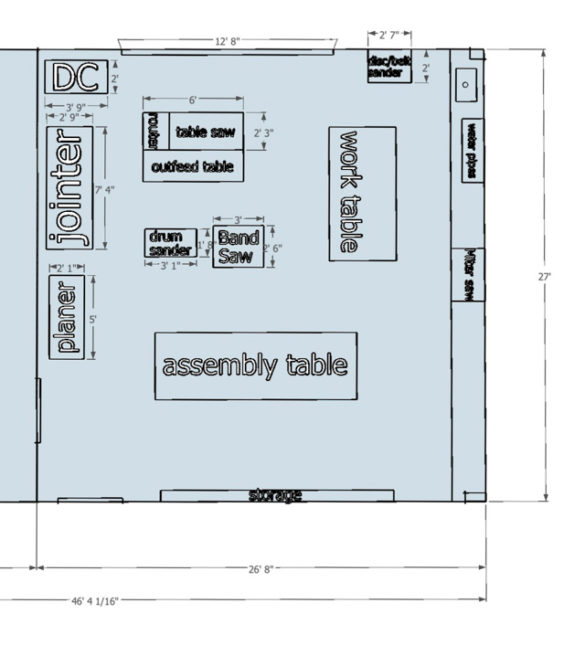
So here is my first draft of my workshop. My blog settings crunch my photos so the dimensions are hard to read. You can see (and download or print) the PDF version of this photo here. https://sawdustgirl.com/wp-content/uploads/2019/08/woodworking-tools-layout.pdf
I have a whole other bay that I originally thought I’d use for a finishing room. But I’m thinking maybe I’ll pull some of that plywood off and see if I could open up that wall to make one really large workshop. I have plenty of rooms in the back that could be designated, dust free, finishing rooms. Here’s the PDF of the below photo https://sawdustgirl.com/wp-content/uploads/2019/08/both-bays-layout.pdf
So, before I get any further into this (and while I paint the lower section of the walls, I would LOVE to hear from YOU!. What you see me doing wrong, right? What am I missing, what’s not even on my radar… If you want to sketch up your idea for my best workshop setup, you can share your sketch on my facebook page or email me. Thank you in advance for you HELP! Who knew this would be so daunting? But still exciting.
Windows. Windows. Windows. Natural light is best. Plus cross-light shows errors and rough parts on finished surfaces. Can always hang tools in front of windows which looks cool also.
Pay attention to material and work flow through the shop…where do the materials enter the shop, where are they worked on first, where are the last operations done, etc?
Also, identity the equipment that can be located against or along a wall, such as sanders, drill press, lathe
It doesn’t appear to me like you do. I wonder what size lumber you may want to end up using and then look at some youtube videos or something to see how others use them to decide if it will work for you. Not sure what types you have, but the ones I think of you feed in one end and it comes out the other end so would need something similar to if you used a table saw.
I think most of the tools would work best in the middle and then non-feed through tools along the sides.
You need about as much space on each end of them as the longest board you will ever run through them. For most folks, that’s eight feet to either side of the cutting head! The jointer, planer, and tablesaw are often placed side-by-side-by-side for that reason, they all need lots of infeed and out feed room.