Chipped Plaster Brick Wall – faux technique
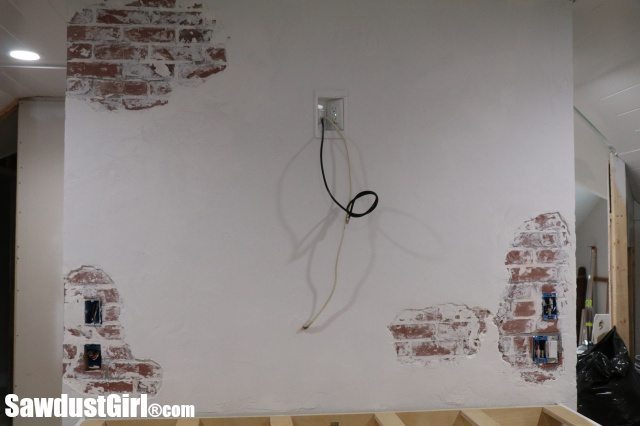
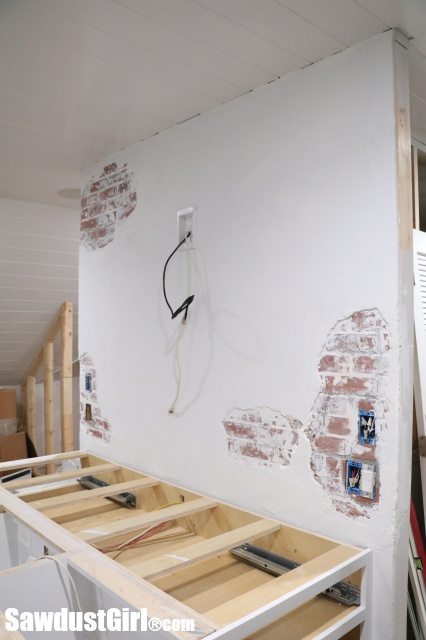
Today I’m sharing how I created this chipped plaster brick wall in my studio.
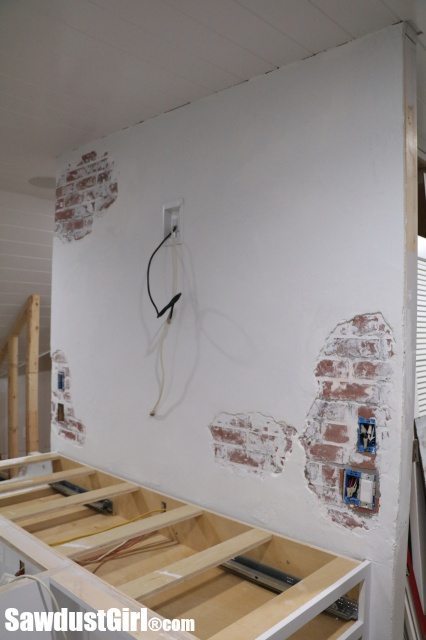
Chipped Plaster Brick Wall
The TV will hang in the center of the wall so I only added the faux brick around the perimeter. In my last post, I showed you an update of the TV wall where I had installed brick paneling and then removed it again. FYI, removing paneling that is glued onto drywall makes a mess of said drywall. I didn’t mind that the wall was a bigger mess than when I started my faux brick technique though. The torn paper and bumpy glue residue was only going to add to my faux, aged chipped plaster brick wall.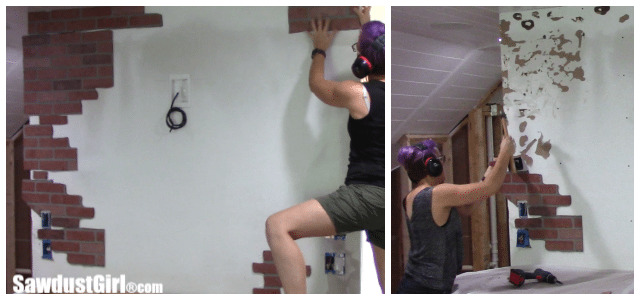
I reused the pieces of brick paneling that I had strategically cut to into shapes that might realistically become exposed on a very old plastered brick wall. I traced the shapes onto the drywall and then cut out the drywall. This allowed me to secure the brick directly to the studs.
I had to add some blocking behind the wall in a few places to make sure the brick was secure. This was easy to do since I’ve left the back of that wall open. 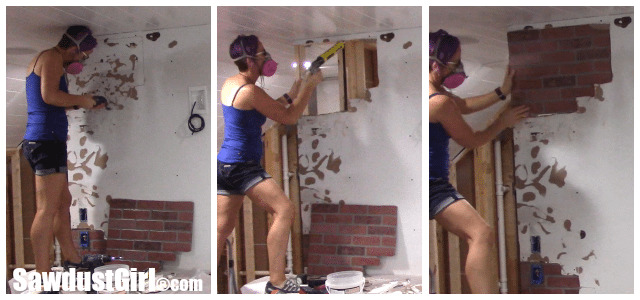 I cut out the drywall so the brick would sit down below the drywall edges making it seem like the brick was under, or behind the “plaster”. I’m not using actual plaster. I’m using regular joint compound. I purchased one $14 bucket of premixed joint compound to use on this project for a couple reasons:
- It dries slowly allowing me time to play around with it and get the look I want.
- It’s premixed so I just set the bucket up on the table and that was the end of it. No mixing up small batches of quick drying mud which would require me to get up and down off the table 50 times.
- It’s regular joint compound so I can use what’s left on all the taping and mudding work I have yet to do.
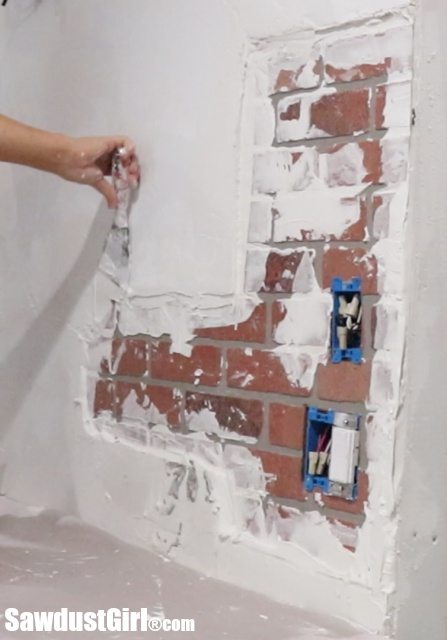 There is one drawback to using regular joint compound on a faux chipped plaster brick wall. If you apply it in thick coats, it takes a very long time to dry and it cracks as it dries. BUT, the cracks are easily filled by simply applying the next coat. So — it just takes time and patience.
I applied one thick first coat to the edges of the drywall and smeared a little here and there on the faux brick.
Setting up a fan helped aid in the drying time. It took overnight.
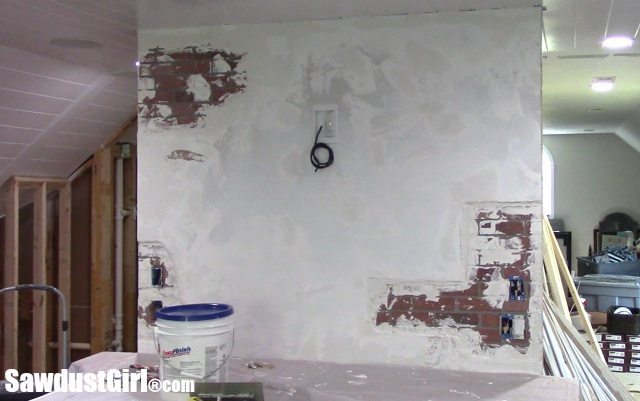
Next I applied a second coat to fill the cracks and continue building up my faux plaster look. I applied each coat very haphazardly. I want the wall texture to look like it’s been patched a number of times before being forgotten and time has allowed the plaster to chip away.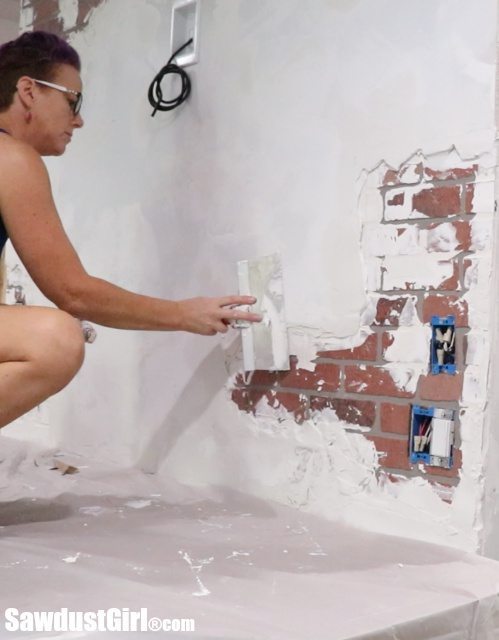
I just looked at my wall and decided where to add JC (joint compound). In some areas I built up thick coats so I could come back later and chip them away.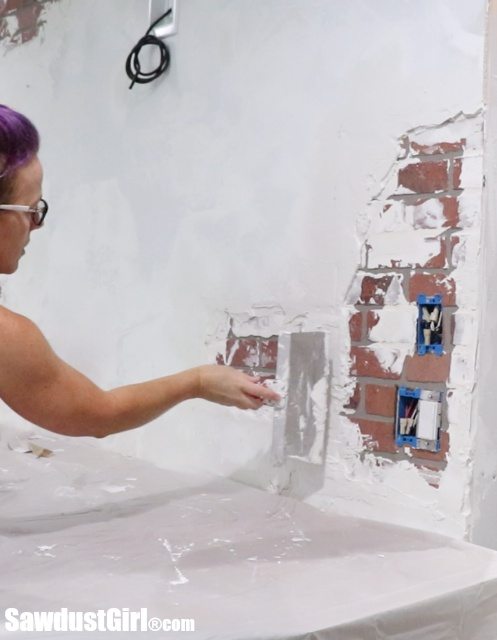
It took about four days to complete because of all the drying time. 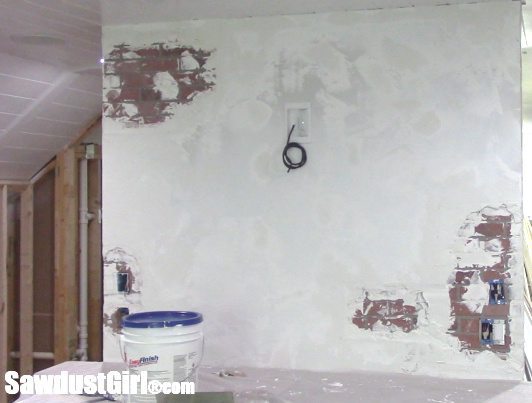
I applied patchy texture to the entire wall by slapping JC onto the wall and then dragging it with my trowel. I showed this technique in a my last brick wall video.
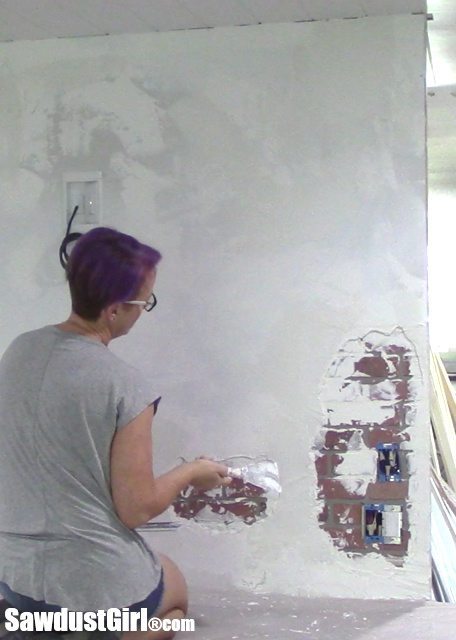
Once all the JC was dry, I primed/painted the entire wall. I used a combination of white multipurpose primer and a white/grey chalk paint. This was an entirely “artistic” endeavor — meaning I slapped paint and primer haphazardly, all over the wall with a roller, a brush and a trowel. There was no rhyme or reason to my application process here. I just kept applying whatever I felt like where ever I wanted.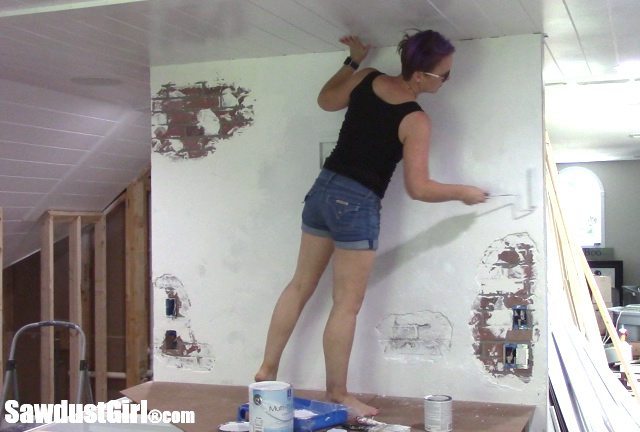
I used a brush to dab primer into the edges of the drywall and joint compound. I ended up applying paint/primer over most of the brick.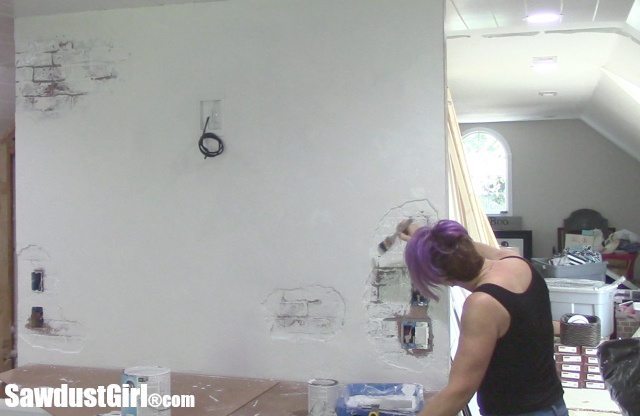
While the paint was still wet, I used a 5″ metal trowel and scraped off as much paint as I could. The paint came off the flat areas but stayed in the recesses and cracks. Much like it would if it were aged painted brick.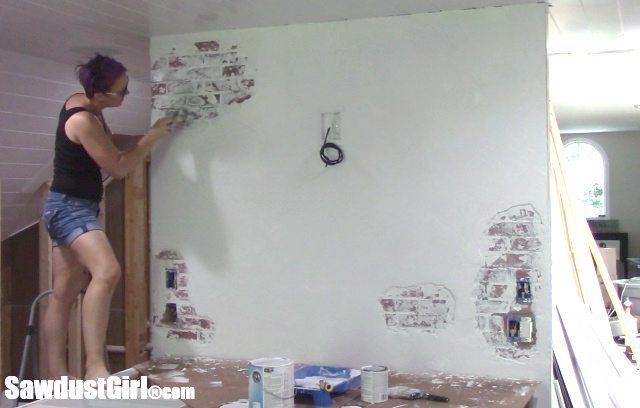
I used the trowel to chip away come of the JC that I had built up.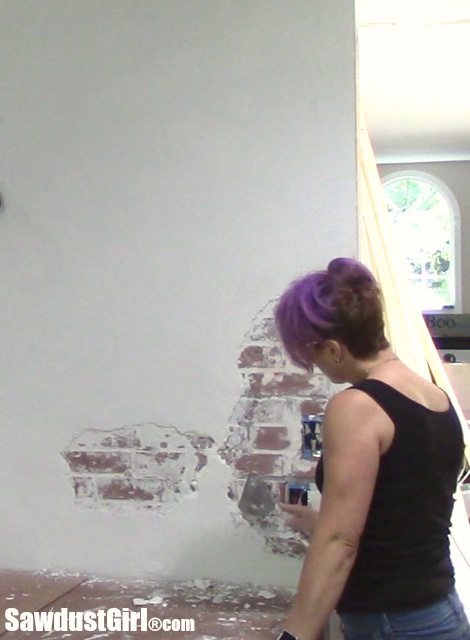
I had to engage a hammer a few times because the 1/2″ thick dry JC IS pretty hard. Not as hard as real plaster but hard enough.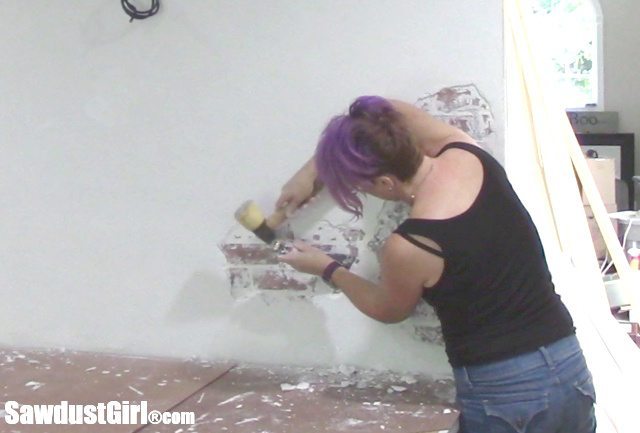
I like how this wall turned out. I may even go back and add more JC to my other brick wall to build it up in areas and make it look more like this one. (In a world where I had 20 extra hours a day so I had time to mess with trivial things like making everything PERFECT.)

I tried to make the chipped plaster brick wall look very random making sure I could install my lights and receptacles on even surfaces. I didn’t ever measure my light base to make sure I left enough room. I may have to chip away more plaster to let them fit. Not a problem on an old, worn wall.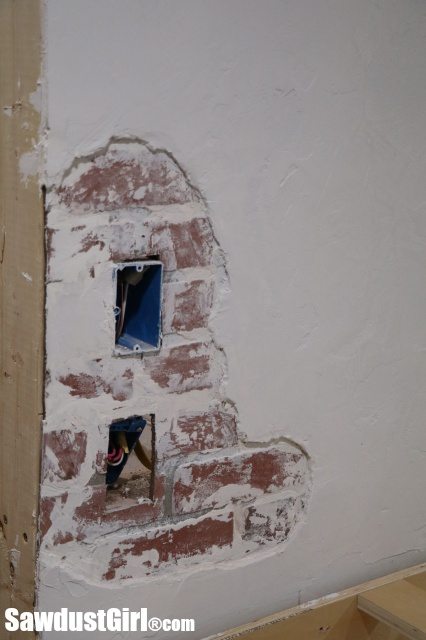

love it, love it, love it! You are such an inspiration…
AH-MAZING!!!
I love this wall….you did an amazing job as usual!!!
TAH DAHHHHHHHHH!!!!! GREAT job! Love the wall and the whole look. 🙂 You gots mad skillz. :))) Seriously, it looks really great and believable. Following all your progress is wonderful.