Using a Work Light to Get Professional Results
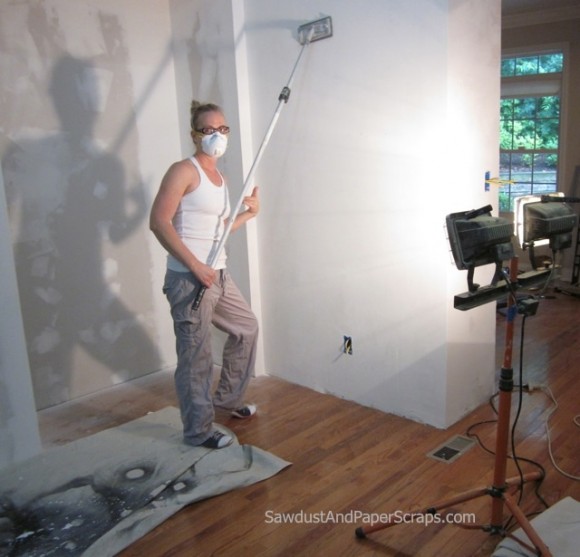
I use a work light when skim coating or painting walls and when painting cabinets or furniture. Set the light to shine on the project at an angle so it creates shadows and illuminates flaws.
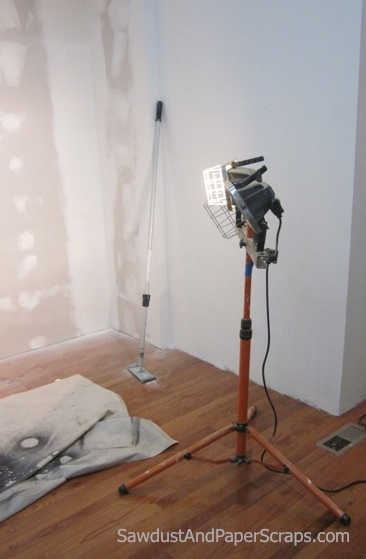
The angled light allows me to see what I would otherwise only notice at some later time when the sun shines in a certain window at just the right angle and BAM, I see a big drip, roller line, hair or fiber that dried in the paint, etc.
Choosing a Light
It doesn’t have to be a gargantuan light, like the one I have.
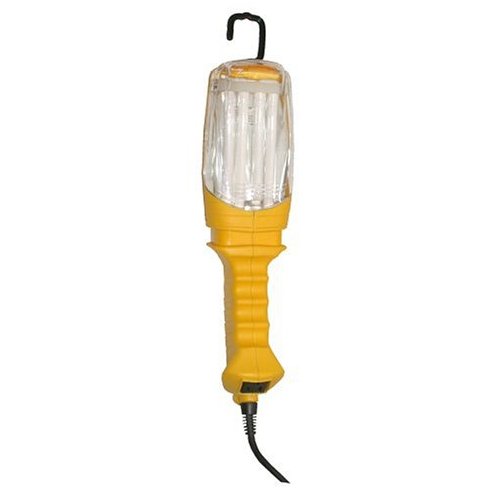
- A small clip on or hanging light works great if you have something to clip or hang it onto.
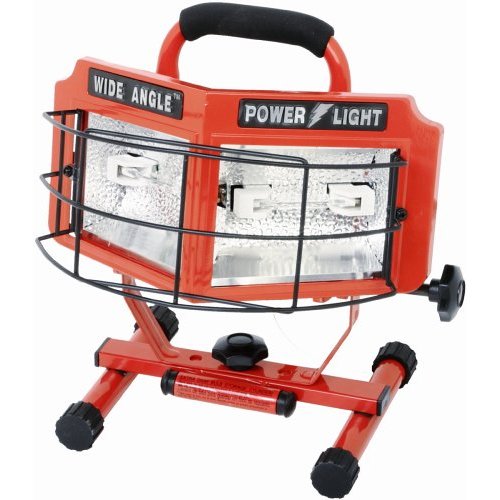
- Smaller lights that sit on the floor work if you are able to control and adjust the direction and angle the light is hitting your project.
Try different angles
The key to illuminating flaws in your work is to position the light so it shines at different angles. If painting a wall, rotate the light to either side of you with different coats. When working on cabinet doors, spending time on your setup will save time in the long run. Create a work zone and find the sweet spot where your light illuminates your doors perfectly and you don’t have to touch the light again. You might be surprised at the difference it makes. What looks like a perfect finish without the light suddenly looks like the craters on the moon.
Better to see those flaws sooner than later! Plus, it’s fun to make wacky shadows on the wall while you work!
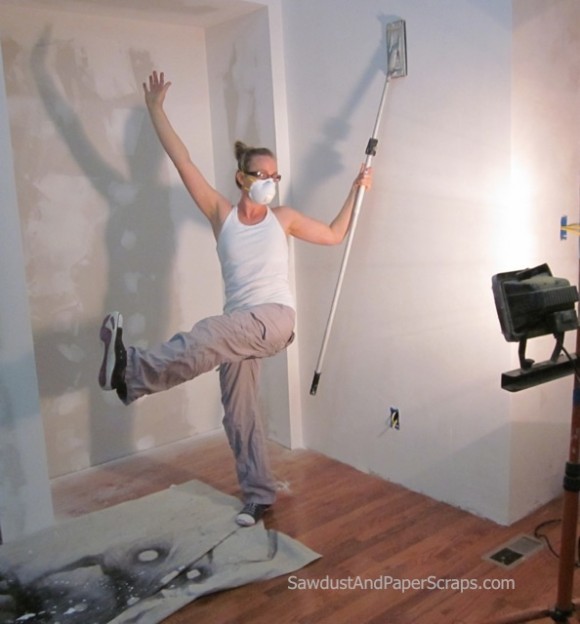
*I also use a work light (shining at an angle) on large, flat wood surfaces that I’m building. During the sanding, painting or staining process, the same concept applies: illuminate the flaws so you can remove them, check for level and make sure it’s smooth.
See, a simple work light really is a workshop – must have. 🙂

Hmmm. Seems to me I should probably have one of those since I’ve been dragging a halogen light around and sort of waving it at the wall to see if my skim coat is smooth. Suffice it to say, I’ve missed a few spots.
We have a few of these lights… except we have the gargantuan ones! lol. I remember using them when we just moved in our house and were painting morning, noon, and night. Those babies get hot!
I was wondering if you could do a tutorial on mudding a smooth wall. It seems like such an art form. I’ve got a room with nasty sand textured paint on the wall, and I’ve got to do a skim coat over the whole thing. It’s going to be hubby’s man cave (think western saloon/casino) and he wants smooth, not textured walls, which seems much more difficult.
Unless of course, you’ve already covered that. Hmm. Maybe I’ll go poking around your archives now.