Rolling Lumber Cart for Vertical Wood Storage
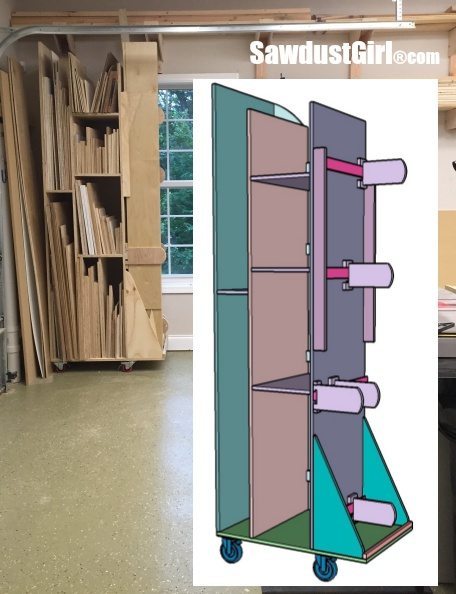
Today I’m sharing how I built my rolling lumber cart for vertical wood storage. The side support brackets are what support the vertical wood. Those brackets allow me to store long vertical pieces of wood securely so it can’t warp, bend, bow or twist.
Rolling Lumber Cart for Vertical Wood Storage
I built my plywood cart out of 3/4″ plywood and screws but didn’t use any wood glue. I’ll eventually pull this cart apart and it will become more scrap wood. I still need to completely reconfigure my shop but won’t do that until the studio is complete so this cart is a temporary solution.
I used 2 full sheets of sanded plywood plus some extra scraps for this project.
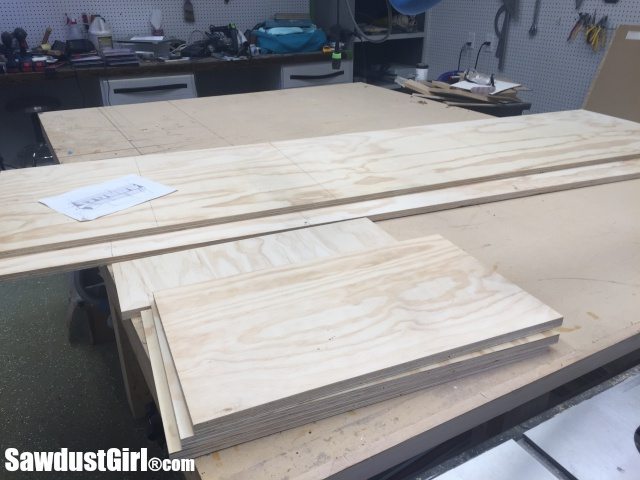
Attach sides
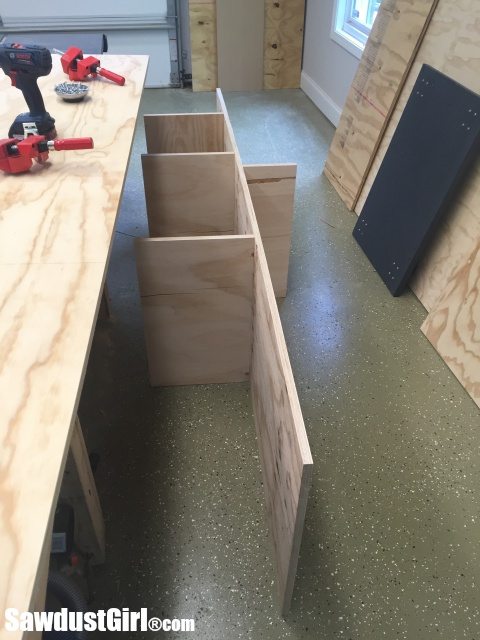
First I attached shelves on both sides of Side1 using 1 3/4″ wood screws.
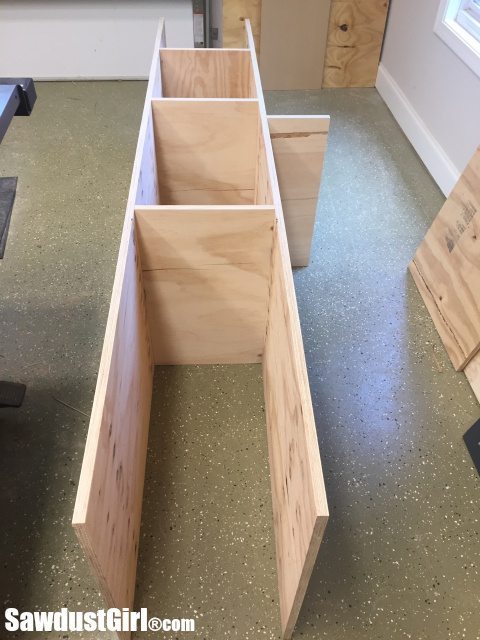
Next I attached Side 2 in the same manner.
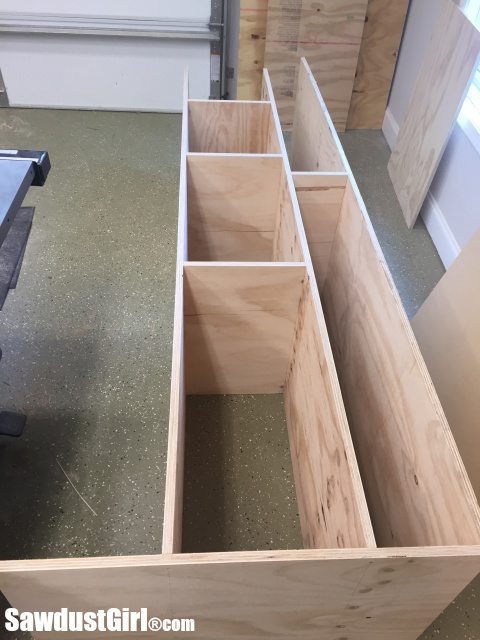
Then I attached the last side, Side3. This side is longer than the other two so I made sure to measure from the bottom up when marking the location for that shelf on my sides. I then attached the bottom piece which extends 12″ beyond the side creating a little platform.
Create platform storage
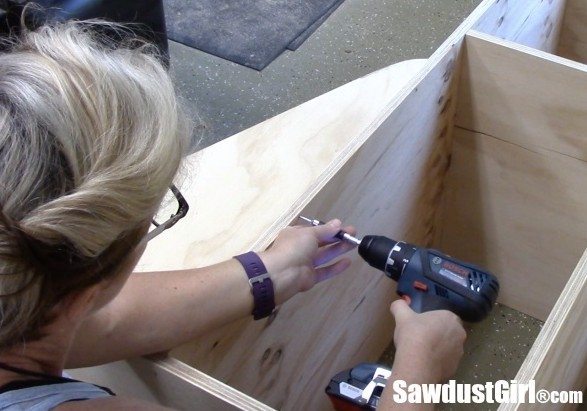
Next I cut and attached two triangular pieces onto the platform. I secured these triangles from the bottom and the back.
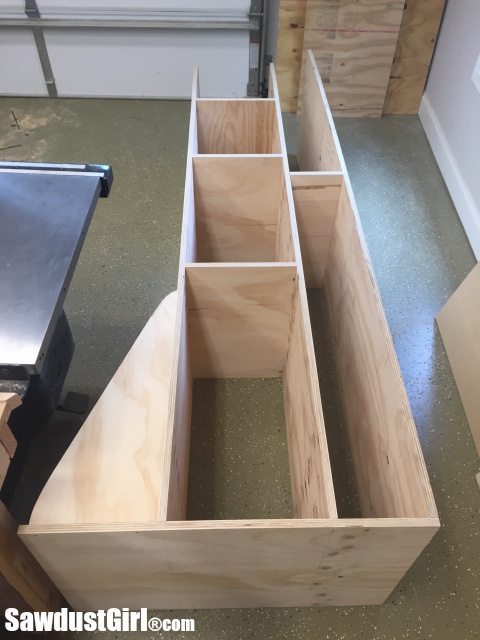
These pieces are the sides to my platform storage area. You can make these sides different sizes or shapes depending on what you want to store here.
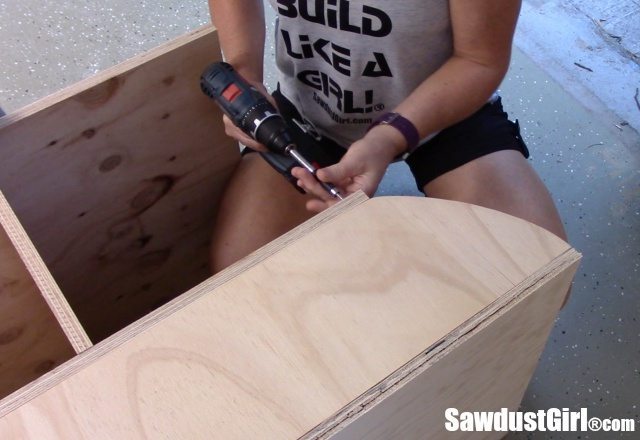
The bottom holds the Sides the correct distance apart but I’m not closing off the top of the lumber cart so I needed something to hold the smaller cavity in place. Because it only has one shelf, the top needed some stability. I cut a piece of wood to put in the back and arched it so it would transition from the shorter Side2 to the longer Side3.
Casters
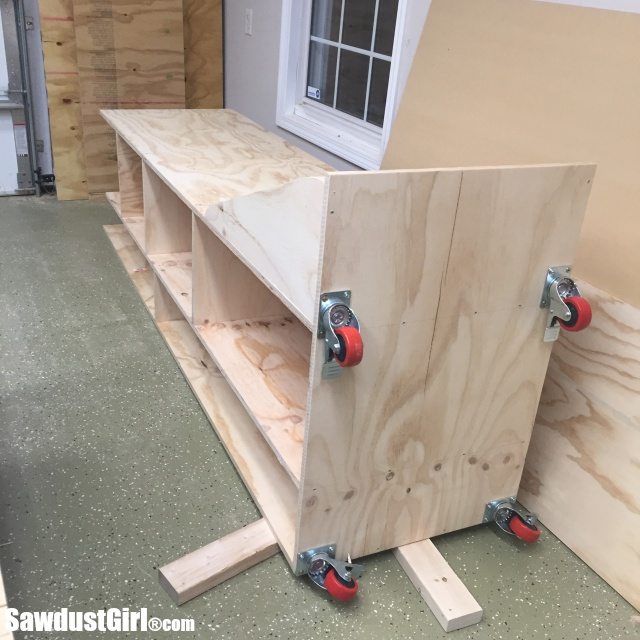
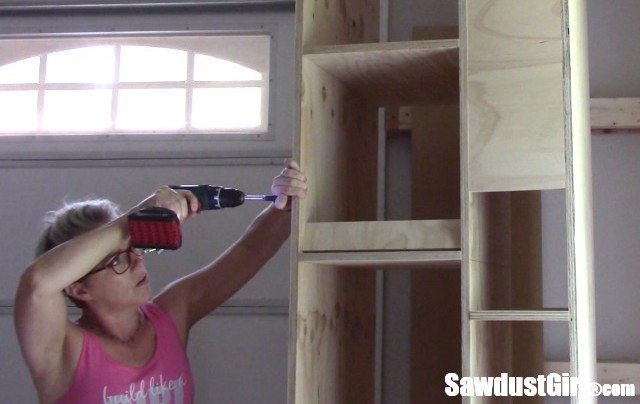
I attached my 4″, locking swivel casters because I don’t want to have to lay this thing back down once I stand it up.Once Wes helped me stand it up on it’s wheels, I added some cleats across the back of each cubby to prevent the wood from being pushed out the back of the lumber cart.
Next it was time to add my side cleats and support brackets for the long vertical storage! I got excited about getting organized and got ahead of myself and filled the lumber cart up with scrap wood before I actually finished building it!
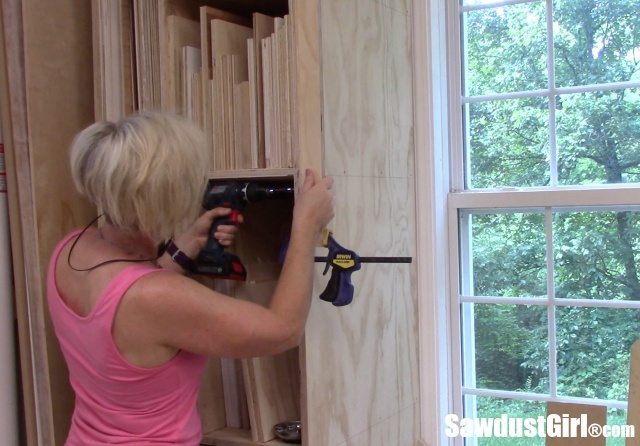
Working around the piles of scrap wood I prematurely filled my lumber cart with, I added two 1 1/2″ wide strips of plywood to the ends of my side storage area.
Cleats
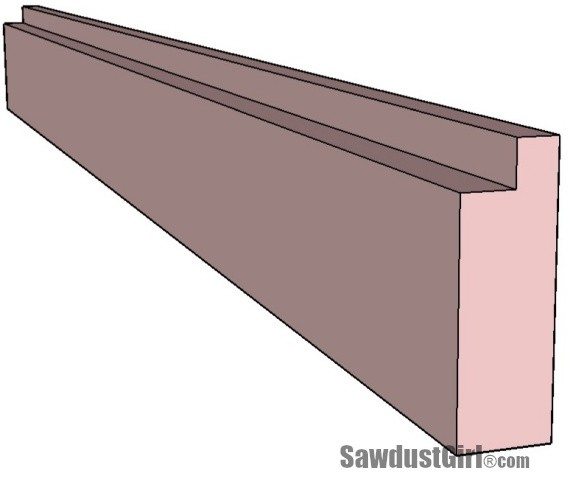
Then I used my table saw to cut rabbets into 4 cleats for the side of the cart.
I attached the cleats to the side of the cart with 1 1/4″ wood screws. The rabbets are positioned at the top, back of the cleat.
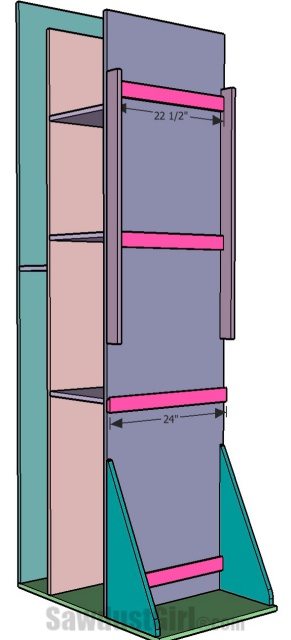
Brackets
Then I spend about 50 hours figuring out how to make the most functional bracket to hang from the cleat and this is what I came up with. 🙂
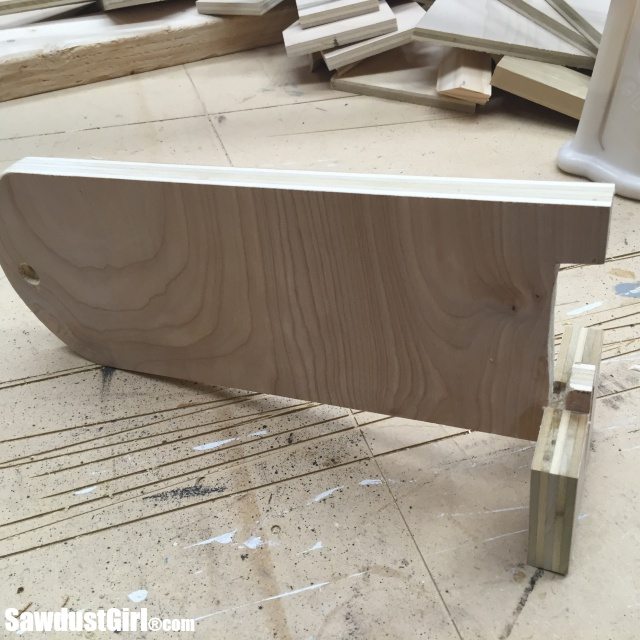
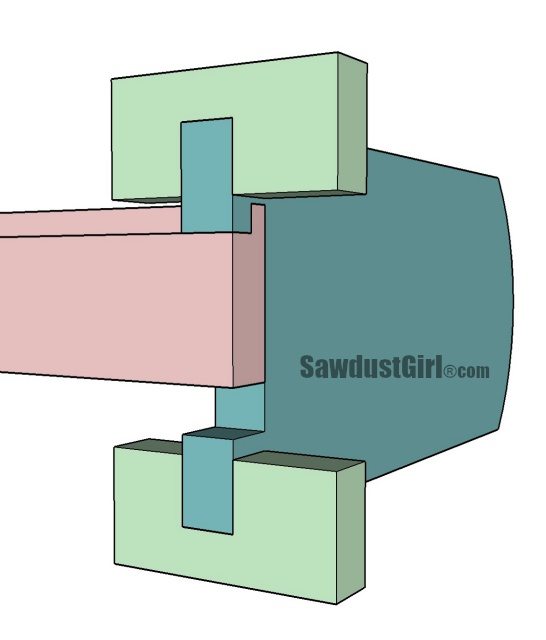
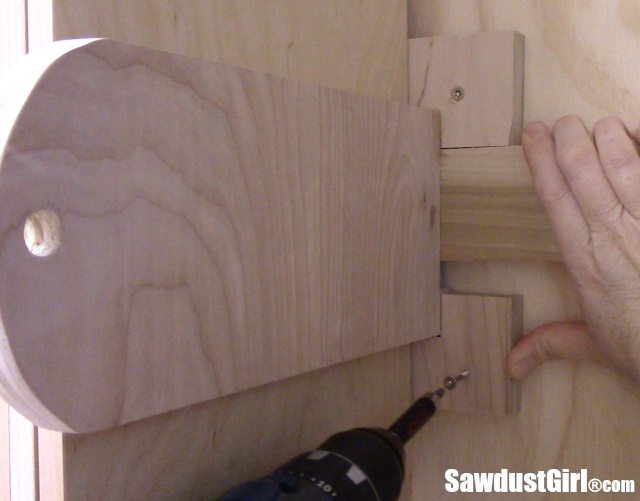
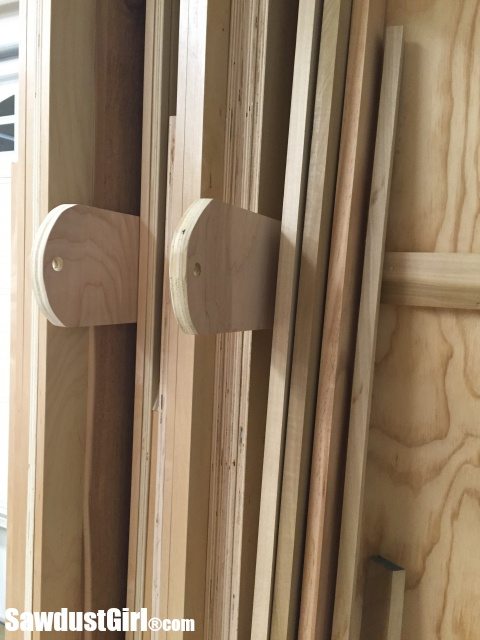
These brackets fit onto the cleat. Then you push the bracket assembly tightly against the wood you are storing and then drive a screw through the secondary brackets (little light green blocks) which holds the assembly right where you want it.I had to cut a couple test pieces before I got the right shape and size “cutout” for the bracket. You have to cut it to fit on your rabbet so it’s going to be a different shape/size for everyone.
I drilled 1″ holes in the ends of my brackets in case I want to use a bungee or rope to create a barrier across the front of the side storage area to keep wood from tipping forward.
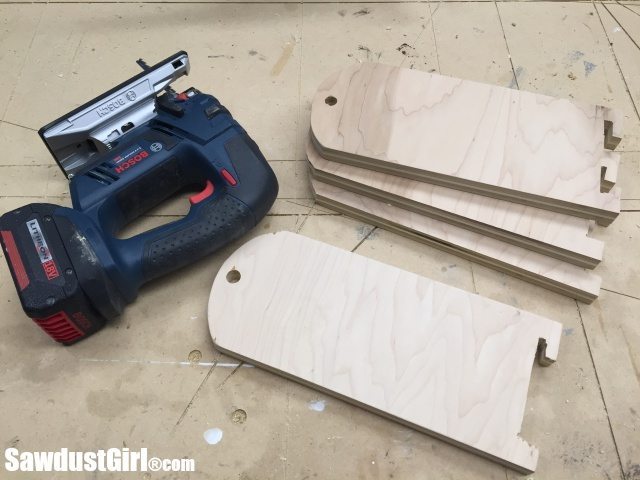
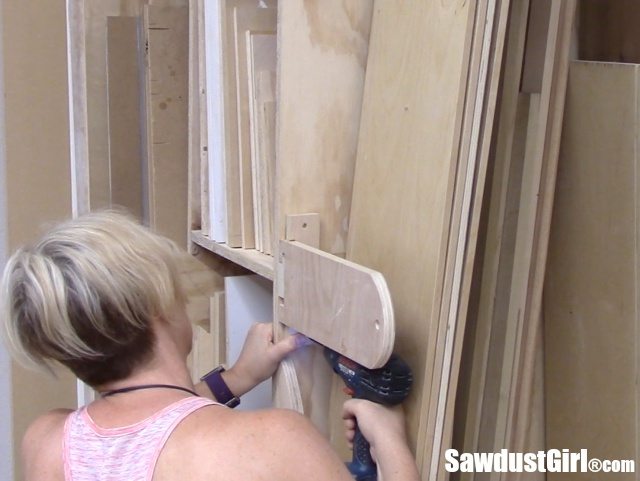
The secondary brackets for the outside edges are flush on one side. This gives you something to screw through into the cart but the secondary brackets don’t stick out beyond the side of the lumber cart.
After securing the outside bracket, I stacked the wood in place and then placed a second bracket on the cleats. I pushed the wood together as tight as possible and then drilled screws through the brackets and into the lumber cart. Make sure to use shorter screws here so they don’t poke through the other side. 1 1/4″ should do.
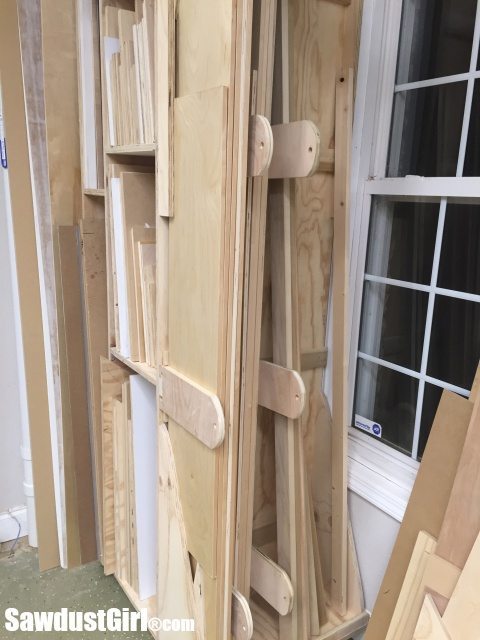
These brackets hold the wood securely and help prevent bowing.
Secure vertical lumber
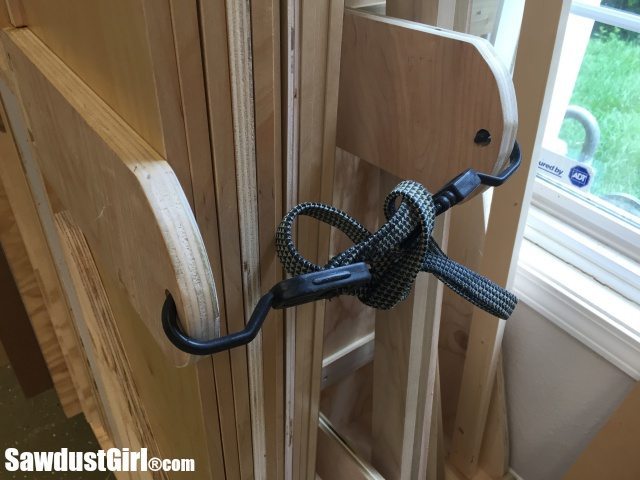
The holes I drilled in the end of the brackets will accept a rope or bungee to string across the front. This will make sure the wood doesn’t tip out of the lumber cart.
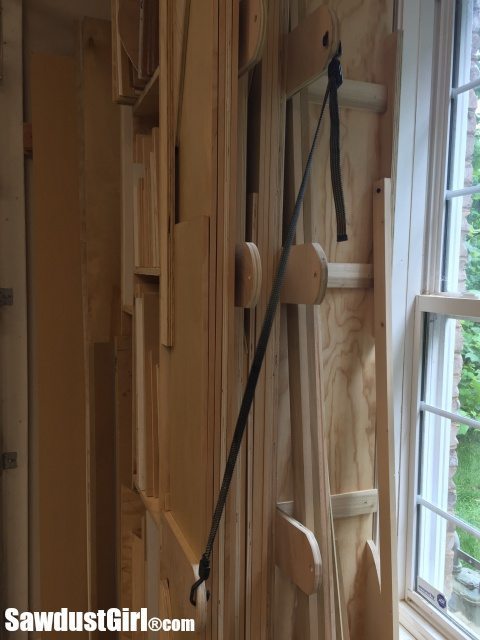
This doesn’t seem a likely issue but that feature is there if I want it.
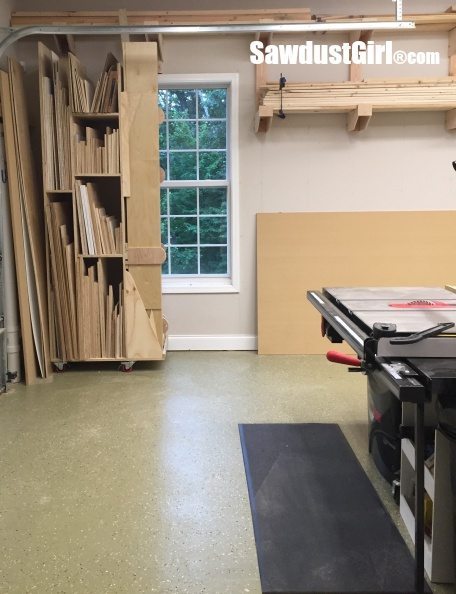
This is a great improvement over the MESS of scrap wood I had stacked everywhere.
If you would like the full detailed plans for this lumber cart including a material Cut List, you can download that here.

You link to the plans and build list is broken. Help please?
Sorry about that. Fixed the link and the download is now free. 🙂
Ha Ha, temporary storage. 5 years later you’re probably still using it!
Nice project
Love it! One change I would make would be to attach a cam clamp to the front bracket instead of screwing it into the cleat to allow you to quickly change the position of the bracket as you add and subtract wood.
From experience and having been involved in the industry at many different levels, I feel as though your effort and material usage went well beyond what was needed. I appreciate the development you put into a vertical lumber storage bin, but several other approaches would have been more reasonable. I myself have adopted the use of foldable and collapsible lumber carts that are highly maneuverable even in tight corners. I wish I had documented my ideas to share but it has been years since they were developed. Thanks for sharing your ideas as you’ve done more than many others advanced carpenters I know.
I just started a similar lumber cart yesterday and now see your design. It’s making rethink mine just a bit. I’m curious as to the wheel placement and the reason for not placing them on the four corners though. Is it because of balance or because the base is thicker where your wheels are placed?
I put the casters at the back of the side platform because that area holds more weight than the end of the platform. Also, because I wanted to secure the casters with long screws, driven up into the dividers.