Two-Toned Console Table – Build Plans
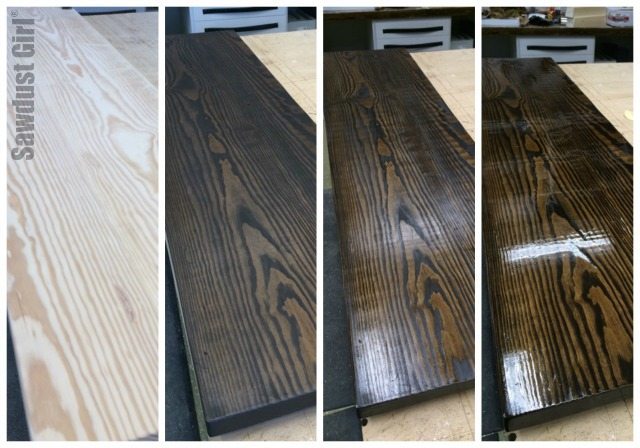
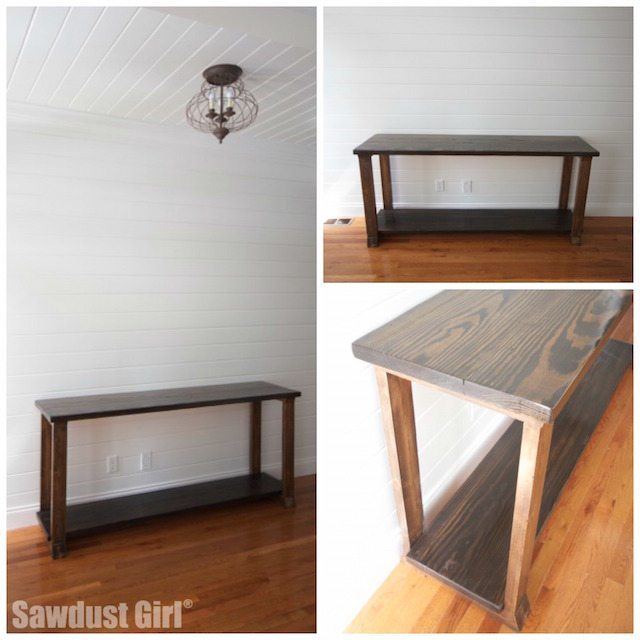
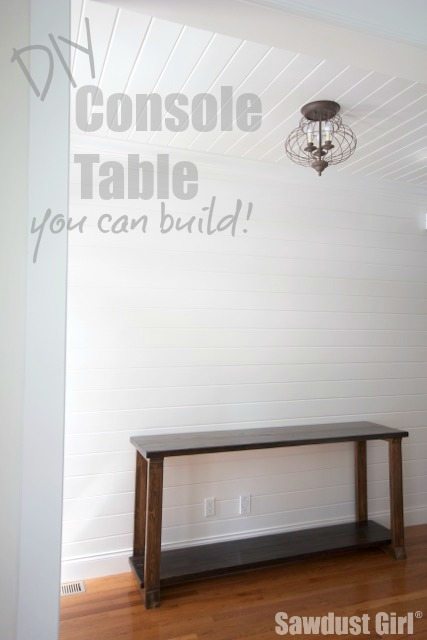
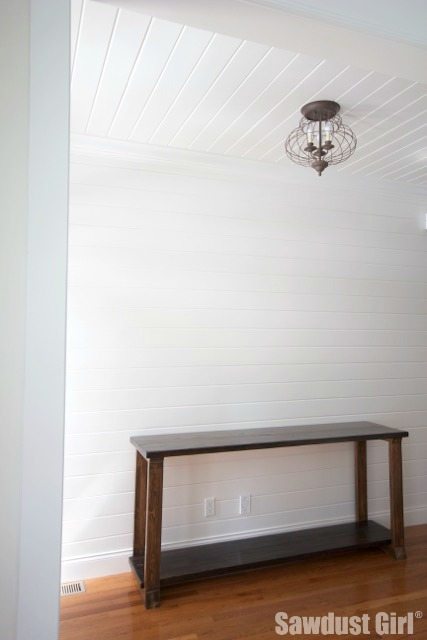 This console table is super easy to build yet the two tone finish gives it a unique, rich appearance. For the tabletop and lower shelf, I used reclaimed pine and stained them with deep mocha and black onyx. The legs are made from new 2×4 lumber and is stained with honey maple and walnut. Following are the Console Table Woodworking Plans
Console Table Woodworking Plans
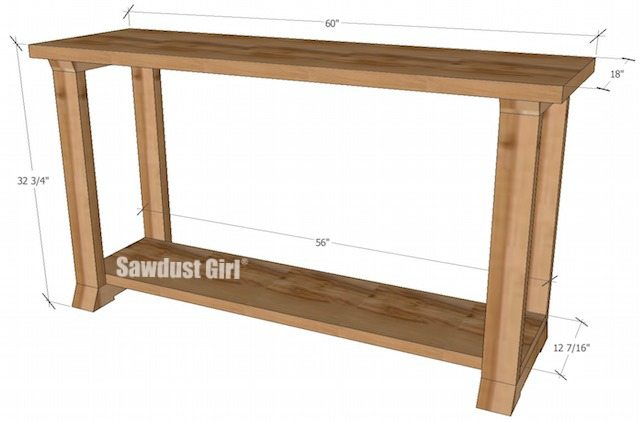
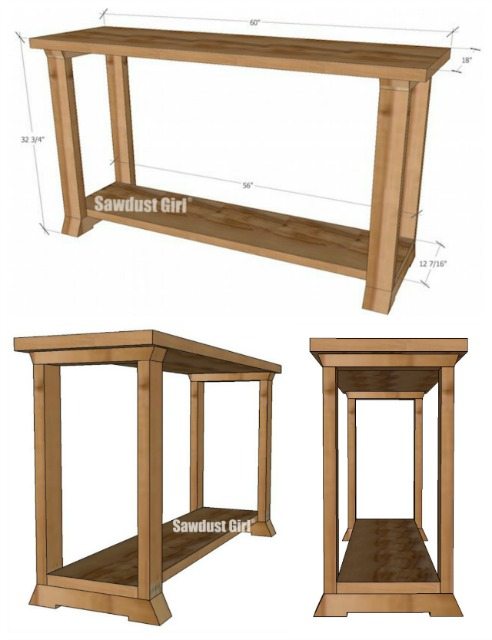
Printable PDF -Table Dimensions
Materials
Lumber needed for table top and shelf:
- Join several pieces of 2x lumber to achieve desired width
(or greater than desired and then cut down to size) for table top and lower shelf. - Top is 18″ wide
- Lower shelf is 12″ (the leg opening is 12 7/16″ wide shelf should be less to allow for wood movement).
- In this drawing, the lower shelf ends with the legs but the top can overhang by a couple inches in each end. Of course you can modify the length of each to make your table fit your space.
2×4 Lumber lengths needed for legs:
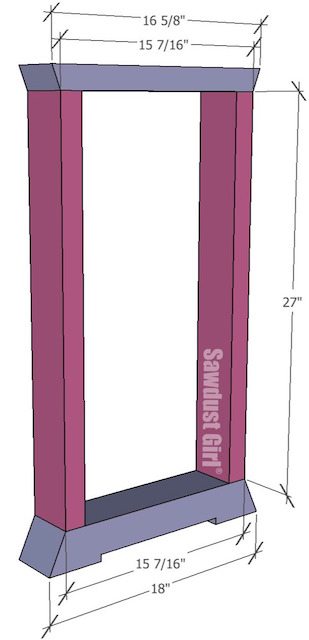
- two – 16 5/8″
- four – 18″
- four – 27″
Printable PDF – Leg dimensions
Step 1 – create leg bottom
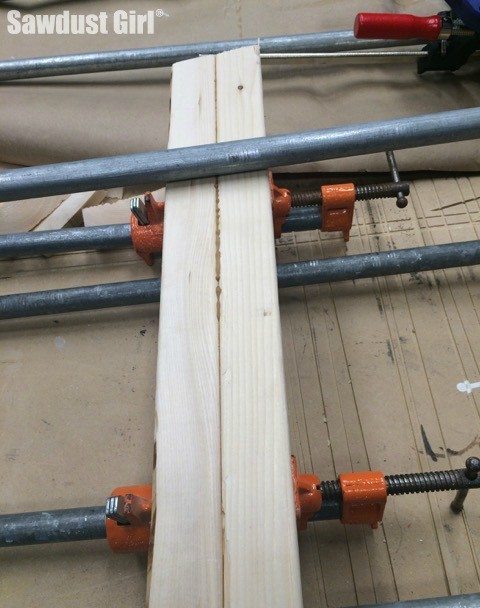
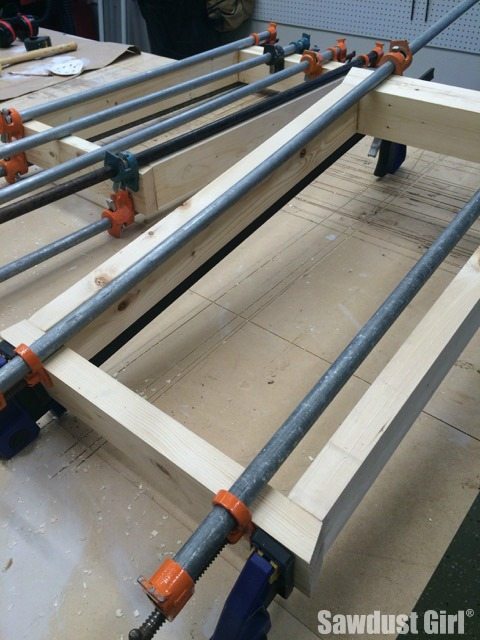
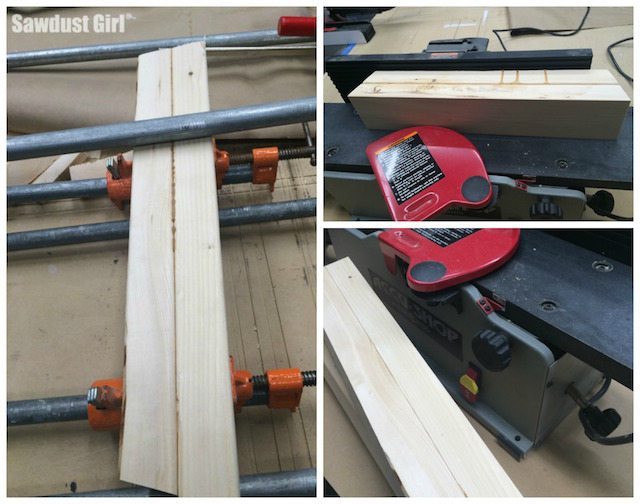
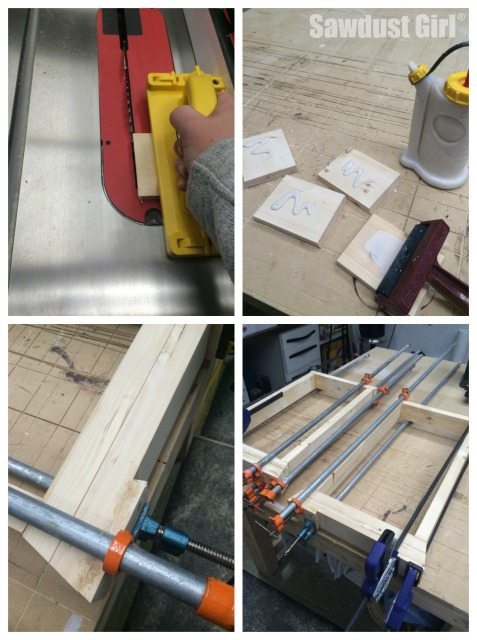
- Use wood glue and clamps to join two 18″ long 2×4’s to create leg bottom.
- Create TWO 18″ long leg bottoms
Optional Step
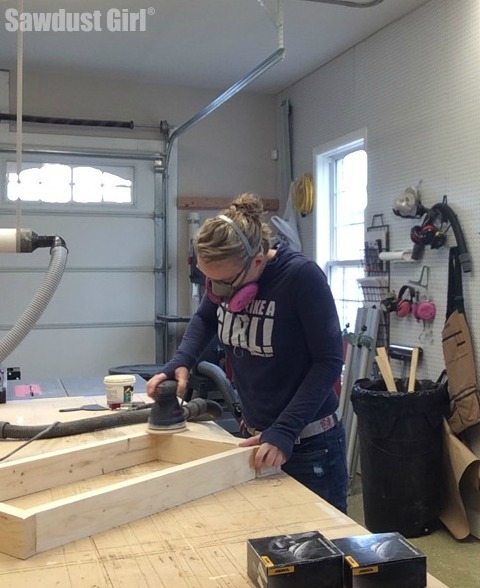
- If you have a jointer and thickness planer, joint and plane all your leg pieces to the same thickness at this point. The jointer makes quick work of that glue squeeze out.
- If you don’t have these tools, scrape away and sand off all traces of glue that squeeze out during clamping. Glue will not take stain and can really throw a wrench in your painstaking finish efforts.
 Optional Step
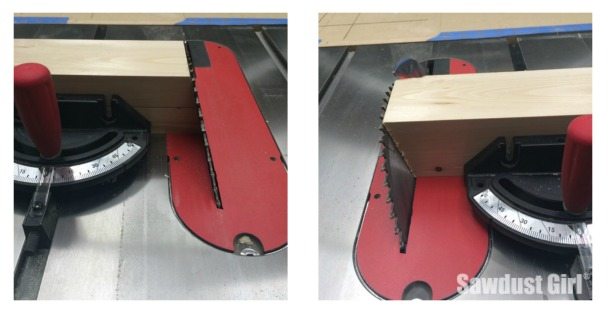
- Cut the ends of the leg tops (16 5/8″ long 2×4’s) and leg bottoms that you just created at a 15˚ angle.
- You can do this on a miter saw or table saw or with a straight edge guide and a circular saw.
- If you do not cut 15˚ angles, trim the leg bottoms to the same length as the top.
Step 2 – dry fit
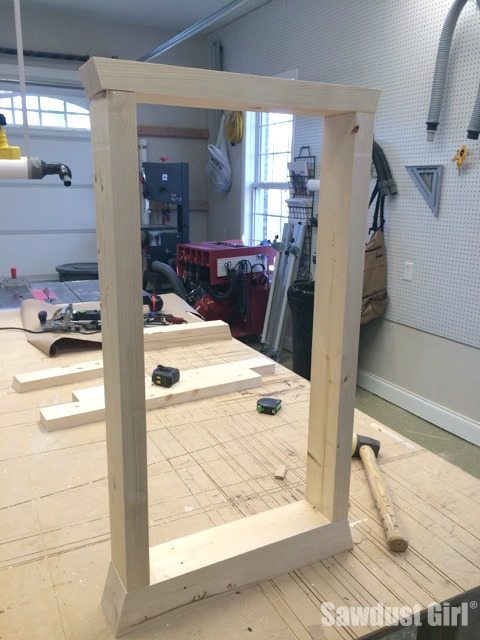
- Before you start gluing, joining or fastening your table legs together, set all your parts together and make sure they fit, are the proper width and height.
- You definitely want to discover any brain fart mistakes (I have those all the time – don’t feel bad) BEFORE you start glueing up!
Step 3 – Assemble Legs
- Decide what type of joinery you will be using.
- Pocket hole screws are an easy option if you have a pocket hole jig. (check out my reviews if you are considering purchasing one)
- If you use a pocket hole jig, make sure you use plugs before you finish you piece. Your piece will more professional if there are no visible pocket holes.
- Dowels are are an easy method and don’t require more than a simple dowel centering pin, proper drill bit and wood dowel. You can get a Dowel Kit for about $5.
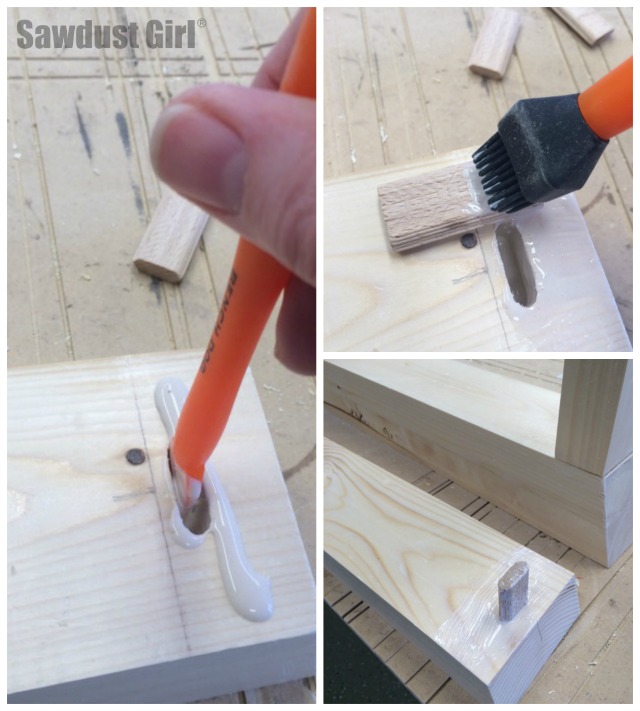
- I’m using mortise and tenon joinery. I have a Festool Domino, a pricey but amazingly easy to use and accurate tool.
Whatever your method, use wood glue and assemble those legs.
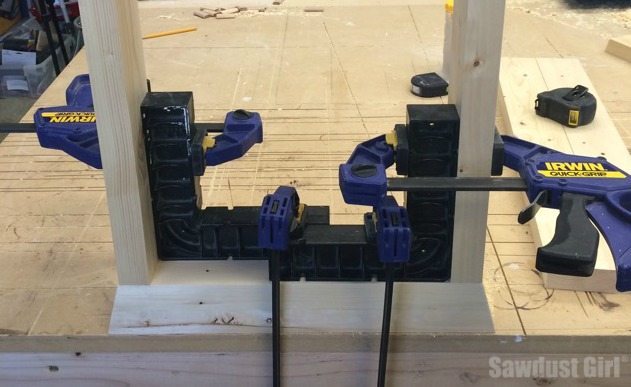
Use assembly squares or corner clamps to make sure your legs are square during assembly.
Use clamps to hold everything in place while the glue sets up.
Optional Step
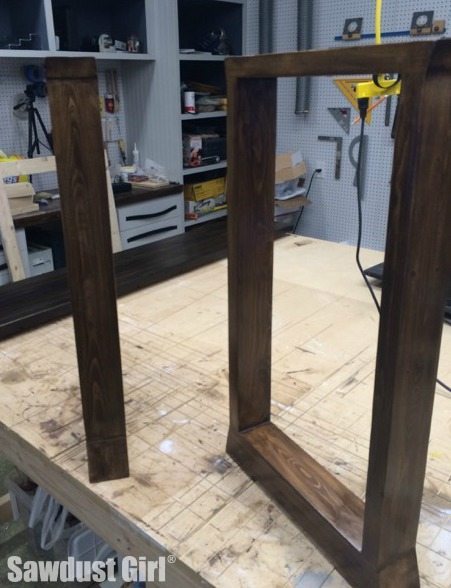
- I added small pieces of wood to the bottom of my legs. Just for added visual interest.
- Cut four pieces of 1×4 pine 4″ wide
- Cut each side of these on a 15˚ angle
- Glue and clamp these to the bottom of your legs
Step 4 – Sand and finish legs
I used is ZAR Modern Walnut and Salem Maple and two coats of ZAR polyurethane on the legs.
Step 5 – Create top and shelf
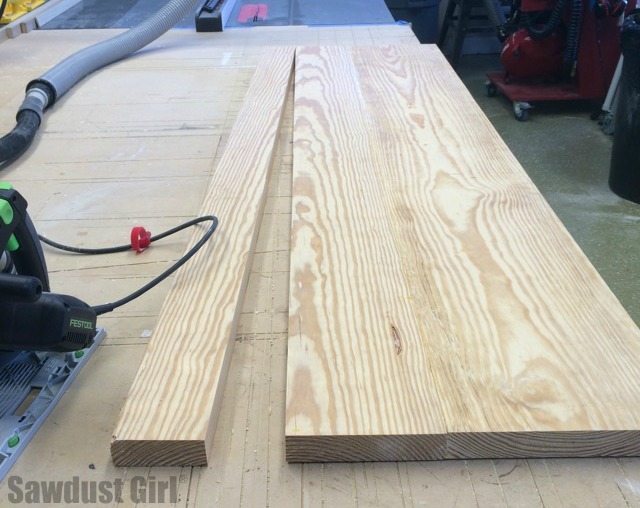
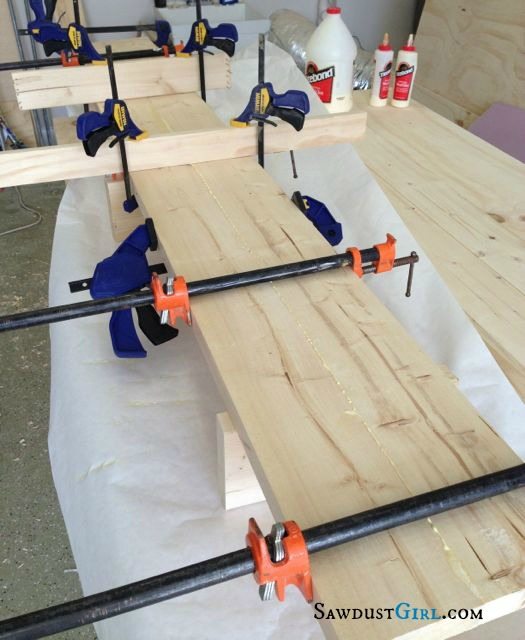
- Join wood together using glue and clamps
- OR trim some reclaimed lumber down to size to create your 18″ wide top and 12″ wide lower shelf.
Sand and finish to your hearts content. This is a concoction of a bunch of stain colors darkened with ZAR Black Onyx and then 3 coats of tung oil.
Step 6 – attach top and lower shelf to legs
- Dowels or loose tenons would be a great option here too!
- Or just screw up through the leg parts into the top and bottom shelf with wood screws.
- The length of each piece can be adjusted to meet your needs.
- In this plan drawing, the top overhangs the legs by 2″ on each side and the lower shelf ends with the legs.
*I cut the top and lower shelf to the same length so they both overhang the legs. It doesn’t matter how you do it as long as the top and shelf are square to the legs.
Enjoy!
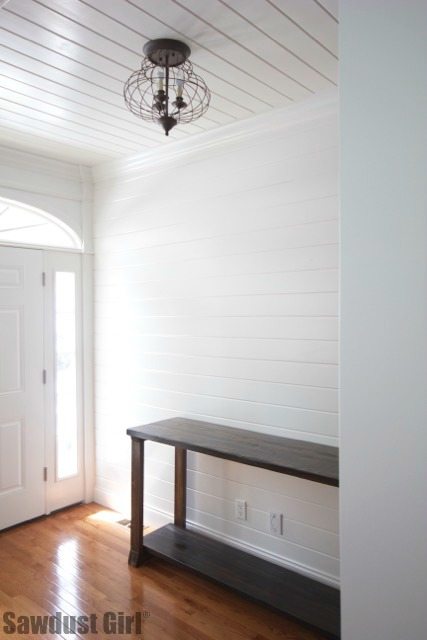
If you build any of my plans, I would LOVE to see how your project turned out. Tag me on instagram and use #SawdustGirl and #BuildLikeAGirl so I’ll be sure to see!
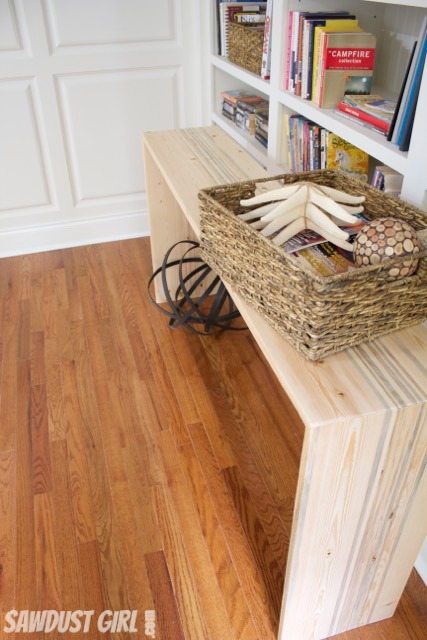
Check out my other Console Table Woodworking Plans:
