Trimming the ends of a plank wall — in place!
Hi guys! Remember when I built the barn door and planked the wall in my BIG hallway? A lot of you asked what I was going to do with those ugly corners? I said I’d deal with those later? 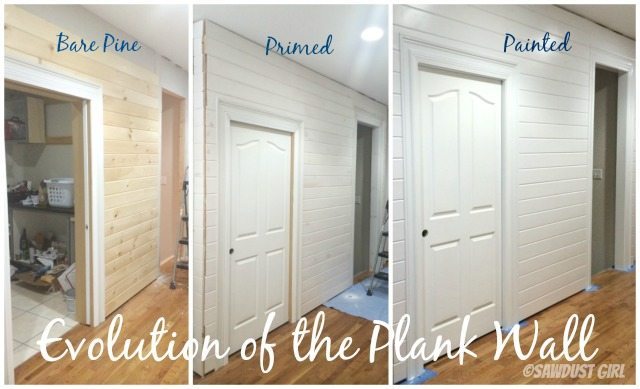
Well it’s later! Since I just framed in my new office and need to finish that wall, it’s time to decide what to do to make this look pretty.
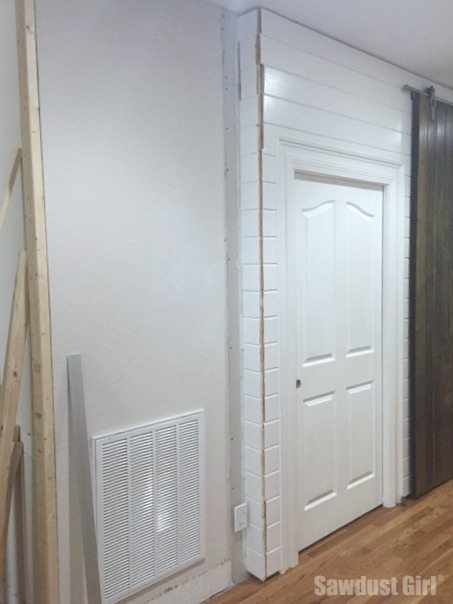
I originally intended to cover the corners with “corner trim”. HOWEVER, since the planks are 3/4″ thick, the corner trim would have to be gigantic to cover both sides and the empty corner. I purchased some stock corner trim thinking I’d just slap it up and be done but it’s 3/4″ x 3/4″ so only covers one end leaving a big gap on one side or the other. I was then thinking I’d create my own custom, corner trim but never did so it’s looked like this for a long time…
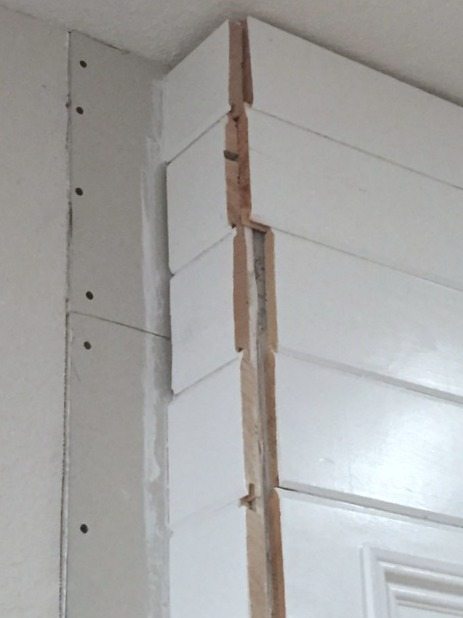
I THINK I’ve decided to NOT have horizontal planks on the small side wall so I yanked those off and had to pull out 100 nails because I had to clean up the uneven ends on the plank wall I’m leaving in place.
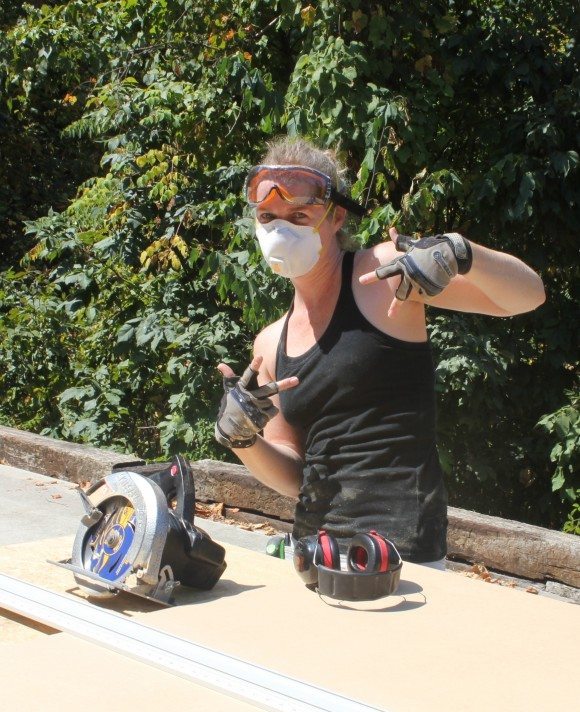
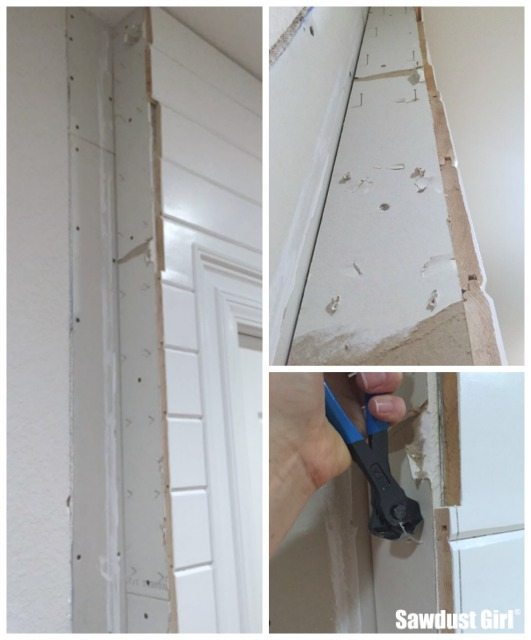 I had to pull the nails because I wanted to make sure I didn’t hit any with my sawblade. I knew that was going to be tricky because I really need a straight edge to get a really straight cut, especially when cutting vertically.
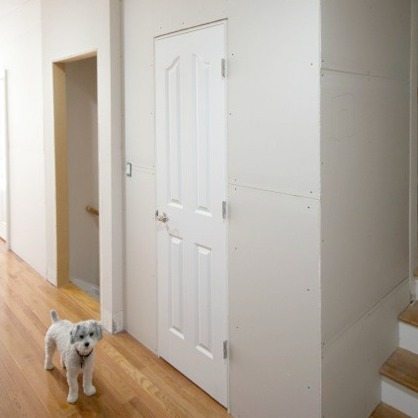
Turns out the door casing was located EXACTLY the perfect distance from the end of the wall to be my guide! Happy awesome, perfect luck like that that NEVER happens — but it did! (almost perfect and close enough for me to cover with my corner piece!)
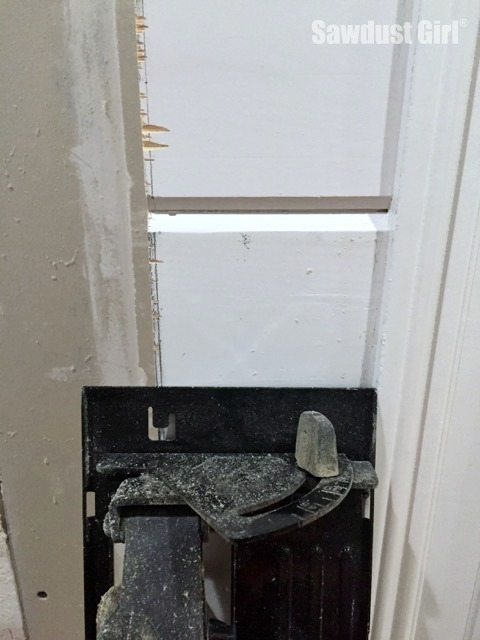
Since I can now use my corner trim piece those places where it “tore out” don’t even matter. WOOHOO! I mean–right? Perfect luck for an “in place”, perfectly placed circular saw guide!
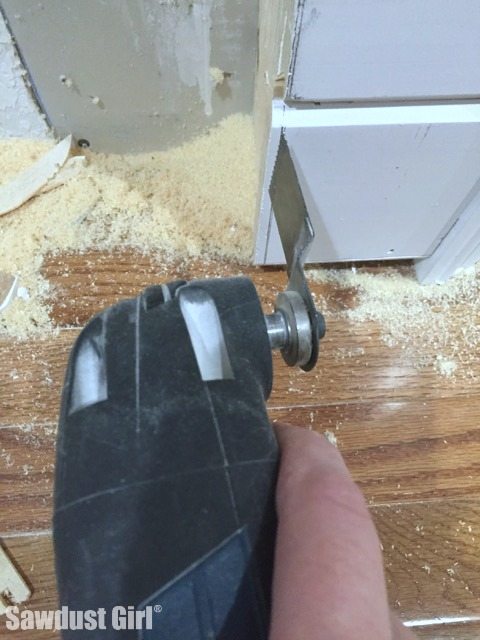
I couldn’t cut the entire length with the circular saw so I pulled out my trusty oscillating multi-tool for the rest.

And that was the perfect opportunity to do a quick video for those that aren’t familiar with this tool.
I still have to cover the ends but at least now the planks are even.
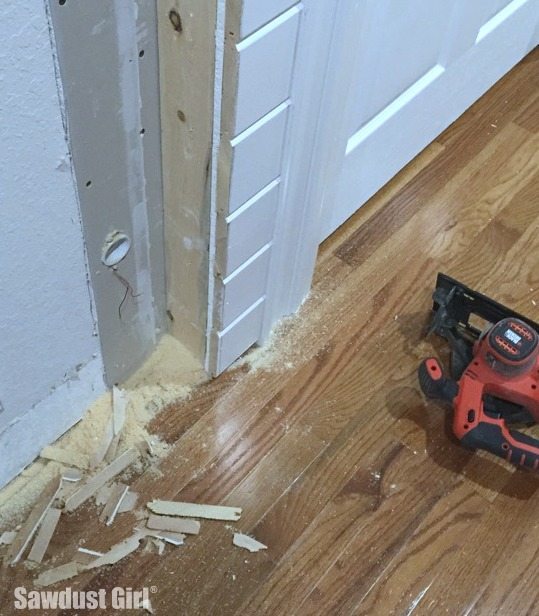
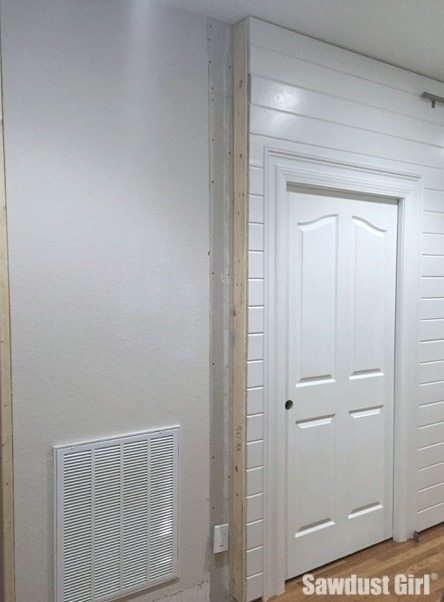
It looks a lot better already! Don’t ya’ think?


Sounds like a plan to me. Much better than those little pieces.
A traditional way to finish an outside corner with tongue and groove or lap siding is to use two corner boards that just touch and to fit a piece of quarter round into the corner. It looks fancy and actually creates a more watertight corner than just butting the boards, or making a lap joint or a miter joint would do.
That is a really nice cut and that is one of hubby’s favorite tools. Love the white painted T & G walls.
We have five of those dang corners. Yep. What person in their right minds doesn’t make corner molding large enough to fit the corner where two tongue & groove corners come together???! I think i’ll just blame it on a man cause a woman would know better. 😀
We ended up beveling 1×4’s and I’ve always hated them. I think of building corner boxes, round poles with V’s cut out to fit over and a ton of other “Out There” ideas to change them out with. I’ll hit on the right thing one of these days…I hope.
That’s how I like to solve problems. Just let it stew until genius pops into my head. LOL
Great fix, Sandra! Yes, I need one of those tools, too … on the list!
The planks look good. Good fix for that problem corner. And I have to get one of those saws! It looks as if it will solve many of my home project problems.. Thanks for the video