Three Tier Shelf
I accepted a group challenge from my friend Jen of House of Wood to create something with a single 1x8x8 board. I almost took the single board (one of the three I bought) and made a sign that read, “Pro-cras-ti-nate: verb To delay or postpone action; put off doing something”. Instead I decided to make a three tier shelf.
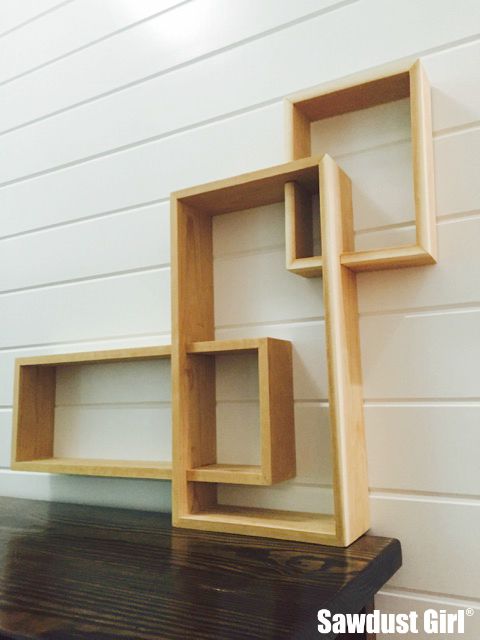
Three Tier Shelf
- One 8′ 1×8″ Cedar plank = $25.
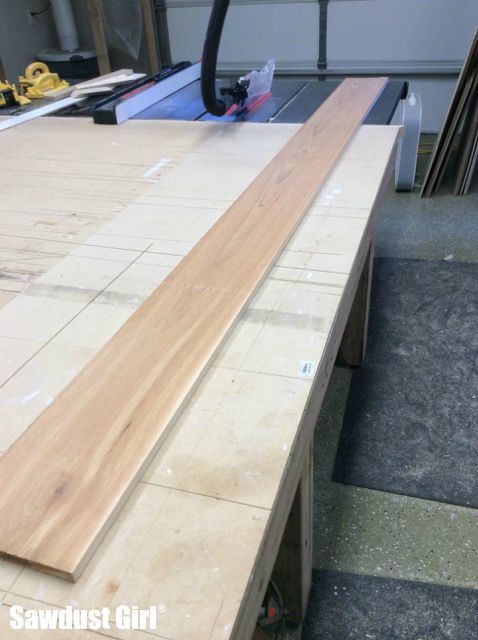
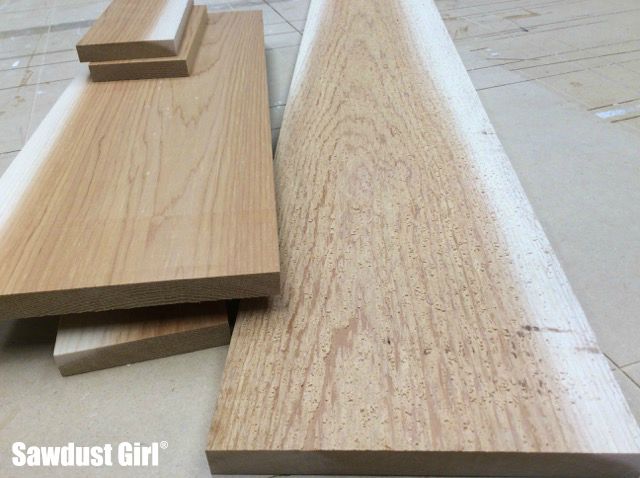
It’s smooth on one side but very rough on the other so I cut it down and ran the pieces through my planer.
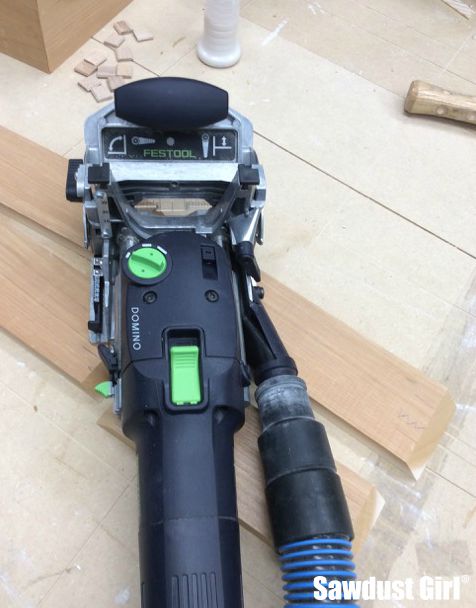
I decided to make a box with mitered corners using Festool Dominos to strengthen the joints . I LOVE this machine!
I started out by cutting pieces for my box sides. Then I mitered all the ends on my table saw.
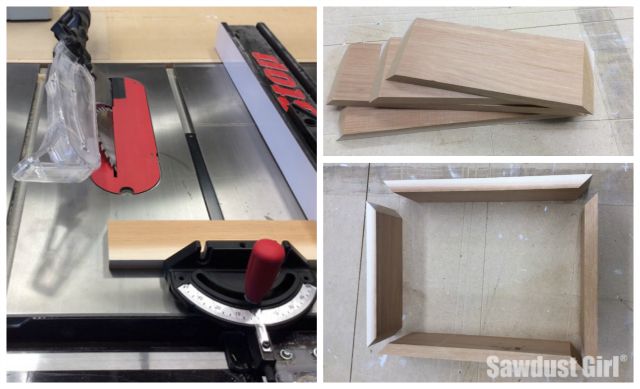
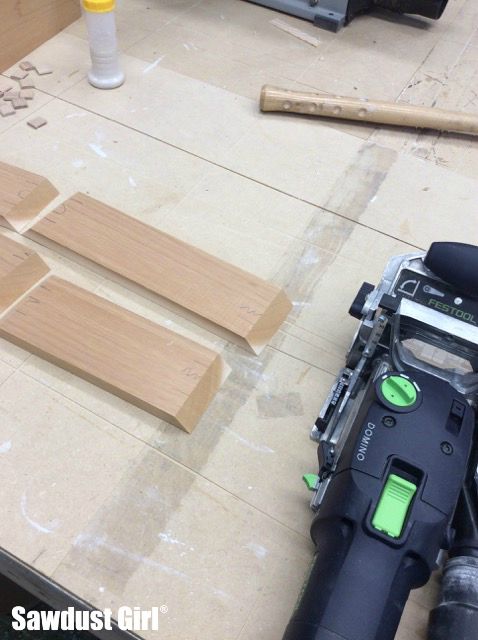
The Domino is sort of like a biscuit joiner … but way faster and easier to use, more precise and creates a stronger joint. I marked the location where I wanted to drill the mortises and also marked the boards so I could figure out which end of which board went where after all the mortises where drilled.

I drilled all 8 ends at once so I made sure to use different markings on each end.
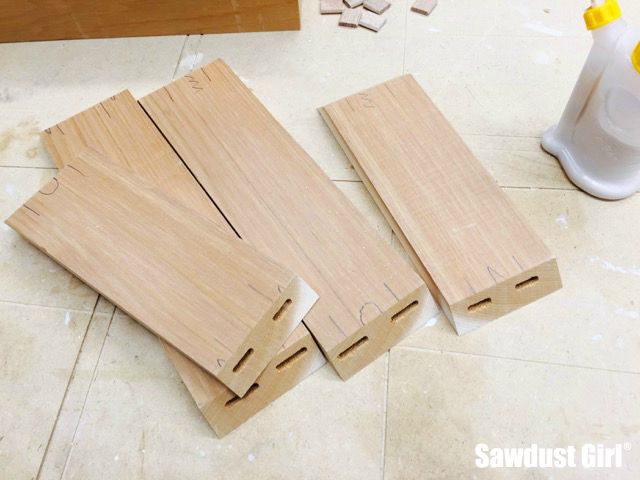
I used wood glue, inserted the Dominos and closed up my joints.
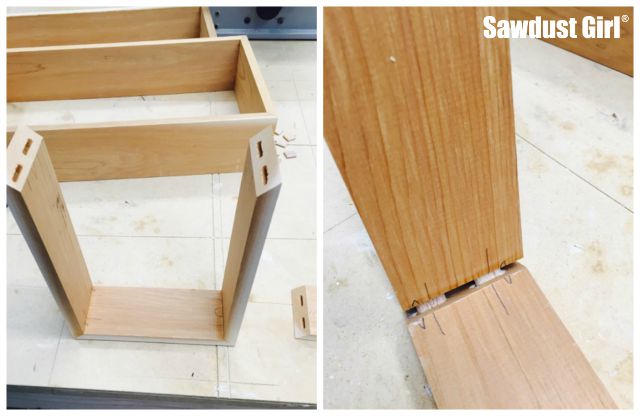
I tried electrical tape to keep the ends together because my painters’ tape was upstairs and I didn’t want to run up and grab it. The electrical tape has a lot of stretch and I decided it was not going to hold my joint so I didn’t bother taping any other corners.

I grabbed some clamps and carefully manipulated them to put pressure where needed to close up my joints. I didn’t use much pressure…I really need to get one of those strappy clamp thingys that I’ve seen but never thought I’d need.
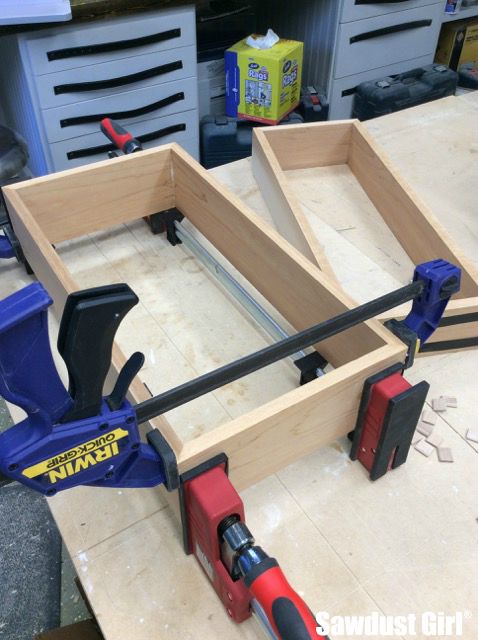
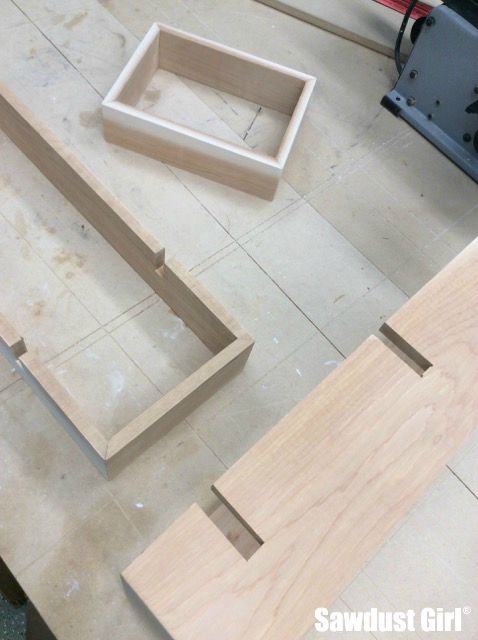
OK! Once all my “boxes” were set. I started playing around with stacking them. Once I found “the right design” I marked where one box crossed the other and went to the table saw.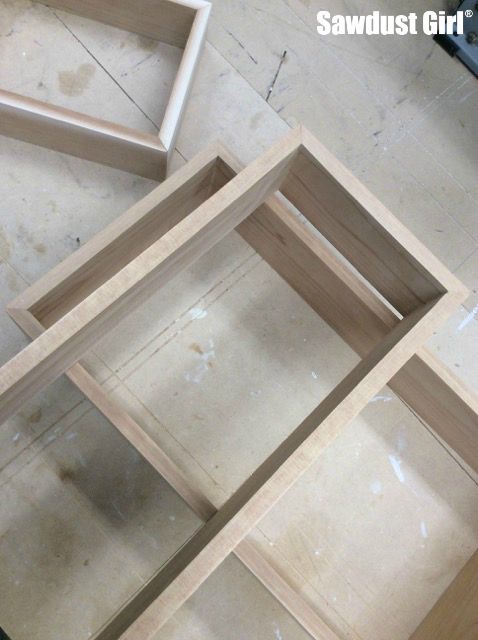
I made a couple passes…
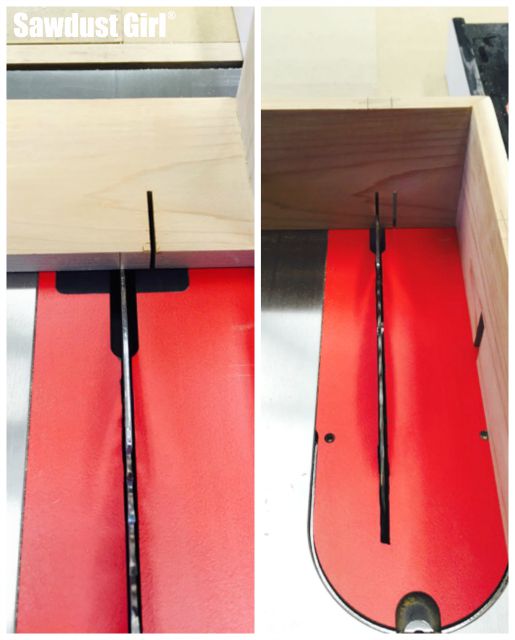 …and then the tab broke out very easily.
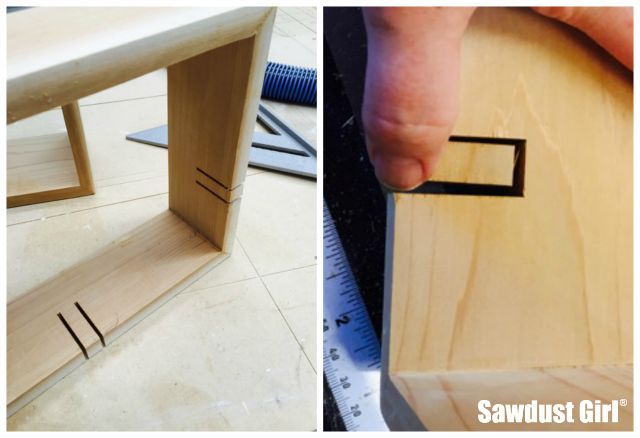
Then I marked and notched the other box to fit over the first one.
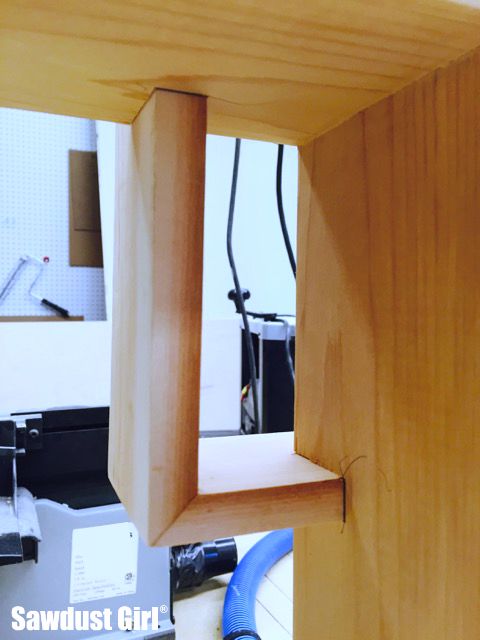
 I used glue but my grooves were not tight enough to hold the shelves in place so I flipped the whole thing over and put a screw into each joint.
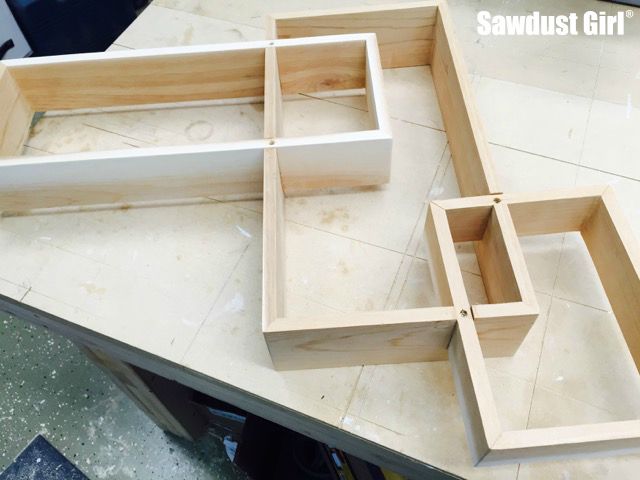
It’s FAR from perfect but it’s done. And it’s kinda’ cool!
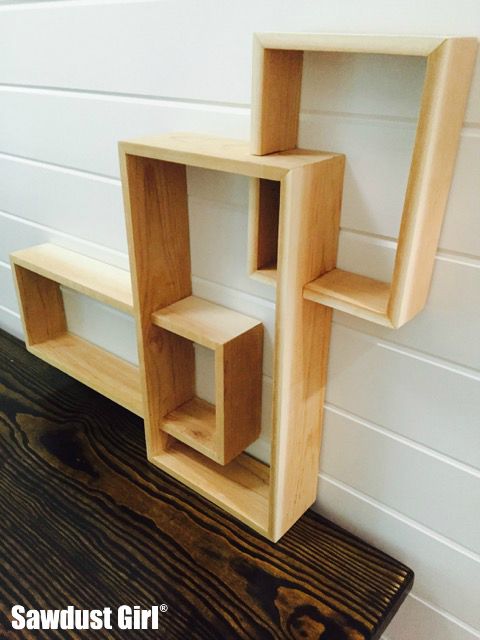
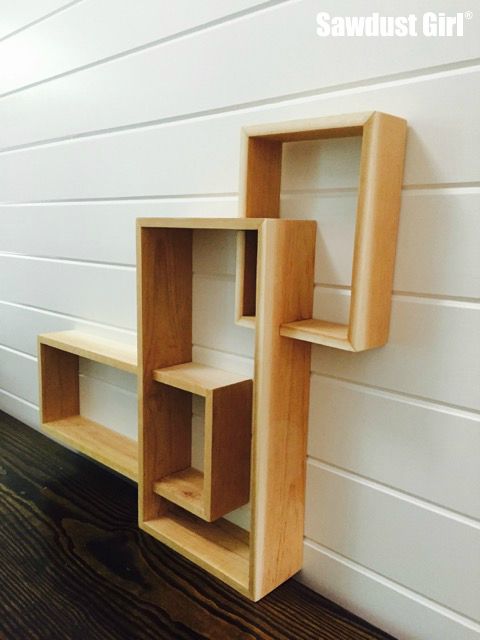
I didn’t put any finish on it because … you know, I procrastinated too long for any frufru on this project. But when I have a spare moment and am bored or something, I’ll wax or oil it. Maybe hang it on the wall by the bathtub and put a candle on it. And a little sign that says:
Anticipate — then Initiate!
Because that’s more positive than: Don’t procrastinate! 😀
——————————
There are 16 other bloggers who took on this challenge so make sure you check out the other projects if you want to see some awesomeness — from a single board!

Jen – House of Wood / Katie – Addicted 2 DIY / Jaime – That’s My Letter / Brittany – Pretty Handy Girl / Brad –Fix This Build That / Jenn – Build-Basic / Mindi – My Love 2 Create / Amy – Her Toolbelt / Pauline – My Altered State / Bethany – Sawdust & Embryos / Kim – The Kim Six Fix / Sarah – The Ugly Duckling House / Elisha –Pneumatic Addict Furniture / Jessica – Decor Adventures / Karah – the space between / Emily – Merrypad



Great looking – I would love to do this one – but where is the cut list?
I did not draw up a cutlist. I made it by eye, on the fly and had fun doing so.
This is beautiful, Sandra!
I love it; this is a great way with new technology used in home decor interior design.
Seriously beautiful! I wish my procrastinated projects looked this good! Love it!
Sandra, I love your project! It looks like a piece of art!