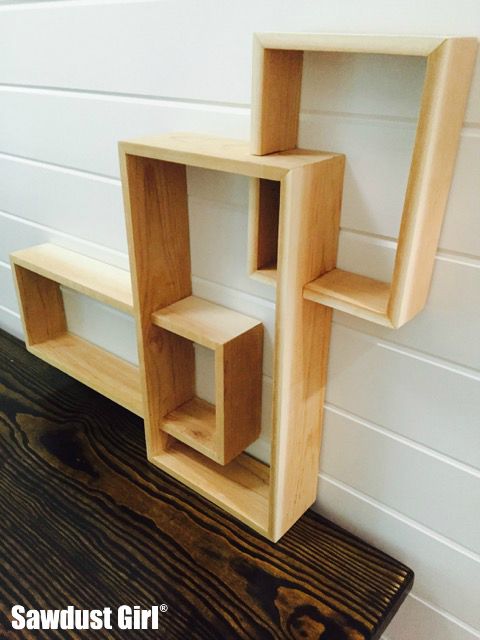
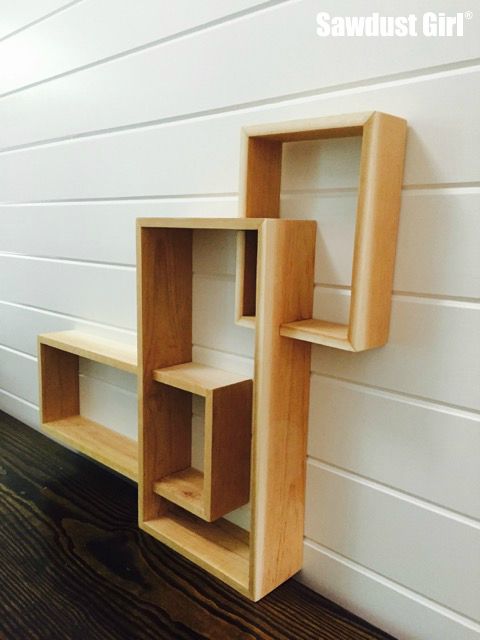
I accepted a group challenge from my friend Jen of House of Wood to create something with a single 1x8x8 board. I almost took the single board (one of the three I bought) and made a sign that read, “Pro-cras-ti-nate: verb To delay or postpone action; put off doing something”. Instead I decided to make a three tier shelf.
Three Tier Shelf
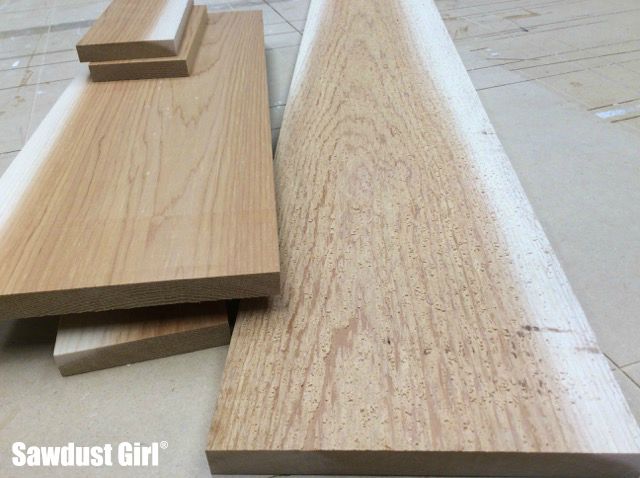
- One 8′ 1×8″ Cedar plank = $25.
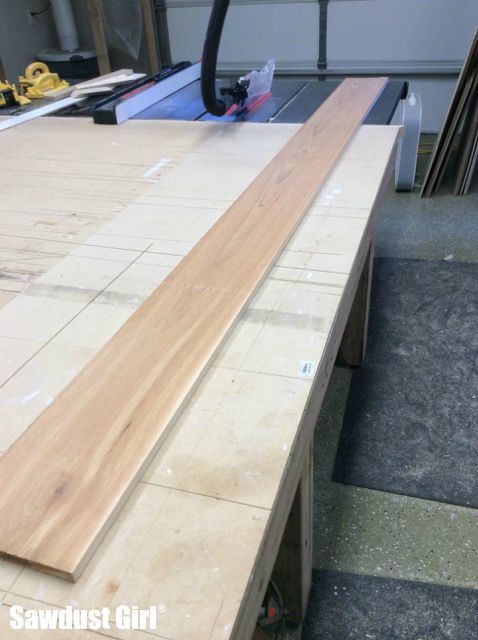
It’s smooth on one side but very rough on the other so I cut it down and ran the pieces through my planer.
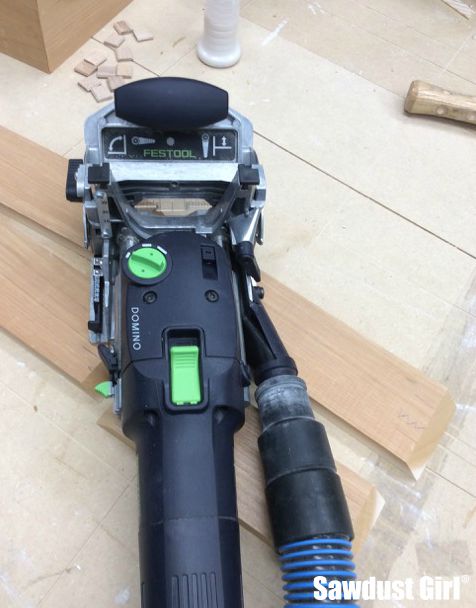
I decided to make a box with mitered corners using Festool Dominos to strengthen the joints . I LOVE this machine!
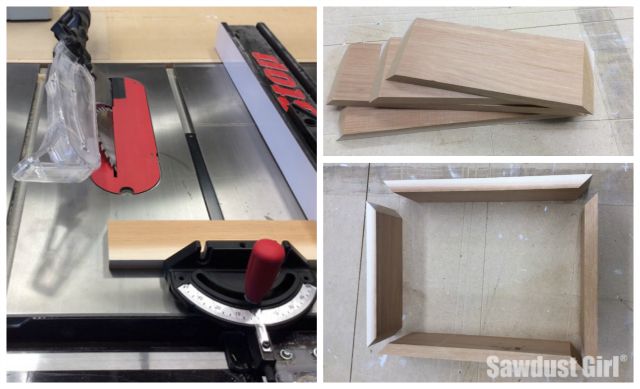
I started out by cutting pieces for my box sides. Then I mitered all the ends on my table saw.
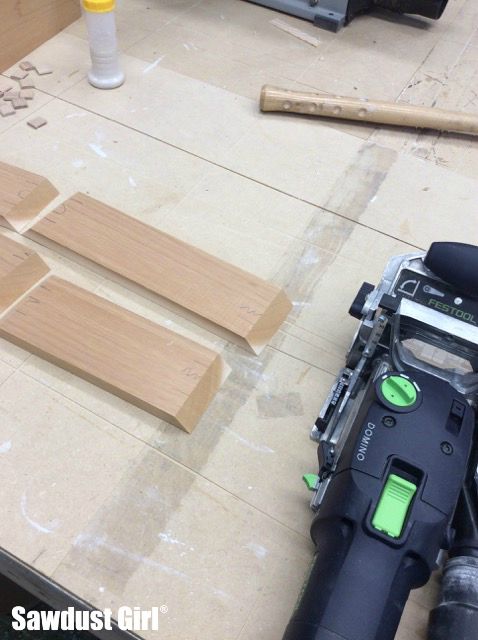
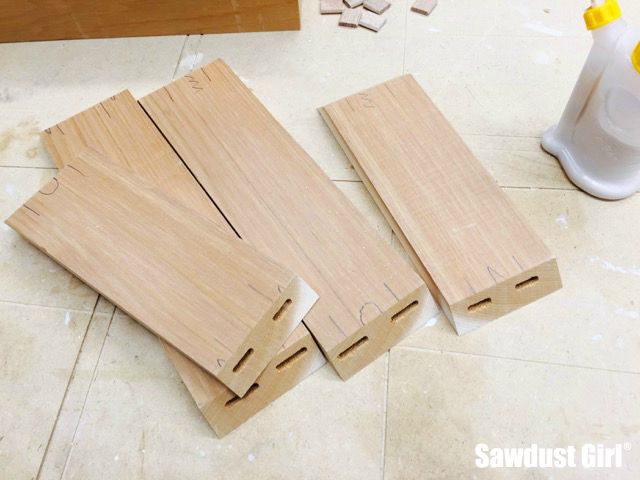
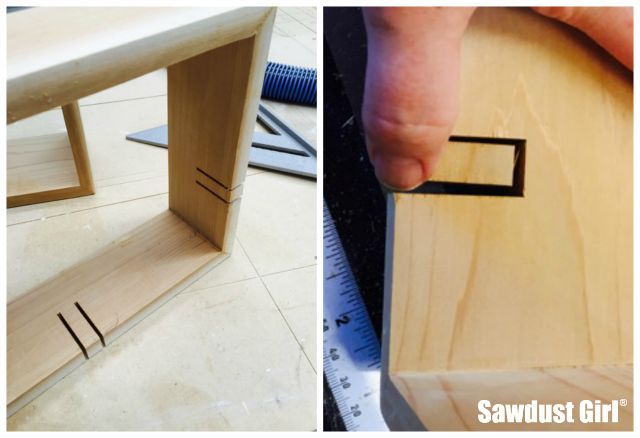
The Domino is sort of like a biscuit joiner … but way faster and easier to use, more precise and creates a stronger joint. I marked the location where I wanted to drill the mortises and also marked the boards so I could figure out which end of which board went where after all the mortises where drilled.
I drilled all 8 ends at once so I made sure to use different markings on each end.
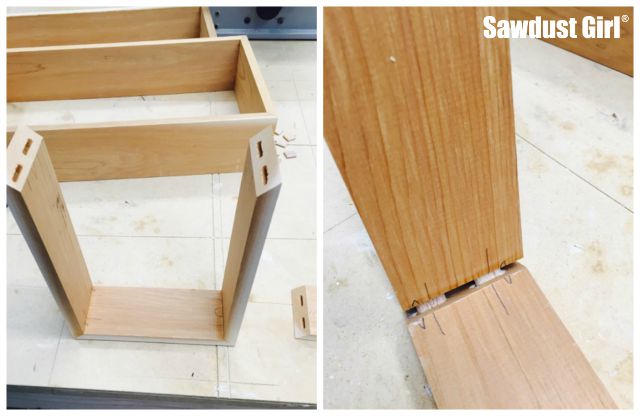
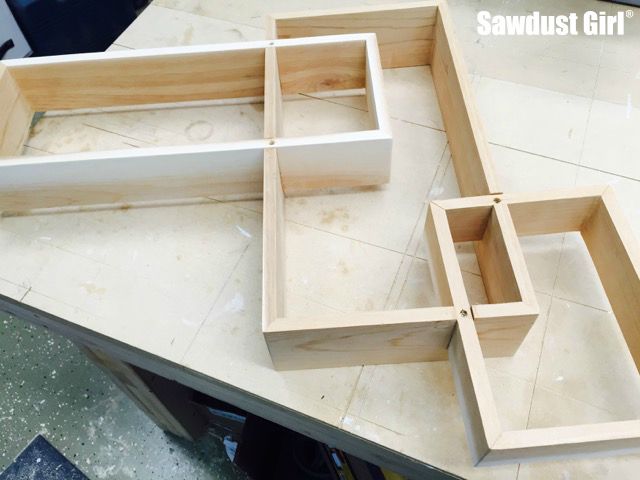
I used wood glue, inserted the Dominos and closed up my joints.
I tried electrical tape to keep the ends together because my painters’ tape was upstairs and I didn’t want to run up and grab it. The electrical tape has a lot of stretch and I decided it was not going to hold my joint so I didn’t bother taping any other corners.
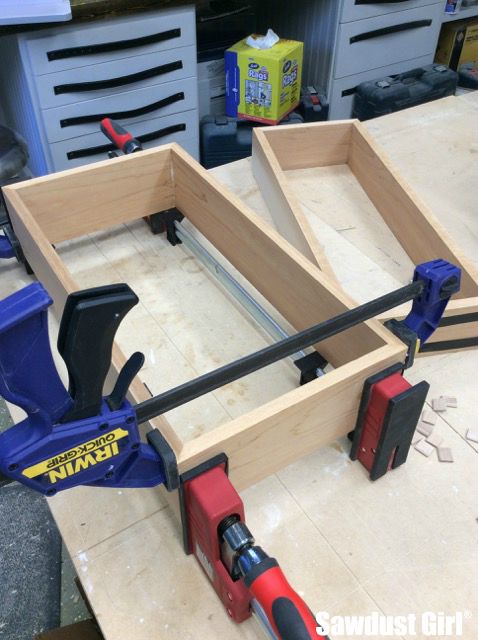
I grabbed some clamps and carefully manipulated them to put pressure where needed to close up my joints. I didn’t use much pressure…I really need to get one of those strappy clamp thingys that I’ve seen but never thought I’d need.
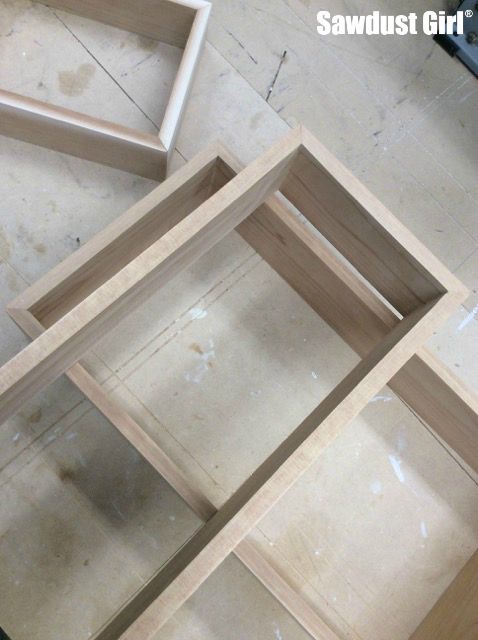
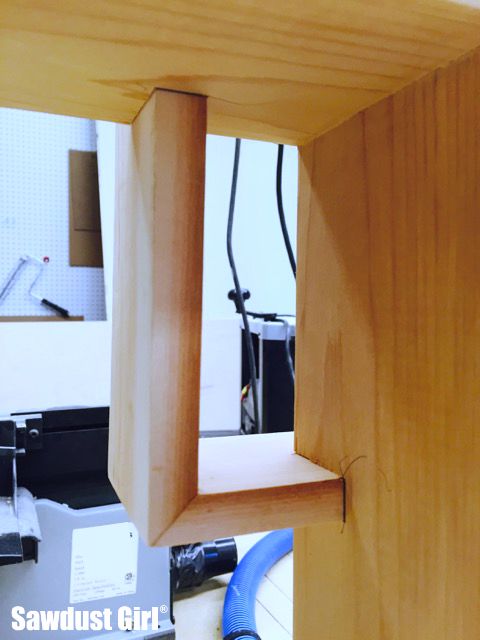
OK! Once all my “boxes” were set. I started playing around with stacking them. Once I found “the right design” I marked where one box crossed the other and went to the table saw.
I made a couple passes…
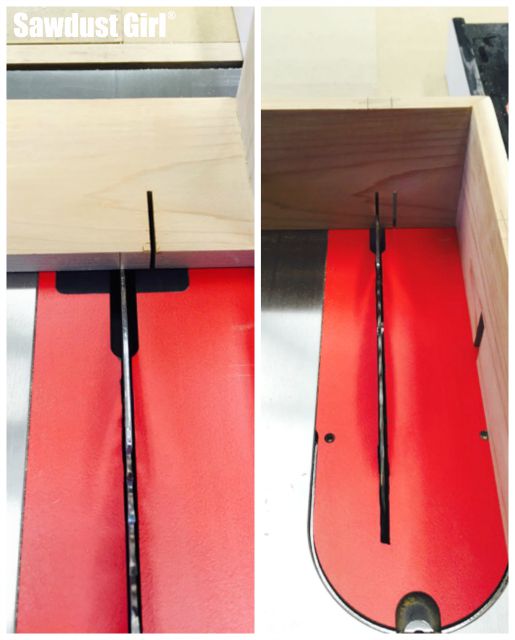
Then I marked and notched the other box to fit over the first one.
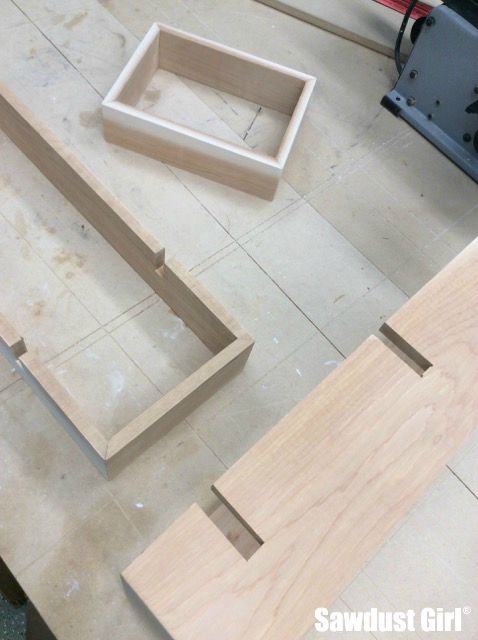
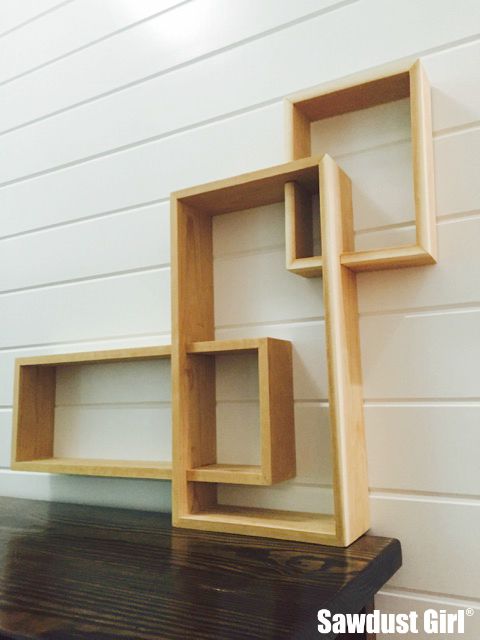
It’s FAR from perfect but it’s done. And it’s kinda’ cool!
I didn’t put any finish on it because … you know, I procrastinated too long for any frufru on this project. But when I have a spare moment and am bored or something, I’ll wax or oil it. Maybe hang it on the wall by the bathtub and put a candle on it. And a little sign that says:
Anticipate — then Initiate!
Because that’s more positive than: Don’t procrastinate! 😀
——————————
There are 16 other bloggers who took on this challenge so make sure you check out the other projects if you want to see some awesomeness — from a single board!
Jen – House of Wood / Katie – Addicted 2 DIY / Jaime – That’s My Letter / Brittany – Pretty Handy Girl / Brad –Fix This Build That / Jenn – Build-Basic / Mindi – My Love 2 Create / Amy – Her Toolbelt / Pauline – My Altered State / Bethany – Sawdust & Embryos / Kim – The Kim Six Fix / Sarah – The Ugly Duckling House / Elisha –Pneumatic Addict Furniture / Jessica – Decor Adventures / Karah – the space between / Emily – Merrypad




Janet says
I just went through all the fun projects. Merrypad has a shelf on her site, you have her crossed off. Didn’t know if that was an oversight…
Sandra says
I just fixed that link. Thank you!
Timisha says
This is pretty dope! and I totally need a sign that says Pro-cras-ti-nate. LOL Story of my life.
Sandra says
You and me both. LOL I think we should have out signs remind us to be more prepared though, instead of shaming us for NOT. Haha
jonathan conrad says
That looks awesome!!
Sandra says
Thanks!
JAnis says
I love it. Sort of looks like a shadow box. I really want to make one of this and my bathroom wall would also be a good place to put it. Thanks for sharing.
Sandra says
You could make this into a shadow box. That would be really cool!
Julia at Home on 129 Acres says
Love this. I came here from Ugly Duckling House. This is such a creative use of a 1×8. I wouldn’t have thought of this. I love the layout of the boxes. And such attention to detail in the construction. Well done.
Sandra says
Thank you Julia and thanks for stopping by!
Janice says
This is so cute! My daughter wants me to build her something to display a collection of shot glasses on the wall. This would be perfect! Though I’m not sure I’m ready for it skill-wise 🙂 BTW I love your blog. Thanks to you I have crown molding in my bathroom (done by me :). After watching zillions of tutorials, your crown molding templates saved the day! Thank you!
Sandra says
Thanks Janice. I’m glad those crown templates came in handy. 🙂
Sarah @ The Ugly Duckling House says
Great job, Sandra! I wish I hadn’t procrastinated either. You wouldn’t be able to tell from the looks of yours that you waited as long as I did, ha! I need to make something similar to this in my hallway.
Sandra says
Thanks Sarah. If you look real close you can tell. LOL
Elisha @ Pneumatic Addict says
I kinda wish you would have made the sign instead, but this turned out so awesome, I’m glad you went with plan B. Perfect as usual! p.s. I’m so jealous of your domino cutter.
Sandra says
Haha maybe next time. Yeah that Domino is the bomb! Pricey but totally worth it.
emily says
Ahh, Domino, you clever, clever thing. The answer to all of my problems. Gracias!
Sandra says
Yes, I love it!
Pauline says
This is a work of art! Awesome. (And I keep thinking about those perfect mitered corners..)
Sandra says
Thank you Pauline!
Brittany aka Pretty Handy Girl says
Sandra, I love your project! It looks like a piece of art!
Mindi says
Seriously beautiful! I wish my procrastinated projects looked this good! Love it!
Massa Global says
I love it; this is a great way with new technology used in home decor interior design.
Katie @ Addicted 2 DIY says
This is beautiful, Sandra!
Jerry says
Great looking – I would love to do this one – but where is the cut list?
Sandra says
I did not draw up a cutlist. I made it by eye, on the fly and had fun doing so.
Daniel says
I have already one self like this one and hopefully it works fine and it increased my reading room beauty. That’s a great one. Thanks