Three Shelf Console Table – Build Plans
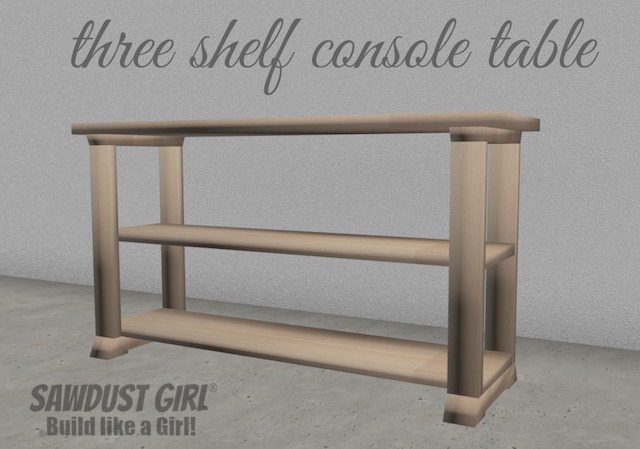 This three shelf console table is a variation of my two-toned console table. It’s built in exactly the same way with the exception of adding a third shelf. The legs are 2×4’s so make sure you buy your wood several weeks (or more) before building to let them dry out as much as possible before building.
Three Shelf Console Table
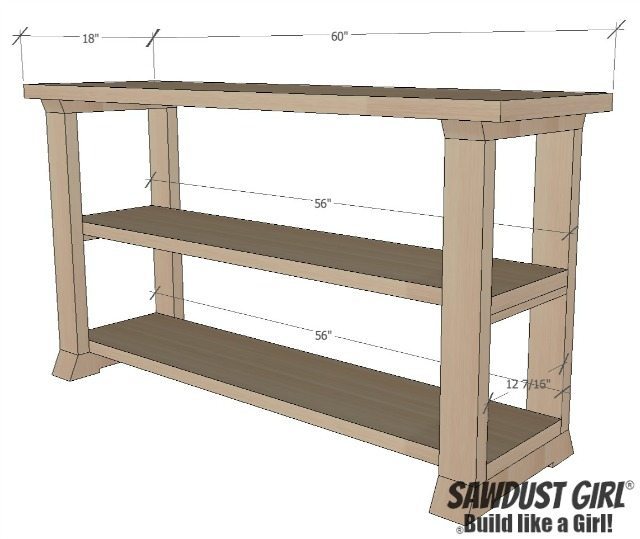
Materials
Lumber needed for table top and shelves:
- Join several pieces of 2x lumber to achieve desired width
(or greater than desired and then cut down to size) for table top and lower shelf. - Top is 18″ wide
- Lower shelves are 12″ (the leg opening is 12 7/16″ wide shelf should be less to allow for wood movement).
- In this drawing, the lower shelves are flush with the legs but the top overhangs by a couple inches in each end. Of course you can modify the length of each to make your table fit your space.
2×4 Lumber lengths needed for legs:
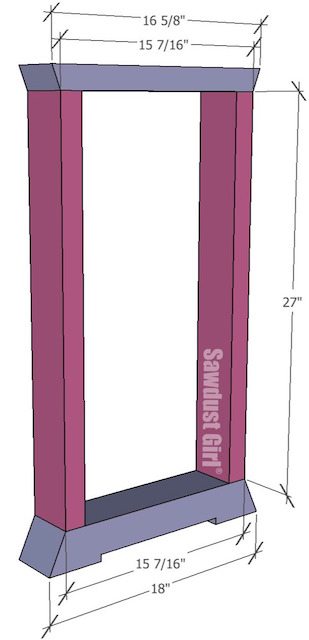
- two – 16 5/8″
- four – 18″
- four – 27″
Build legs
- Refer to my two-toned console table to see pictures of how I cut and assembled the legs.
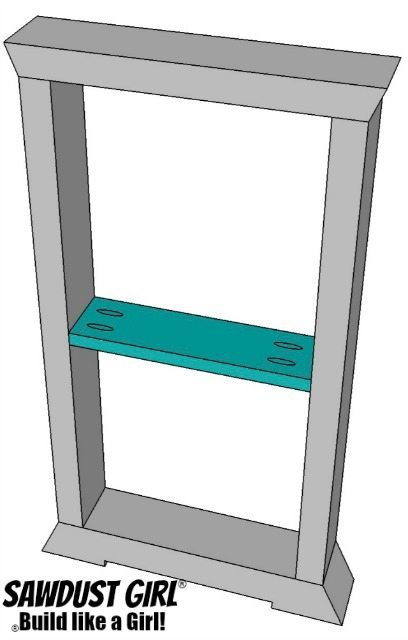
Add middle shelf support
- Attach a 1×3 to each leg with pocket hole screws.
- The pocket holes should be on the top of the board so they are hidden once the shelf is in place.
- Location of the middle shelf is up to you. Do you want it in the middle, top third or closer to the bottom? You decide!
Sand and Finish
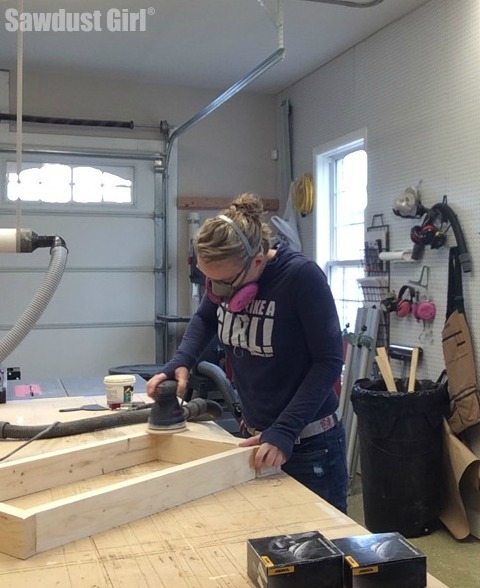
- sand the legs and stain, clear coat or paint as desired now. It will be easier now than after the shelves are attached.
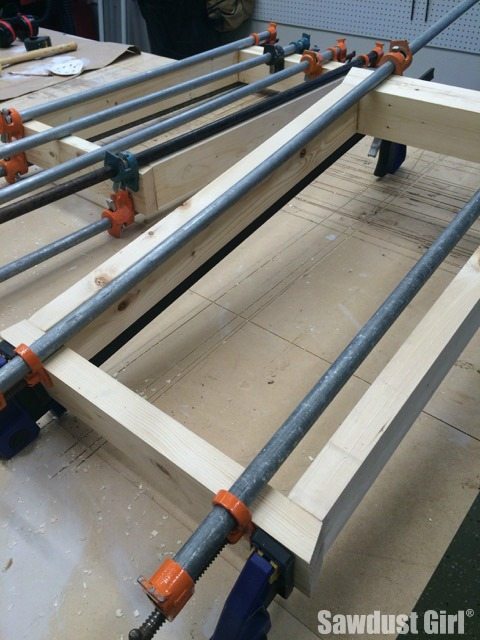
Add Top and Shelves

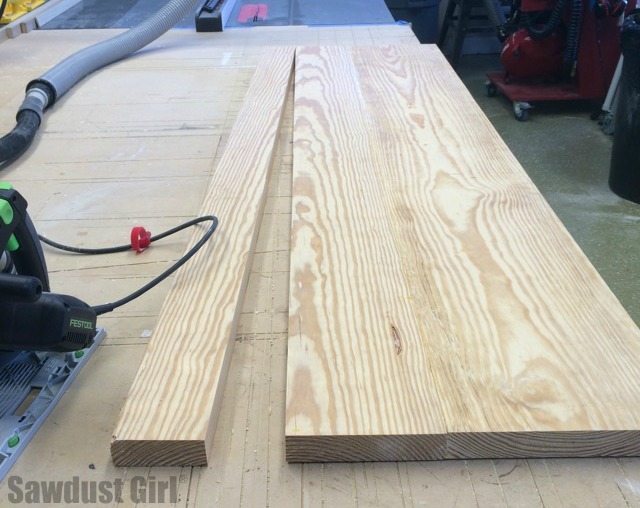
- Join and trim wood to create shelves of the appropriate length and width.
- Attach to the legs.
- Dowels or loose tenons would be a great option.
- Or just screw up through the leg parts into the top and bottom shelf with wood screws.
- The length of each piece can be adjusted to meet your needs.
Enjoy!

If you build any of my plans, I would LOVE to see how your project turned out. Tag me on instagram and use #SawdustGirl and #BuildLikeAGirl so I’ll be sure to see!

Hate to break it to you but if the top is a table you only have 2 shelves underneath! ?