Recessed Wall Cabinet for Toilet Paper Storage
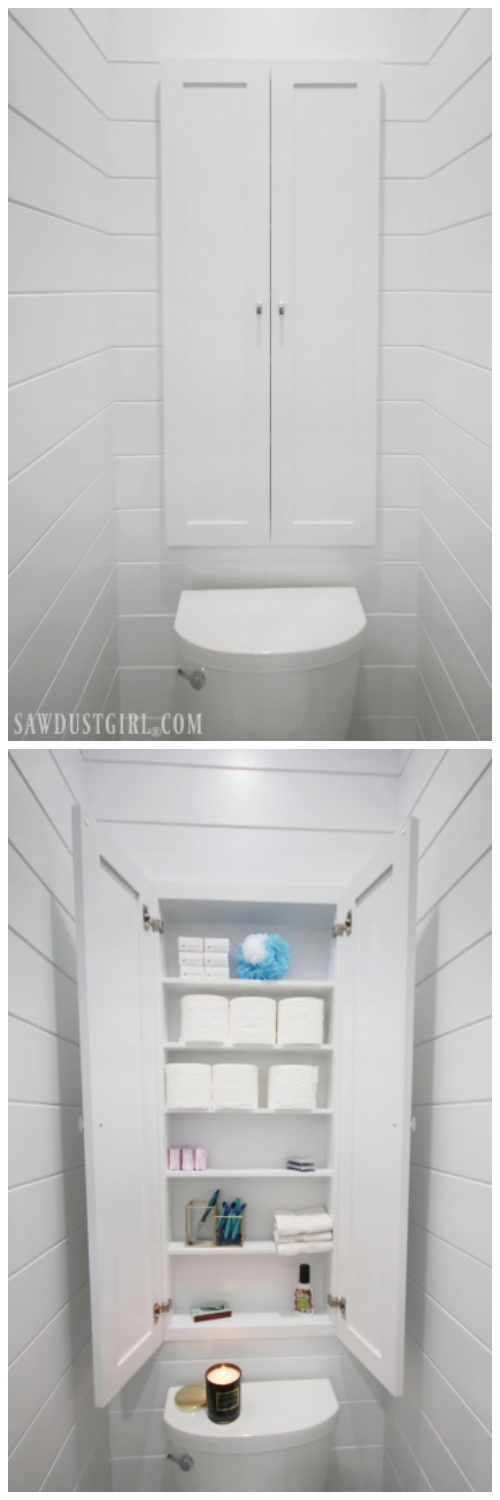
Hey hey hey! Guess who finished a project?! Whoop-whoop. I finally finished the recessed wall cabinet over the toilet in the Jack and Jill water closet! This between the studs wall cabinet is the perfect place for toilet paper storage. As well as other bathroom necessities. Of course I installed doors because this is our real life bathroom.
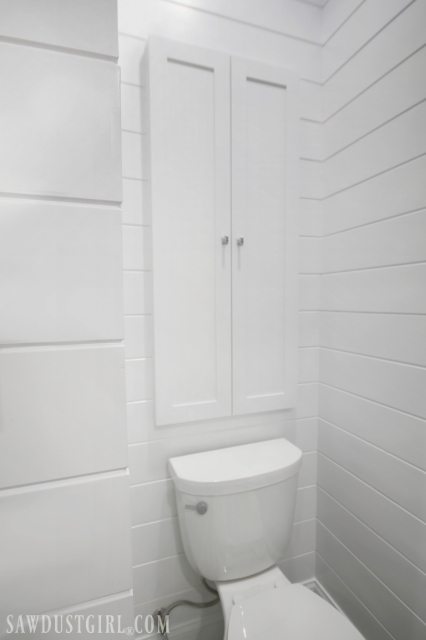
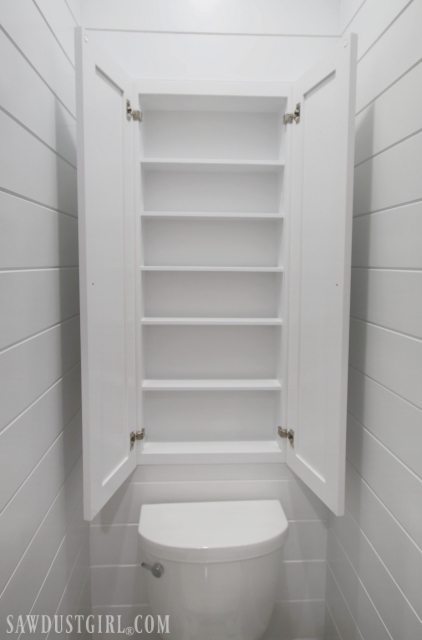
Even though I’ve “styled” the cabinet contents to look pretty for these photos I expect it to look like this for exactly 0 days. If I can remember, I’m going to open these doors in one week to see if the white tornado has come through. It generally sneaks into finished spaces once I turn my back…
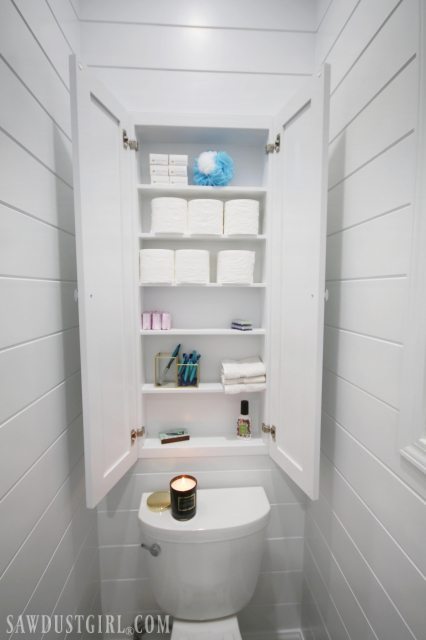
Perhaps that’s why I blog. I can come back and look at pictures of how projects once looked, before my family moved in. LOL (Smiling but totally NOT joking.)
Making a Recessed Wall Cabinet
I planned this cabinet after I finished framing this bathroom. The space where I’m recessing the cabinet was previously a door into a tiny bathroom. I initially added a stud in the center of the 30″ door opening and drywalled the bedroom on the other side.
Then I had the idea of putting the toilet paper storage cabinet between the wall studs so it wouldn’t stick out over the toilet. With the bedroom drywall still attached, I pulled that single stud back out. I replaced that with a horizontal stud above the toilet height and filled in the sides to shorten the total width of my recessed cavity to 21″. Then I cut out the drywall in the bedroom.
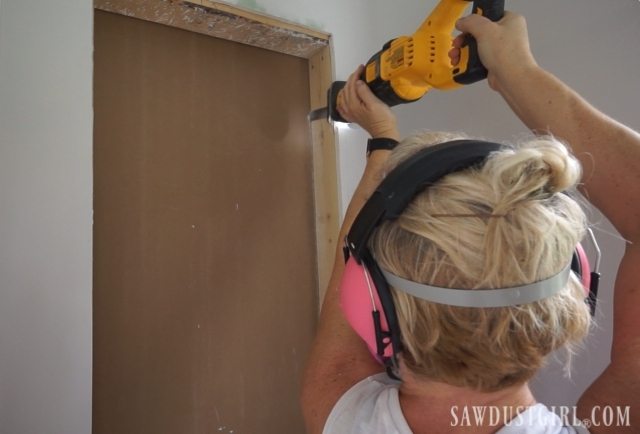
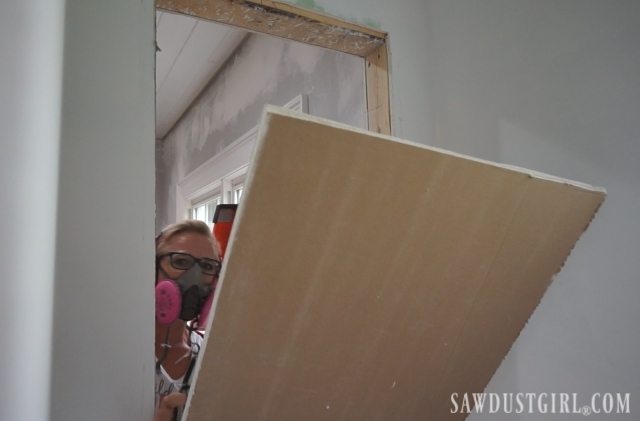
I wanted the extra 1/2″ of space that drywall was taking up. The bedroom side would be covered with Plywood V-Groove Planks.
If someone eventually tears out the plank wall the’ll have a surprise and curse the person that did that! But that person won’t be me! I’m going to enjoy my plank wall AND my 1/2″ extra depth in my toilet paper storage cabinet for as long as I live in this house. Most likely.
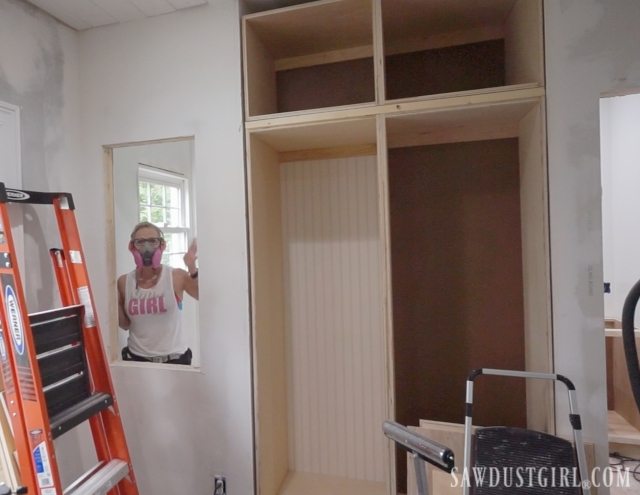
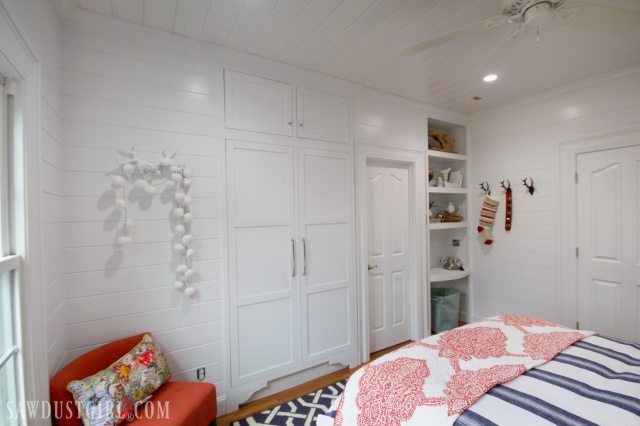
Build a Toilet Paper Storage Cabinet
I used 1/2″ MDF for the whole cabinet, including the back. Normally I back my cabinets with 1/4″ plywood but I wanted a sturdier back on this cabinet since the plank wall on the bedroom side is only 1/4″ thick plywood.
The top and bottom are glued and screwed to the sides. The back is glued and nailed around the perimeter, securing it to the top, bottom and both sides.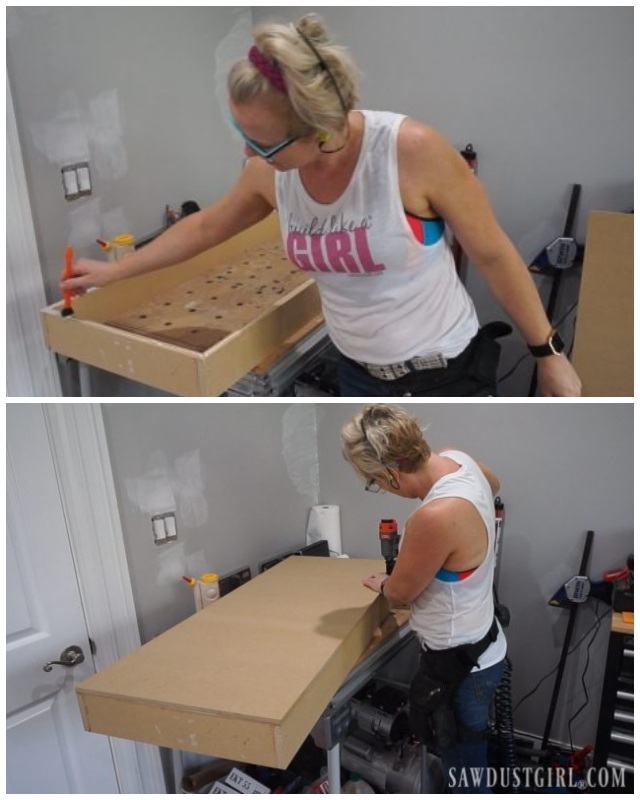
My cabinet is sized to the opening I created — which is not the typical 16″ on center stud spacing. I’m including my drawings for the cabinet I built. If you plan to build a recessed cabinet, you’ll have to modify these dimensions to fit within your wall cavity.
To download these drawings as a PDF file, click here: In-Wall toilet paper cabinet drawings.
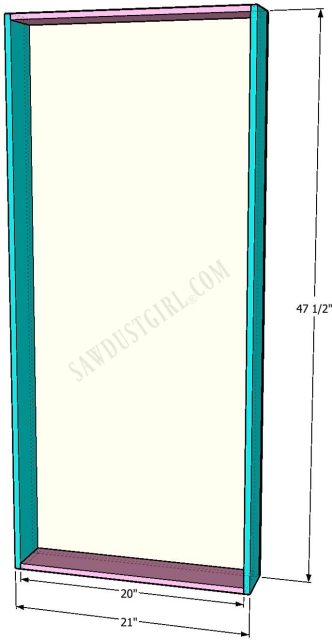
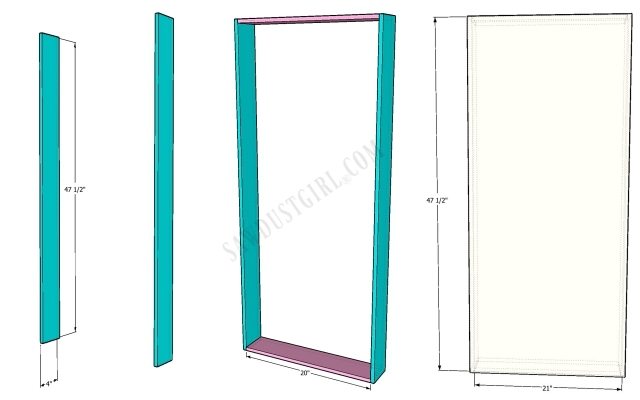
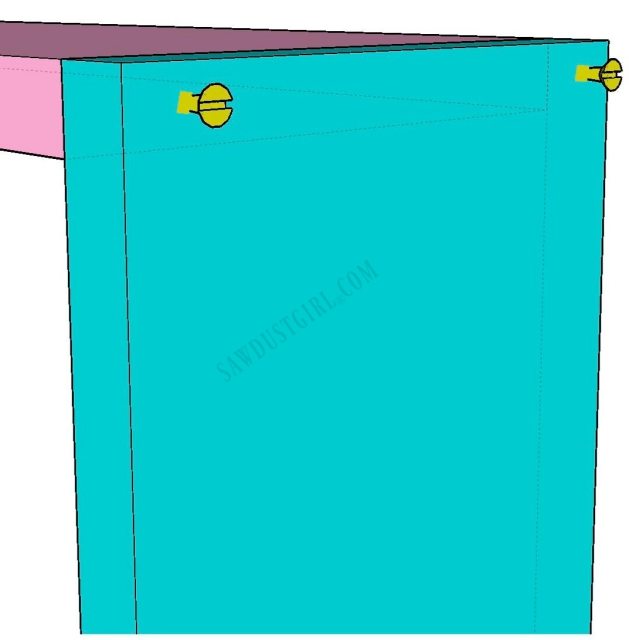 After building the cabinet, I slid it into place and secured it to the studs through the sides with nails.
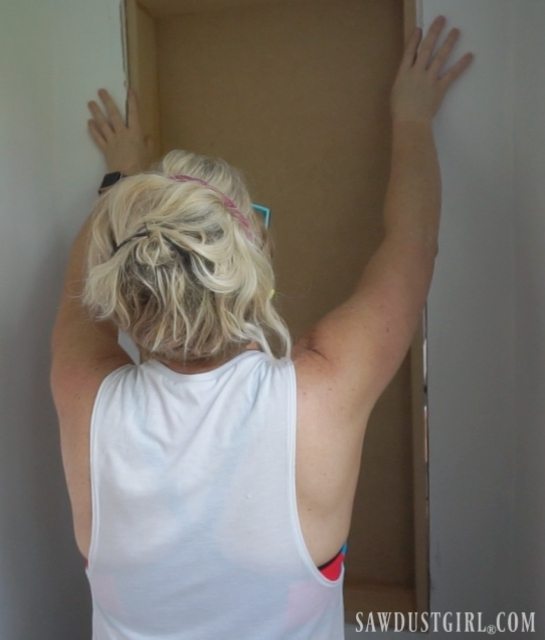
It’s flush with the drywall. I installed a 1×2 faceframe by glueing and nailing it in place, piece by piece. I left 1/2″ overhang on the inside of the cabinet.
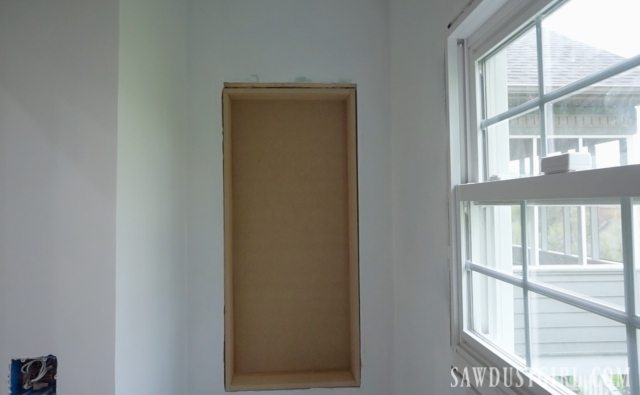
Using my airless sprayer, I primed and painted the cabinet at the same as the plank walls.
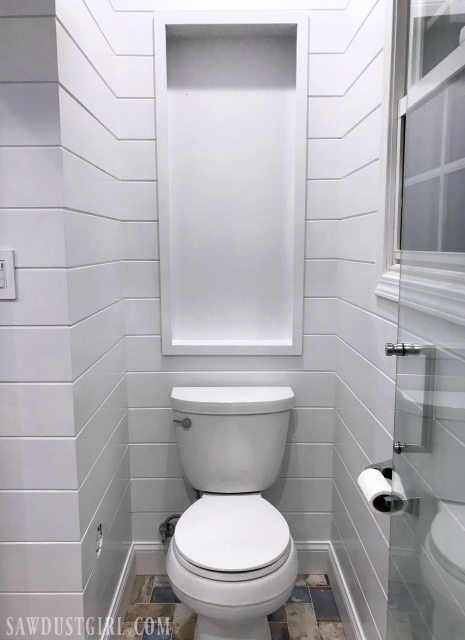
Not wanting to bother with adjustable shelves, I used caulk to glue pieces of 1/2″ mdf in place behind that 1/2″ overhang. I cut a bunch of pieces for sides and several more for shelves. Glued on a pair of sides. Then laid a shelf. Then repeated that process a few more times.
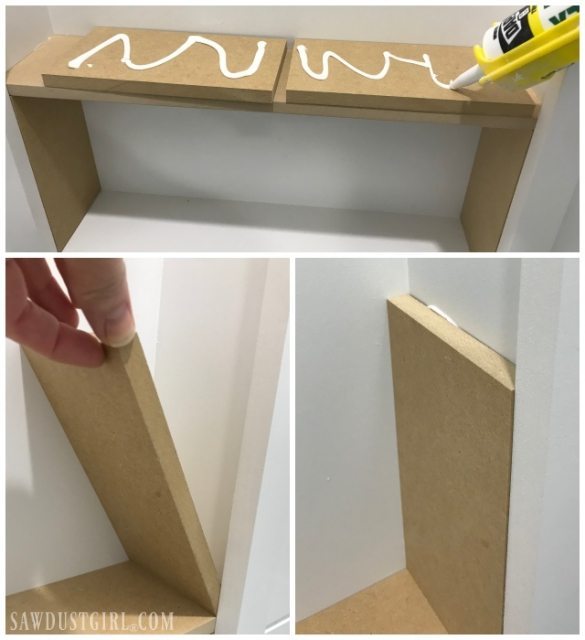
After the last shelf, I cut the last sides to fit and glued them in place.
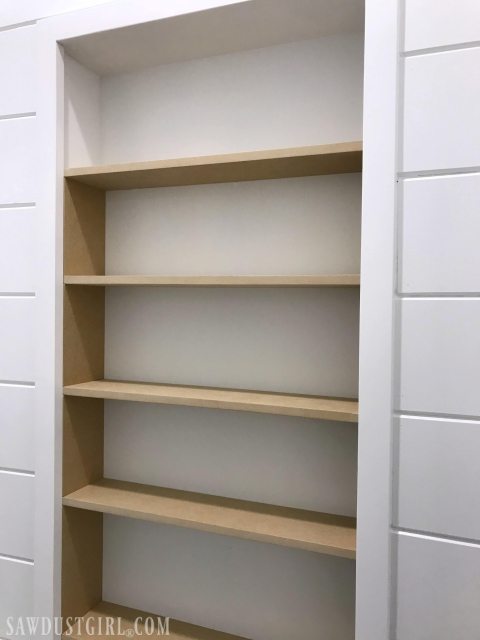
Then I applied a lot of caulk.
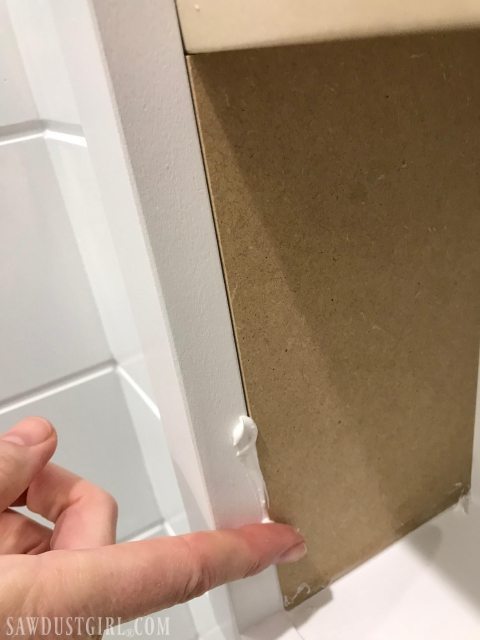
It would have been easier to put the shelves in while I was building this cabinet. But most likely, I needed to hurry up and get the basic cabinet in place so I could plank the bedroom wall. So I had to work a little harder to finish the recessed cabinet after it was in place. That includes priming and painting the new parts. This time I used a brush and roller which isn’t as fast as the sprayer. But I don’t like to dirty the sprayer for small jobs like this.
All the doors for the Jack and Jill bathroom projects are from CabinetNow.com. This is the only cabinet that has overlay doors. Inset doors would steal away 3/4″ of space in my very shallow cabinet. So I went with full overlay doors for this cabinet. The only part of the cabinet that is not recessed into the wall is the faceframe and the doors, which equal less than 2″.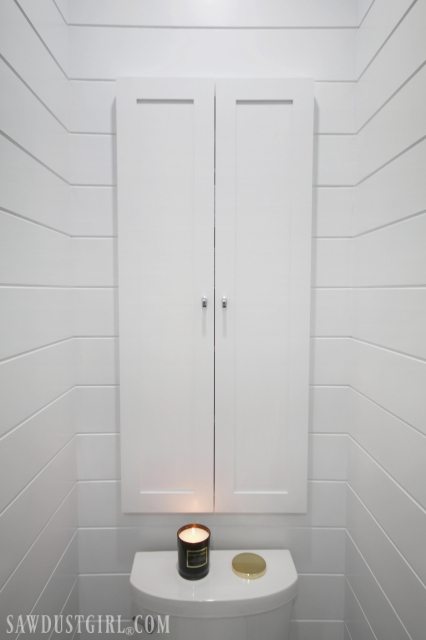
Now there’s a place to store plenty of toilet paper, extra soap, razors and other supplies for the shower and toilet room. 
And because there are doors, I never have to know how the person using this bathroom likes to store their supplies. 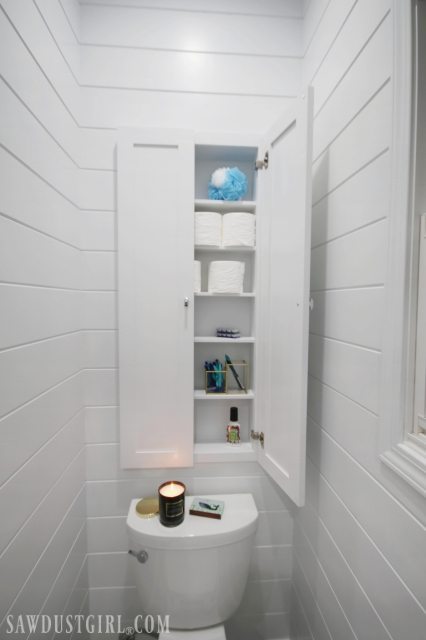

I’m fairly certain that I’m the only person in this house that likes things stacked neatly, sorted by size and color, with all the words facing the same direction…
If I don’t see it, it won’t bother me.
Other posts you may like to see:


I got Shaker doors made with Maple or Poplar rails and stiles with an MDF inset panel.
Did you get the MDF doors? Thanks for your reply I do appreciate it.
Simple Shaker doors.
I just saw your recessed cabinet on Facebook. Great idea and look. I wanted to know what kind of doors did you choose. I have been on the CabinetNow site and there are a lot to choose from.
Thanks
I don’t remember which hinges I used for this. I think I had a box of hinges in my workshop and I found some that would work. I have used the type you’re talking about and just hammer the tabs in where the faceframe joint is (where it’s attached to the cab – even though it’s flush). Try that or use frameless.